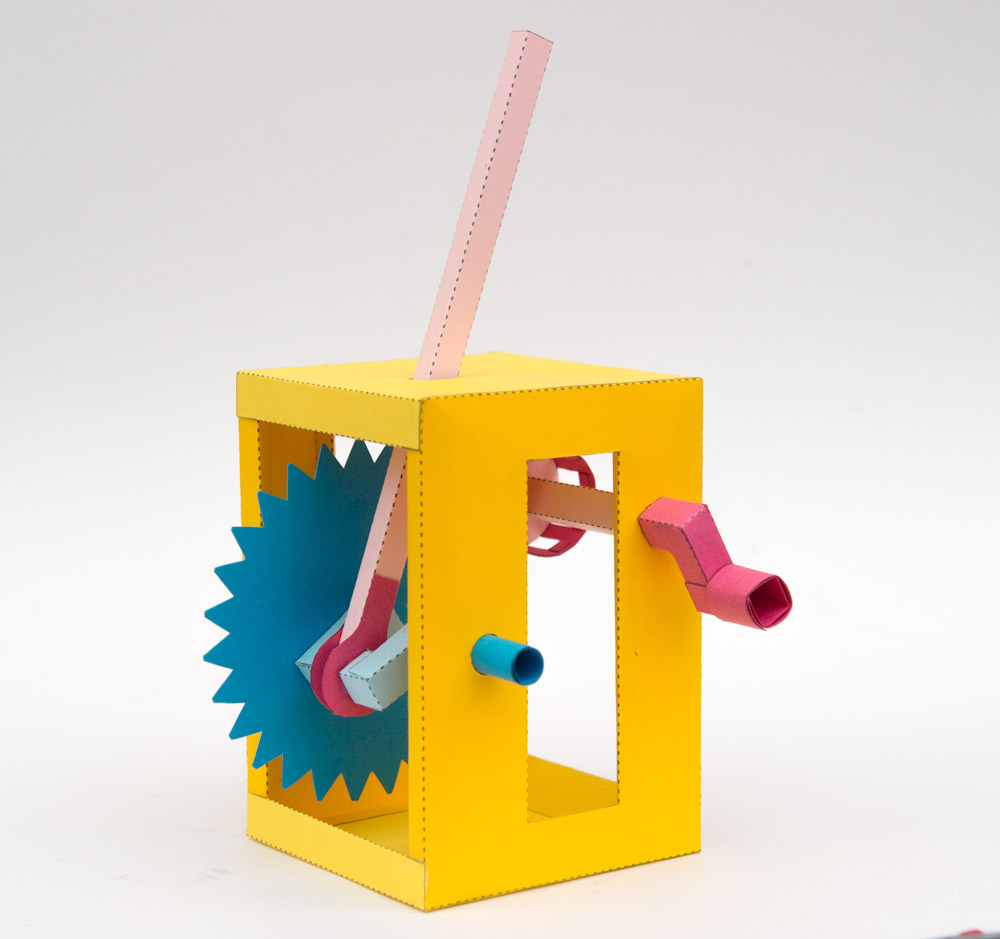
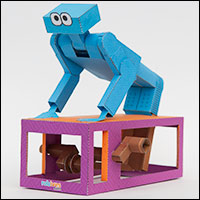
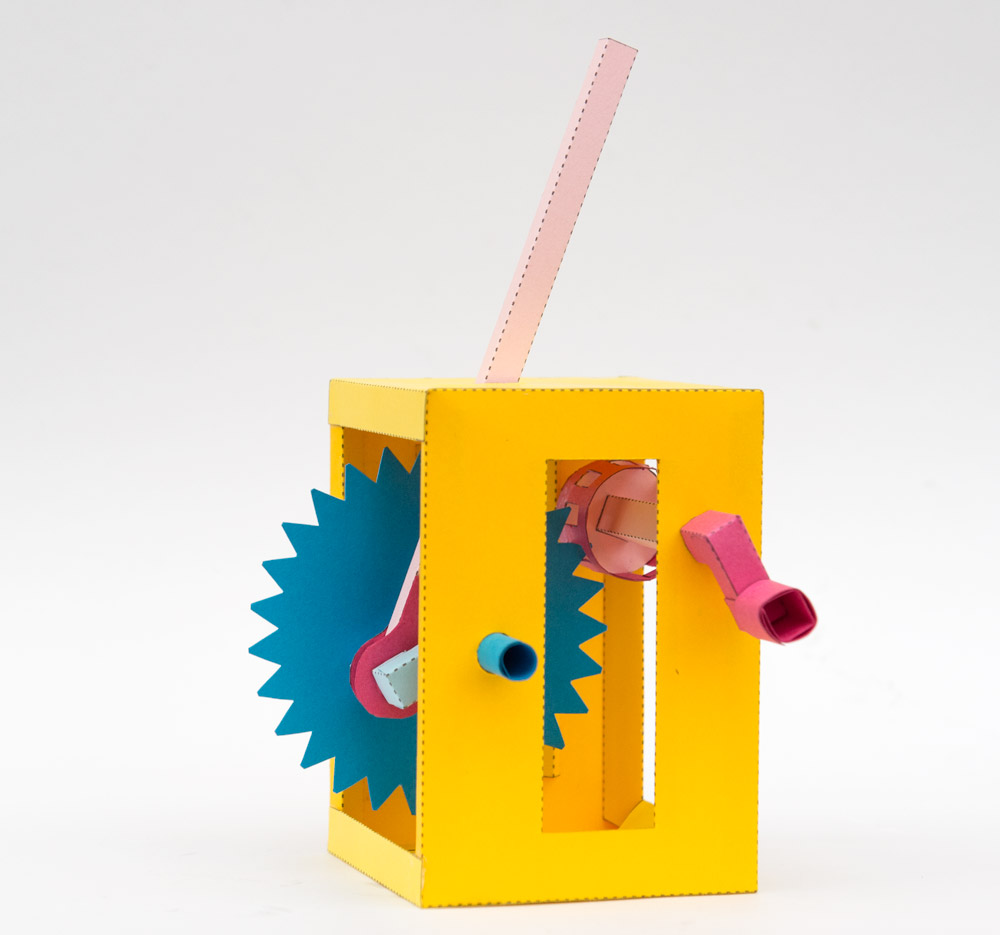
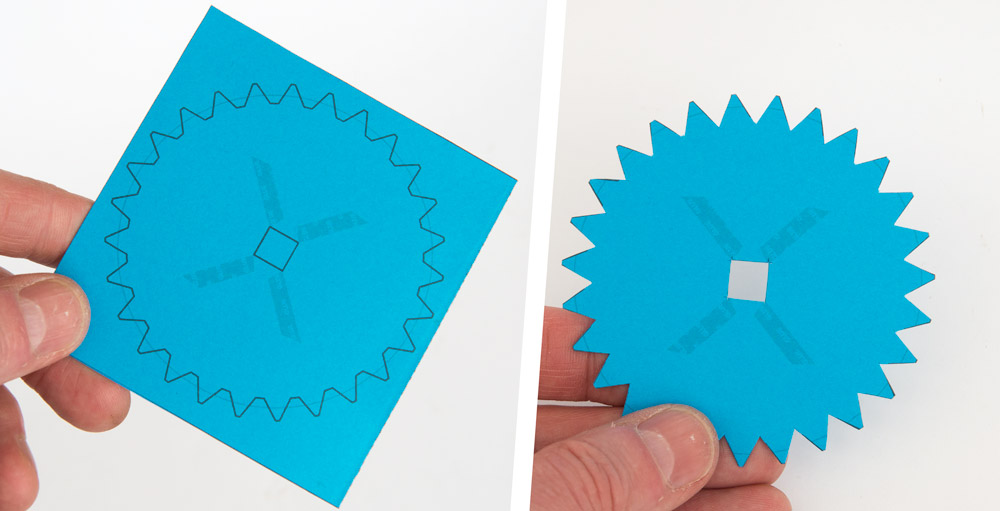
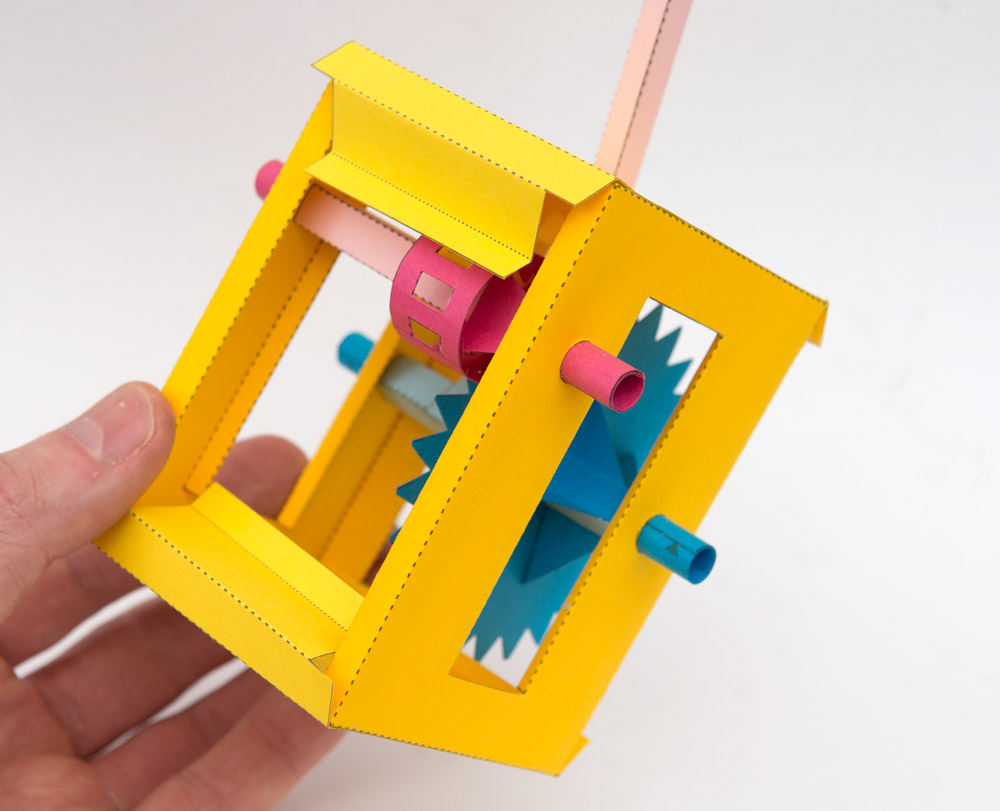
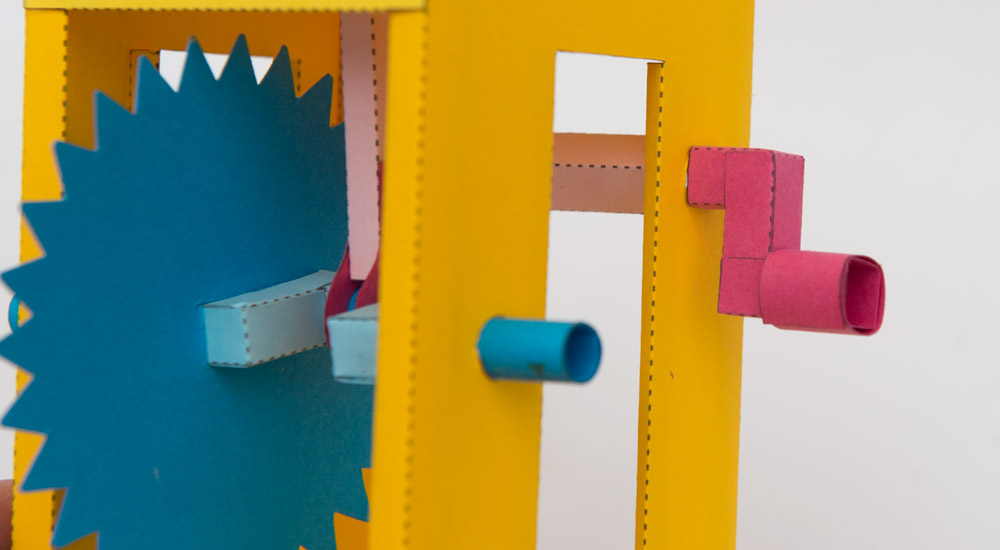
This project expands on the Tooth & Slot gear to make a usable Essential Mechanism. The pinion slot gear connected to the handle has nine slots, the gear has 27 teeth. The overall reduction is speed is 3:1.
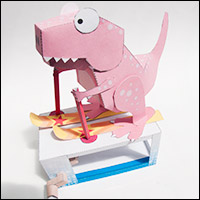
Make the model as an exercise in pure engineering or as the starting point for your own paper animations.
Members and Patrons can download the parts for free at the link, non-members can join in the fun for £2.50 / $3.75USD
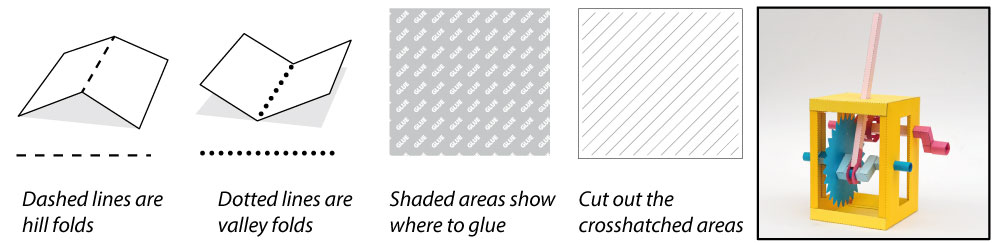
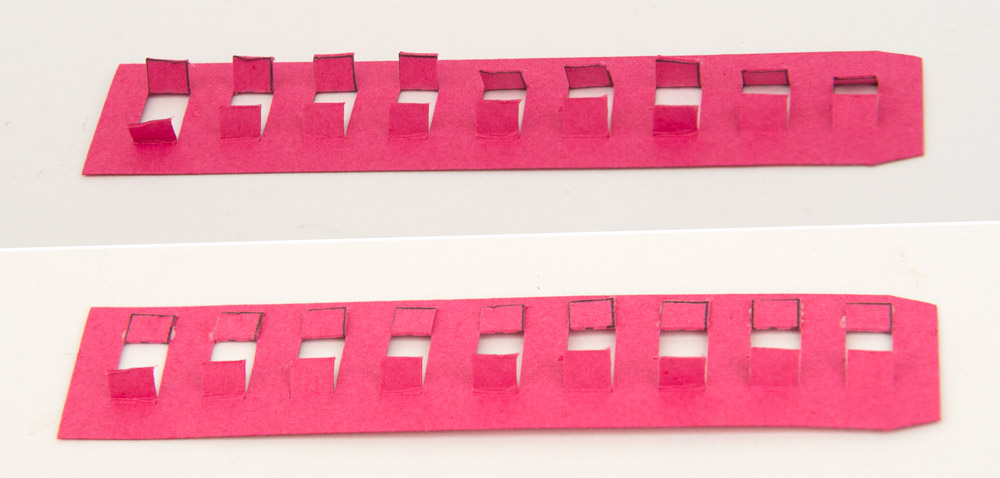
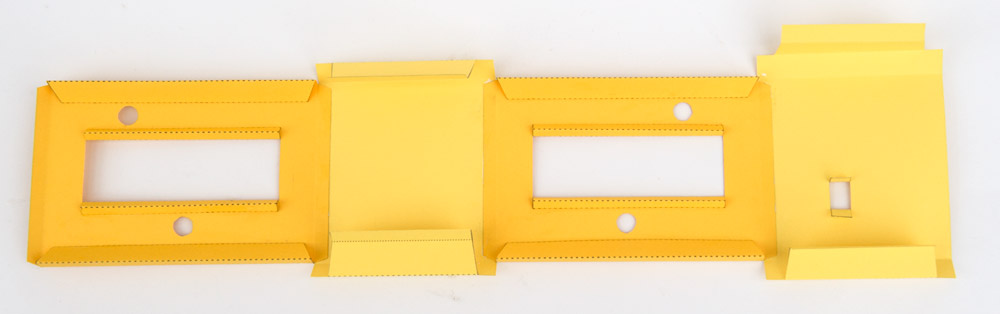
Print out the parts onto thin card. (230 micron / 67lb) I used different coloured sheets of card for a colourful model. Score along the dotted and dashed lines and cut out the holes before carefully cutting out the pieces.
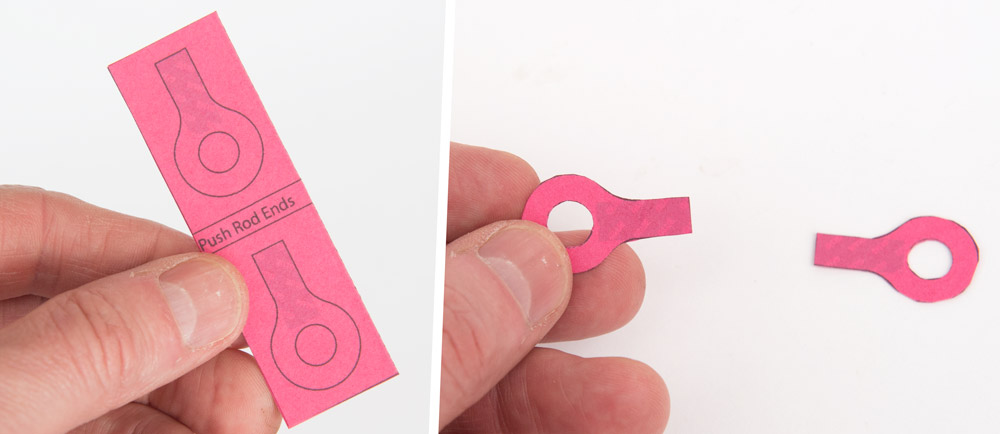
Fold over the push rod end pieces and glue them down to make double thickness card. Cut them out once the glue is dry.
Repeat the process with the large gear. There are optional spoke holes on the back that you can cut out if you would like too.
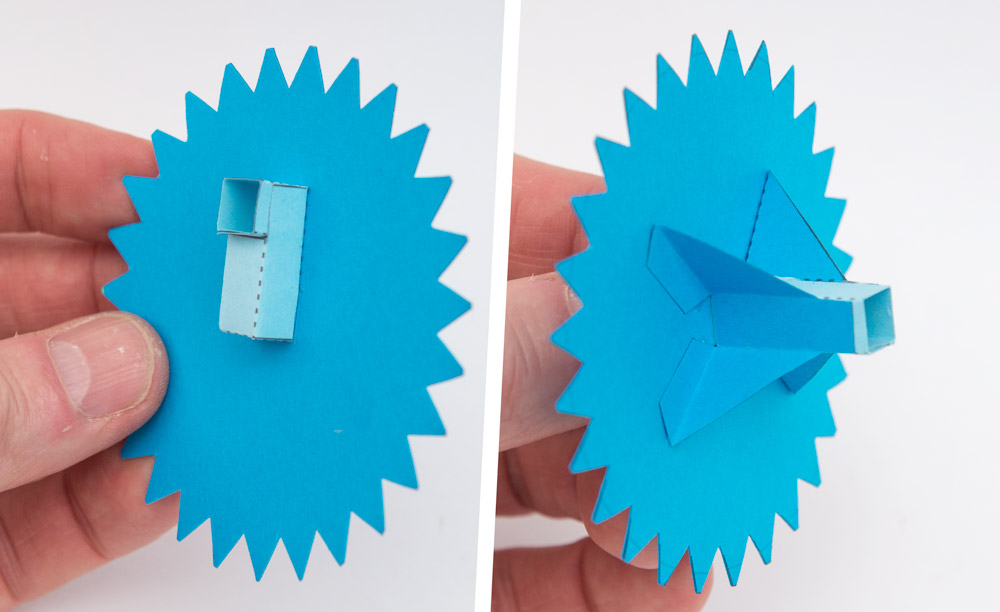
Fold back one set of tabs and glue them down as shown in the second image.
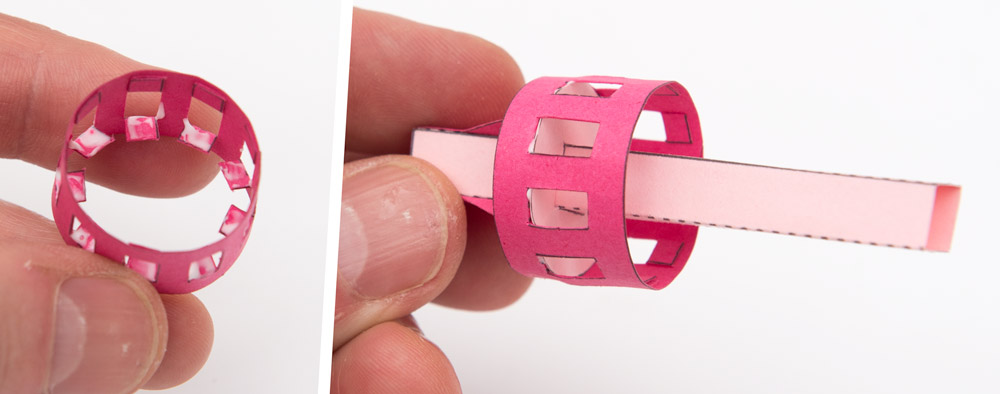
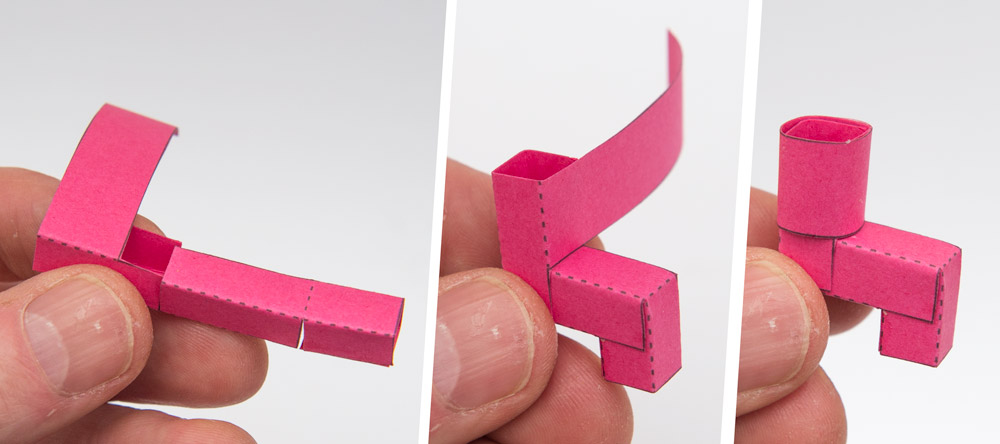
Roll round and glue the pinion outer as shown.

Glue the flanges to the axle as shown.
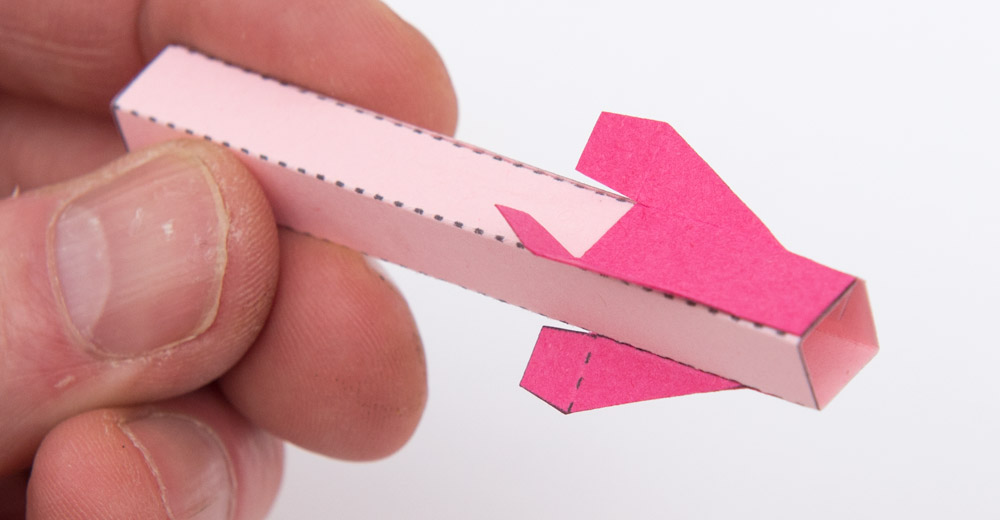
Slip the pinion disk into place and glue it to the four tabs.
Add a thin layer of glue the nine tabs in the pinion outer and fit the pinion disk into place. Make sure the pinion is straight by turning the shaft.
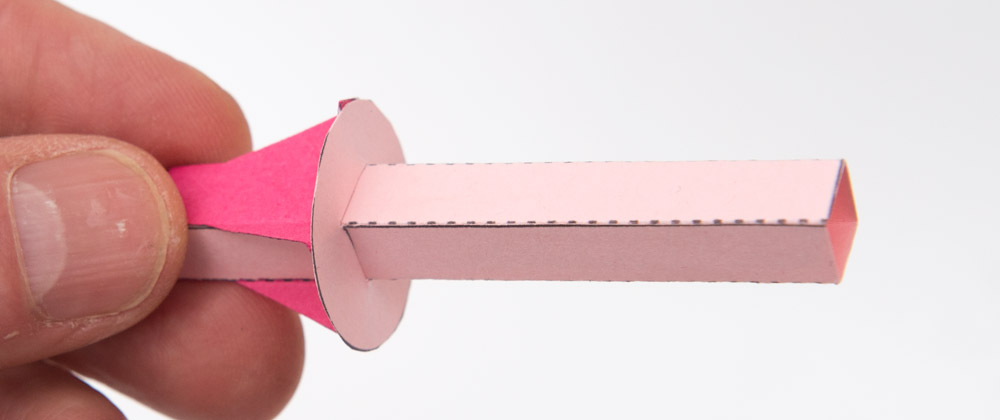
Roll round and glue the axle tubes lining up the edges as accurately as possible.
Glue the axles into place lining them up with the grey lines.

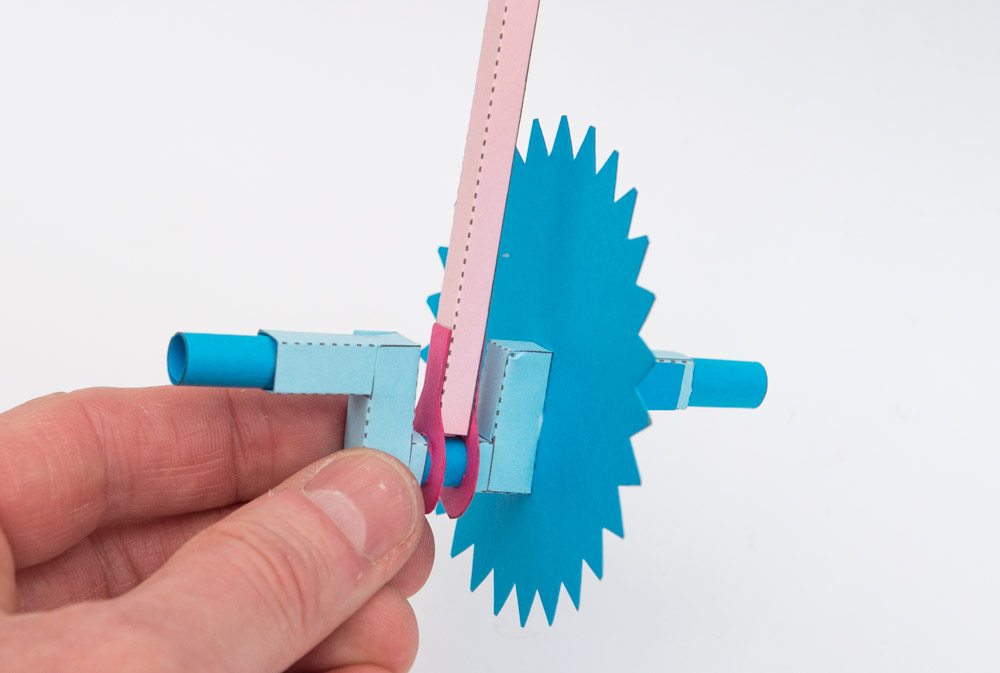
Make up the remaining axle tubes. With the crank link tube threaded through the push rod ends, glue the push rod ends to the crank shaft as shown. Make sure the parts are as straight as possible.

Assemble the two crank parts.

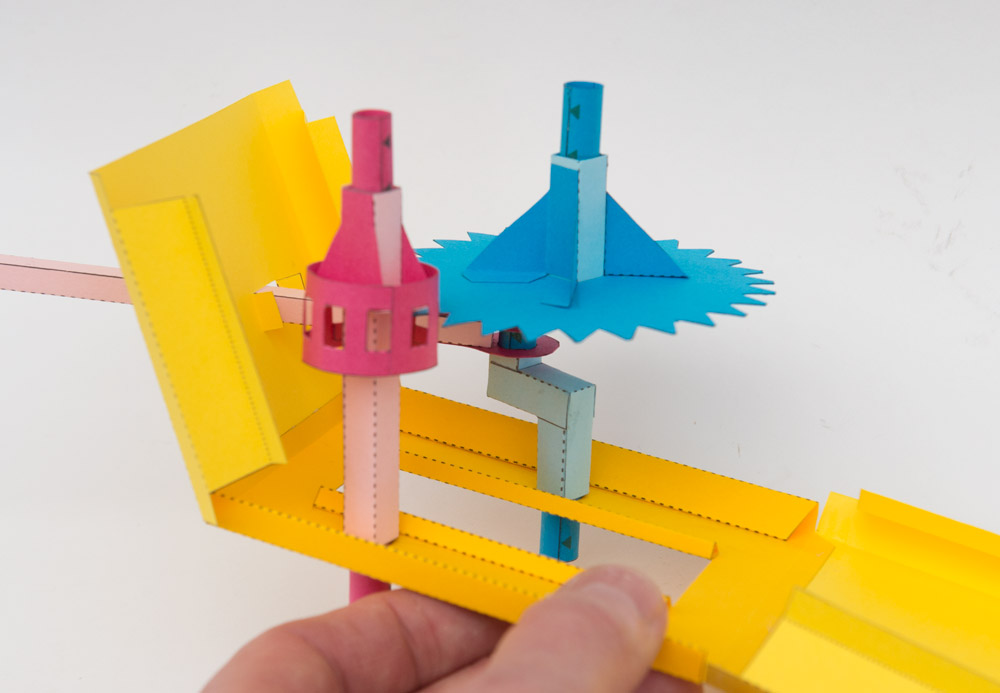
Thread the longer of the two cranks through the hole in the gear and glue it into place.
Glue the two flanges into place.
Complete the crank shaft as shown. The parts should be glued together but the push rod should be free to turn.
Fold round and glue down the flaps in the side pieces as shown.
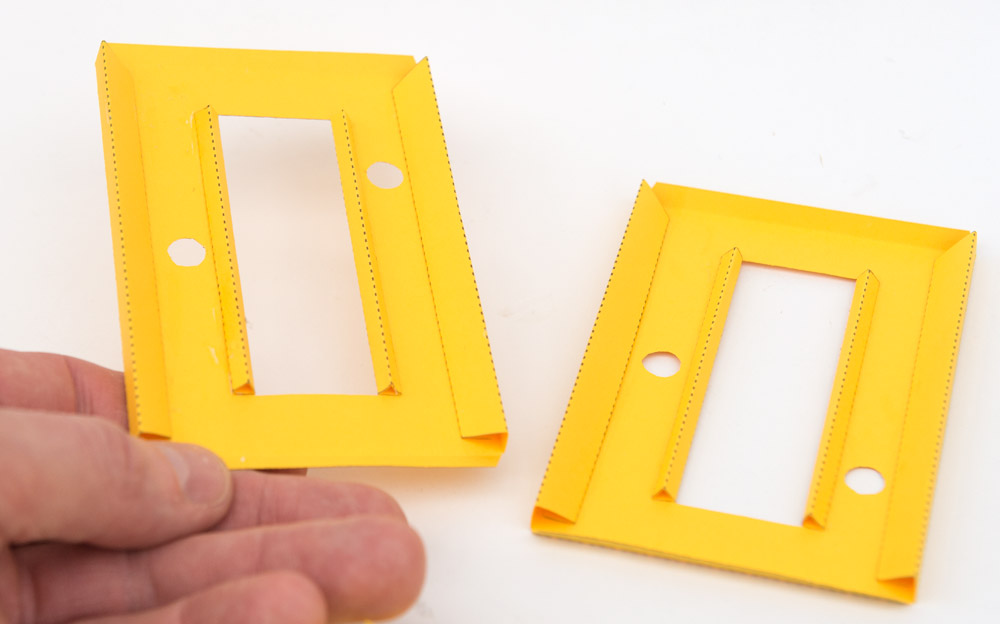
Look carefully at the sides and ends. Assemble the four pieces in the correct order and orientation shown.
Assemble the handle in three steps.
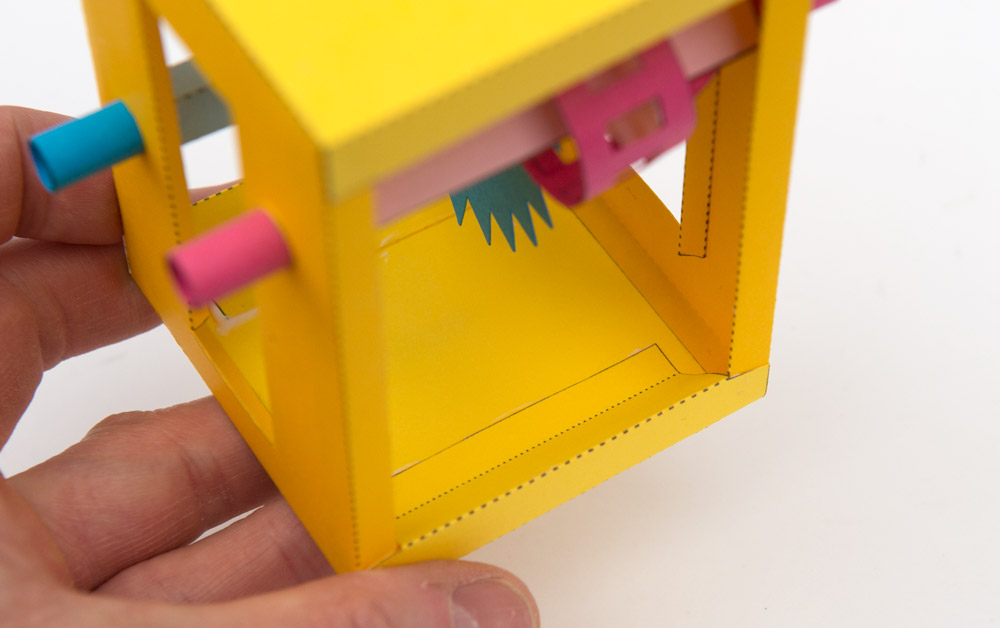
Thread the push rod up through the hole in the box top.

Fit the gear and the pinion into the appropriate holes.
Fold round the parts to close the box.
Fold in and glue down the flaps.
Finish the model by gluing the handle into place.
Ta daa!