This ratchet mechanism is part of the forthcoming Eagle project. Having put it together I think that it could have all sorts of uses in other projects so I’m releasing it now as a standalone download. Paid members can download the parts from the link, thanks for signing up. If you’d like to become a member you can sign up here.
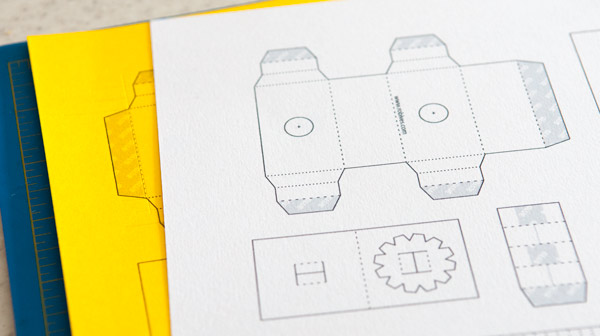
I printed the single parts sheet out twice onto two different colours of thin card (230 micron / 67lb) then cut out some parts from one sheet and some from another.
Score along the dotted and dashed lines, cut out the holes with a sharp knife then carefully cut out the parts.
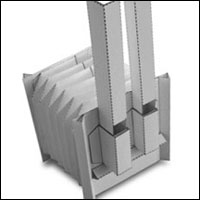
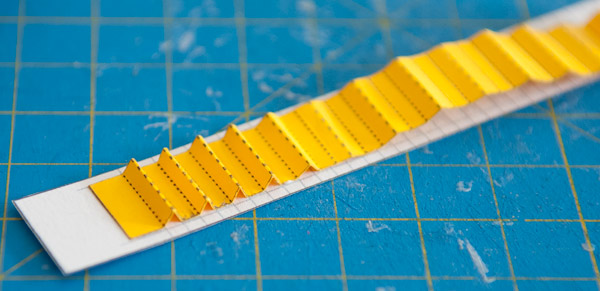
Pre-crease the folds on the rack teeth strip then glue them into place. Glue the grey glue areas and grey lines to help with alignment.
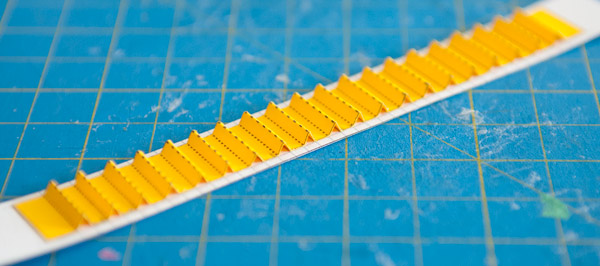
The completed rack strip.
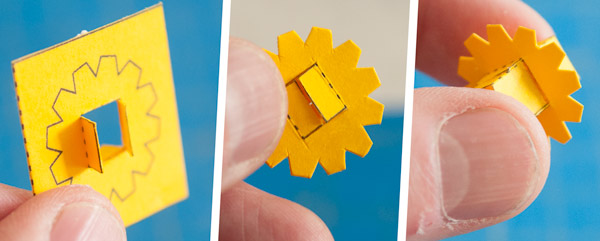
 The pinion wheel is made from a regular twenty four sided shape each side 3mm long. Every other side it marked with a 3mm equilateral triangle. The triangles are cut away leaving the pinion wheel perfectly matching the rack.
Fold over the pinion wheel part and glue it together to make double thickness card. Cut out the pinion wheel then glue in the pinion centre.
Fold over and glue down the box ends.
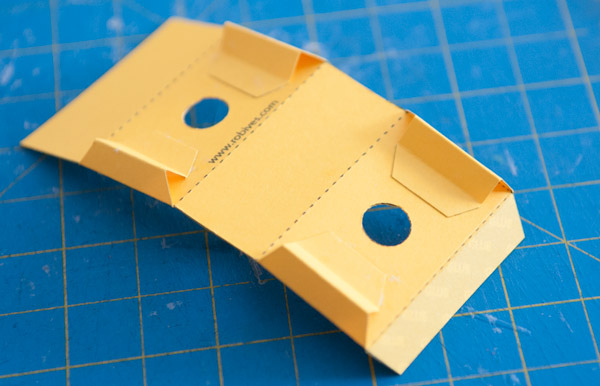
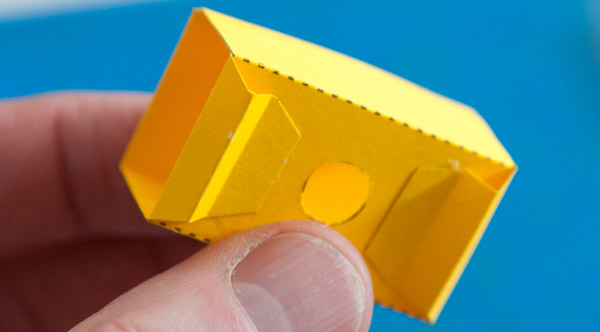
Fold round and glue together the box.
Roll up and glue down the axle tube using the grey areas and triangles for accurate alignment.

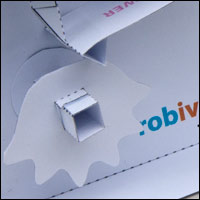
This is how the pinion fits against the rack.

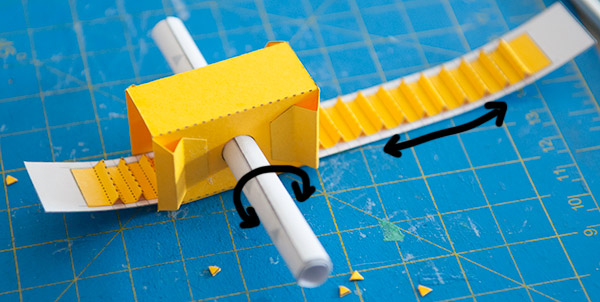
Hold the pinion into place in the box then push the axle through. The pinion should be fixed to the axle and the axle itself should turn freely inside the box.

Thread the rack into place. Move it back and forth to turn the pinion wheel. As mentioned, this mechanism will be at the centre of the upcoming Eagle project. It will also be handy for all sorts of projects where you need to convert from rotary to linear motion or from linear to rotary. I hope you find it useful!