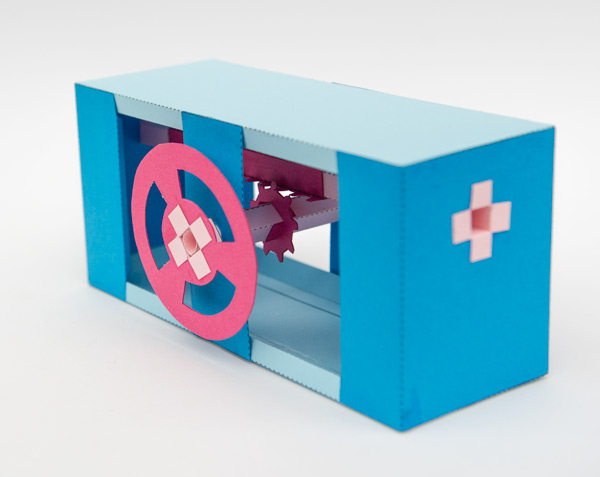
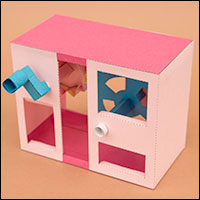
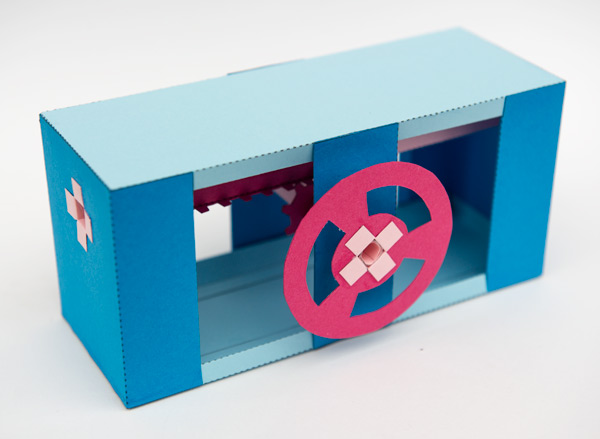
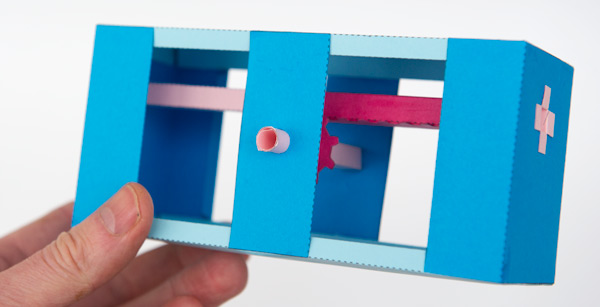
Rack and Pinion, an Essential Mechanism to download and make. As the pinion turns the rack moves back and forth. Make this model as as exercise in pure mechanism or as the starting point for your own paper animation characters. The mechanism converts rotary motion of the crank wheel at the front of the box to straight line motion of the rack. You could use it to move a car across the box top, have a tortoise extend its neck out of its shell or perhaps make a frog with an extendible tongue! You can see an animation of the rack and pinion here
Members and patrons can download the model for free, thanks for signing up! Non members can join in the fun for £2.50 at the link above.
Print the three parts sheets onto thin card (230gsm / 67lb) I used coloured card for a colourful model.
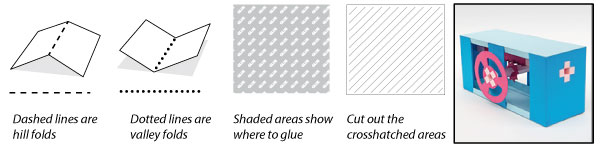
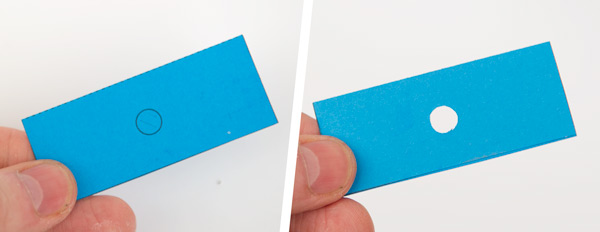
Cut out the holes then score along the dotted and dashed lines before carefully cutting out the parts.
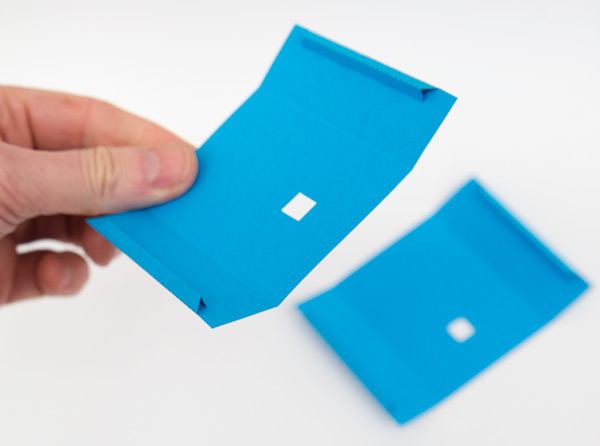
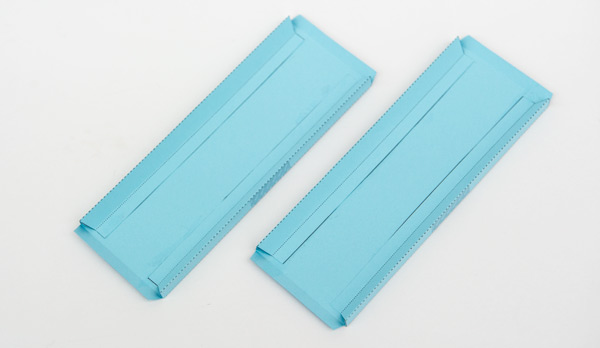
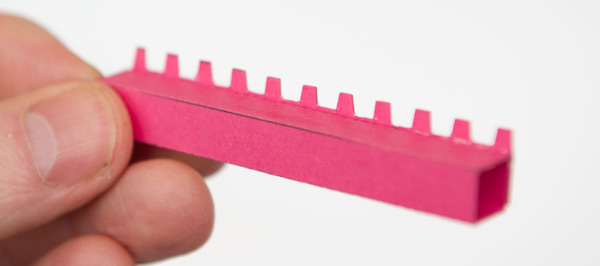
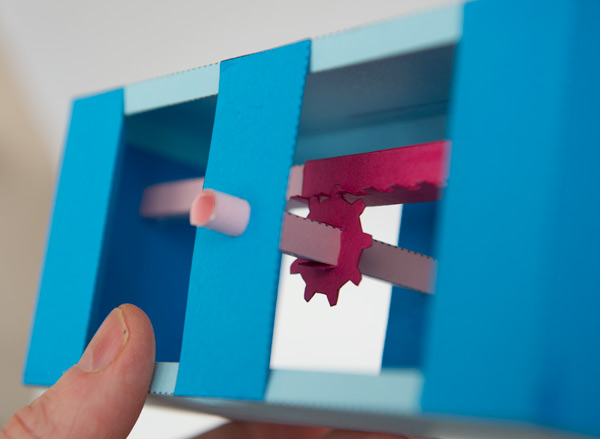
Fold over and glue down the rack to make double thickness card. Once the glue is dry carefully cut out the rack teeth.

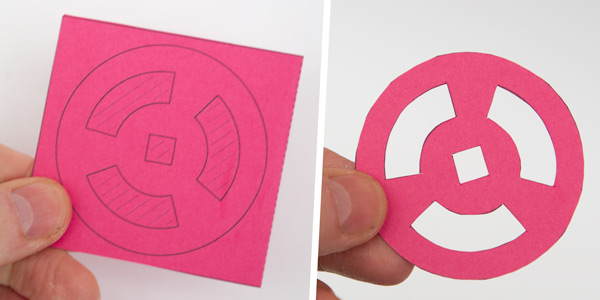
Make the crank wheel from double thickness card.
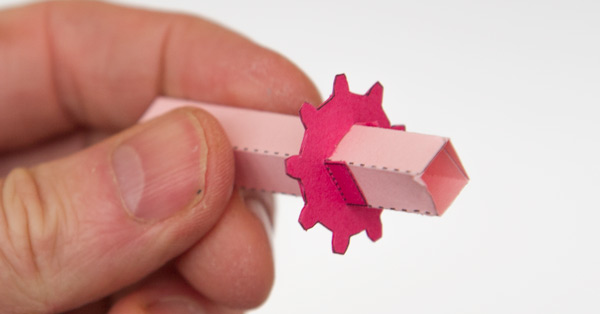
Make the pinion from double thickness card ensuring that the centre tabs are lifted free from the glue.
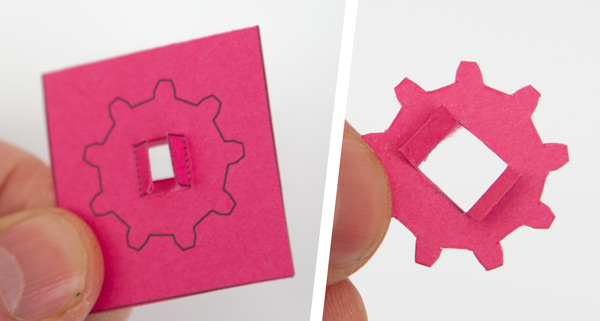
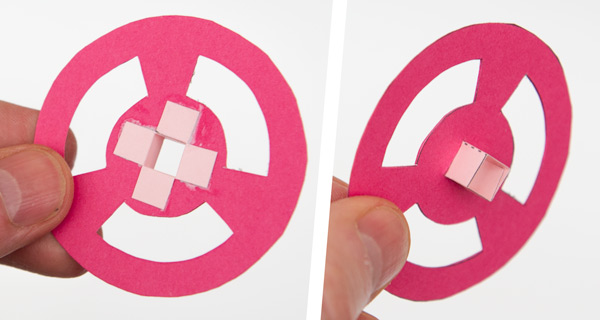
The centre pieces are also made from double thickness card.
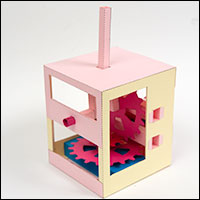
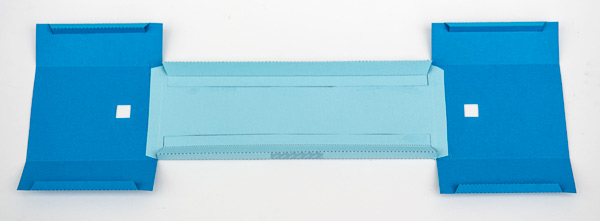
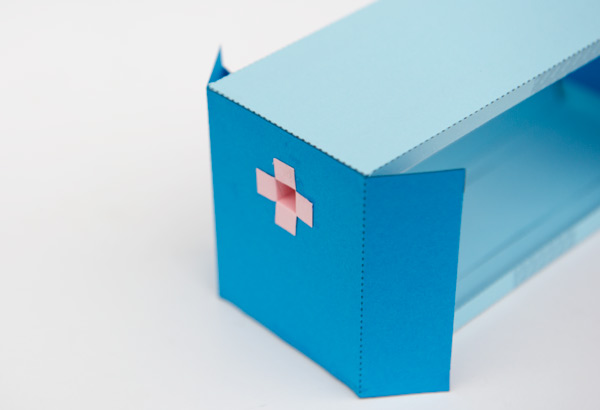
Fold round and glue down the tabs on the box ends making equilateral triangle tubes.
Fold round and glue the tabs on the box top and base making right angled triangle tubes.
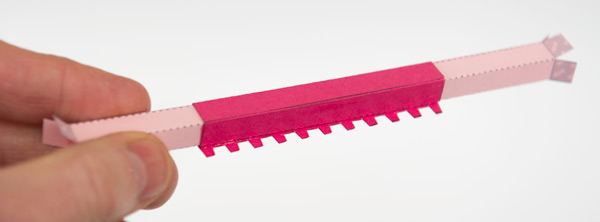
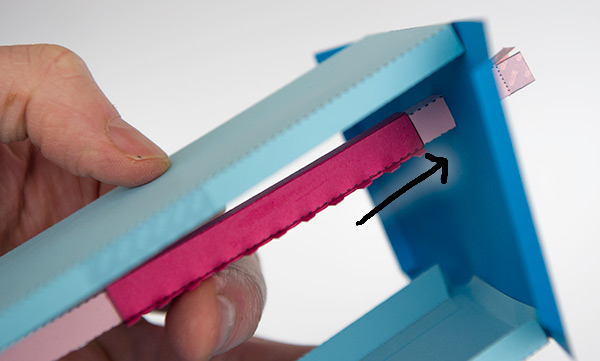
Assemble the rack slider and glue it to the rack.
Thread the rack tube to the slider tube ensuring that it is free to slide up and down the tube.
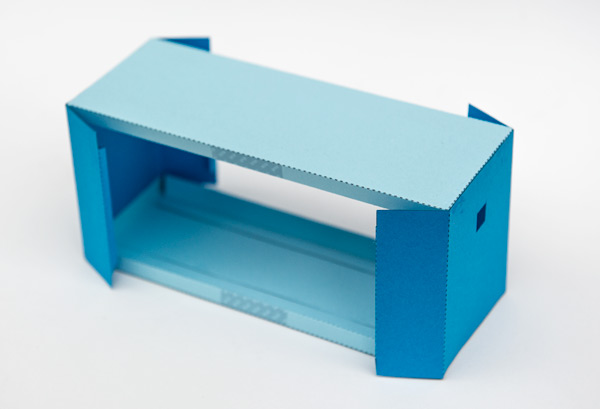
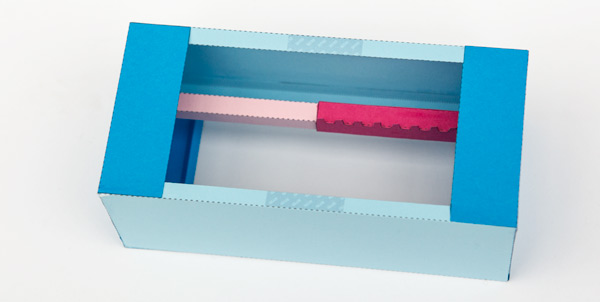
Glue the ends to the top, note the location of the holes in the box ends.
Glue the box base into position but don’t glue the side tabs into position yet.
Thread the slider tube though one of the holes in the box ends. Note that the rack is parallel to and closest to the base.
Thread the other end of the slider tube into the other end of the box.
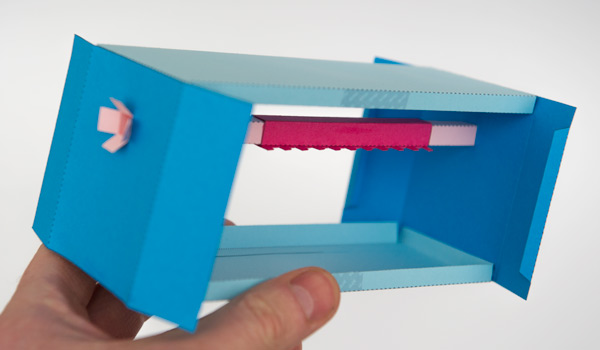
Splay out and glue down the tabs at both ends of the box.
Glue down the box side tabs.
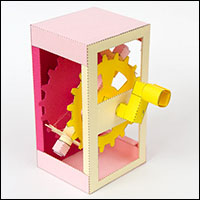
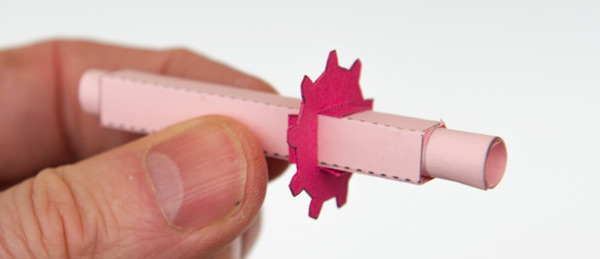
Thread the pinion to the axle outer tube. Don’t glue it into place as you will need to fine tune its position..
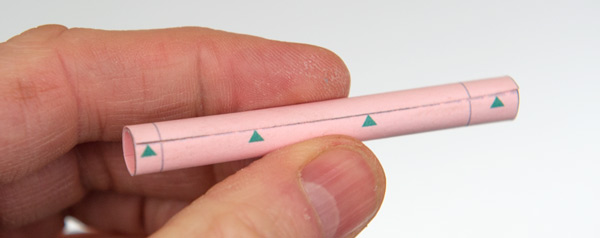
Roll round and glue the axle tube lining up the end as accurately as possible.
Thread the axle inner into place inside the axle outer. No need to glue, friction will hold it in position.
Fit the axle stub into the crank wheel.
Thread the side pieces to the pinion assembly and glue them to the marked areas on the box.
Move the pinion into position on the axle so that it meshes with the rack
Glue the crank wheel into position to complete the project.

Turn the crank wheel and the rack will move back and forth.