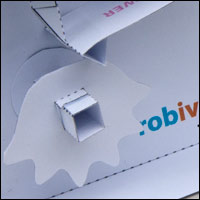
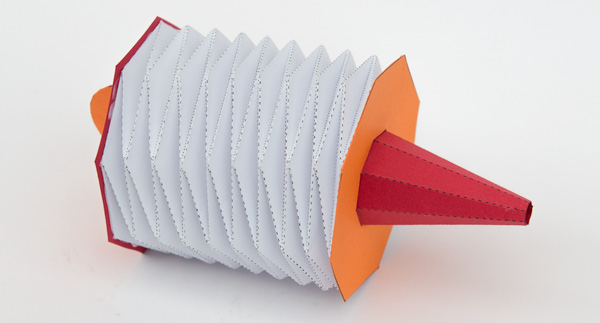
Paper Puffer! Use the paper puffer to clear eraser-dust from your sketch book or for cleaning your camera lenses or a thousand and one other uses requiring you to remove dust form a surface without touching it. Made entirely from paper this hand held air blower is the perfect addition to any artists tool kit. This project is available for everyone to download for free.
If you enjoy this model, check out the robives.com membership. As a member you can download all the hundreds of other projects on the site for free!
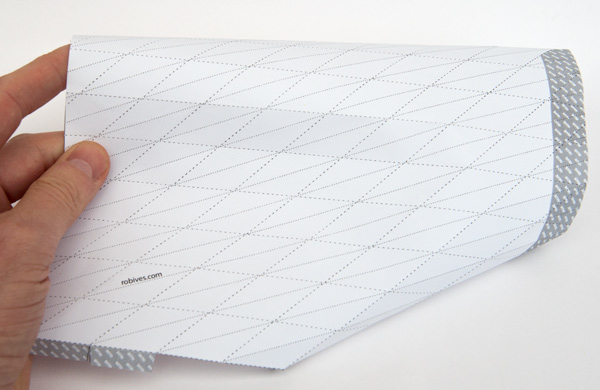
Download the file to your computer and open it. Print out the first page onto thin card. (230 micron / 67lb) I used coloured card for a colourful model.
Print out the second page onto normal printer paper.
Score along the dotted and dashed lines then carefully cut out the parts.
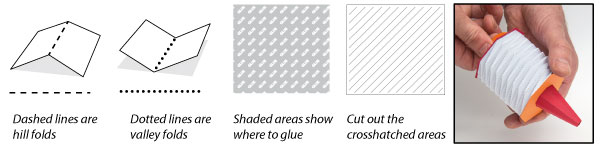
Making the bellows is the tricky part. Lets get this out of the way! Pre-crease all the dotted and dashed lines before you start assembly.
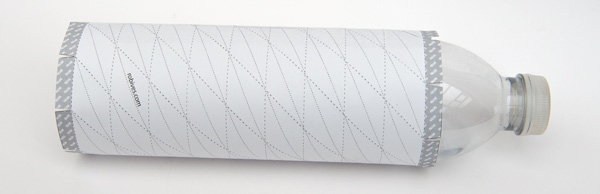
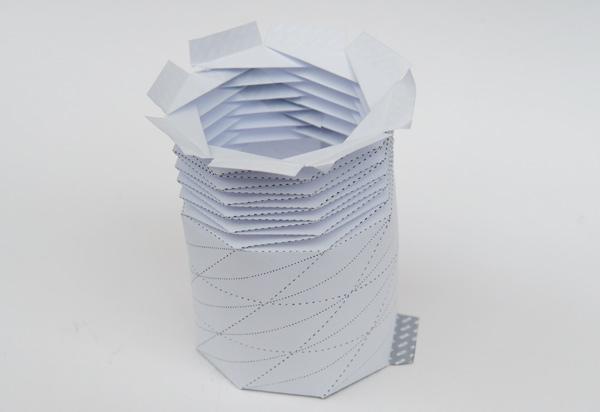
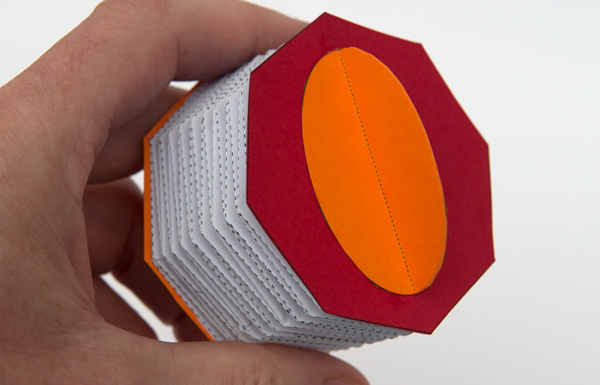
Roll the bellows round a suitably sized plastic bottle with the tabs at the ends. Glue the bellows into a tube carefully lining up the end.
Starting from one end work your way round folding down one layer at a time.
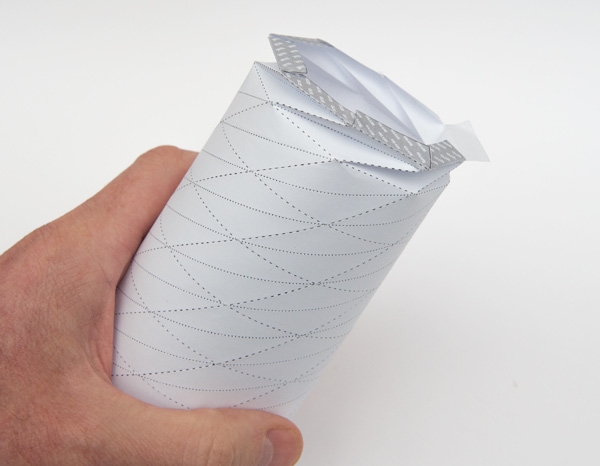
Keep going one layer as a time…
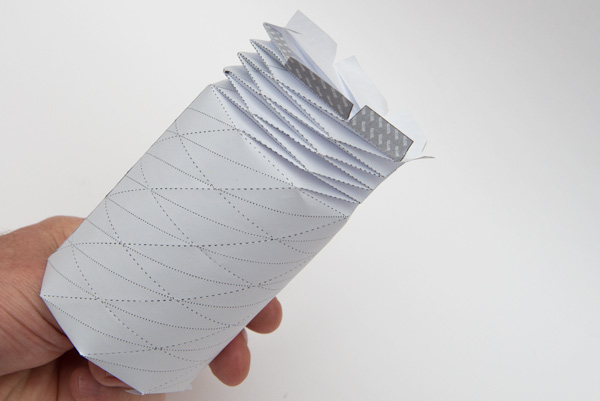
…all the way down…
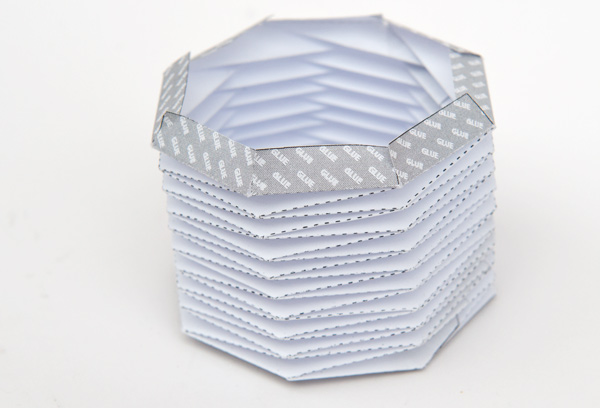
…until the bellows are folded. Well done!
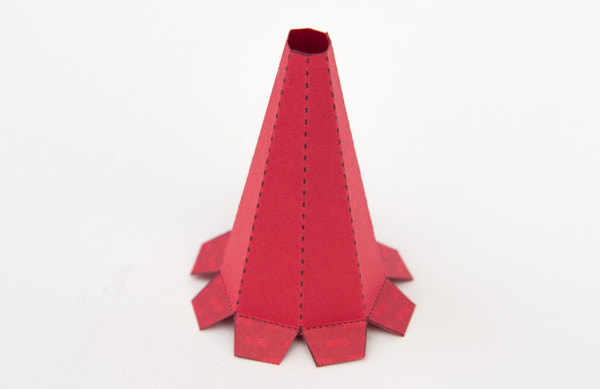
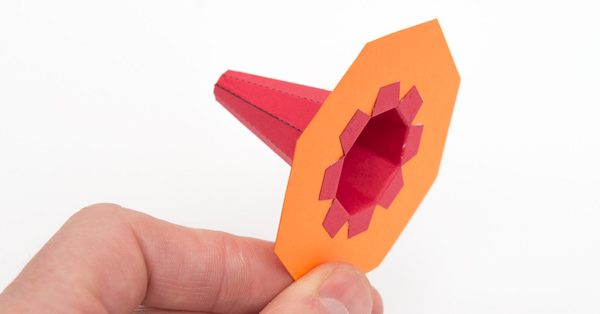
The rest is easy 🙂 Fold round and glue down the nozzle.
Fold over the handle piece as shown to make double thickness card.
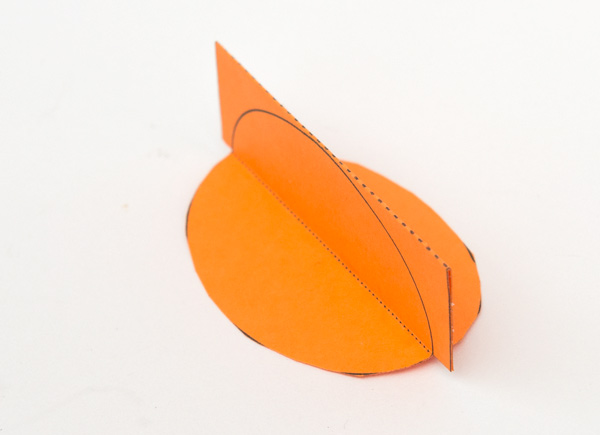
Fold over the two ends to make double thickness card. Set aside until the glue is dry.
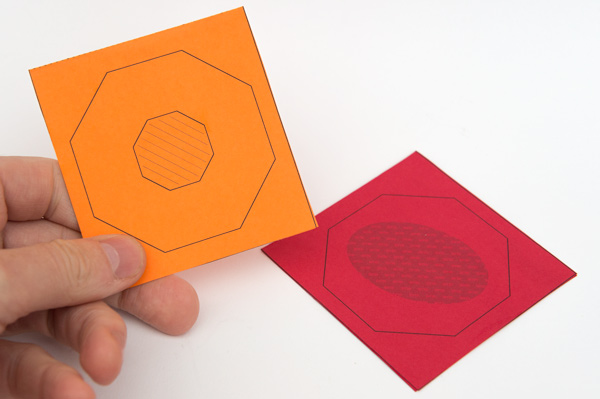
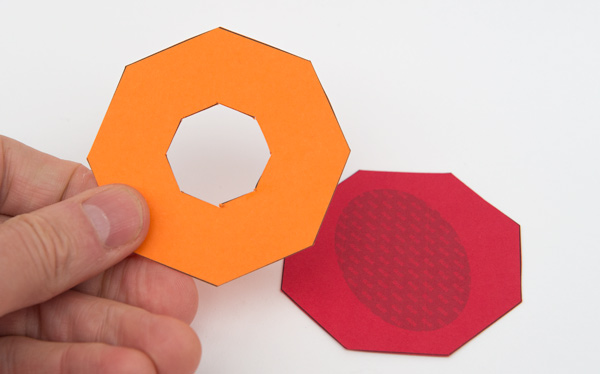
Cut out the two ends as shown.
Cut out the handle and glue it into place on the back piece.
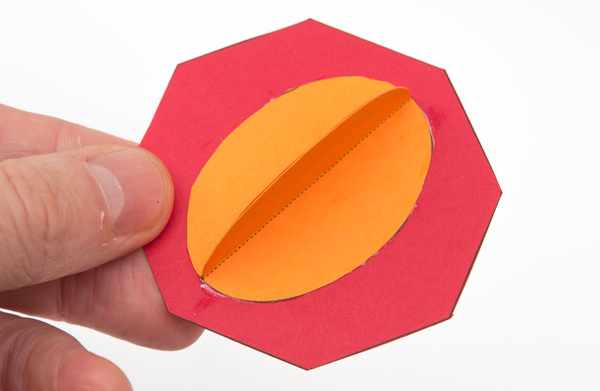
Glue the nozzle into the front piece as shown.
Glue the bellows to the front piece.

Finish off the puffer by gluing on the rear piece.
Pump the bellows to blow away any unwanted dust!