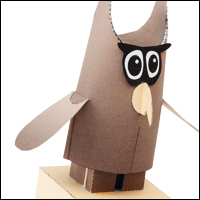
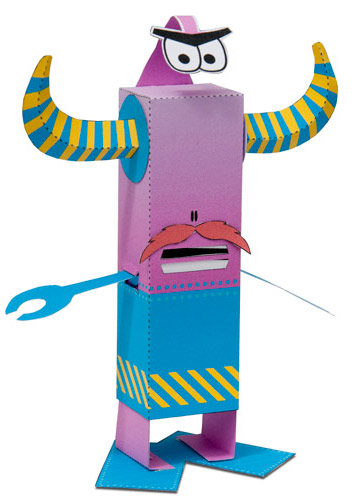
The Odd Bot is a quick to build fun project that uses moire interference patterns to make the mouth appear to flicker. Lift the model up and down and the robo-lips quiver while the arms rise and fall!
Members can download the file of parts at the bottom of this post. Enjoy!
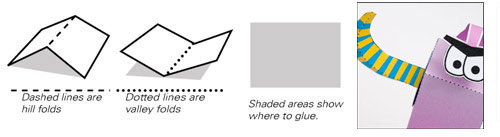
The model comes in two versions, coloured and line-only. For both models you will need two sheets of thin card. I use 230 micron board. You’ll also need a single sheet of standard printer paper. The coloured version is printed on both sides. For each coloured sheet, print one side, flip the card over and return it to the printer to print the second side. Score the dotted lines and cut out the solid black lines. Carefully and accurately cut out the parts as you need them.
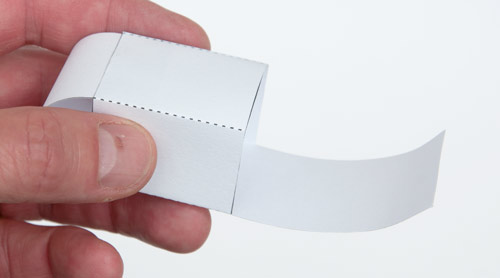
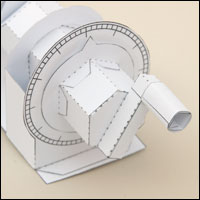
Fold round the core to make a square tube. Curl the two long flaps. Carefully tuck one end of the long flap in and glue it into place using the grey lines for alignment…
…repeat with the second long flap to make this oval shaped core.
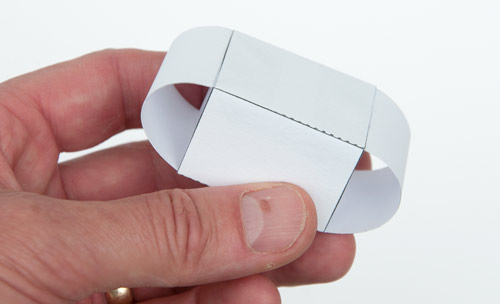
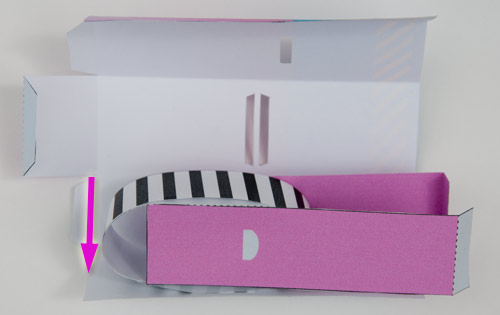
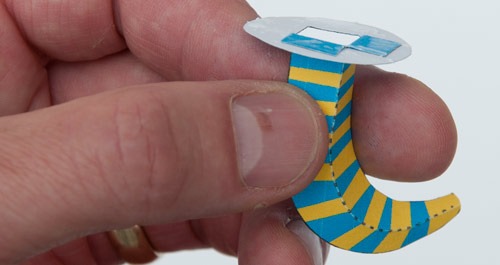
Wrap the paper belt round the core as shown and glue it down. The belt must be free to roll round the core so make sure that there is no glue on the back of it.
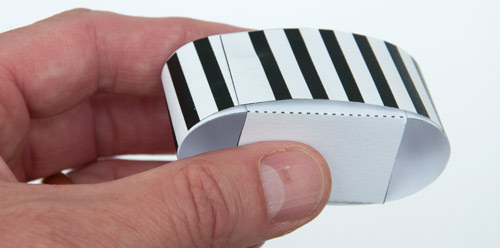
Glue on the two legs as shown above, lining up the top of the legs with the edge of the core.
Roll the belt round so that the edge is lined up with the lower edge of the core as shown.
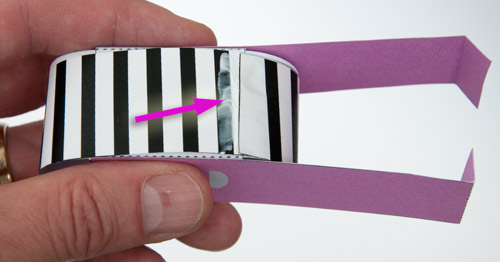
Spread a thin line of glue across the belt in the position shown.
With the top of the belt lined up with the top of the box (arrowed) press the thin line of glue down to the belt so that the whole assembly it is in the middle of the back of the grey box face.
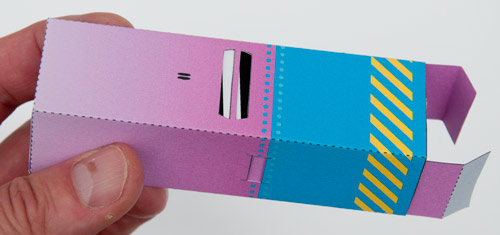
Fold round the body and glue it down. Glue the body lid into place. The legs must be free to move up and down so be careful with your glue!
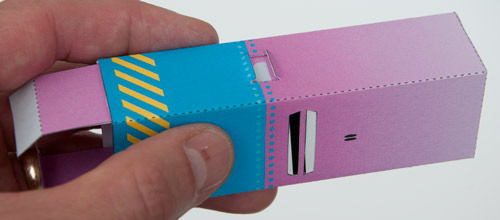
Pull the legs until you can see the semicircular grey area through the arm holes.
Carefully glue each of the arms into place on the core making sure not to get glue on the body
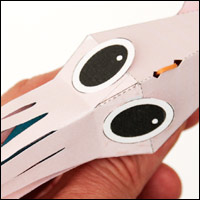
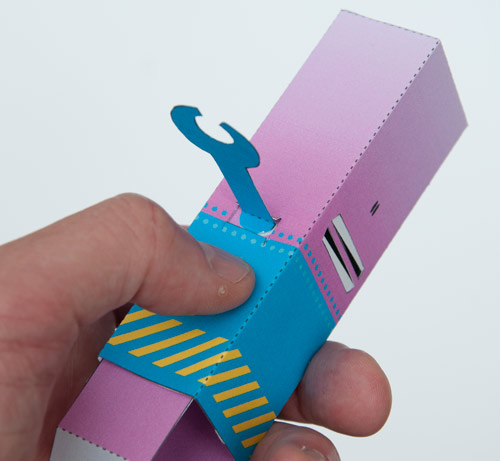
Fold each of the horns fold along the curved score line to make a pleasing 3D effect. Thread each of the horns through the holes in the washer then glue them into place on the body using the picture below as an alignment guide.
Curve the eye stalk round and glue the end to the back of the body. Complete the model by gluing on the ‘tache and the feet.
Once the glue is dry move the body up and down for a pleasing optical effect! How odd is that!?
If you are member you can download the file of parts below. Just make sure you are logged in.