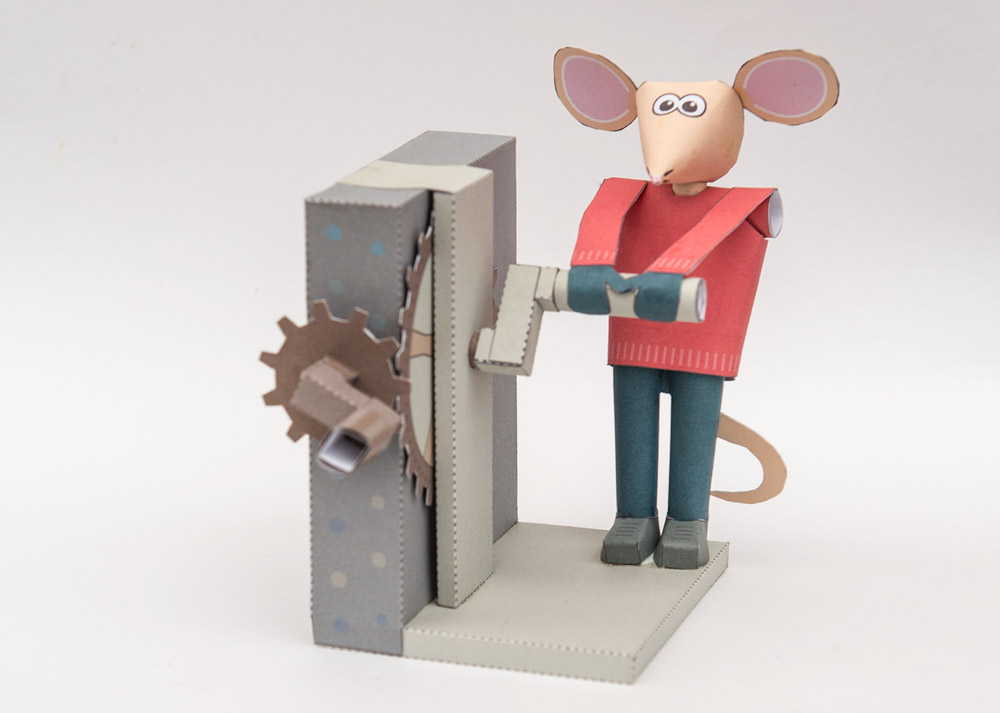
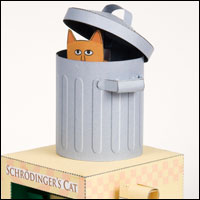
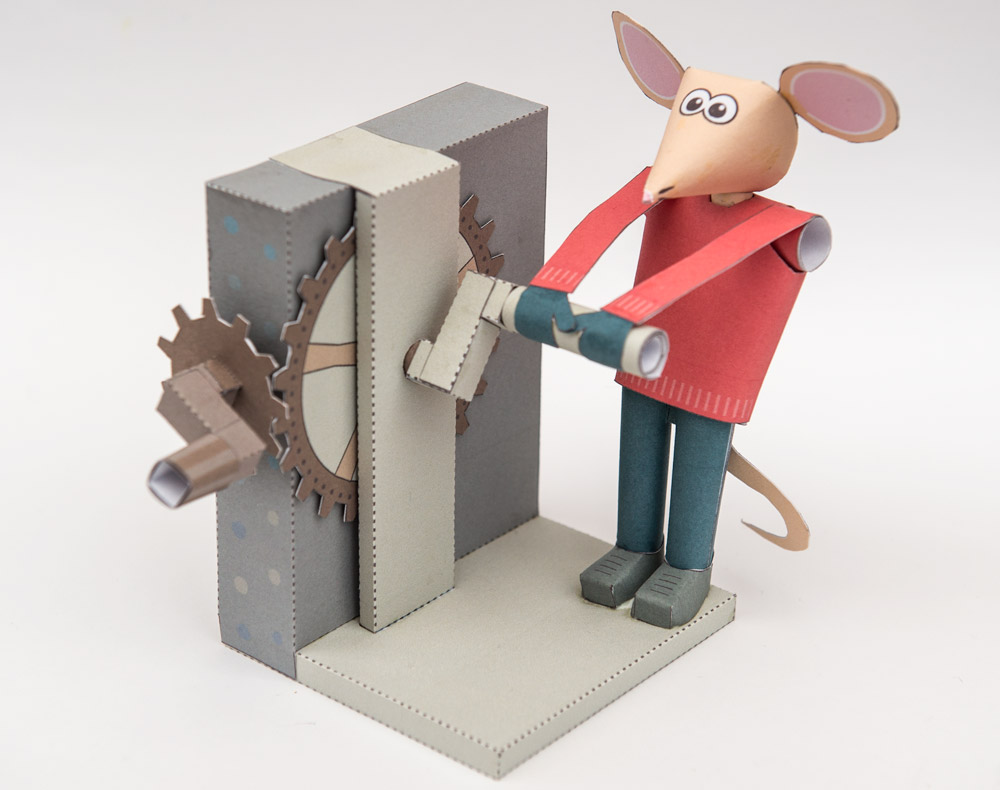
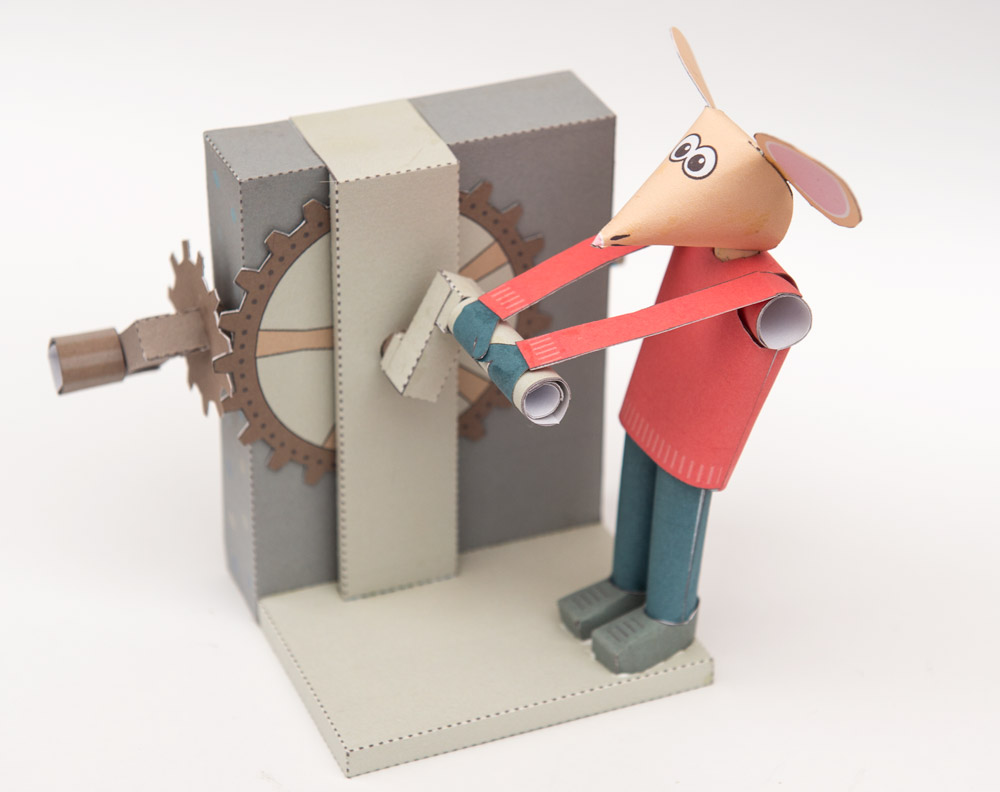
Mouse Machine, a paper animation kit to download and make. Turn the handle and mouse cranks his handle; or is it the other way round? Either way, members and patrons can download the model for free at the link. Non-members can join in the fun for $3.75/£2.50
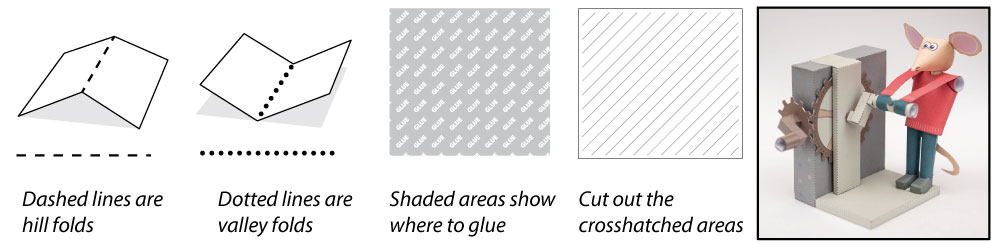
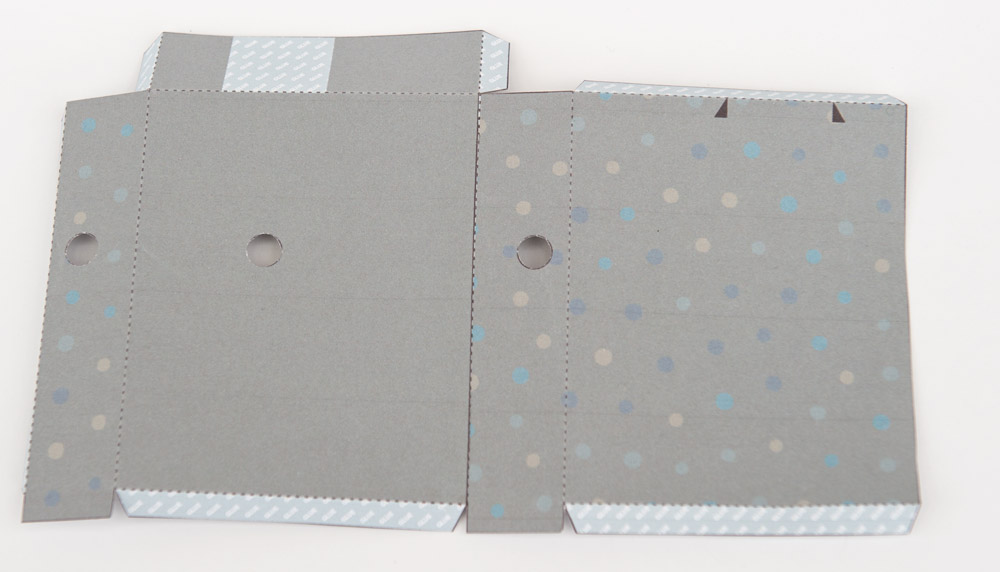
Print out the parts onto thin card (230 micron / 67lb) Score along the dotted and dashed lines, cut out the holes then carefully cut out the pieces.
Several of the pieces are made from double thickness card. Fold them over and glue them down before carefully cutting them out.
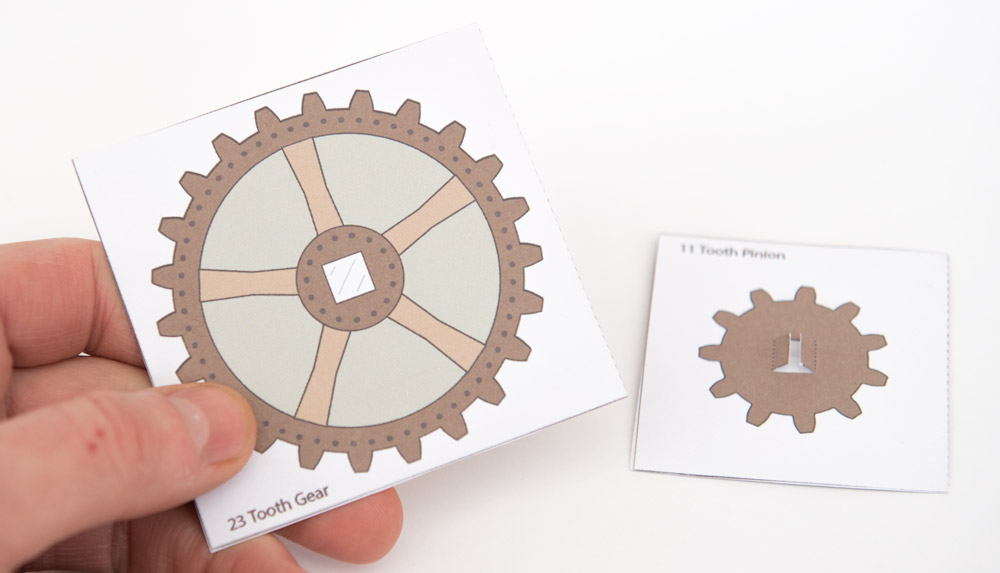
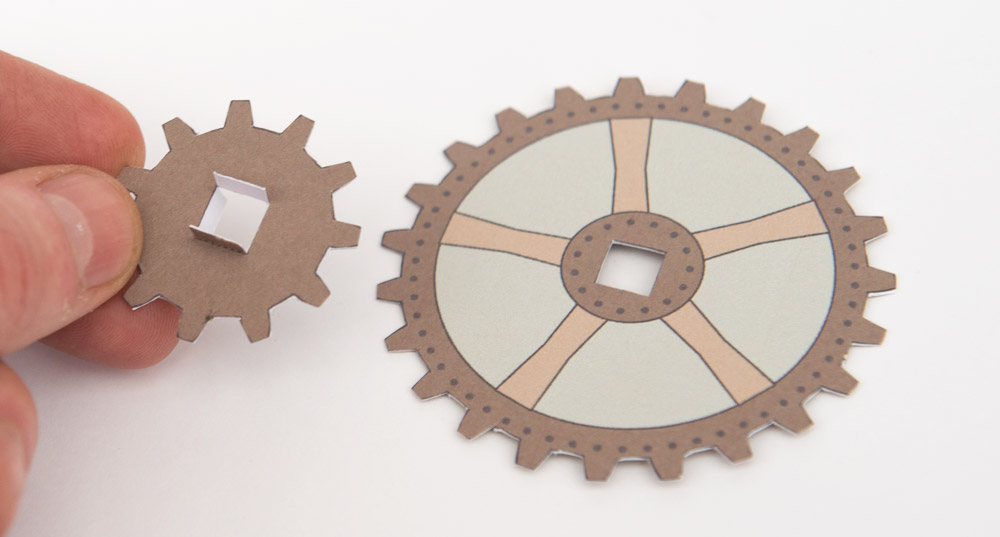
Start by making the gears from double thickness card.
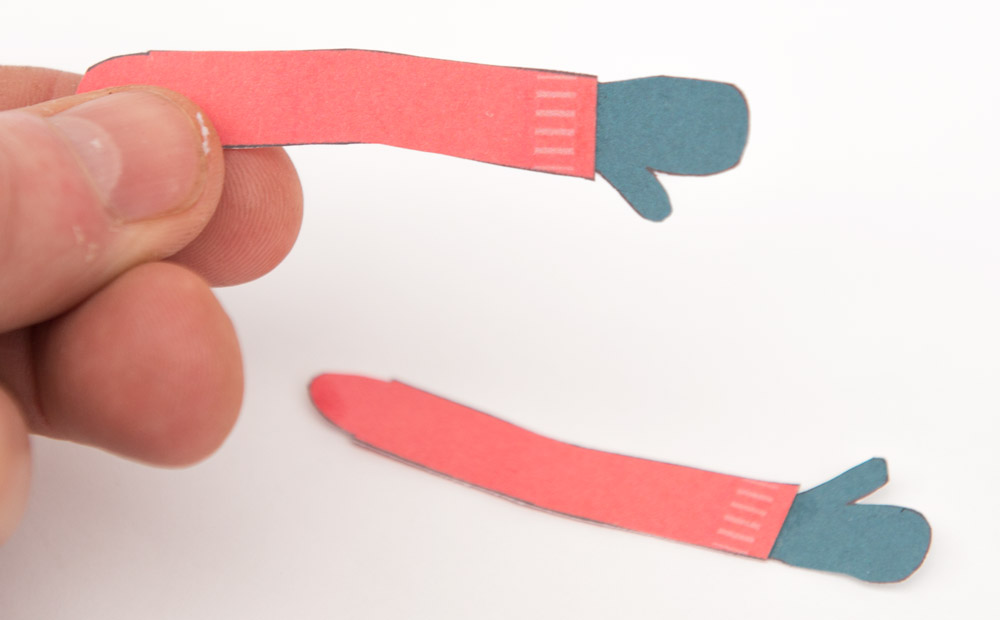
The arms need the hands inserting before they are glued down.
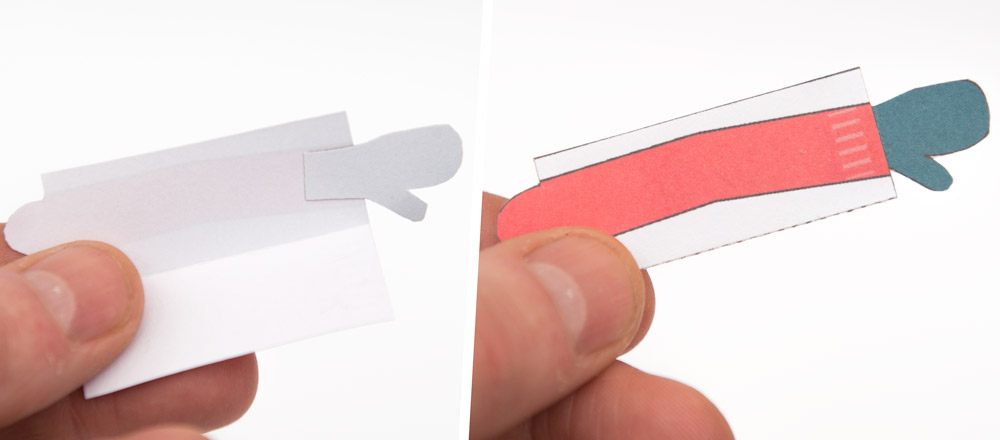
Once the glue is dry, cut them out.
Roll up the various tubes and glue them down lining up the edges carefully.
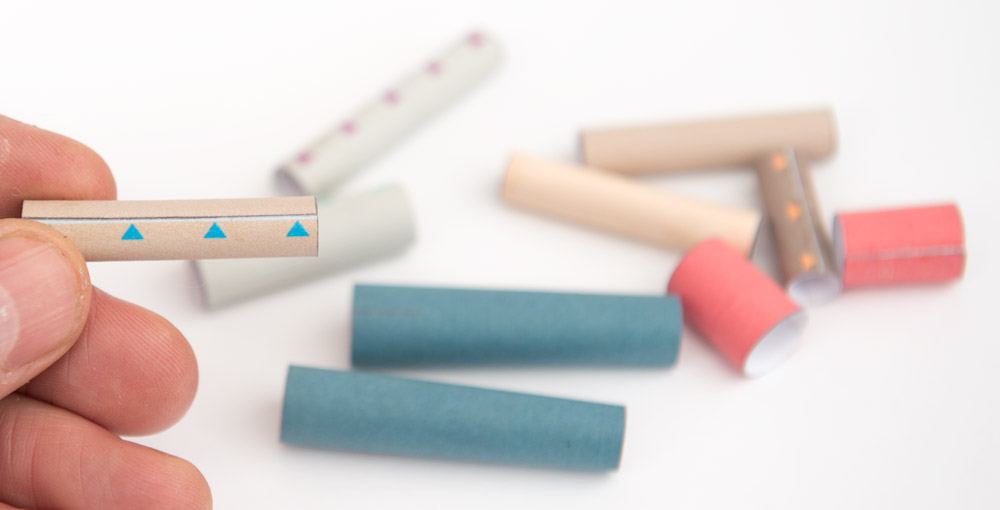
Glue one of the pinion axle tubes into the square pinion axle.

Assemble the handle in three steps.
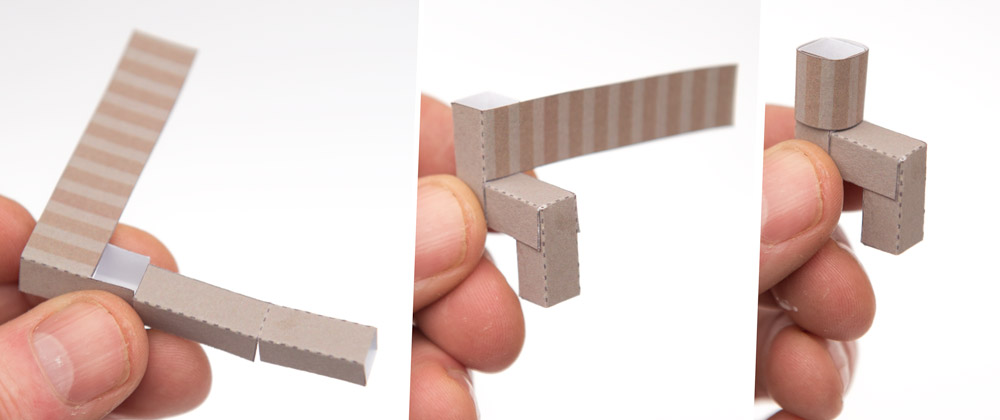
Fit the pinion to the handle lining the edges of the tabs with the end of the handle.

Glue the other pinion axle tube into place
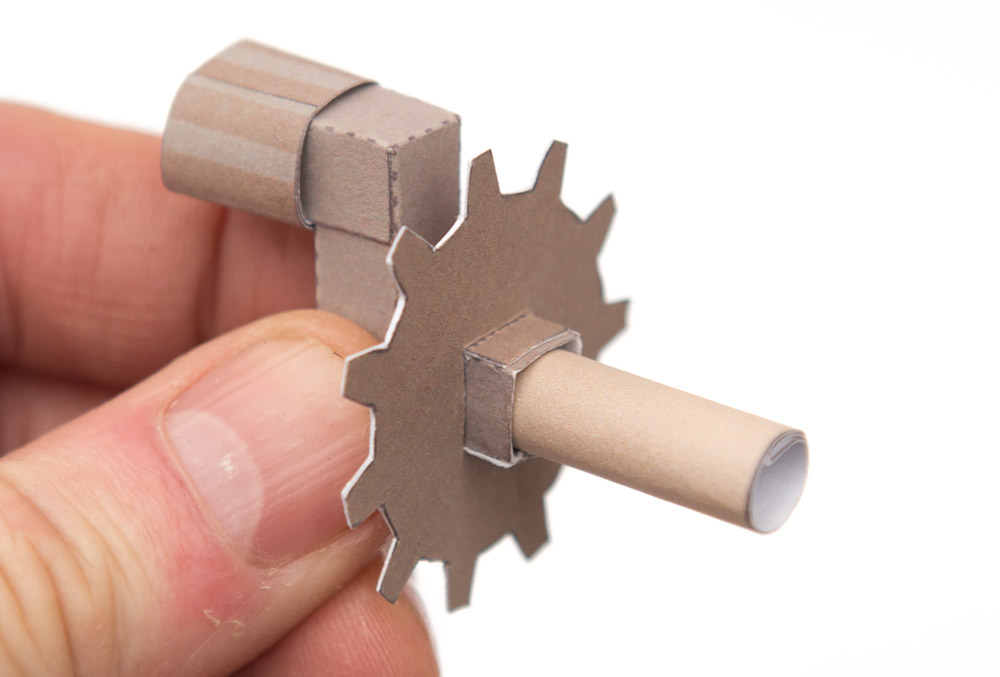
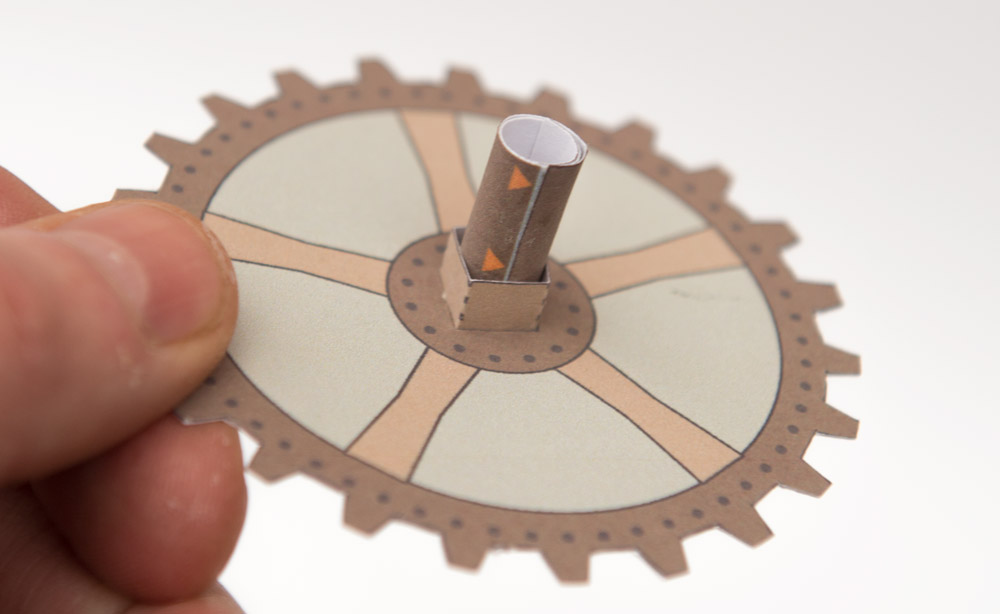
Fit the axle stub into the gear. Fit the gear axle inner into the axle stub so that it protrudes roughly 5mm from the other side of the gear.
Make up the crank.
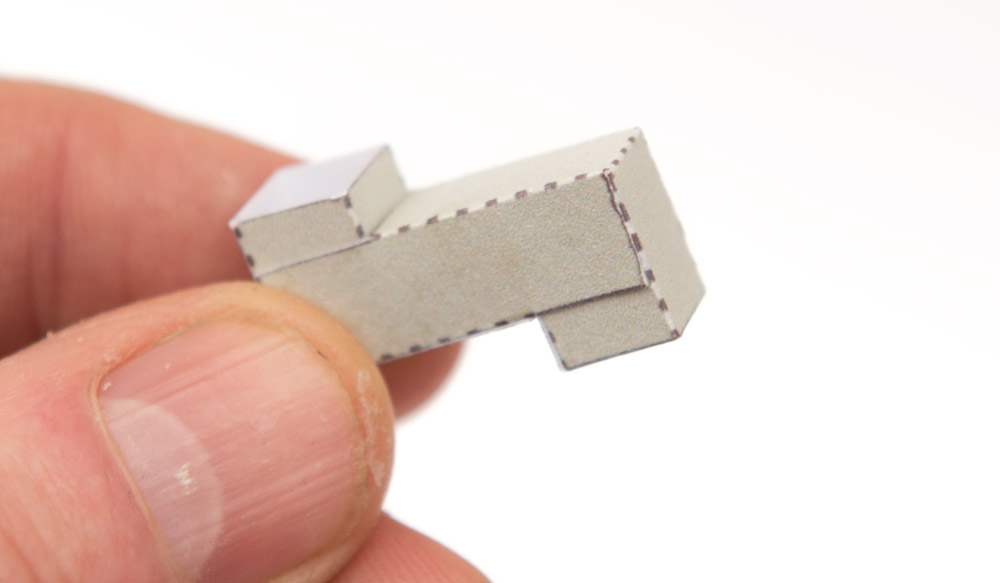
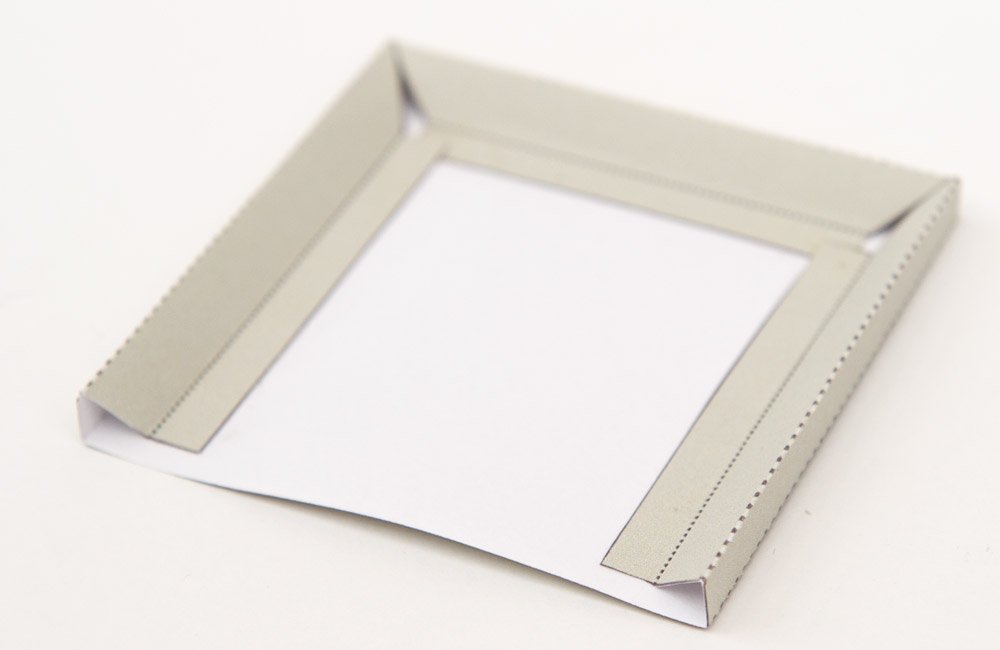
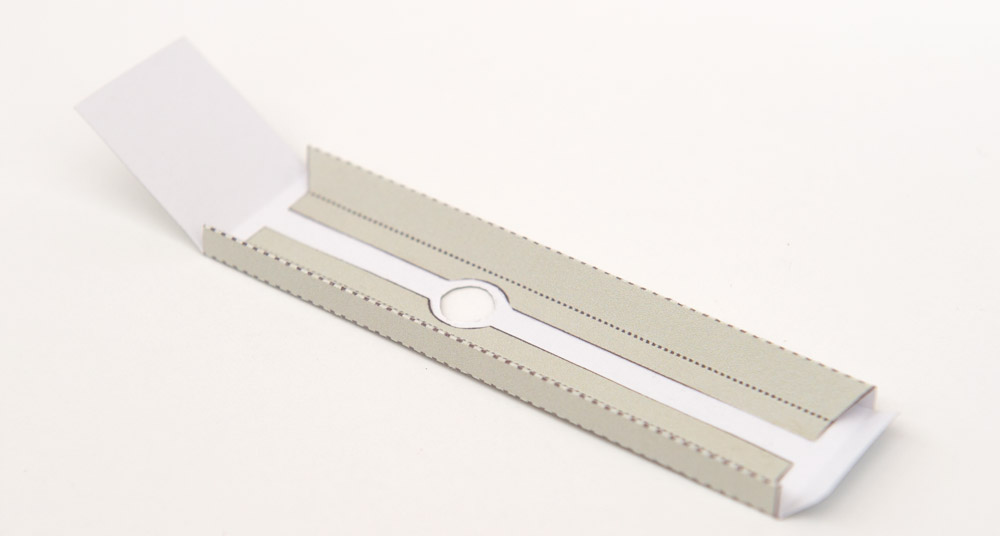
Make the base using right angled triangle tubes as shown.
Make up the gear cover as shown.
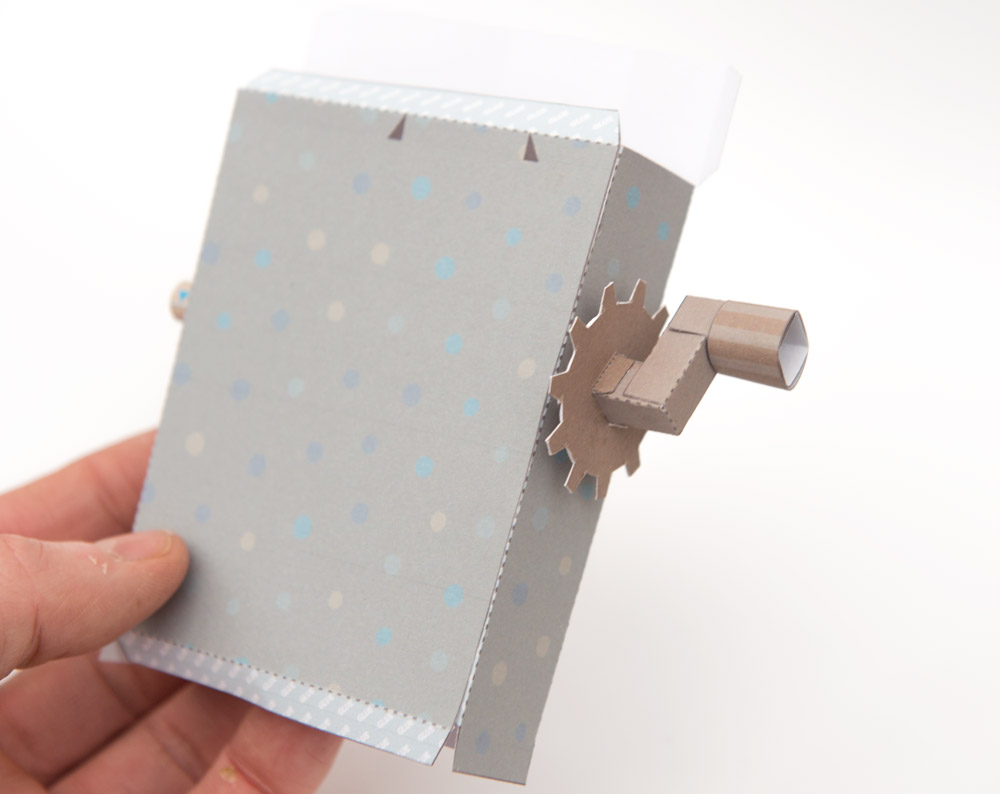
Glue the two box halves together as shown.
Thread the axle into position through the hole in the box side.
Thread the pinion assembly through the other side hole and into the axle tube. A small dot of glue will secure it into position.

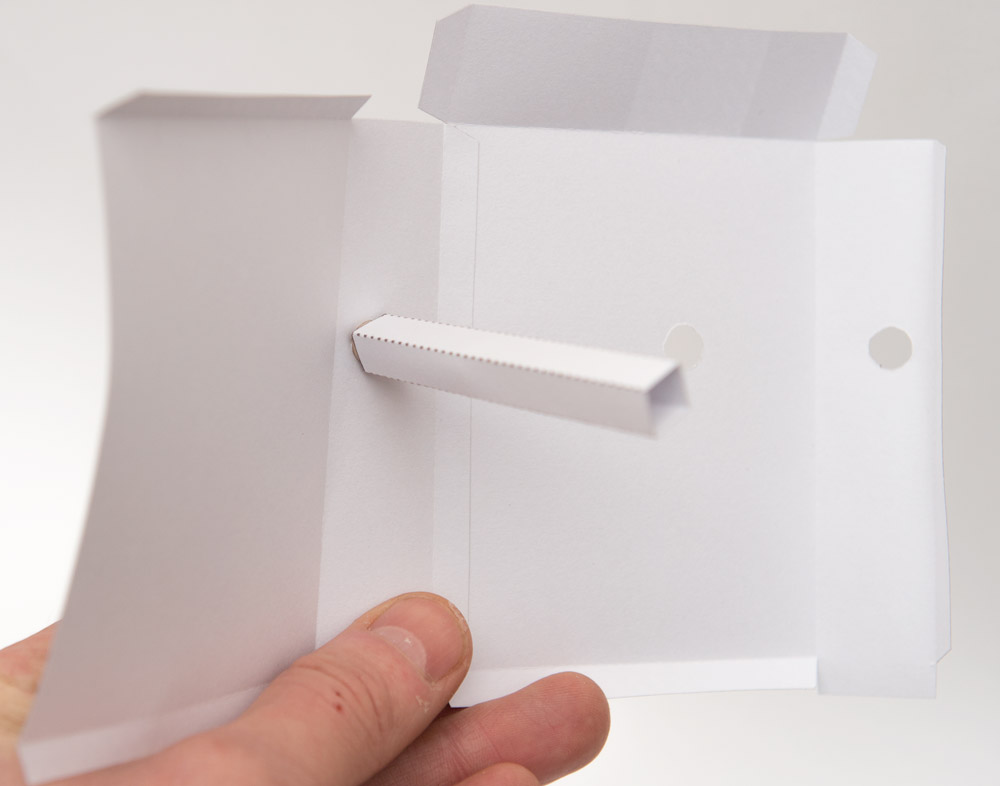
Found the box round and glue it down. Leave the top open for now.
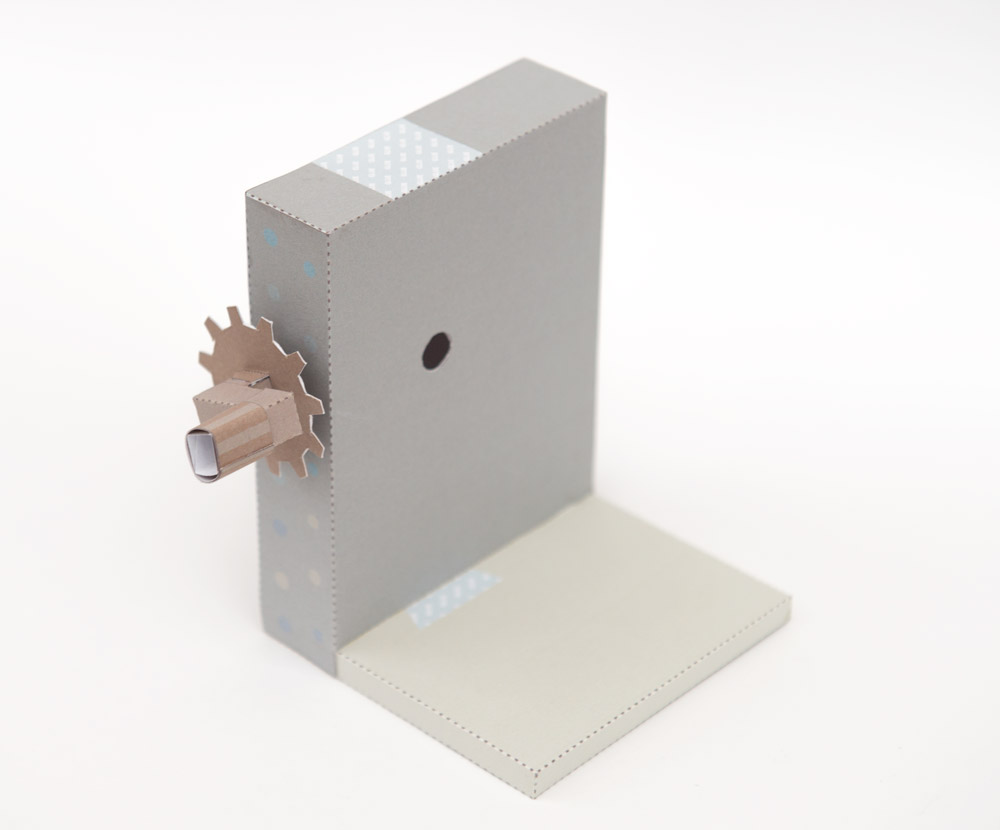
Glue the base onto the tab numbered 1.

Fold the base up and glue it to the number 2 tab.
Glue the box lid down.
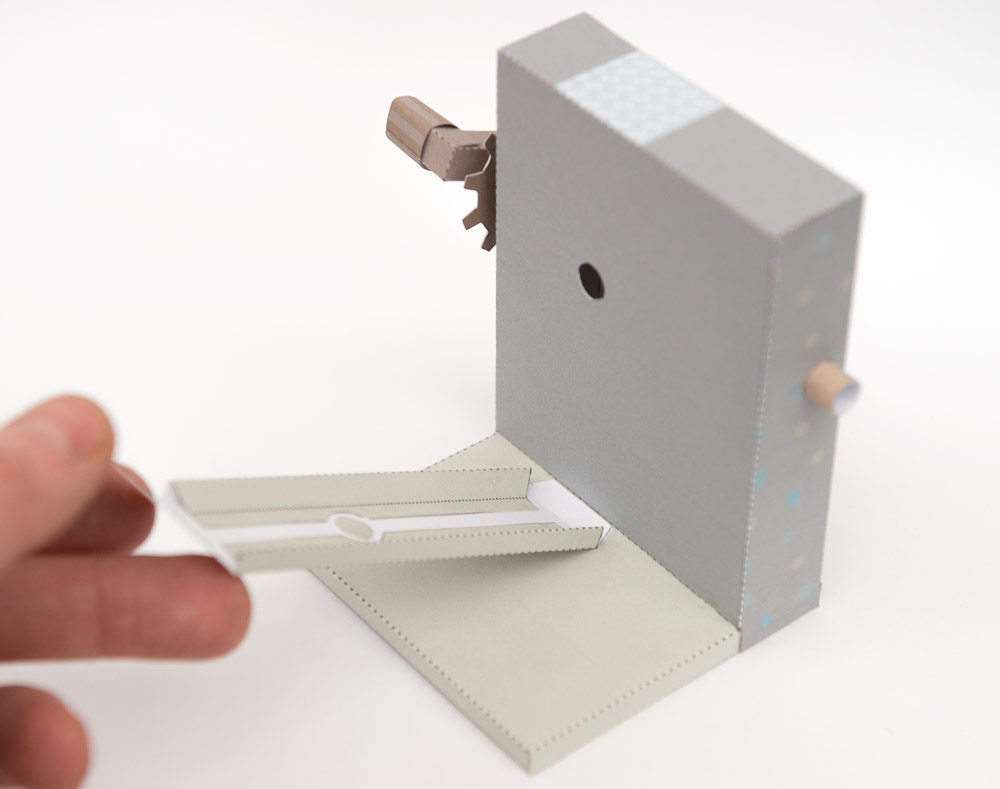
Glue the gear cover tab to the marked area on the base.
Thread the gear into position.

Lift up the gear cover and fit it into place.
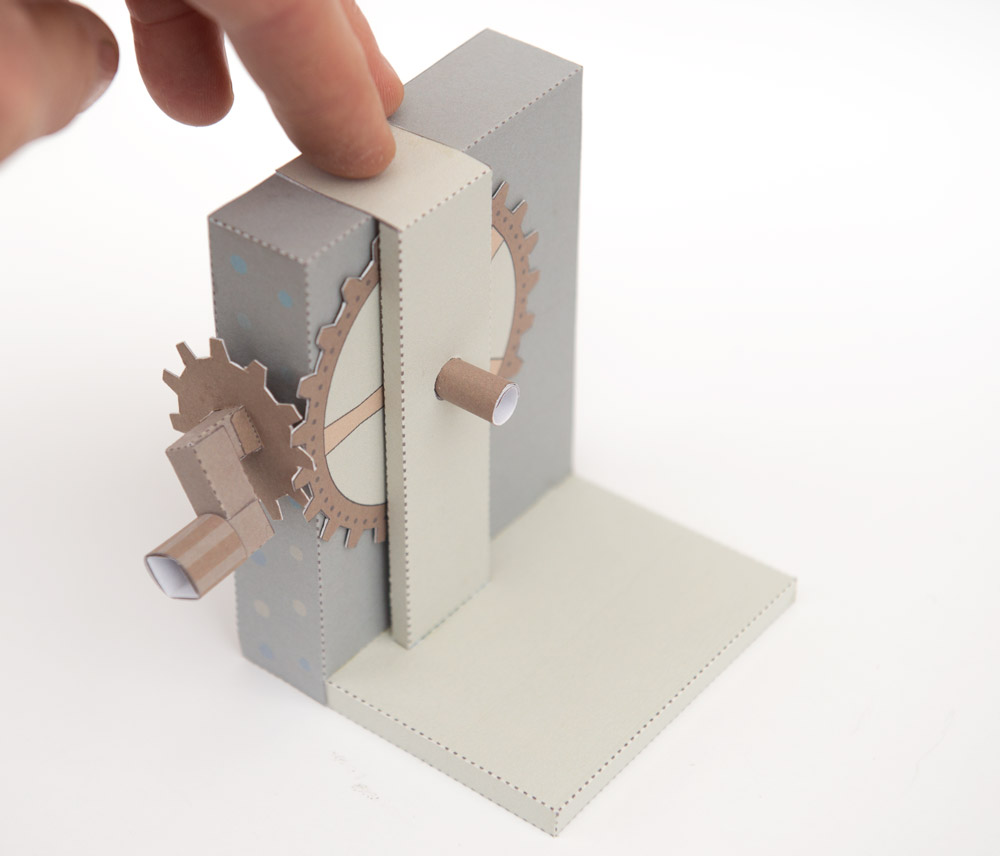
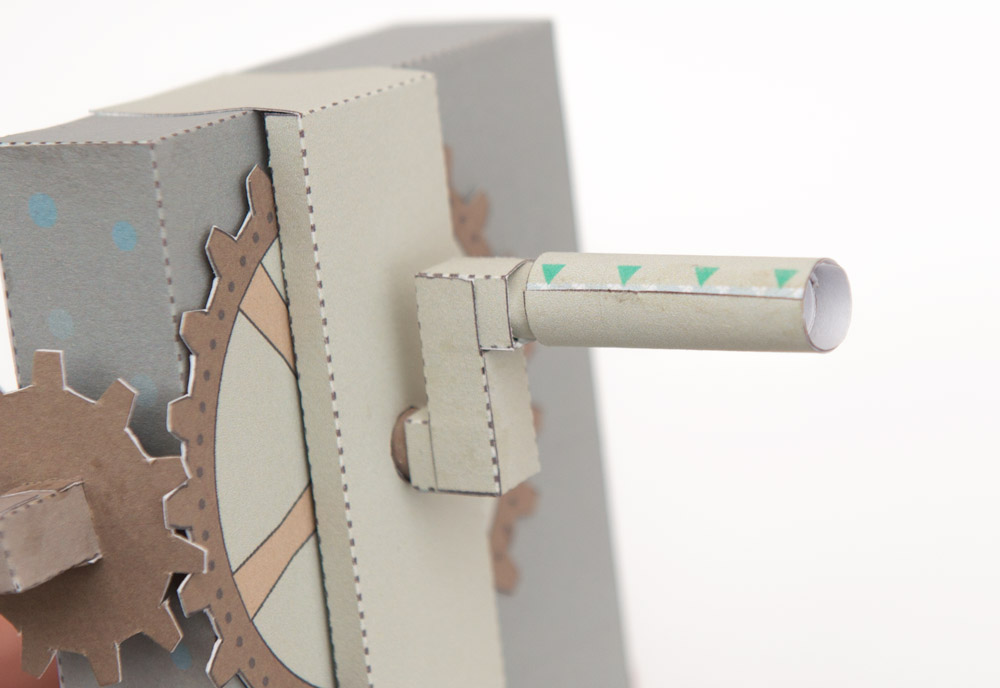
Glue on the crank and the mouse handle.

Thread the mouse handle outer into position. No glue! It must be free to rotate. That completes the machine part.
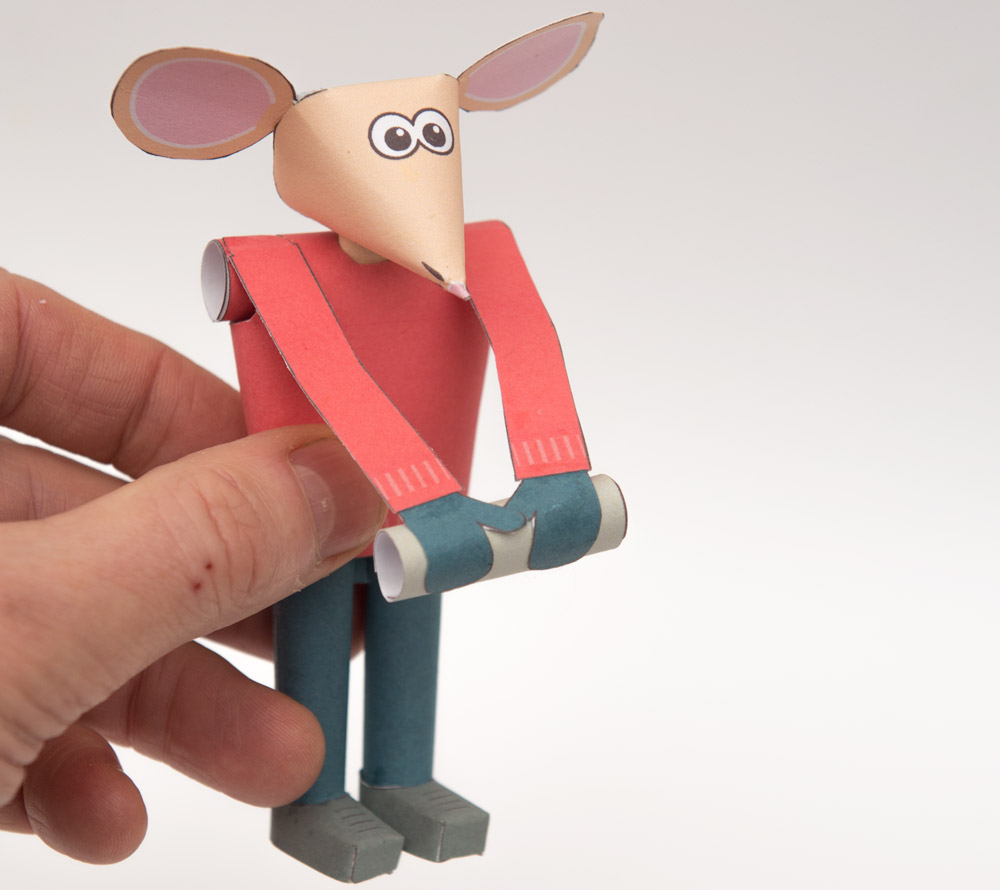
Making the Mouse
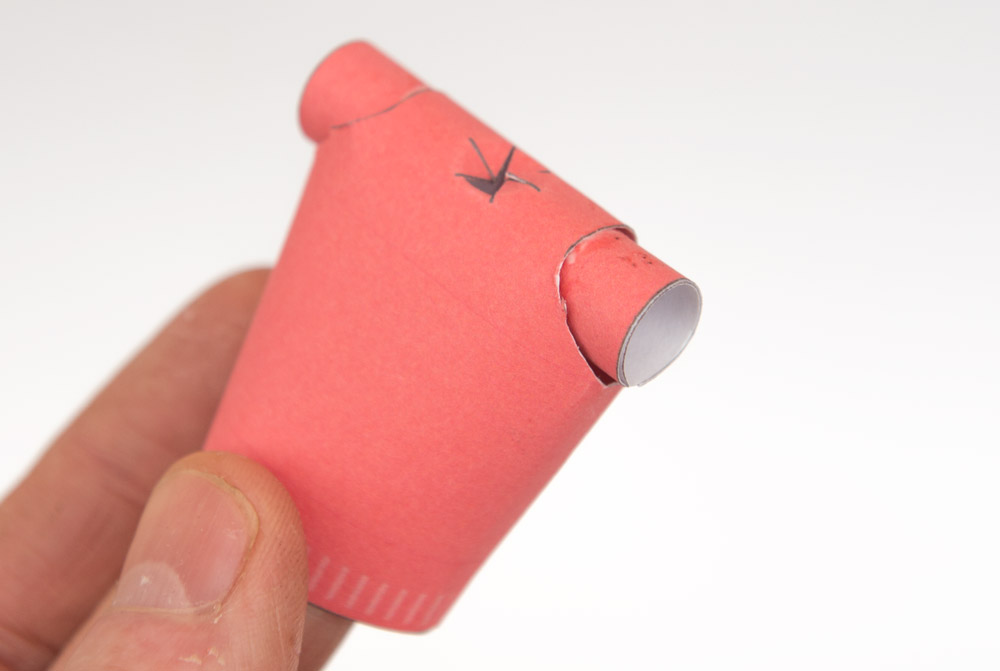
Curve round the glue the body. Glue the two shoulder tubes into position.
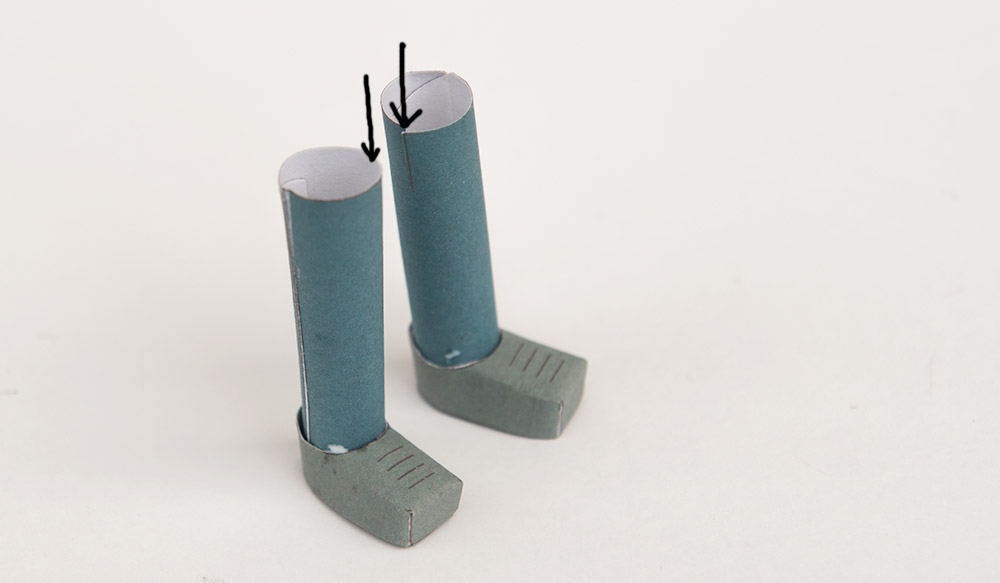
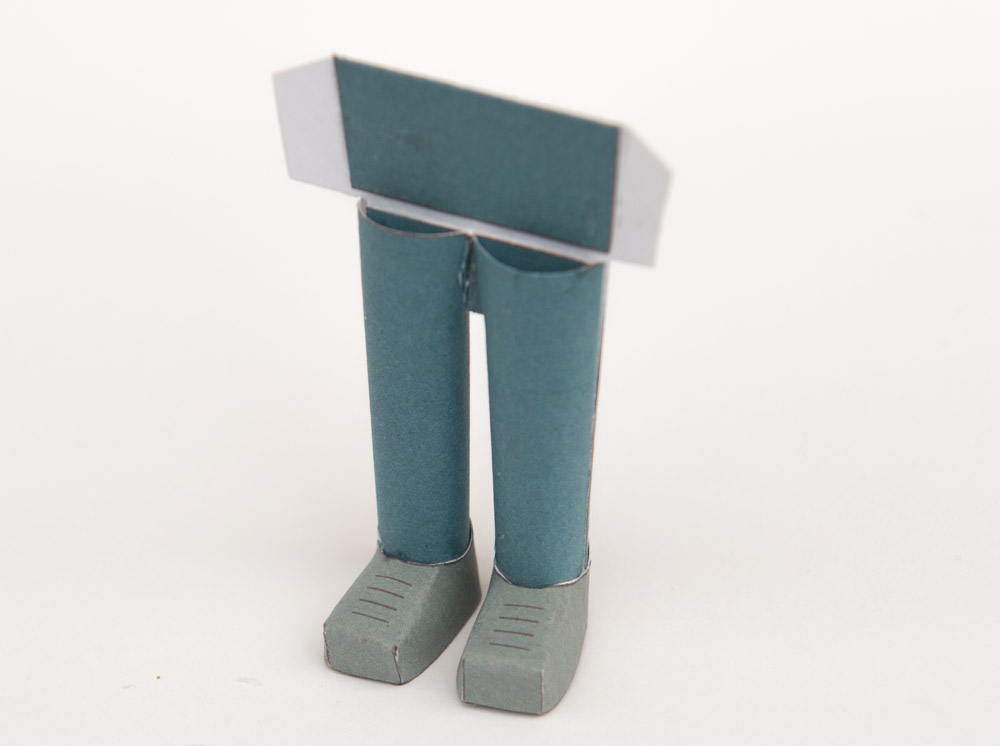
Glue the feet to the legs. Make sure the two slots in the top of the legs (arrowed) are facing each other as shown.
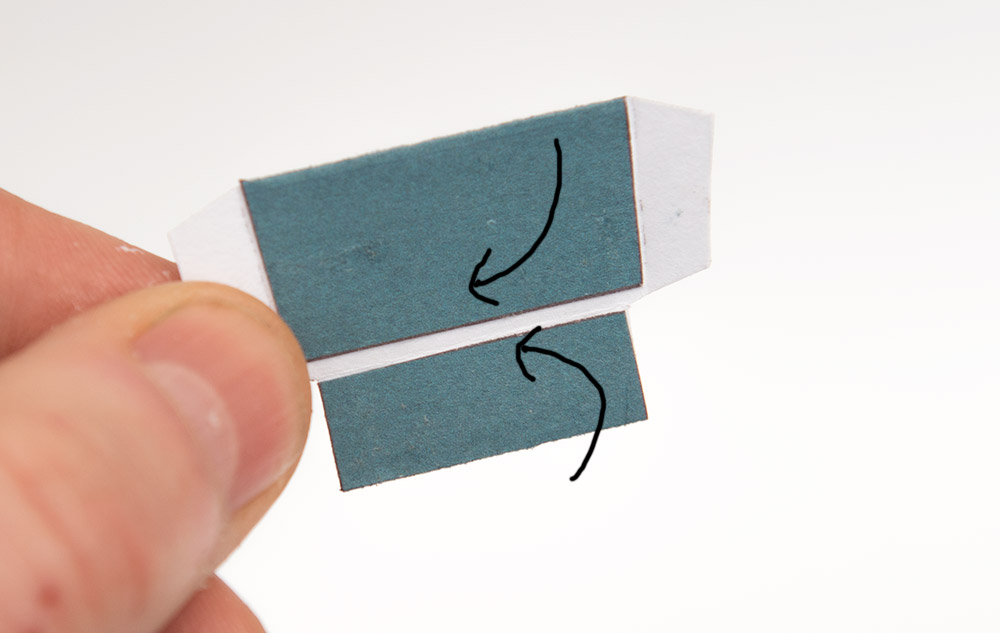
Make up the leg hinge by folding over the flaps and gluing them down.
Fit the hinge into position.
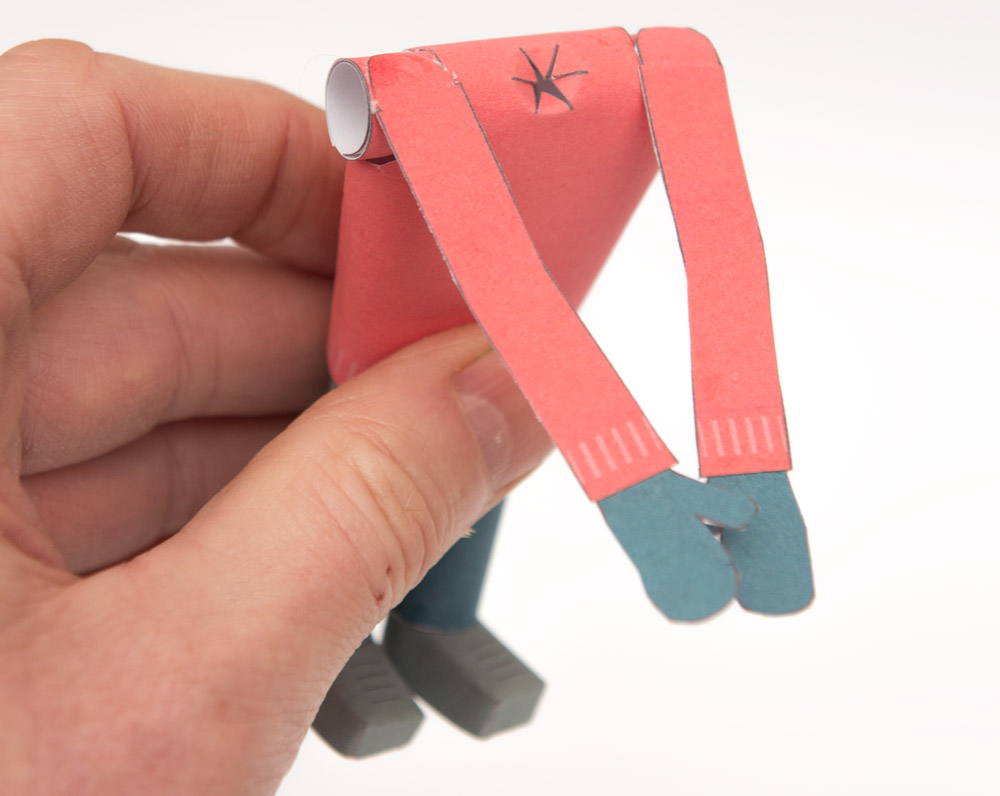
Fit the body to the two tabs on the legs hinge. The body should be free to flex back and forth at the hips.

Glue the arms to the shoulders. The hands should be close together as shown.
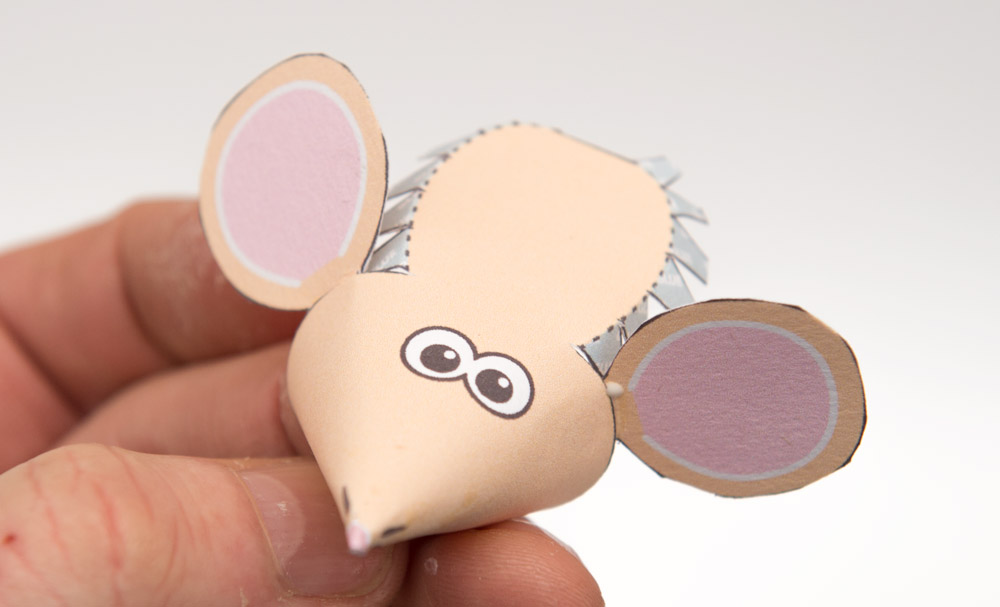
Roll round the head to make a cone as shown.

Glue the ears into the inside of the head.
Glue the neck to the neck end then glue the neck to the inside back of the head.
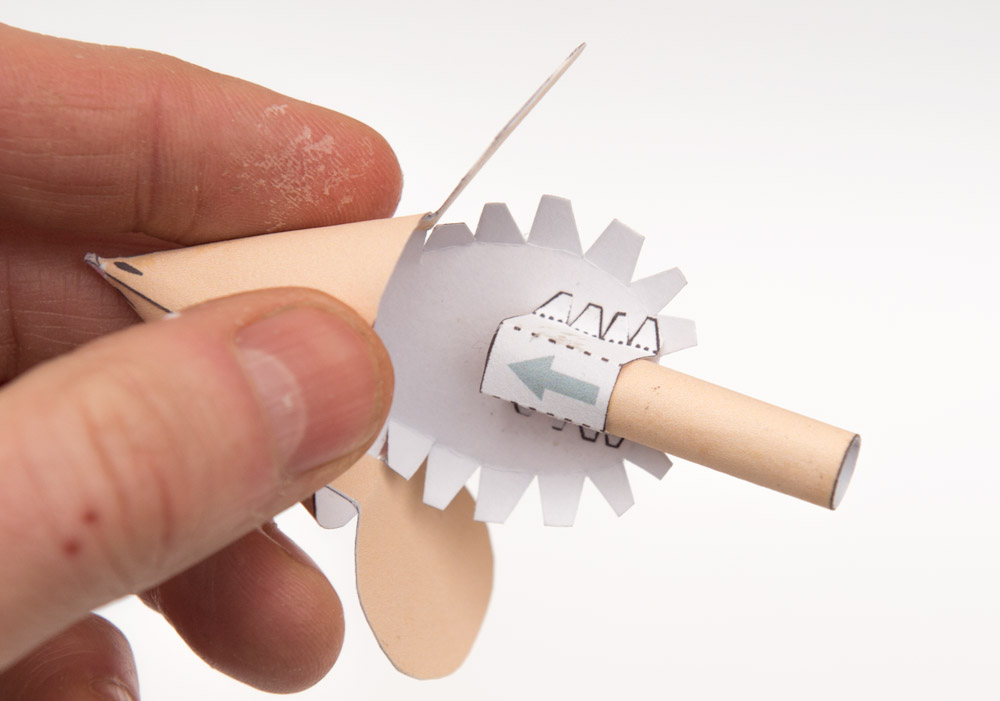
Fit the head into the body. Glue the hands to the mouse handle outer.
Thread the mouse handle outer back into place on the mouse handle then glue the feet to the base.
Finish off the model by gluing on the tail.

Turn the handle to crank the mouse, or for the mouse to turn you…