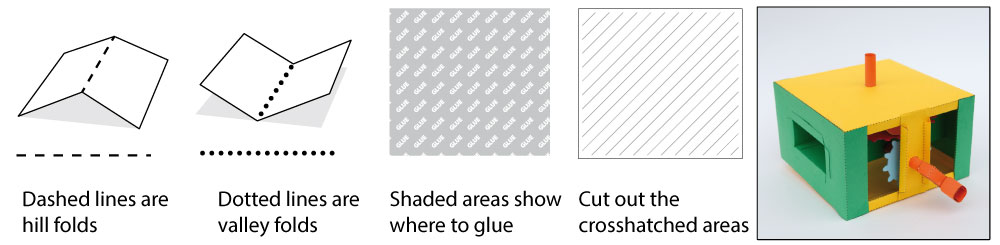
This project is part of the Gears Collection
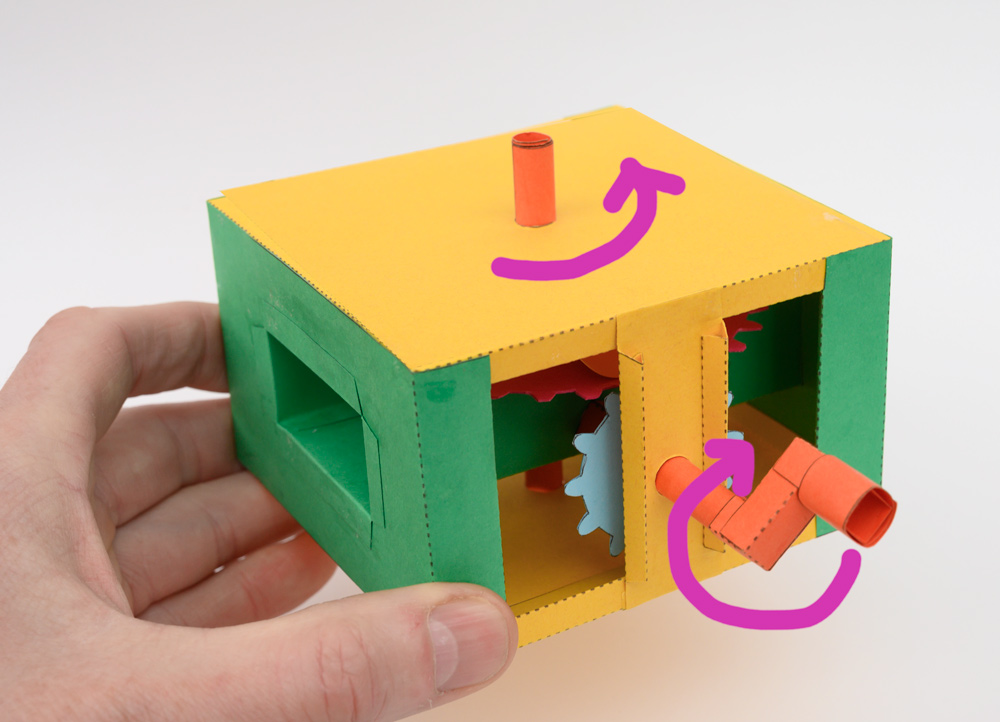
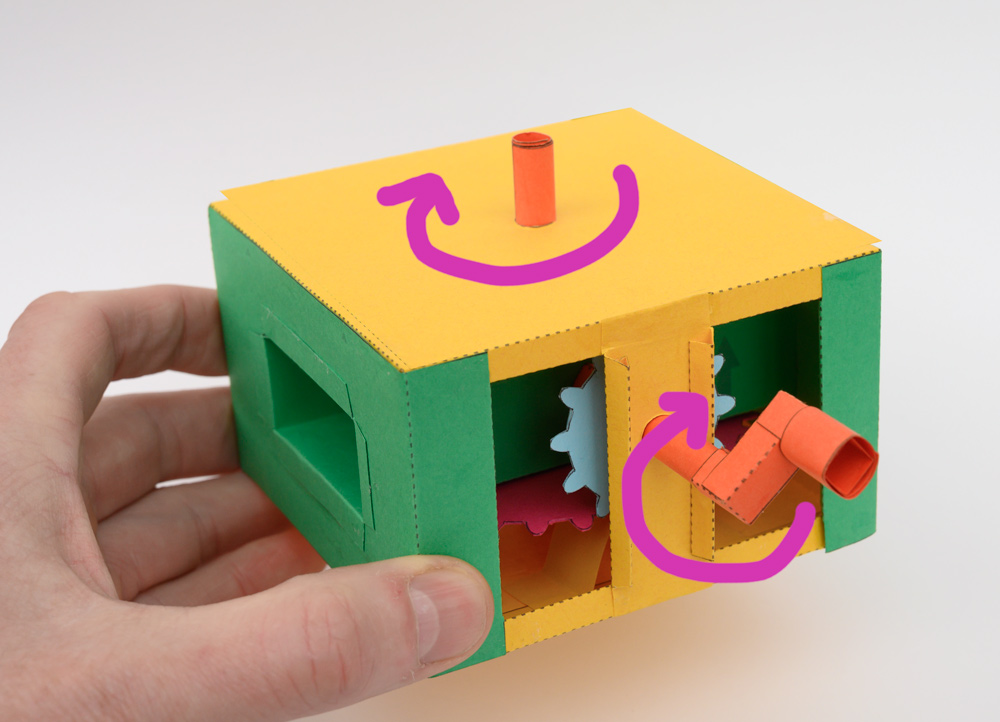
This Mesh Gear Essential Mechanism can be built in two forms. By convention, winder handles are turned clockwise. In this model, the vertical shaft can be made to turn clockwise or anticlockwise depending on how it is assembled. Build it as an exercise in pure mechanism or as the starting point for another project. Members can download the project for free at the link, thanks for signing up!
Print out the parts onto thin card. I used coloured card for a colourful model.
Score along the dotted and dashed lines and cut out the holes then carefully cut out the parts.
Fold over and glue down the gears to make double thickness card. Cut along the bottom of each tooth with a sharp knife.
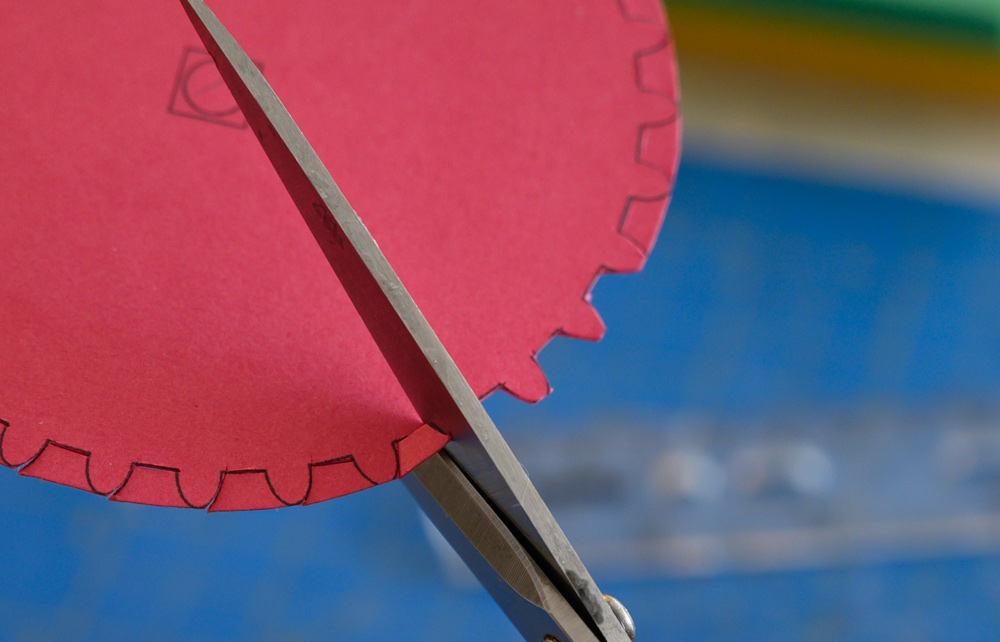
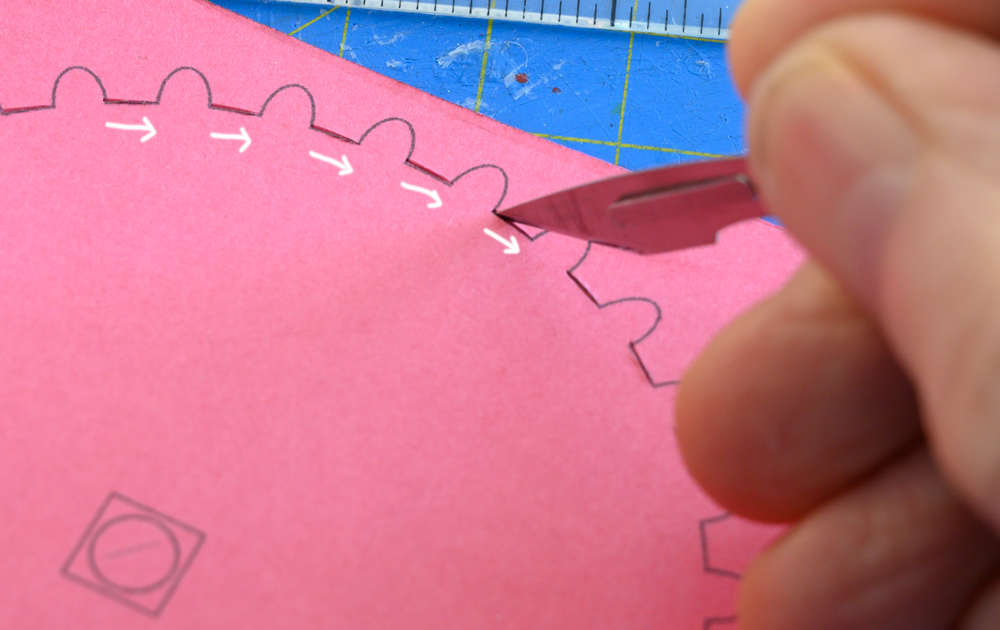 Cut out the surrounding the gear.
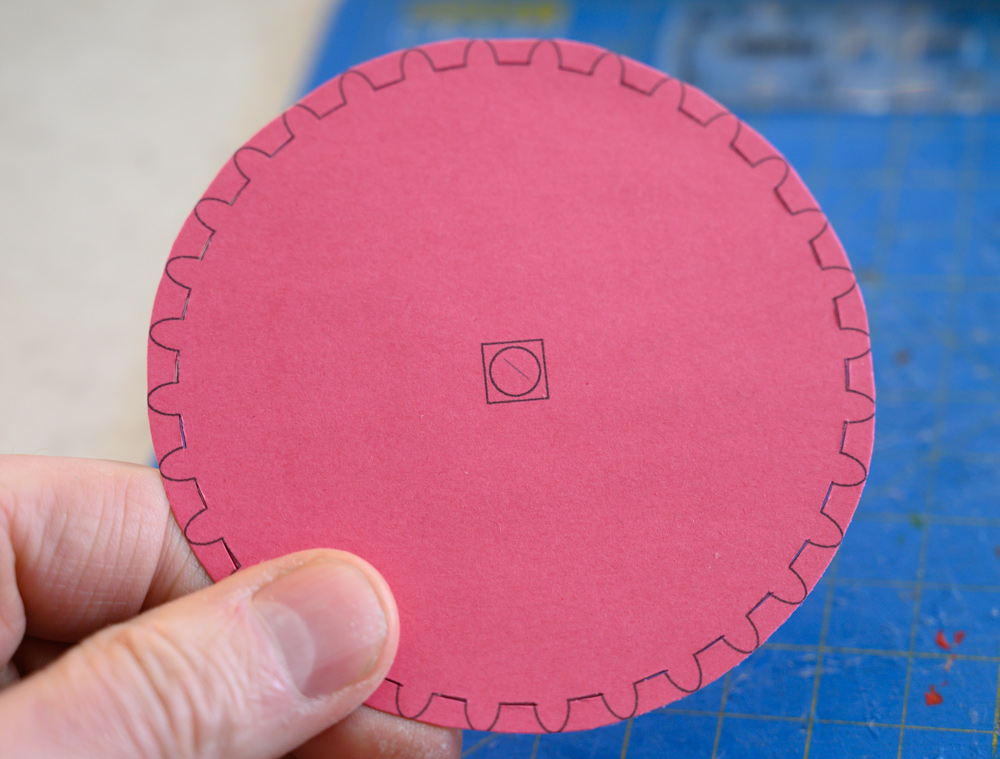
Cut out the teeth.
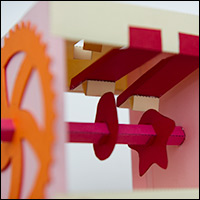
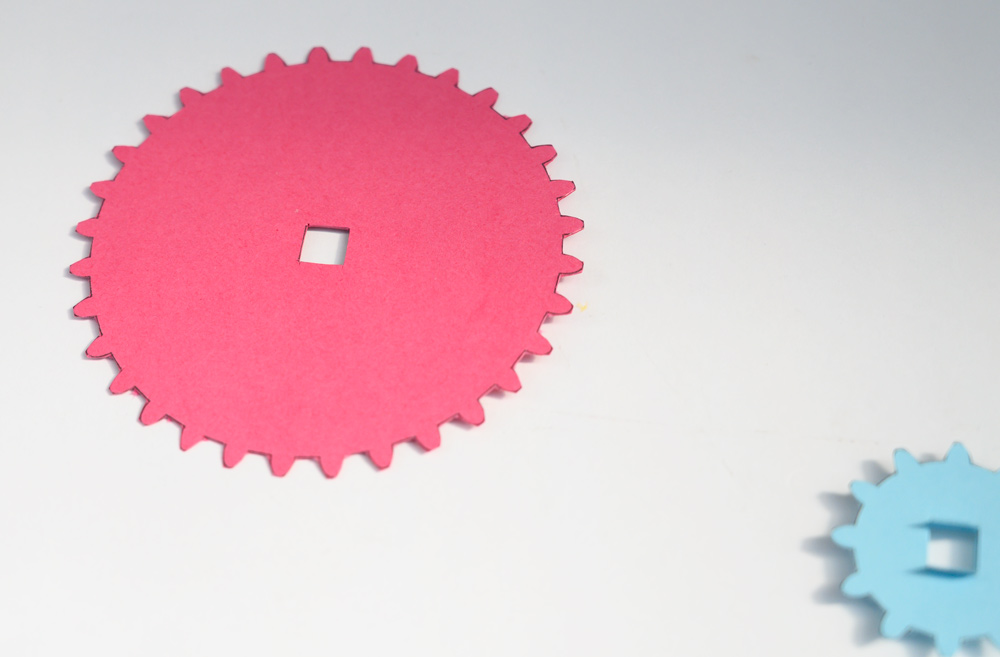
 The completed gears.
Fit the axle stub into place.
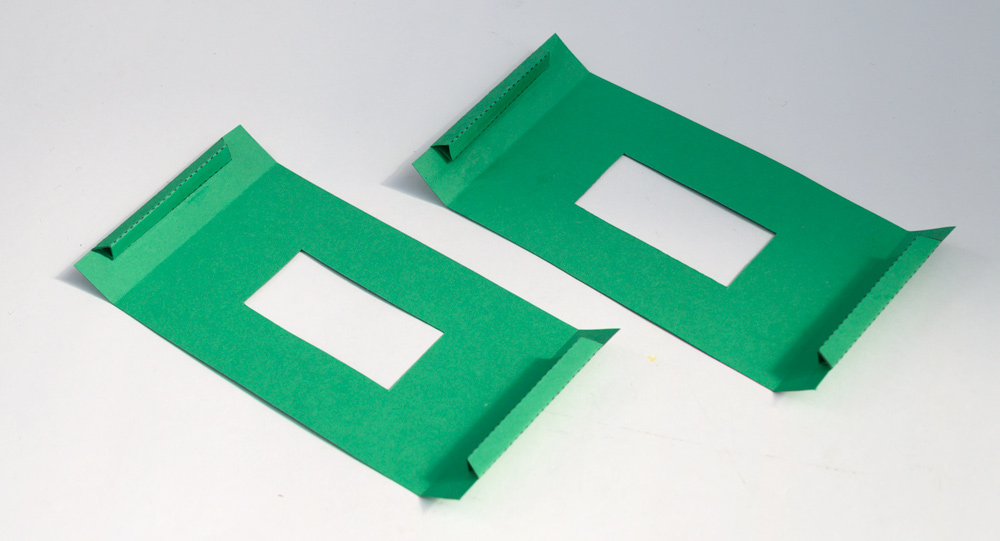
Fold up and glue the box ends making triangular tubes.
Fold round and glue the box top and base.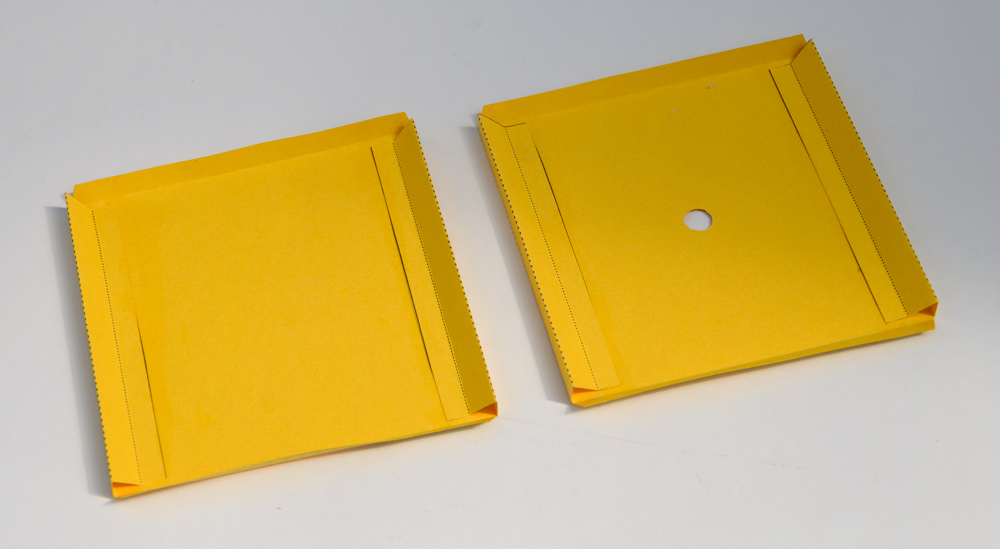
Glue together the sides, top and bottom.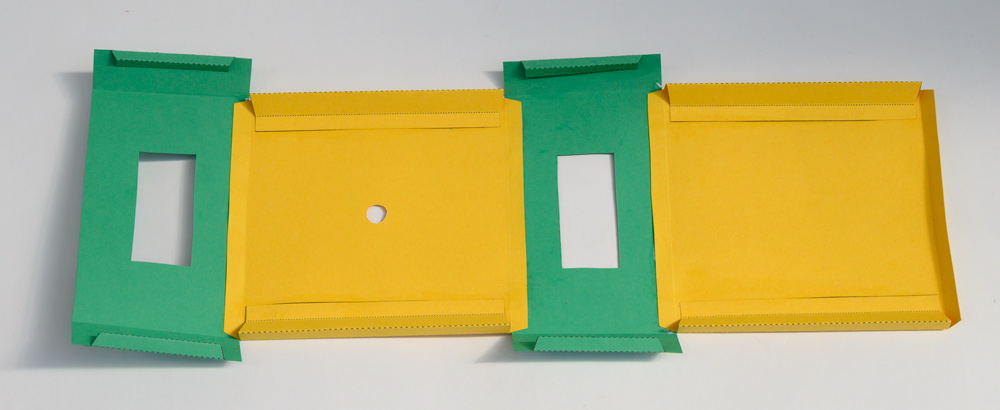
Roll up and glue the two axle tubes. Fit the longer tube into the axle stub, don’t glue it yet.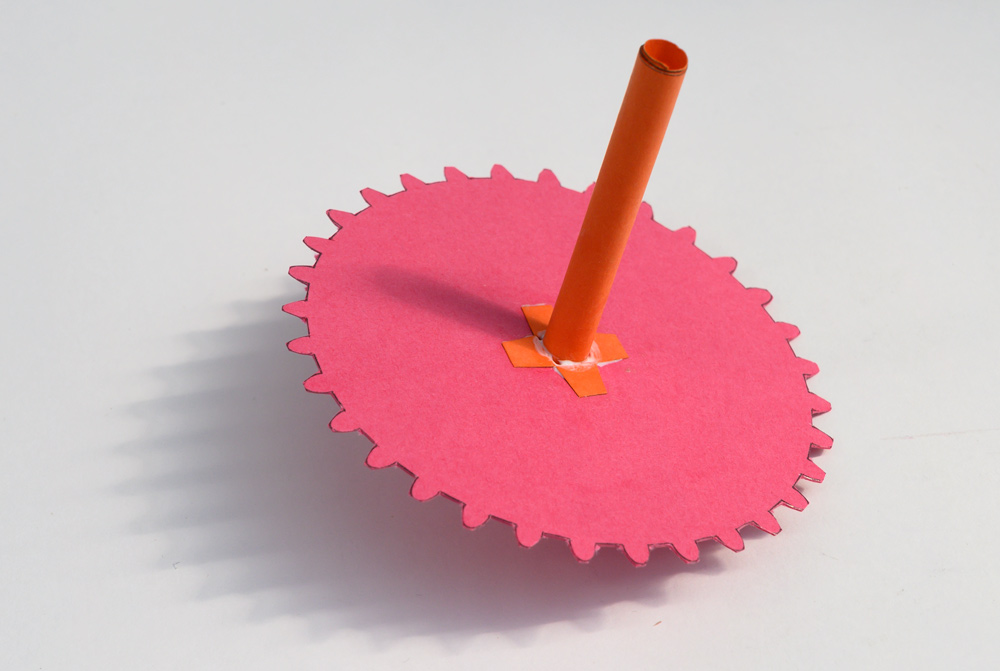
Fold round and glue the centre block, fit the axle into place.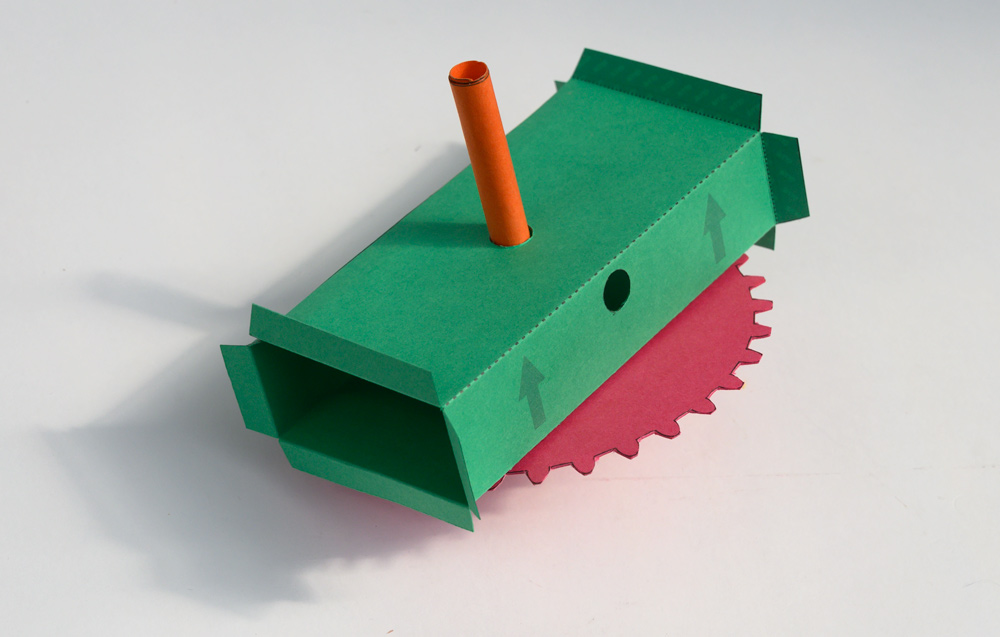
Assemble the pinion gear as shown.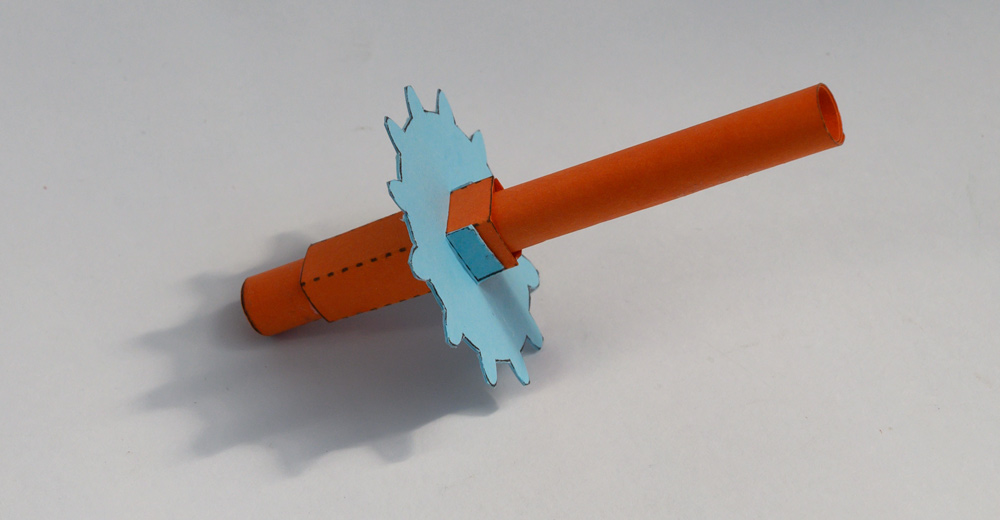
Fit the centre block onto the box. If you want the vertical gear to turn clockwise have the large gear at the bottom. If you want it to turn anticlockwise have the large gear at the top. This version will be for a clockwise turn, See the end of the post for both versions.
Glue down the various flaps and tabs.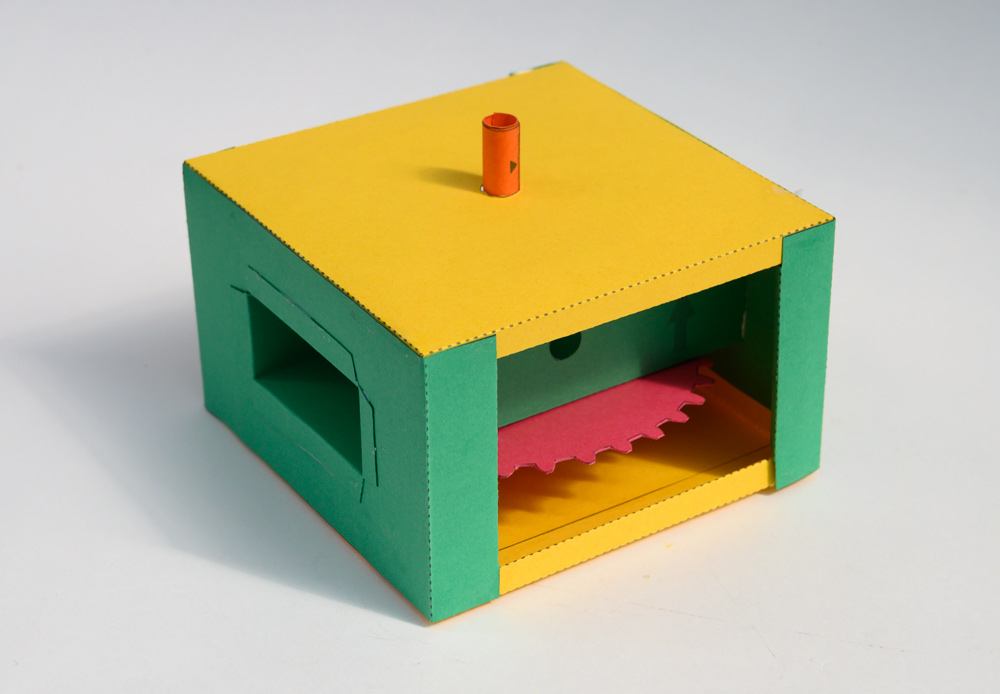
Fit the leaf spring into position to hold the large gear into place. The gear must be free to rotate!

Thread the pinion gear into position. 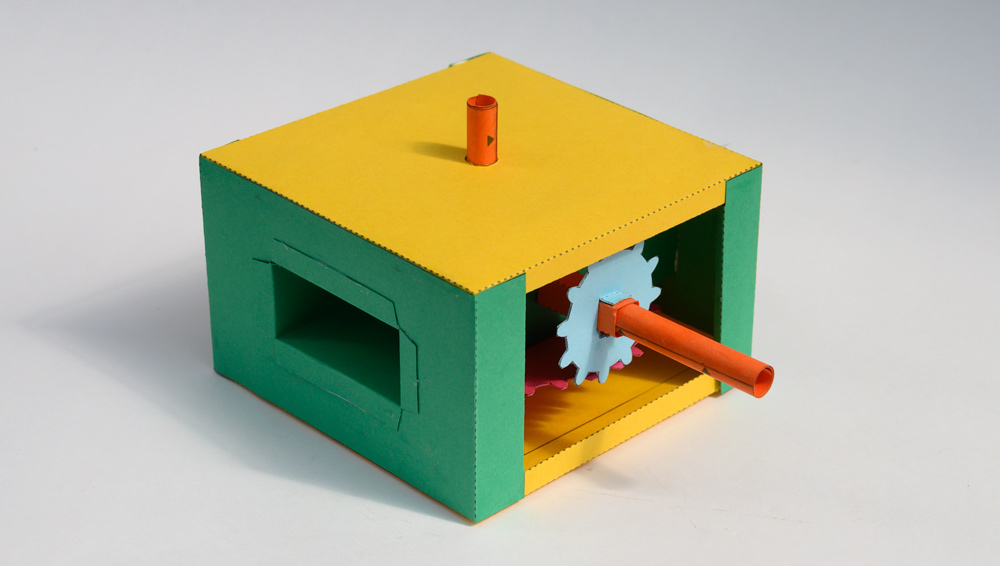
Assemble the pinion cover.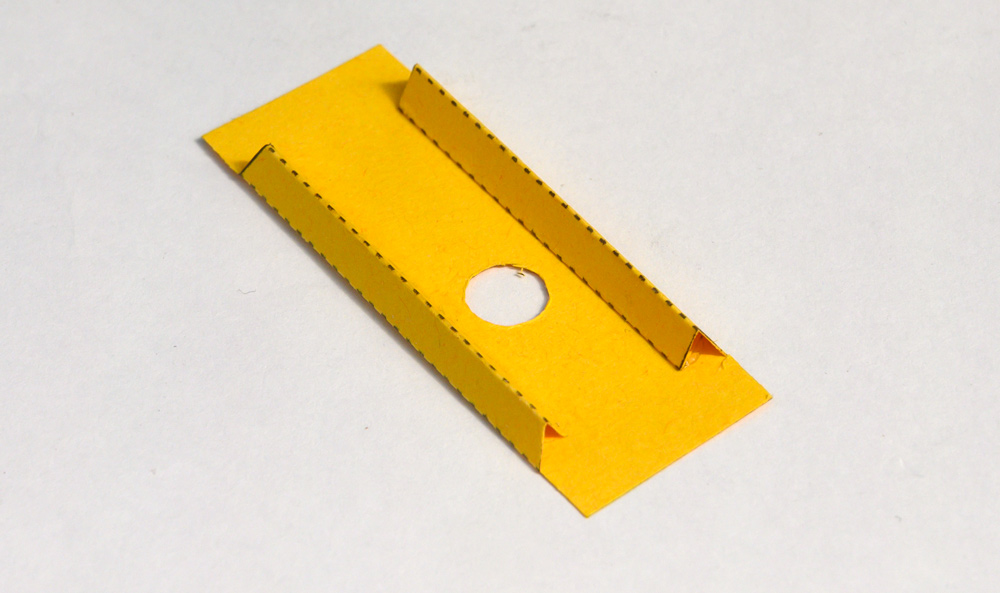
Make the handle in three steps.
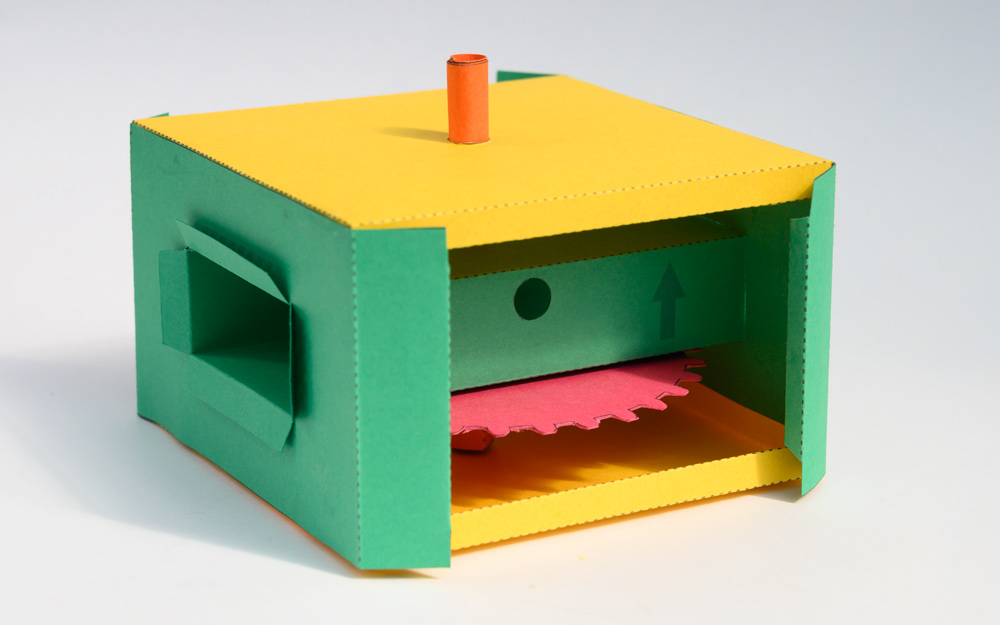
Fit the pinion cover into position.
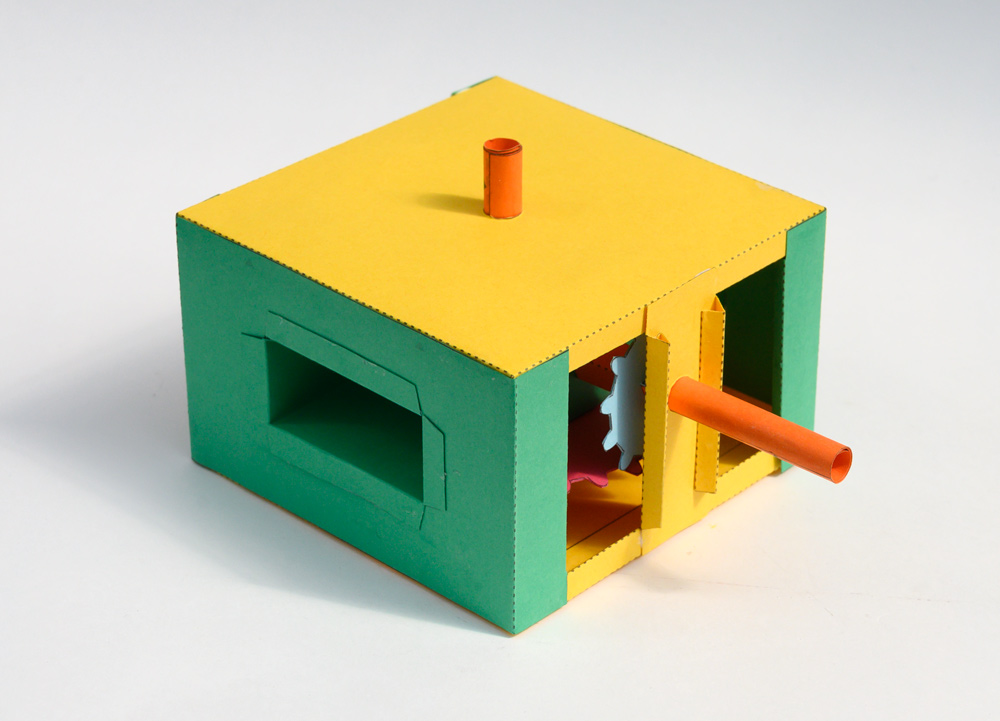
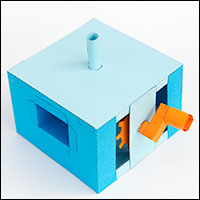
Glue on the handle to complete the model.
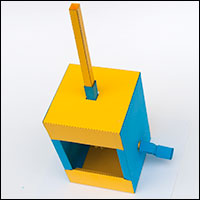
The anti-clockwise version.