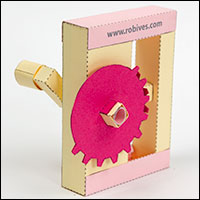
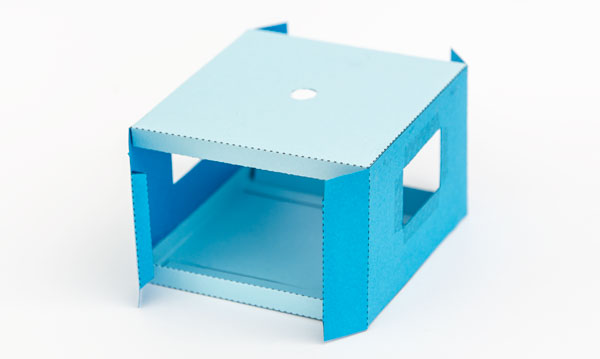
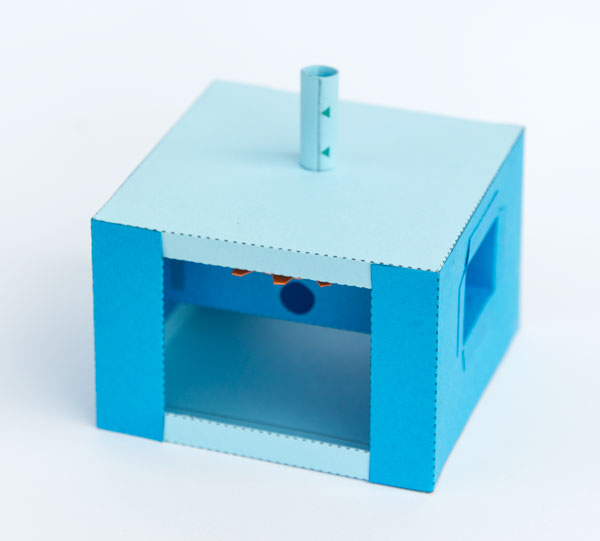
 Turn the handle on the Mesh Gear and the vertical shaft coming out of the top of the box turns slowly. The speed of the vertical shaft is reduced by a ratio of 11:23, just under half speed of the handle. Click the picture to see an instagram animation of the gear in action.
The project is available for members to download for free, thanks for signing up! Non-members can join in the fun for £2.50.
Download the parts file and print them out onto thin card (230gsm/67lb) I used coloured card to make a colourful model. Score the dotted and dashed lines and cut out the holes before carefully cutting out the pieces.
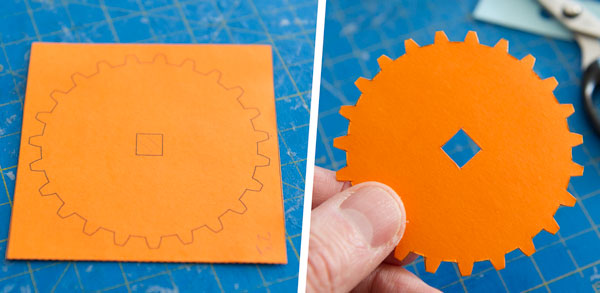
Fold over the large gear and glue it down to make double thickness card. Once the glue is dry carefully cut it out.
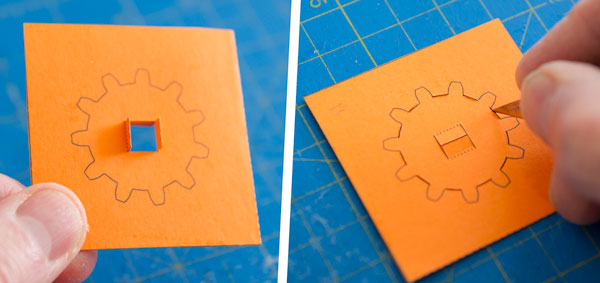
Fold the pinion in half and glue it down to make double thickness card then carefully cut it out.
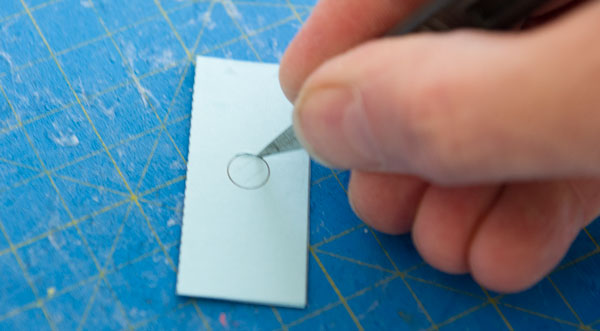
Make the pinion support piece with double thickness card.
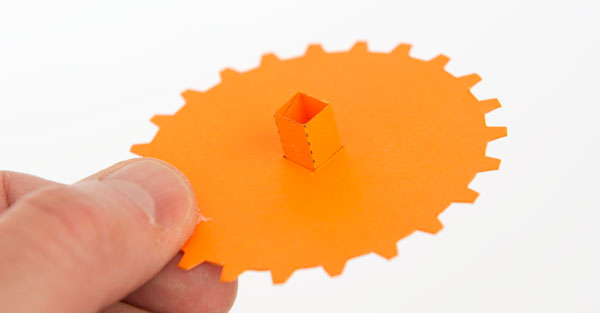
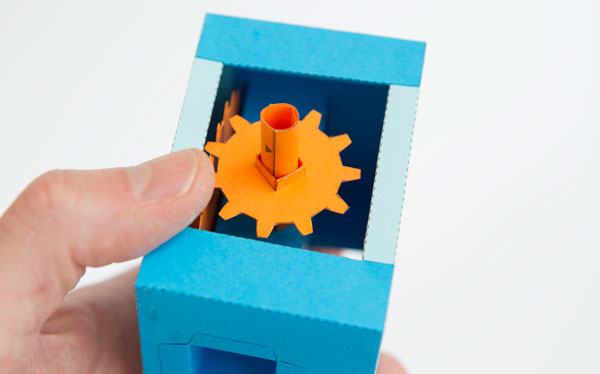
Fit the axle stub into the large gear.
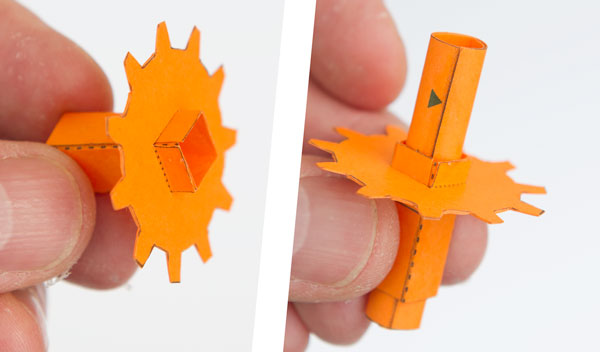
Thread the axle outer into the pinion lining up the edge of the tabs with the edge of the tube.
Roll up and glue down the axle inner to make a tube then thread it into place inside the axle outer.
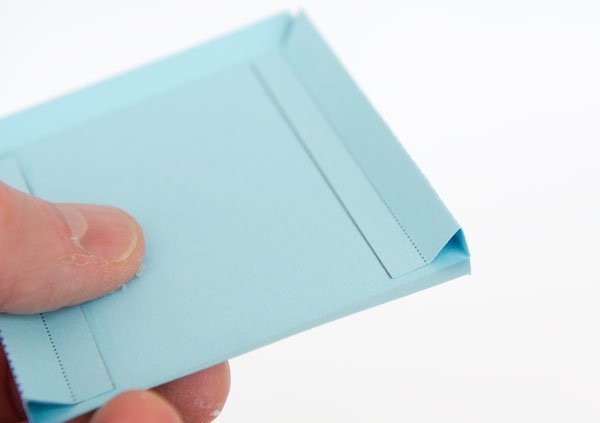
Fold round and glue up the tabs on the box top and box bottom making right angled triangle tubes.
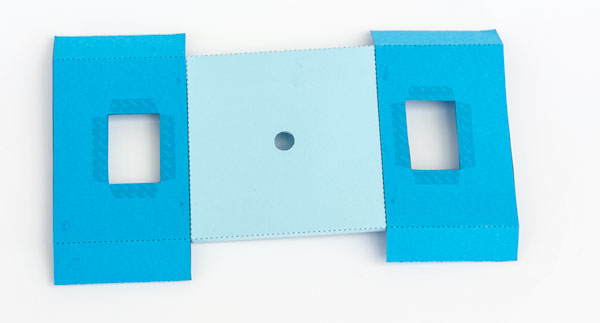
Fold the tabs on the box sides and glue them down to make equilateral triangle tubes.

Glue the two side to the box top. Note that the rectangular holes are closest to the box top.
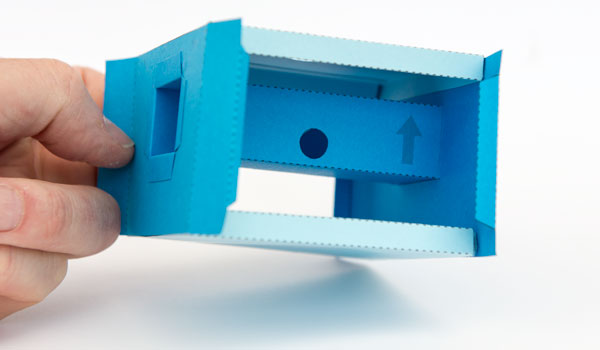
Glue the box base into place. Don’t glue the front and back flaps yet.
Thread the box inner into place in the box with the arrows facing upwards.
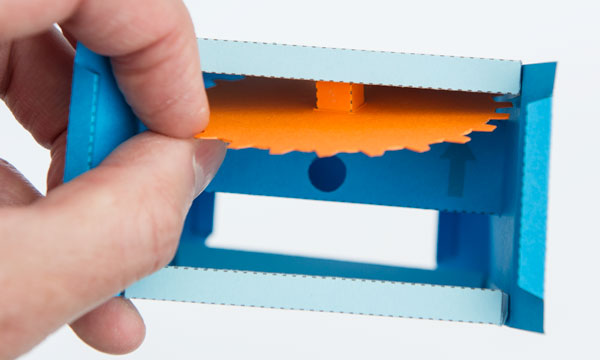
Thread the gear into the space at the top of the box…
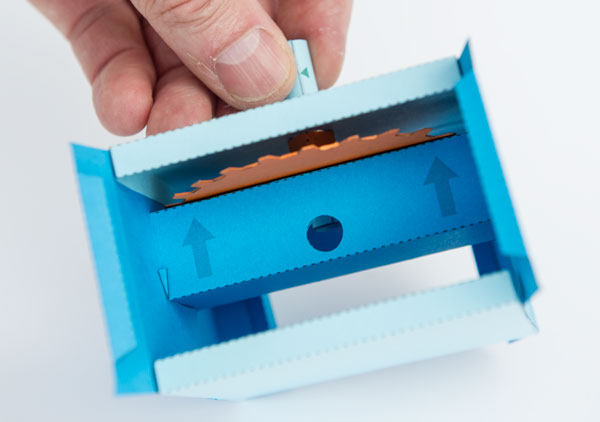
…then push the second axle tube down through the hole in the box top and down through the axle stub as shown.

Glue the flaps front and back into place.
Assemble the handle in three steps.

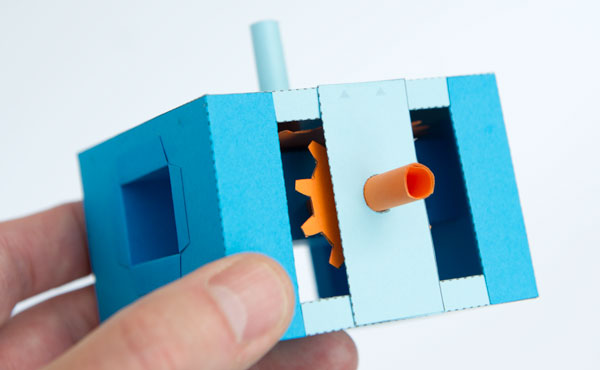
Thread the pinion into position.
Glue the pinion support into place.
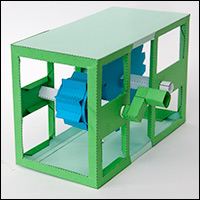
Complete the model by gluing the handle into place. Once the glue is dry turn the handle and mesh those gears!