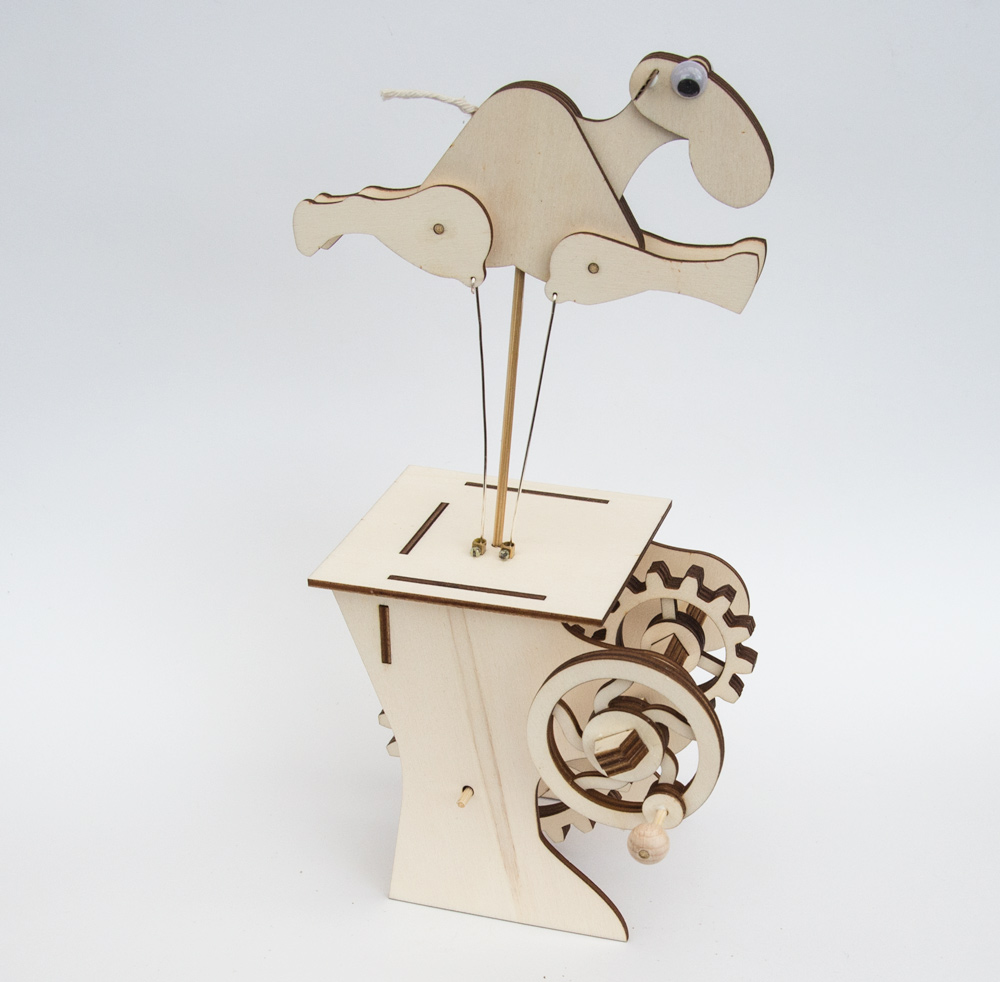
Download all the files to make this laser-cut camel. You will need access to a laser cutter to cut out the various parts. You can often find these in Hack Spaces, Maker Spaces or FabLabs, check online to find one near you. If you are a member of robives.com you can download the parts for free at the link. Non-members can join in the the fun for £6 or equivalent.
As well as the laser cut parts you will also need
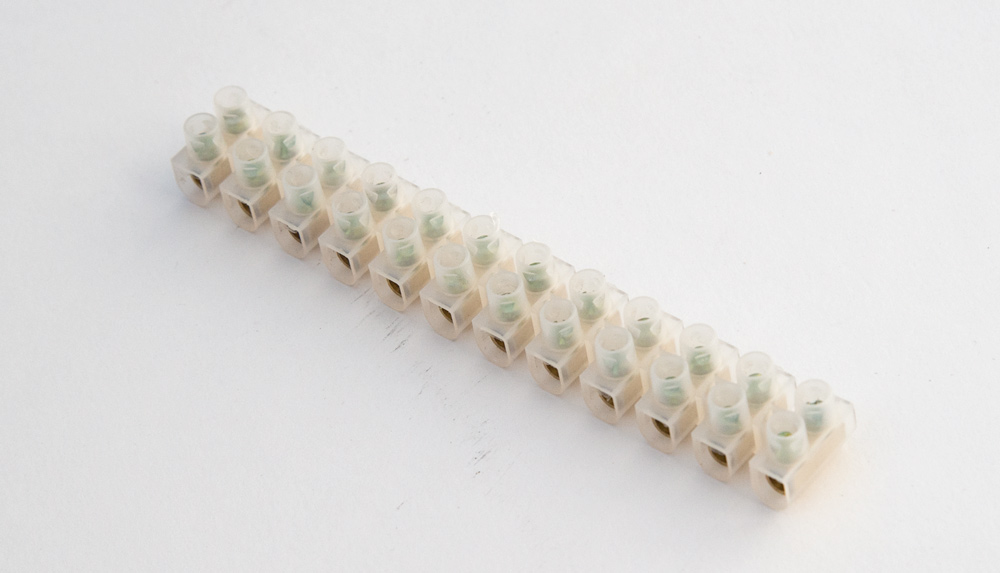
a couple of segments of 10amp connecting block,
3mm diameter bamboo skewers,
two googly eyes,
String for the tail and some offcuts of card.
2 x 110mm long wire (I used 1mm silver coated copper)
Connecting block
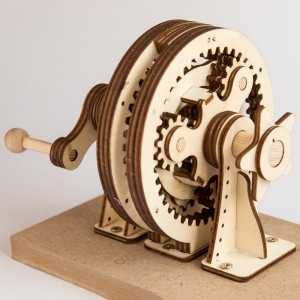
The file axles.pdf shows all the axles parts in actual size. Cut the eight axle and push rod pieces from 3mm bamboo barbeque skewer as shown. 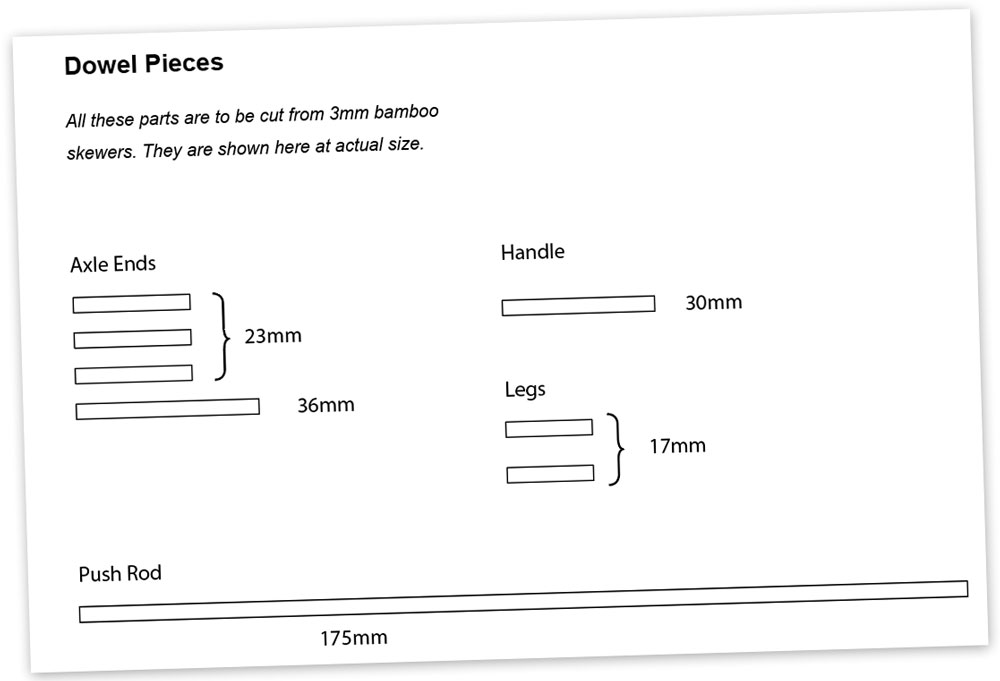
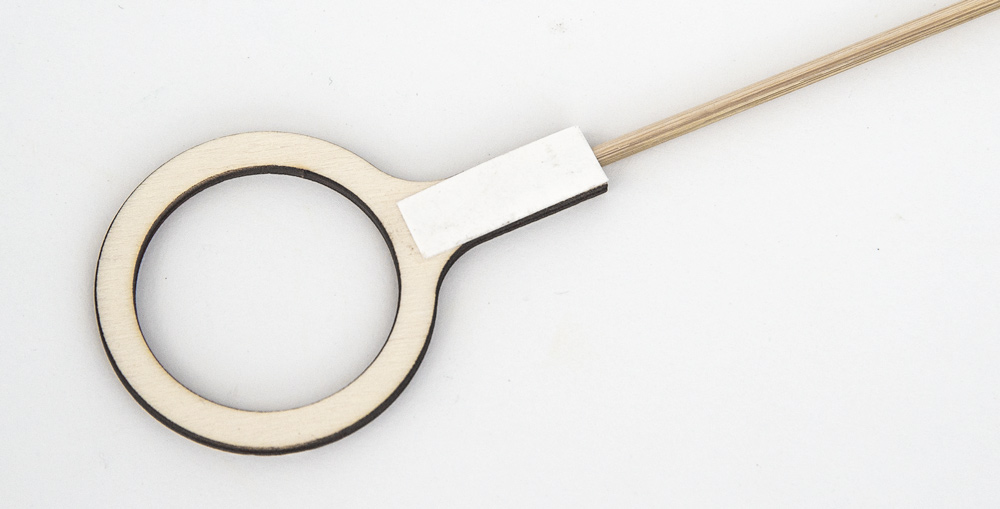
Glue the push rod piece into place in the crank end. Secure it on both sides with a small rectangle of card.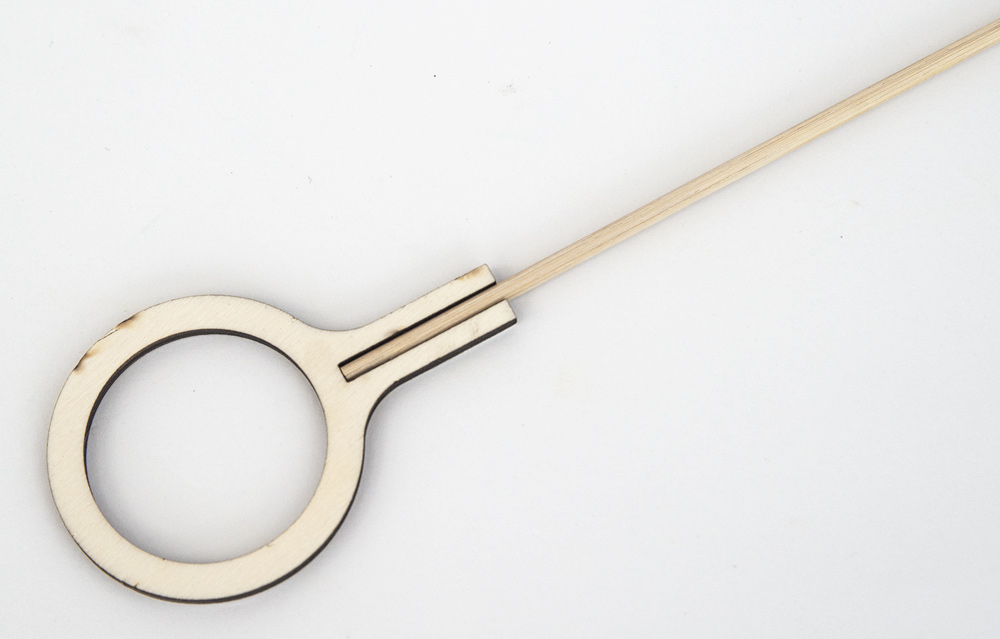
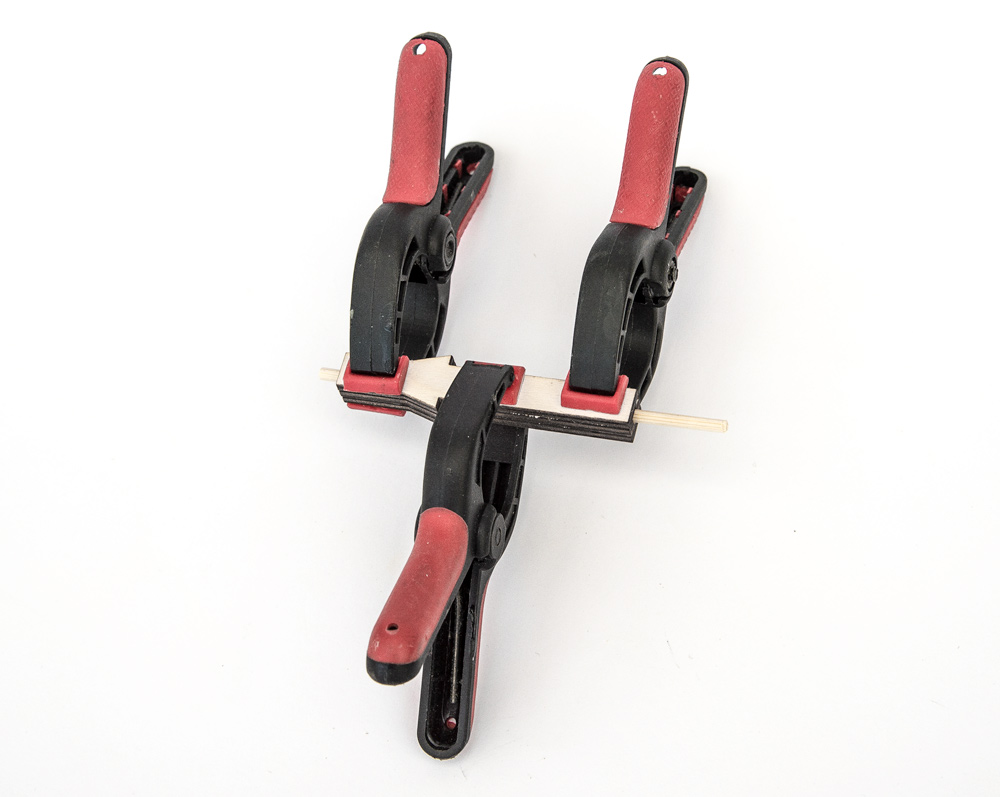
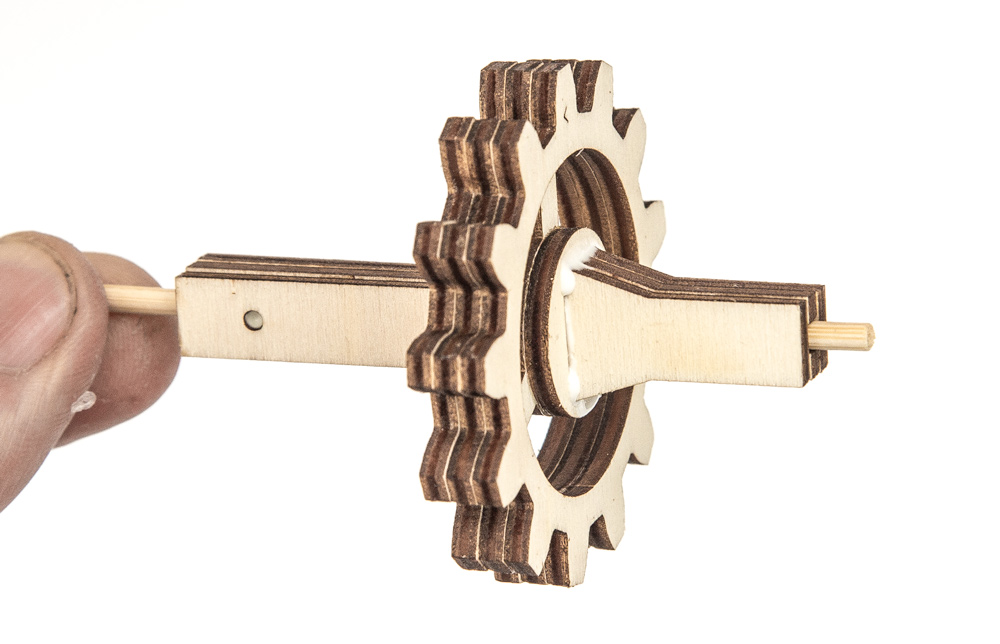
Sandwich the three parts of one of the axles together, thread the 36mm axle piece to the right side/ Clamp together as the glue dries.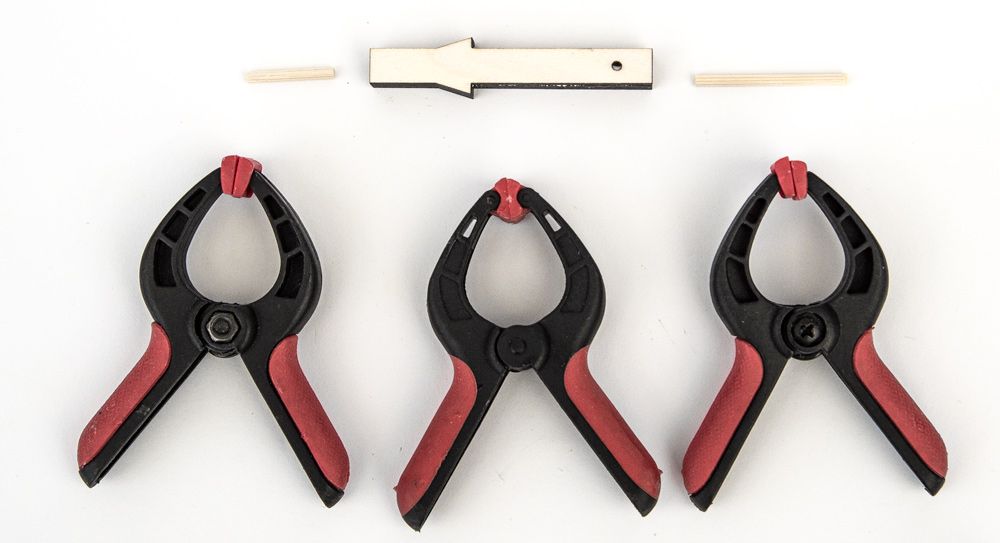
Glue together the three layers of the 13 tooth gear and the two extra centre pieces. Use the small ‘V’ marks for orientation. Make sure that the parts are lined up as accurately as possible.
Thread the gear into place on the axle and glue it into place. Before the glue is completely dry make sure that the gear is sitting true by spinning the axle in your fingers and checking for wobble.
Make up the second axle in the same way as the first, this time the two bamboo pieces are the same length.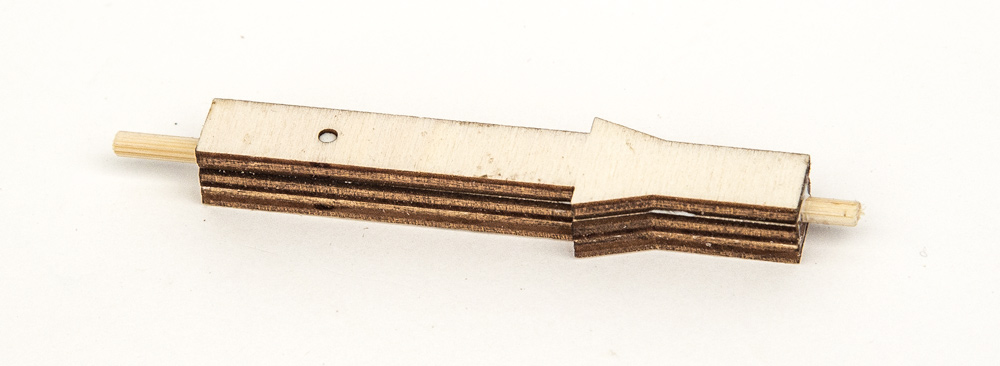
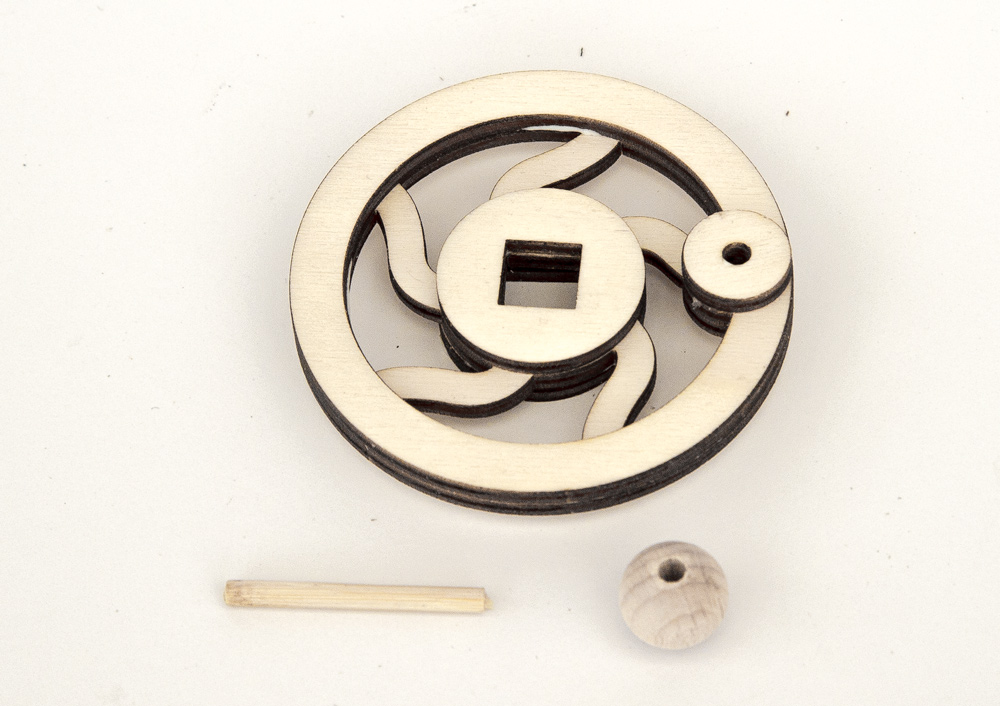
Using the ‘V’ marks for orientation, glue the two outer rings on either side of the larger gear ring. Take care that the teeth are lined up carefully.
Glue a small spacer on one side of the gear and two large spacers on the other side.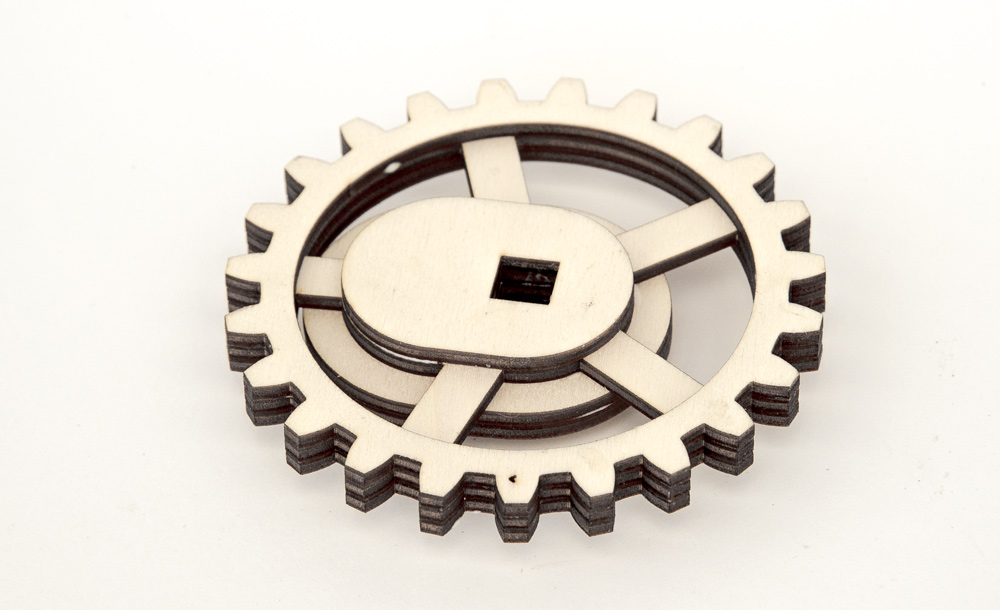
Flip the gear over and glue one of the offset pieces into place. Make sure you glue it the correct way!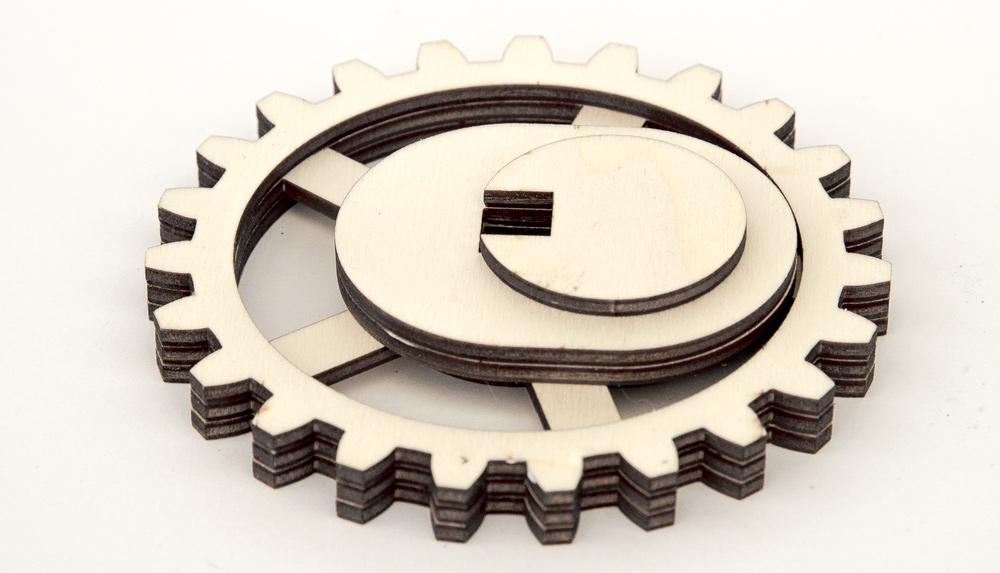
Glue the remaining offset and side piece together as shown.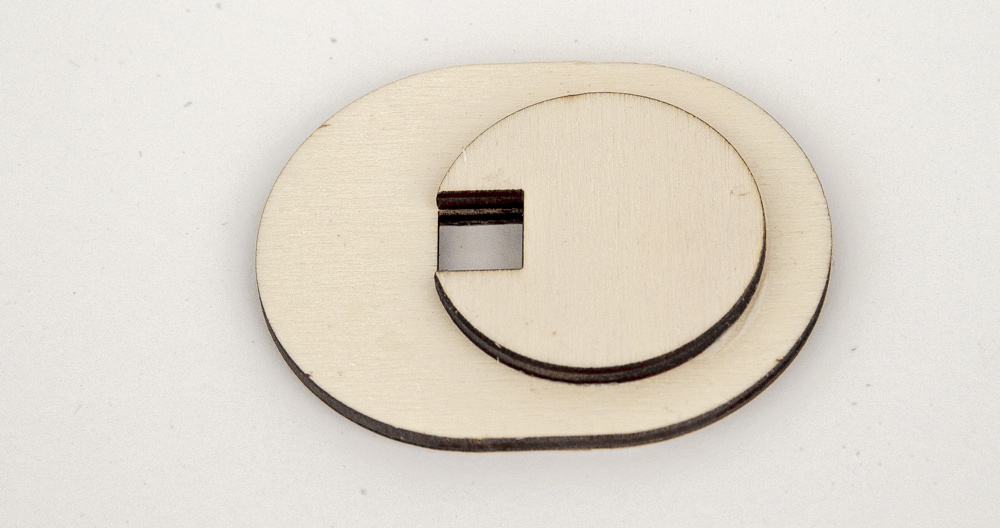
Thread the large crank ring (Also known as the big end) into place.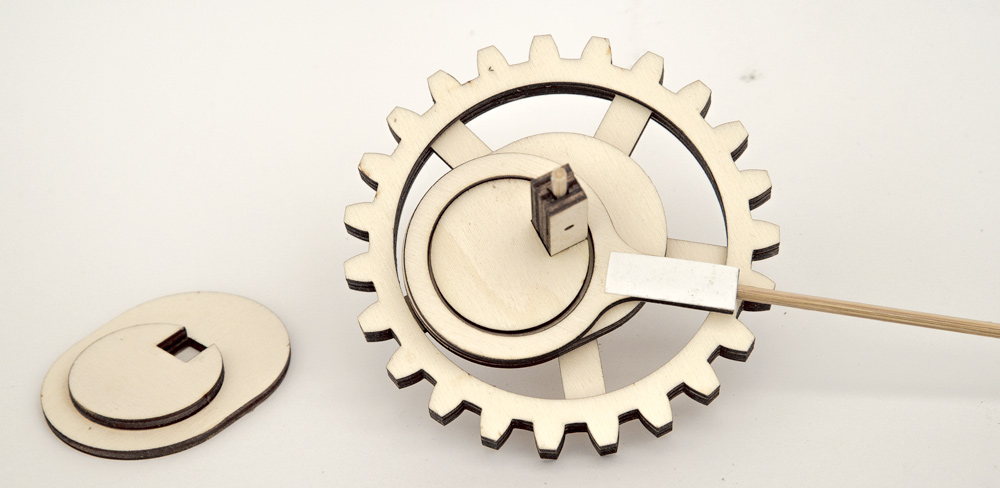
Thread the offset and side piece into position
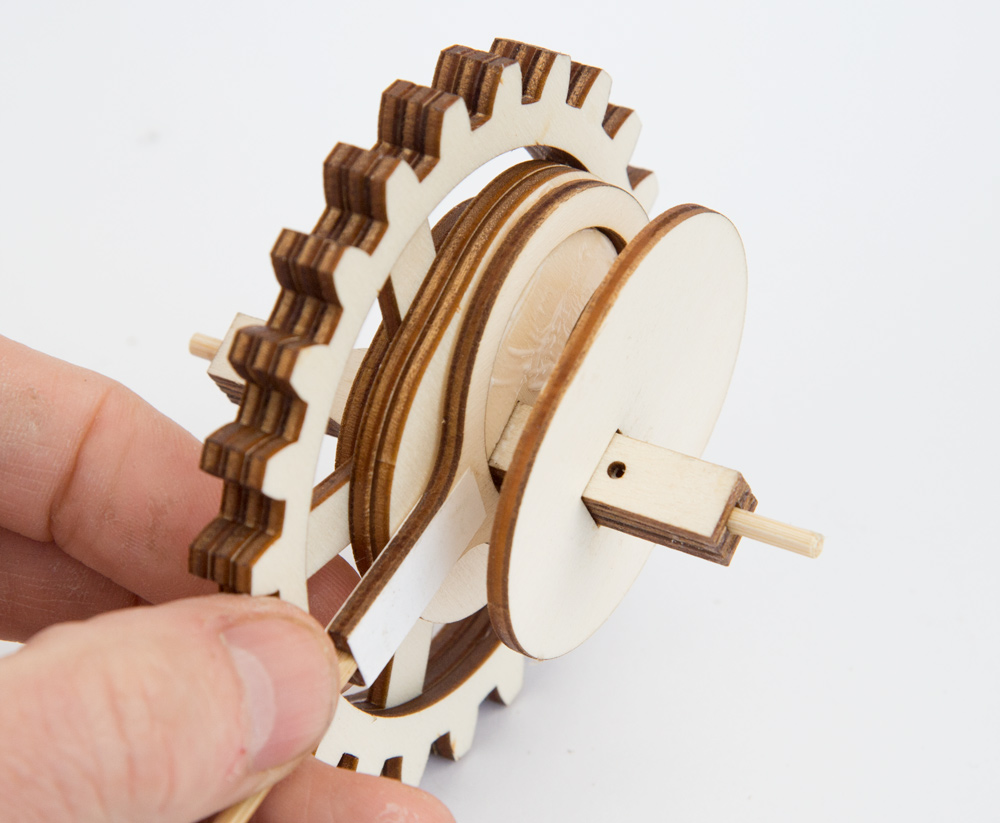
Glue and clamp them into place. Make sure that the pushrod is free to turn.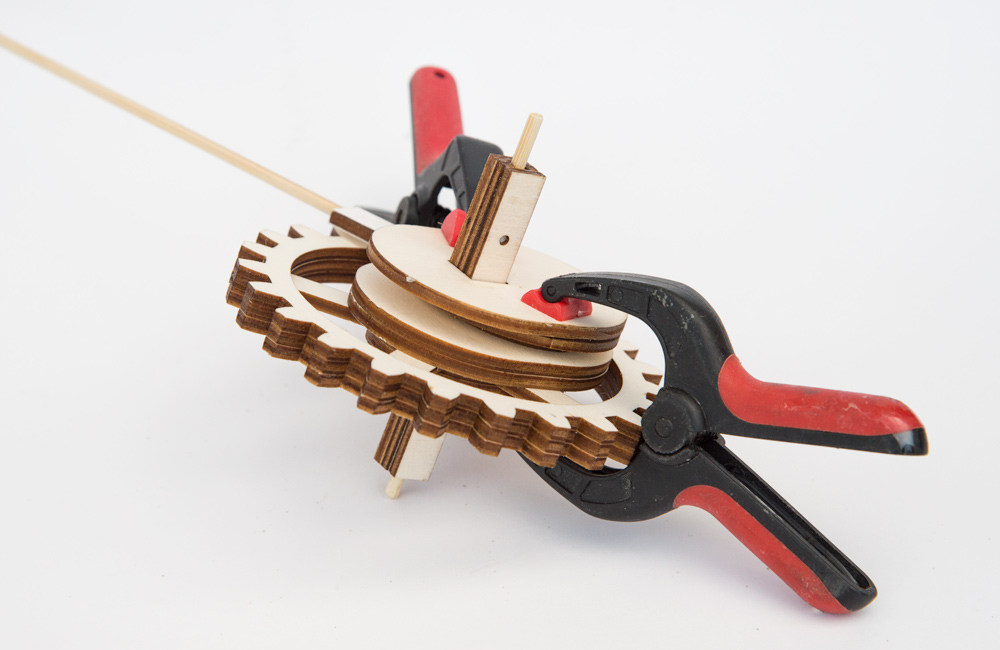
Assemble the parts of the handle.
Locate a matching pair of legs and glue in the leg axle pieces. Bend round a piece of 110mm long wire to loop through the holes in each leg.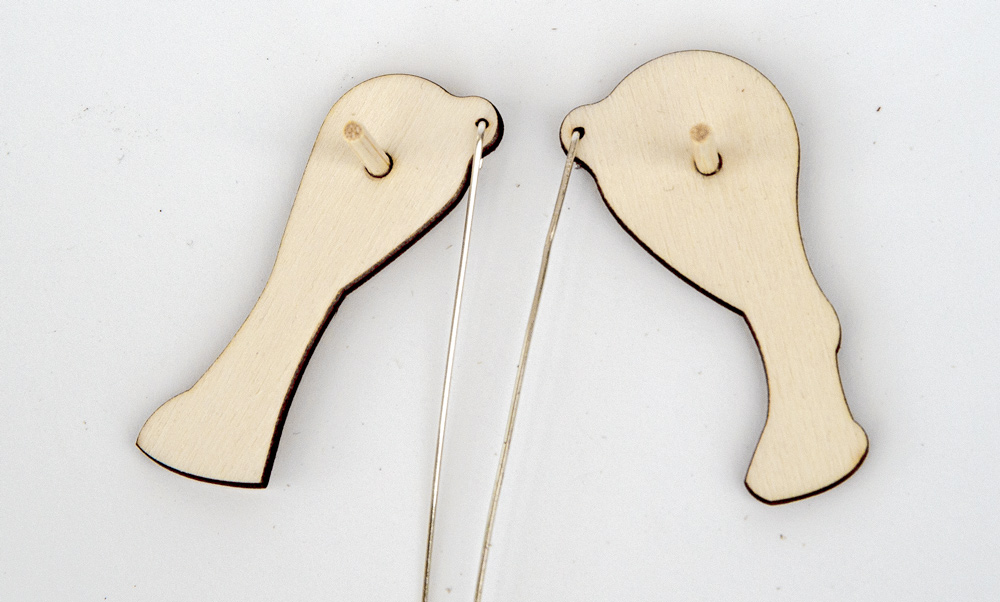
Cut out two of the blocks from your connecting block strip.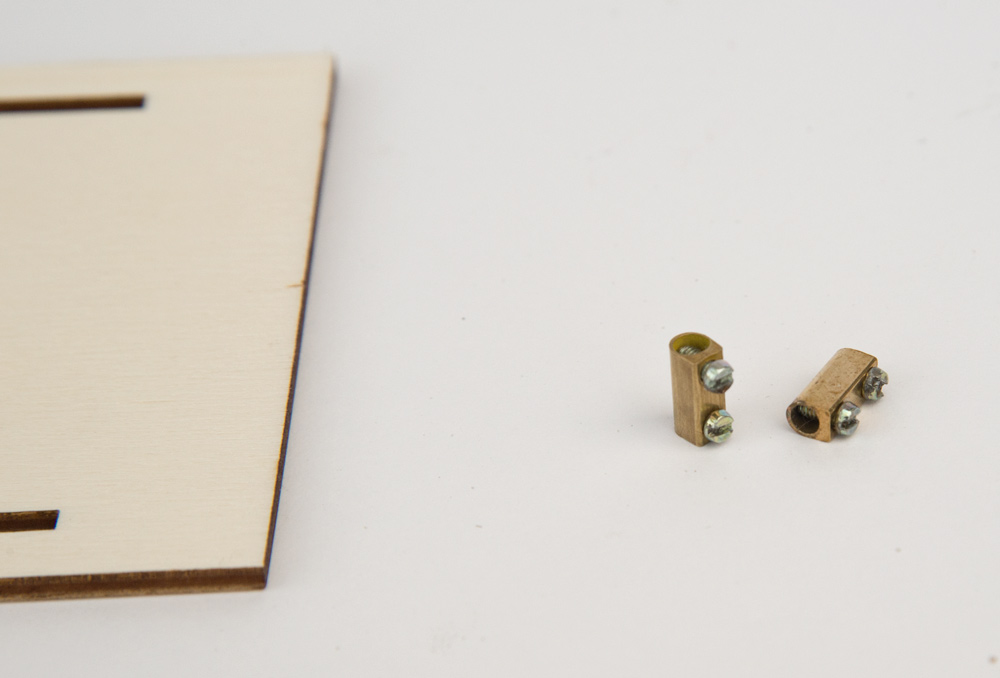
Loosen one screw and remove the other then thread the block through the box top.
Fit the other block in the same way and secure both by refitting, though not fully tightening, the screws.
Thread the pushrod up through the hole in the centre of the box lid. 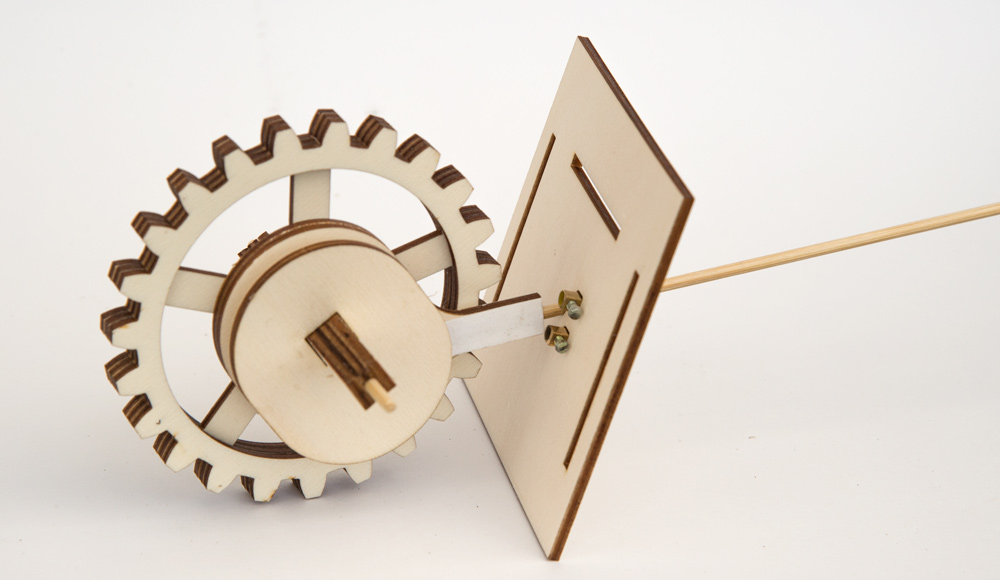
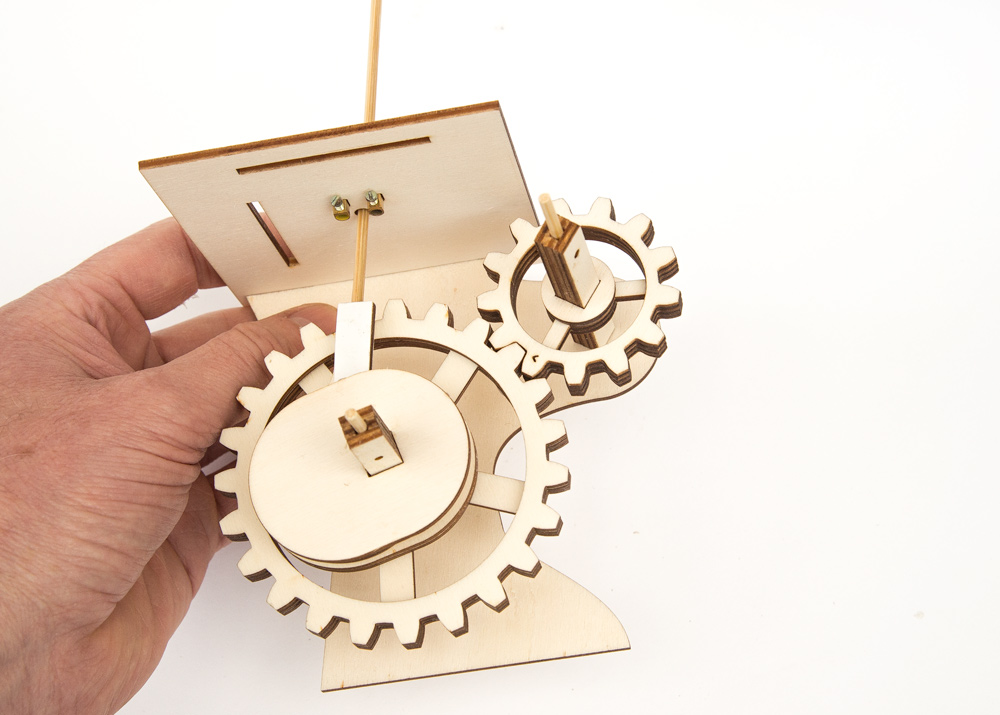
Fit one o f the sides and the other gear.
Fit together and glue the remaining parts of the box.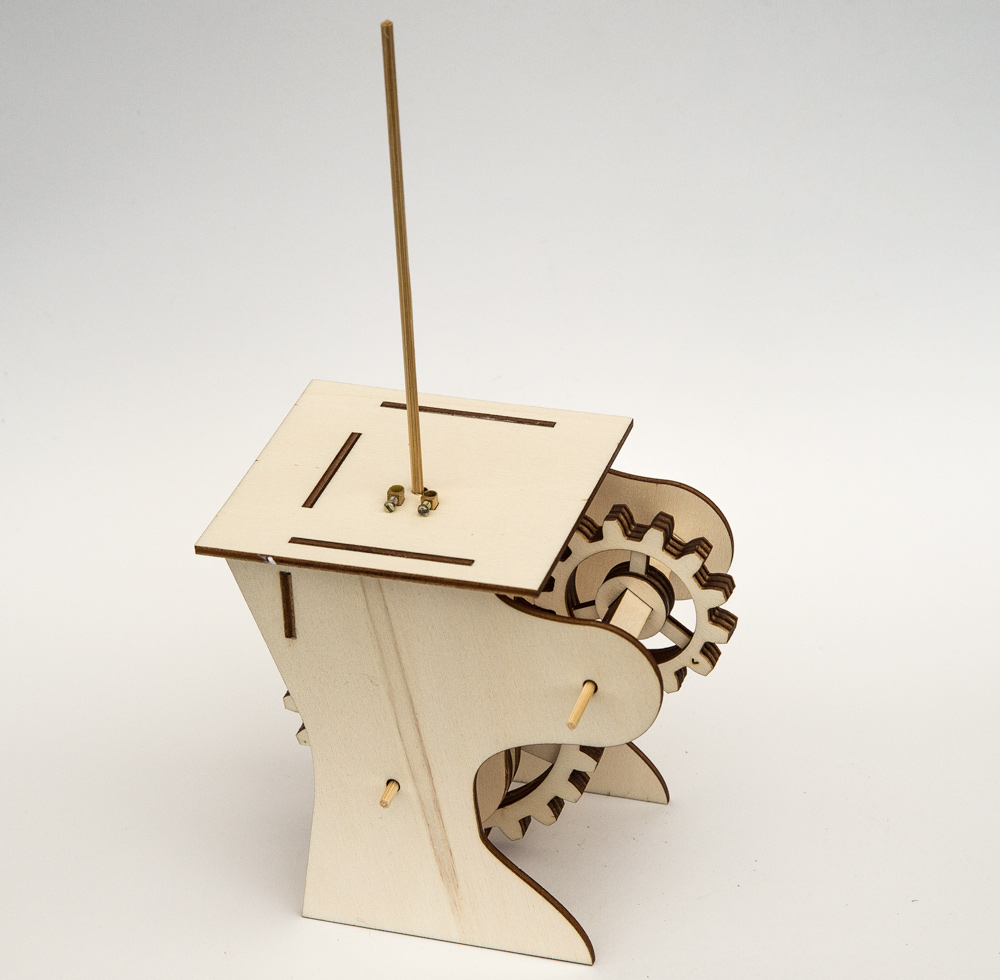
Glue and clamp the body and head parts then, once the glue has dried, thread the legs into place. The legs must be free to move.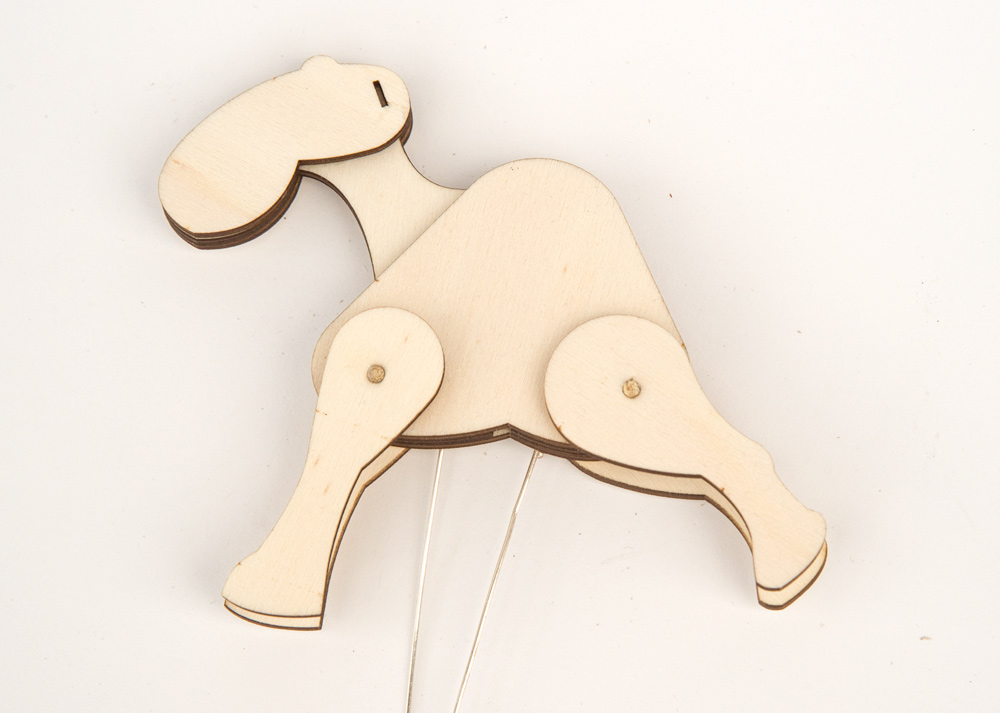
Glue on googly eyes, corrugated card ears and a string tail. 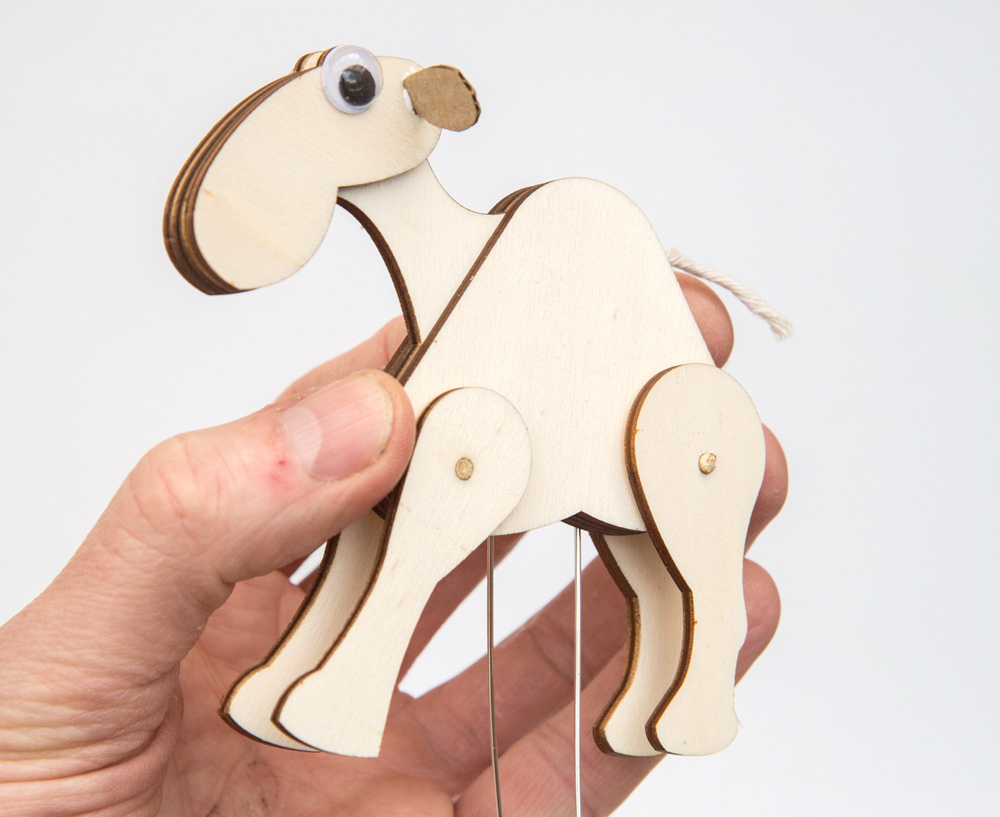
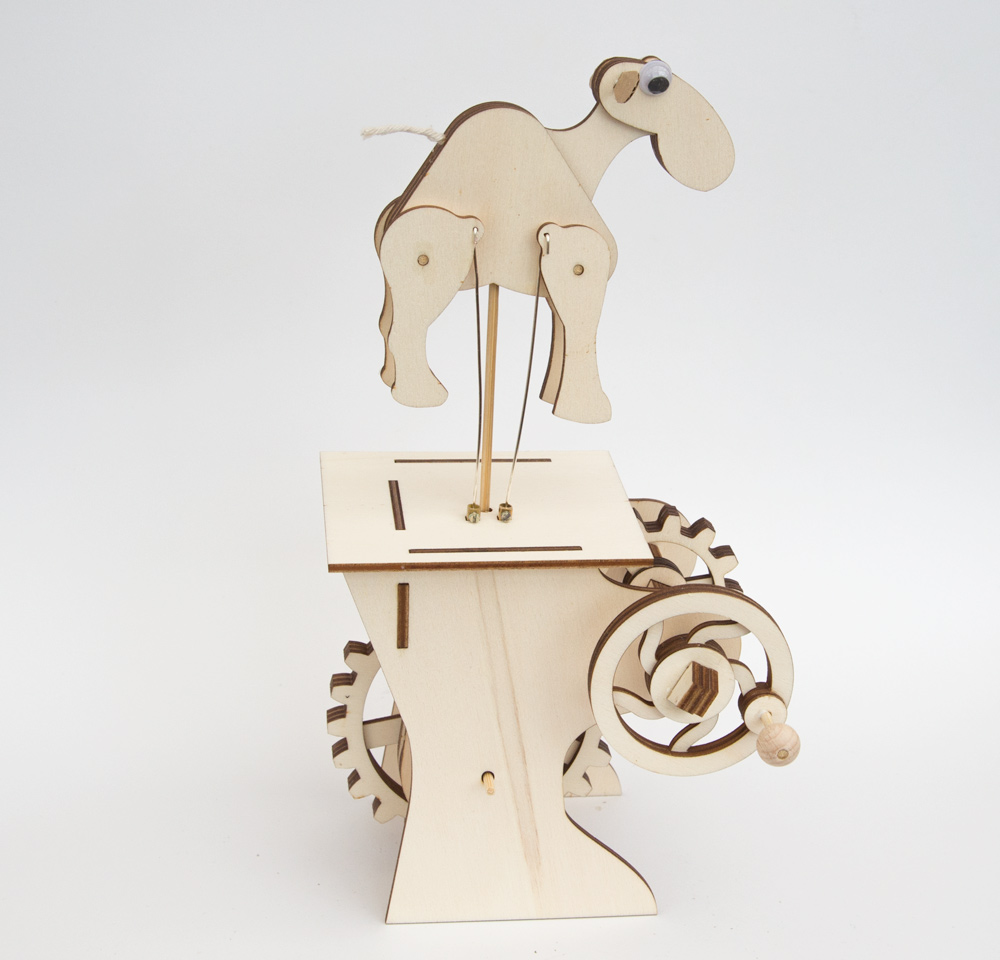
Thread the camel down onto the pushrod. With the camel at its lowest point of travel and the legs pointing downwards fit the wires into the brass blocks and tighten up the screws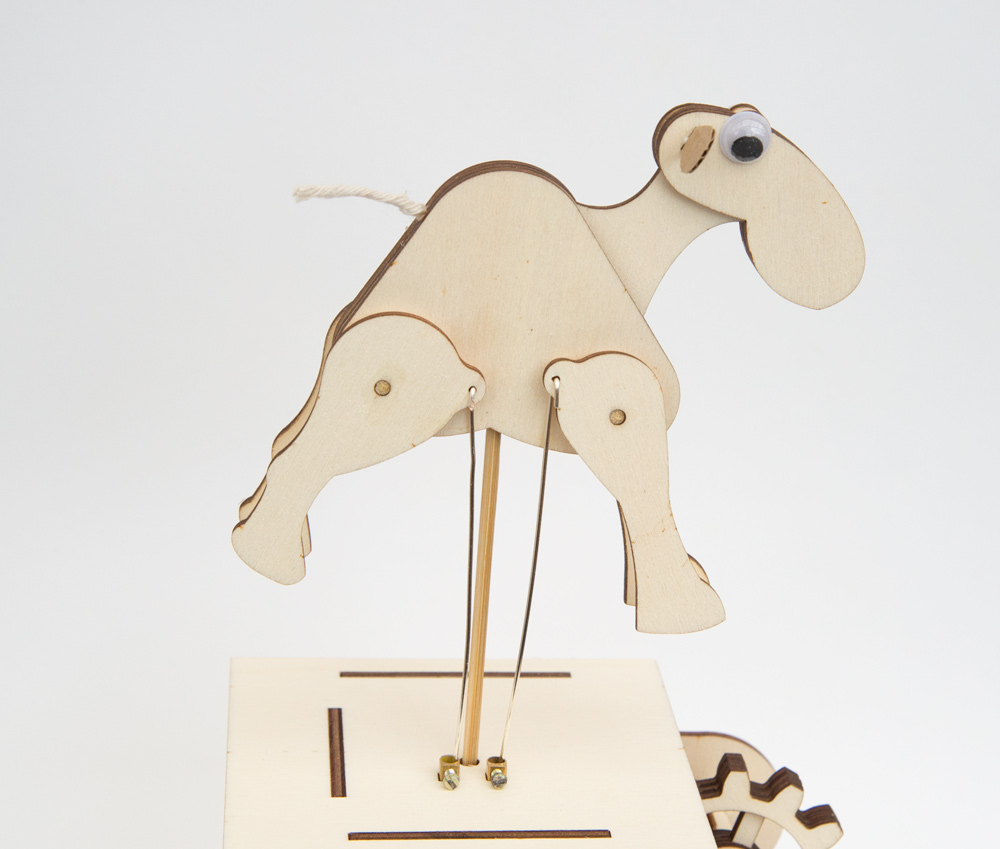
Complete the model by gluing the handle into place. Once the glue is dry take your camel for a spin!