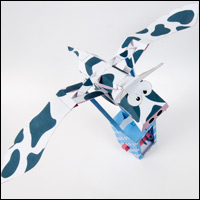
Download the parts in pdf format to cut out on your own Laser-Cutter.
If you don’t have a laser cutter you can often get access to one at a MakerSpace, Hack-Space of Fab Lab – search the web for one near you.
Also available on Instructables
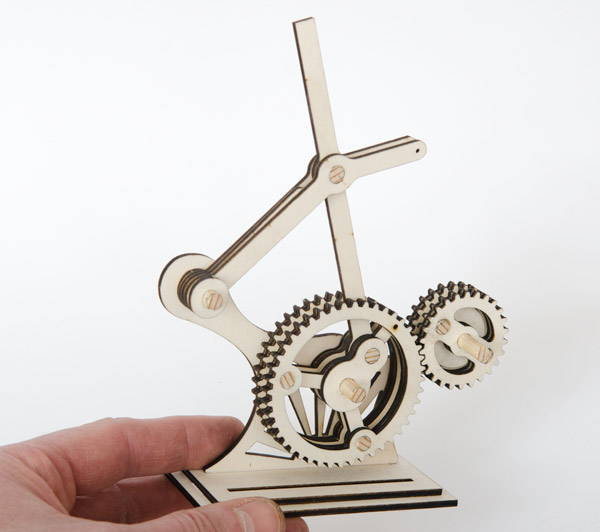
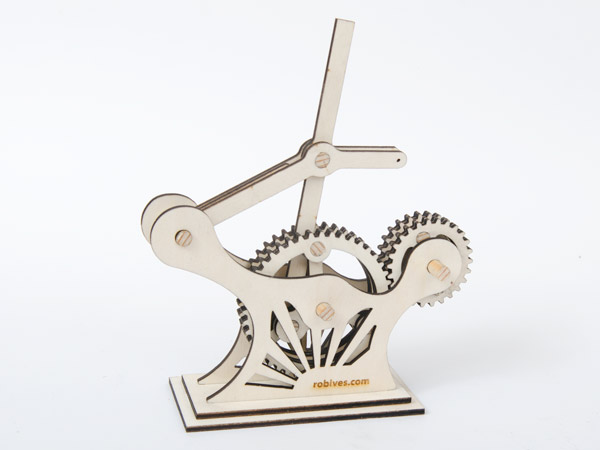
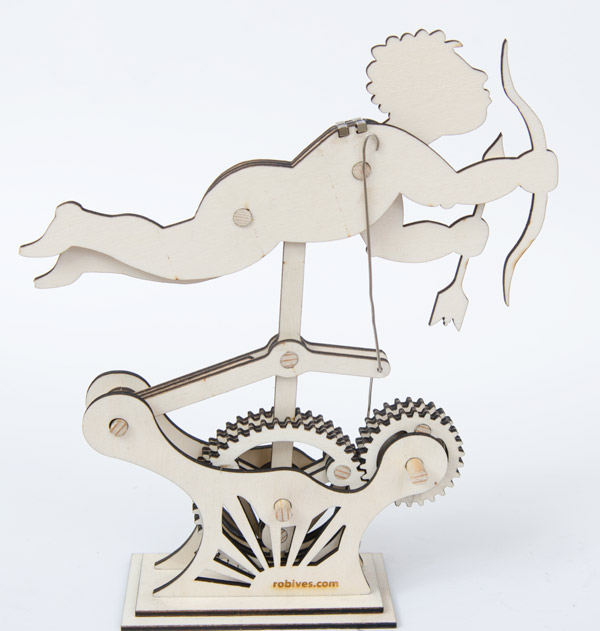
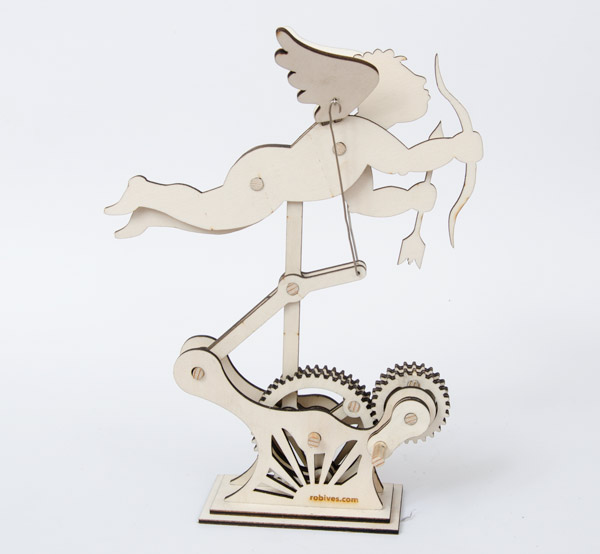
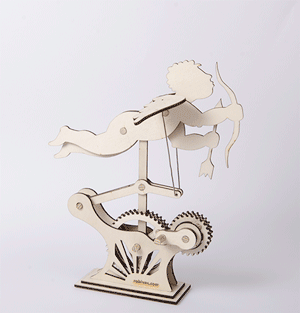 This laser cut Cupid automata uses gears and linkages to come to life. Turn the handle and watch him fly!
I’ve made the pdf file of parts available for everyone to download for free. You’ll need to adapt it to suit the file format of your particular laser cutter.
If you don’t have a laser cutter you may be able to use one in
one of the many FabLabs and Hacker Spaces which are springing up all over the world.
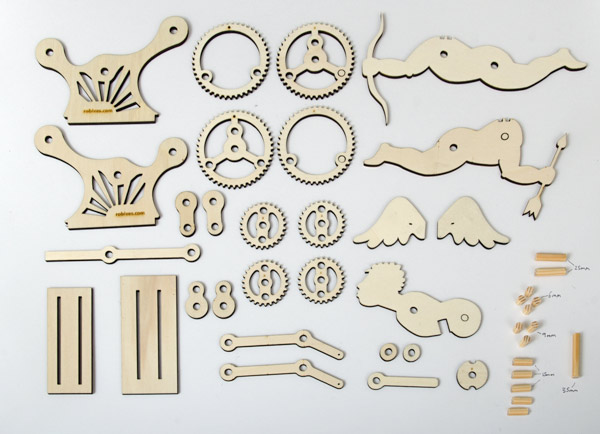
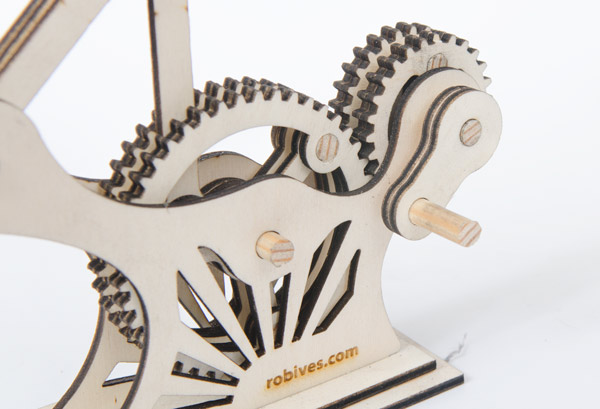
All the parts are cut from 3mm laser ply. You will also need a selection of 6mm diameter dowels cut to length as follows.
6mm x 4 : 9mm x 3 : 15mm x 5 : 25mm z 2 : 35mm x 1
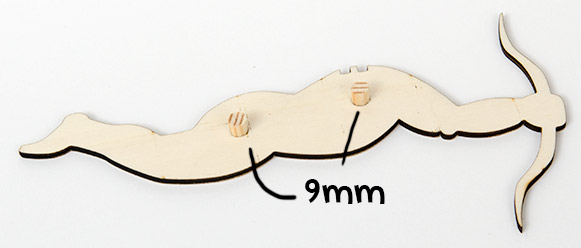
Start by fitting two 9mm long dowels into one of the body sides. They should be a tight fit so you may need to tap them into place with a hammer.
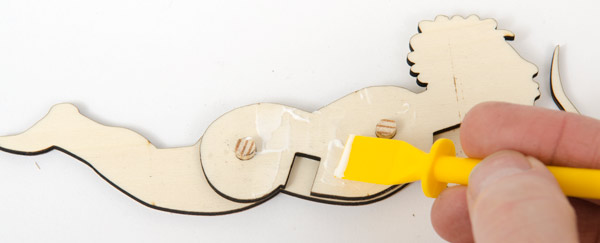
Glue the body middle into place, tap it down and add another thin film of glue.
Fit the other side into place.
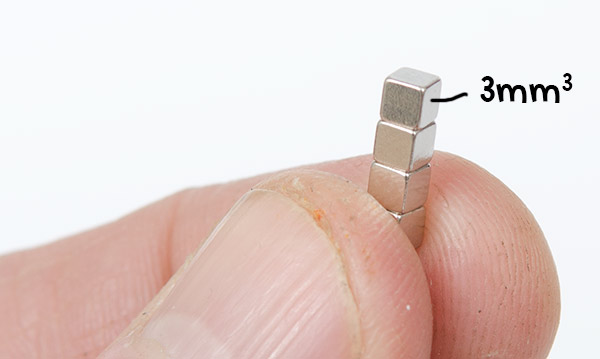
You’ll need four 3mm cube neodymium magnets to attach the wings. I purchased a set from eBay for less than the price of a cup of coffee.
Glue the four magnets into the slots in the body using strong epoxy adhesive (Araldite)
The glue holding the four magnets will need to dry completely.
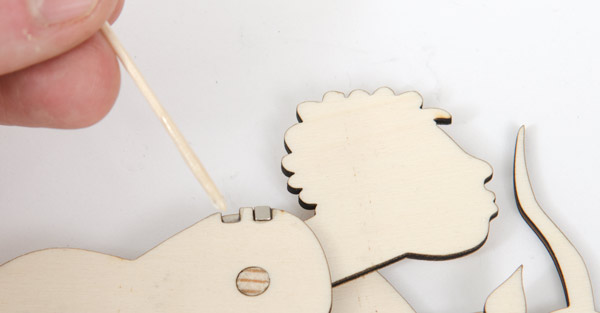
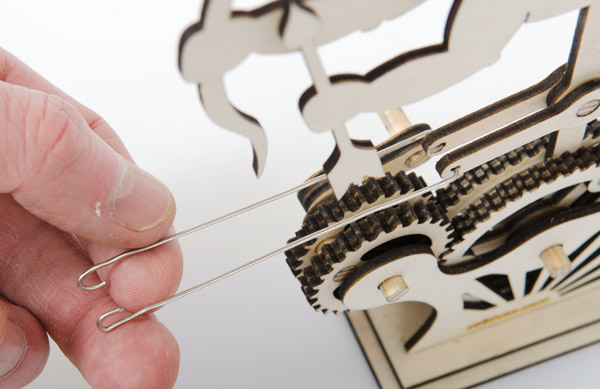
Snip the end off a paper clip to make a crude drill.
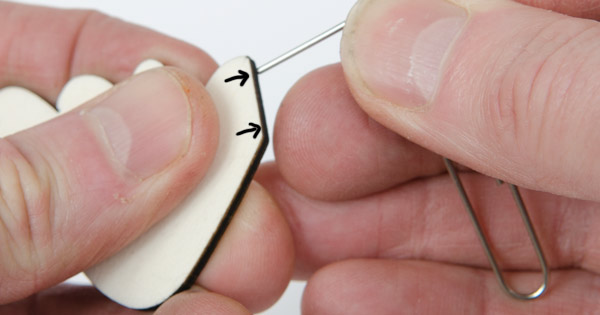
Use the drill to make two small holes in the edge of both wings.
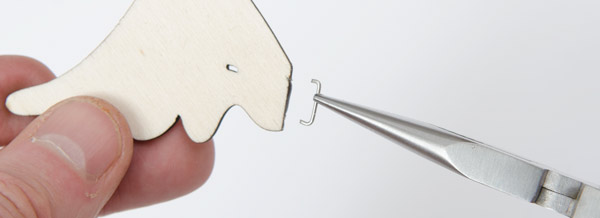
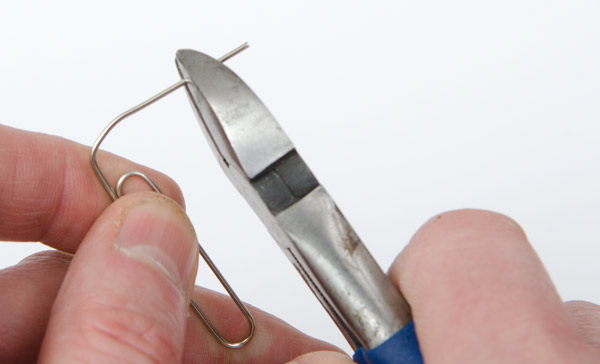
Bend a length of paper clip so that it fits neatly into the two holes.
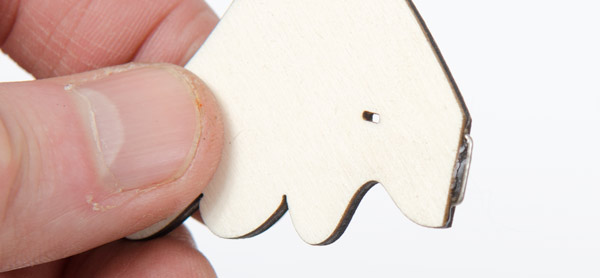
Press the staple home and glue it into place with epoxy.
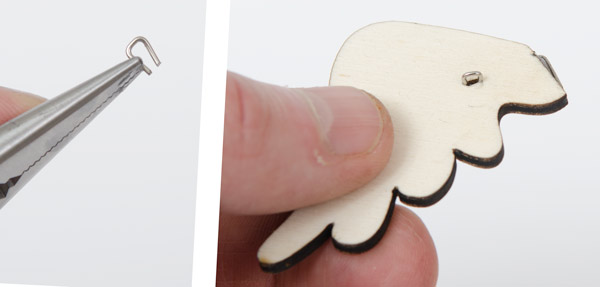
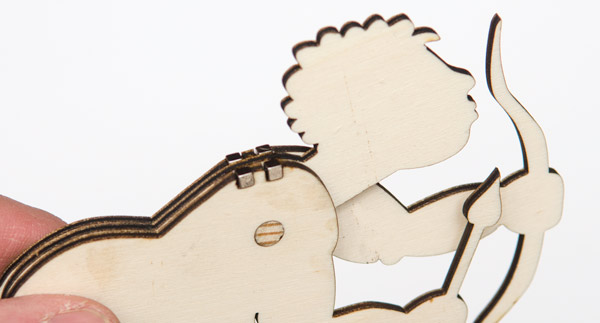
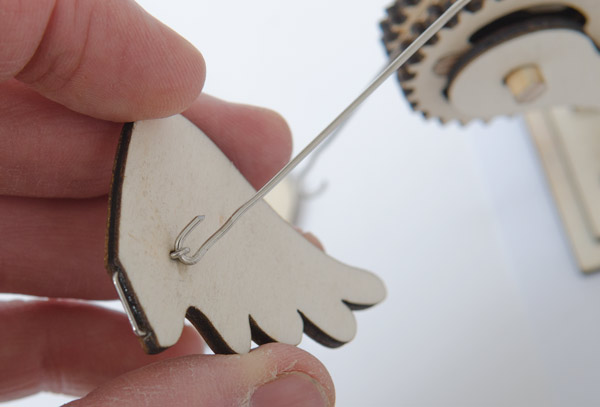
Make a small ‘U’ shape from a length of paper clip and glue it into the slot on the wing.
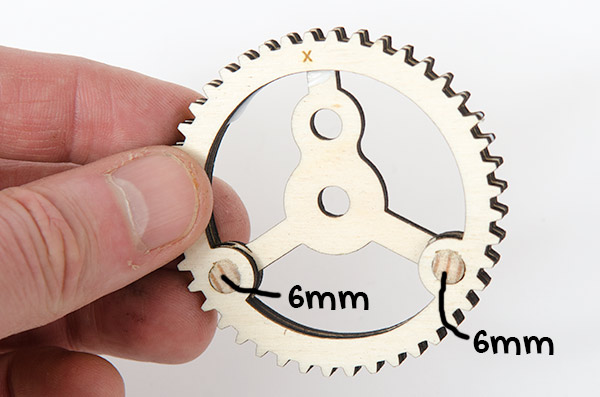
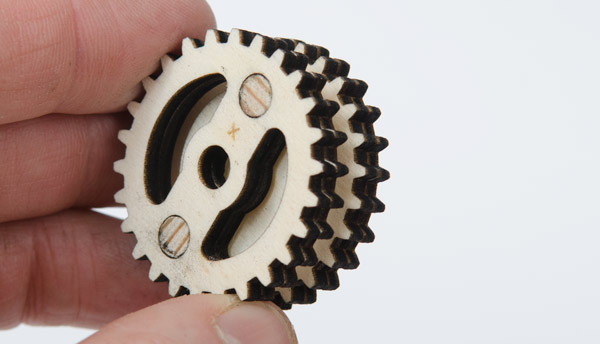
Notice that the larger gears are marked with either an ‘x’ or an ‘o’
Pair up the two ‘x’s as shown joining them together with glue and two 6mm dowels. the dowels must be flush with the surface of the gear. If necessary, file the dowels down. Repeat with the ‘o’ gear.
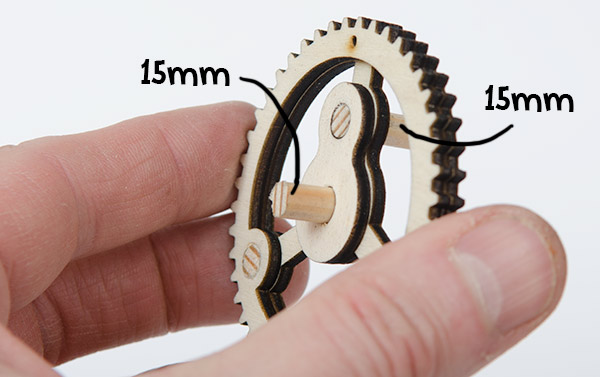
Fit the gear inner into place with a 15mm dowel on either side as shown.
Fit the push rod over the dowel as shown then fit the other gear into place. the push rod must be free to rotate completely inside the gear.
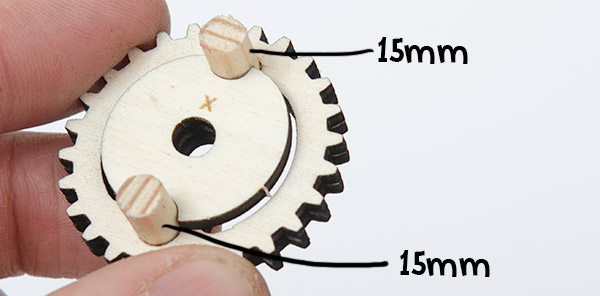
The top front of the smaller gear parts are all marked with an ‘x’.
Fit together two gears and the gear inner with two 15mm dowels.
Add the other two gear pieces.
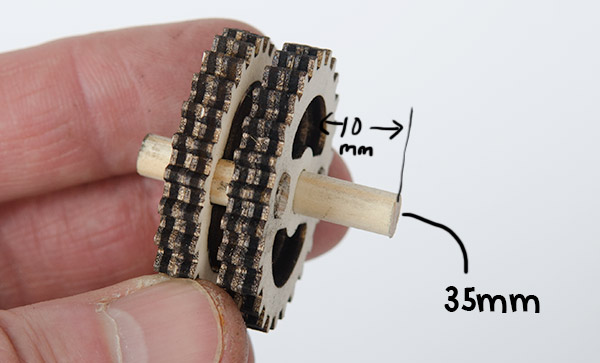
Push the 35mm dowel through the gear so that it sticks out roughly 10mm on one side.
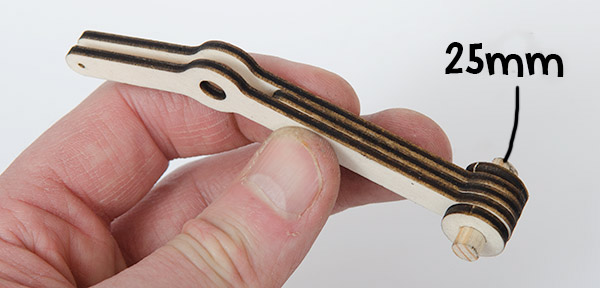
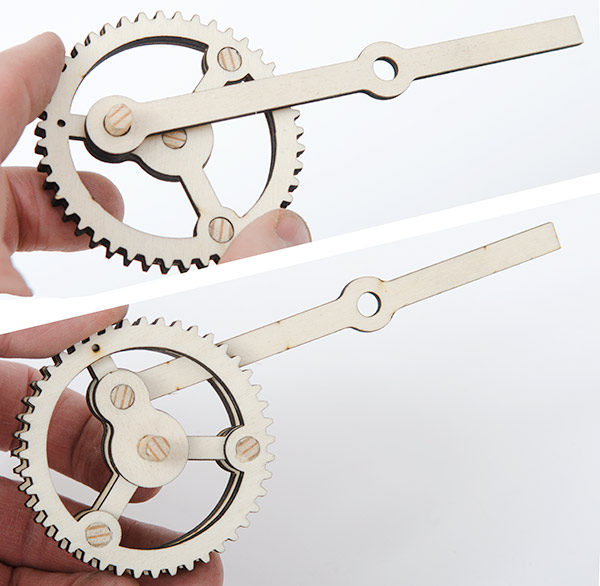
Assemble the linkage as shown carefully gluing it together.
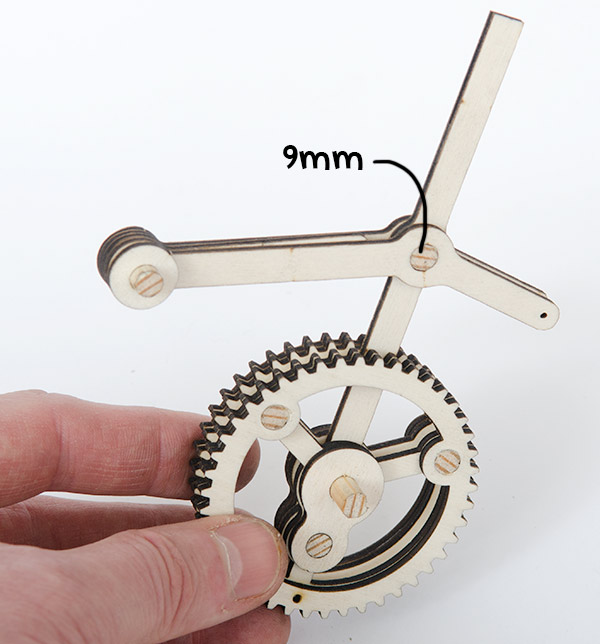
Join the linkage to the push rod with a 9mm dowel. Make sure that it rocks up and down freely.
Fit one of the sides onto the two base pieces.
Fit the linkage and large gear followed by the small gear into the holes in the side piece.
Fit the other side pace into place.
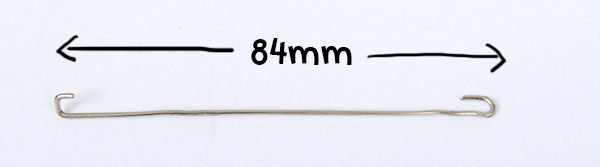
Make up two wing push rods from straightened out paper clips.
Slip the body onto the push rod so that it is facing towards the small gear.
Fit the two wing push rods into the two holes on the end of the linkage.
Hook the other end of the wing push rod into the loops on the wings.
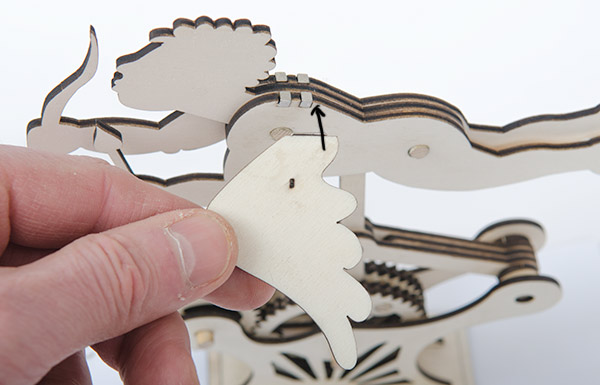
Lift the wing up so that it snaps into place on the magnets.

Repeat the process with the other wing.
Fit the handle parts to the shaft on the small gear.
Complete!
Turn the handle and watch Cupid fly!