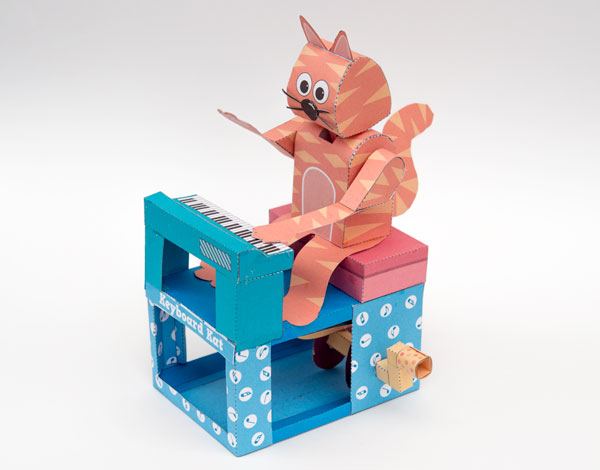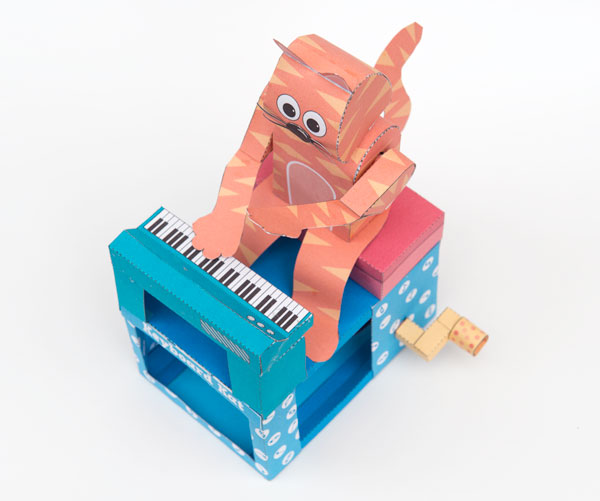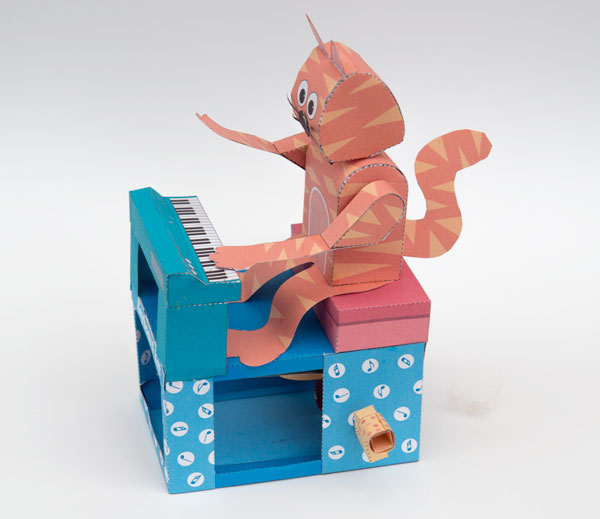
 Keyboard Kat! Turn the handle and the cat tickles the ivories whilst nodding along to the beat! Members and Patrons can download the parts for free at the link. Non-members can join in the fun for £2.50
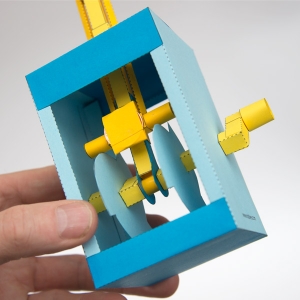
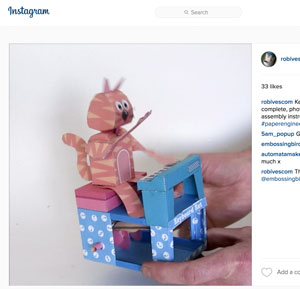
Click the picture to the left to see the model in animated action on my Instagram feed.
Once you have downloaded the parts, print out the pages onto thin card. (230grm/67lb) are ideal. The colour version is printed on both the front and back of the page. Print out the front of a page, flip it over and return it to the printer then print out the back.
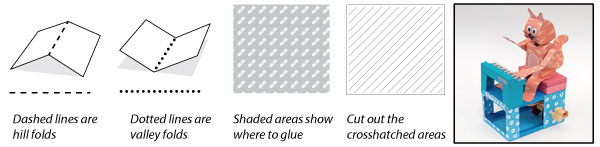
Once the ink is completely dry, score along all the dotted and dashed lines, cut out the holes then carefully cut out the parts.
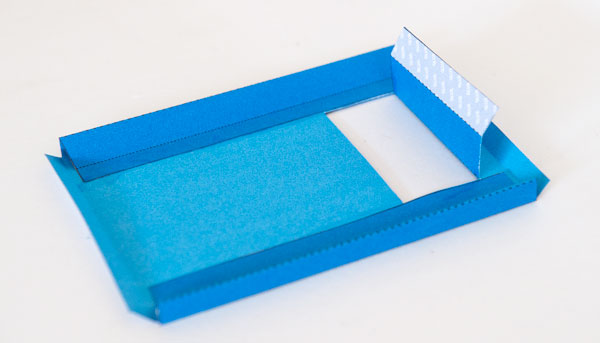
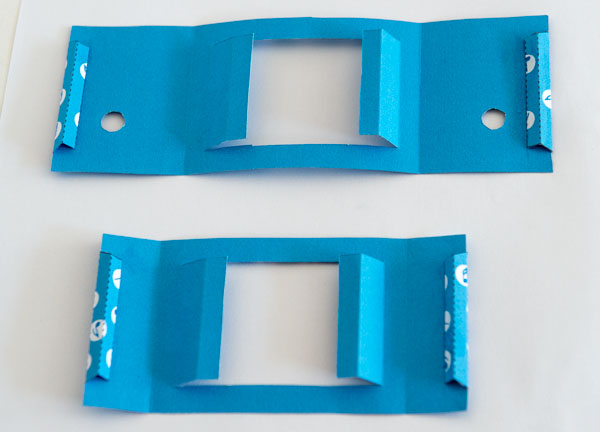
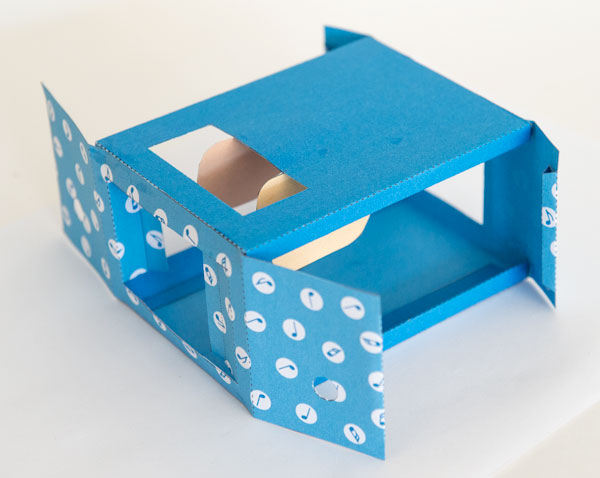
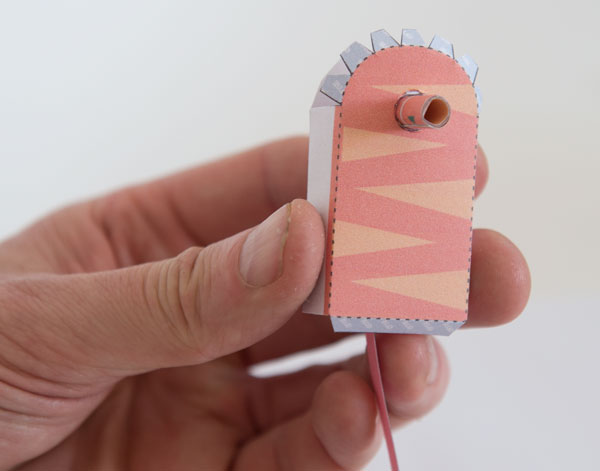
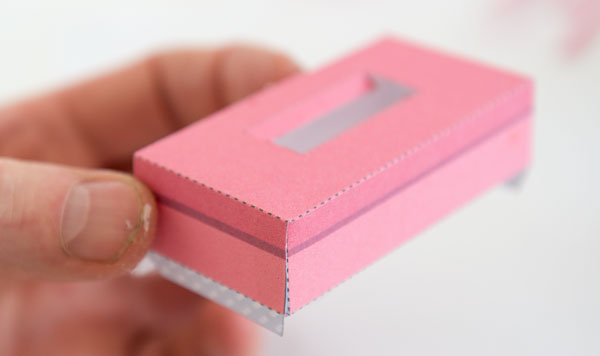
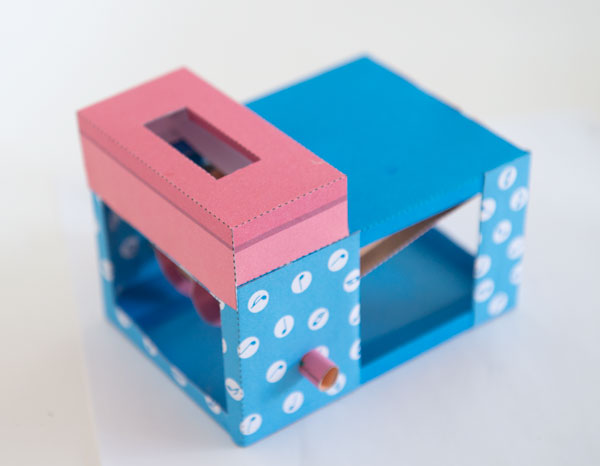
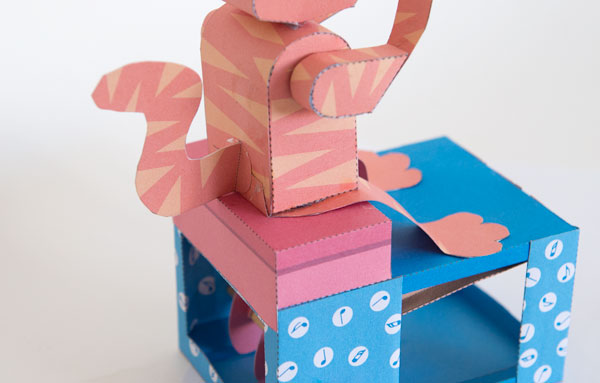
The base and top are basically the same but the top has this extra hole in it. Fold in the sides to make right angle triangles then glue them down.
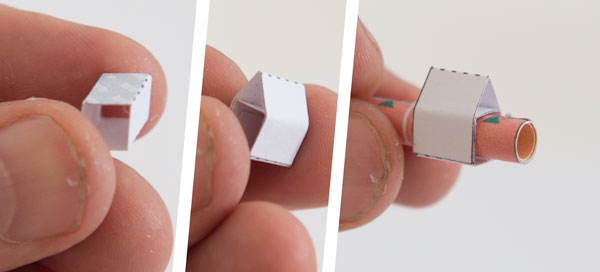
Fold in the end tabs on the end pieces to make triangular tubes.
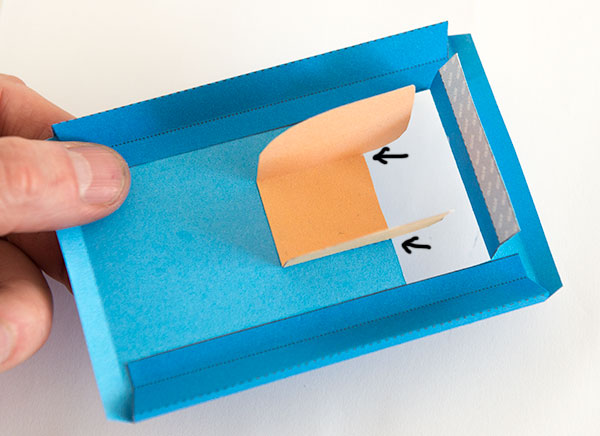
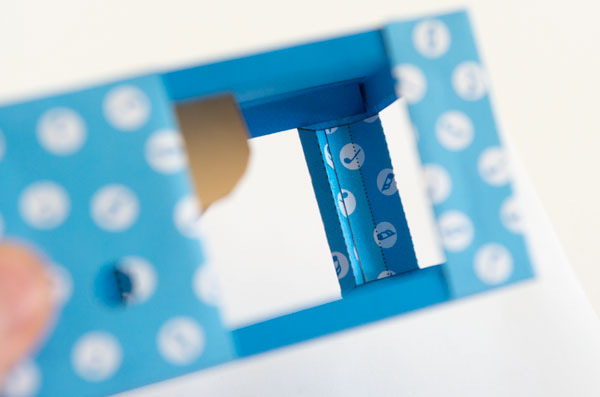
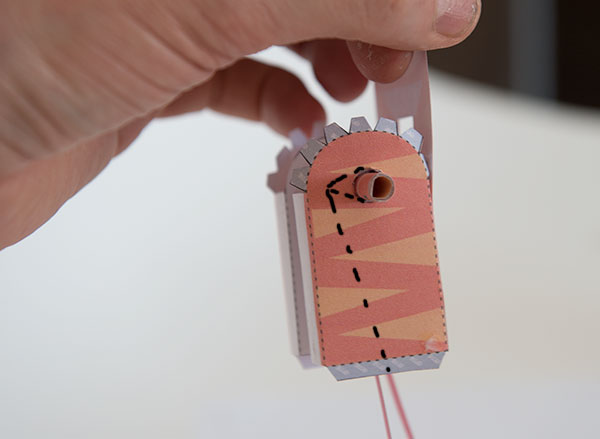
Glue the cam follower spacer to the underside of the top between the two small marks on the top.
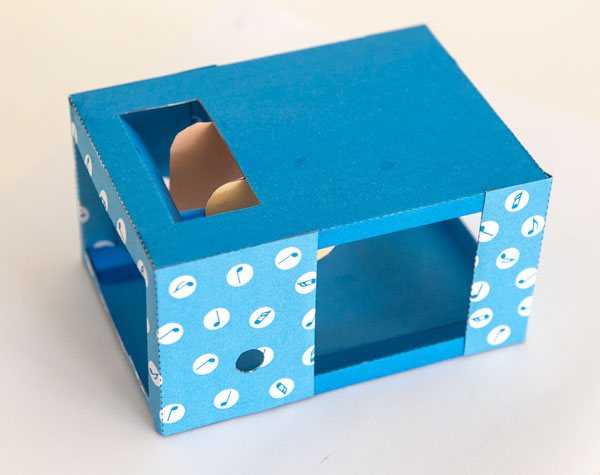
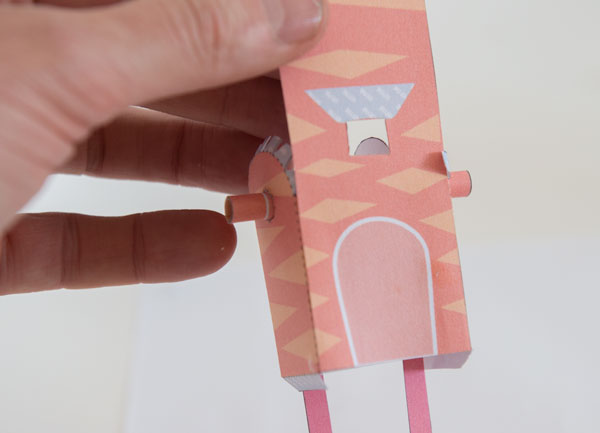
Glue the box ends to the box top. Note the alignment and position of the end with the holes, it is important that it is fitted the right way round.

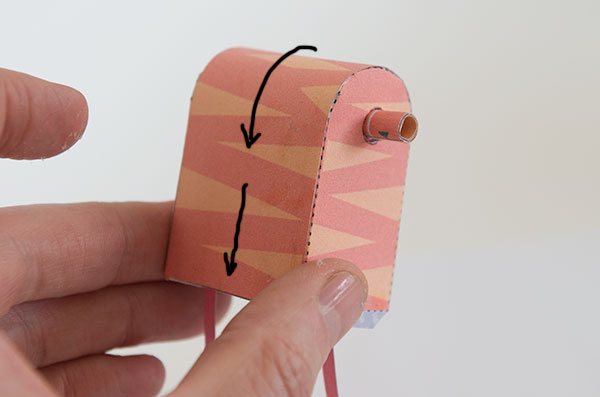
Fold round the box and glue it down.
Glue in the side flaps.
Fold in the small tabs and glue them to the inside wall of the box.
Roll up and glue the four tubes lining up them as accurately as possible with the edge of the glue area.
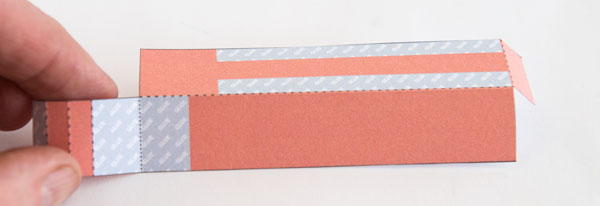
There are various parts that are double thickness card shown below. Fold them round and glue them down as shown. Once the glue is dry carefully cut out the parts.
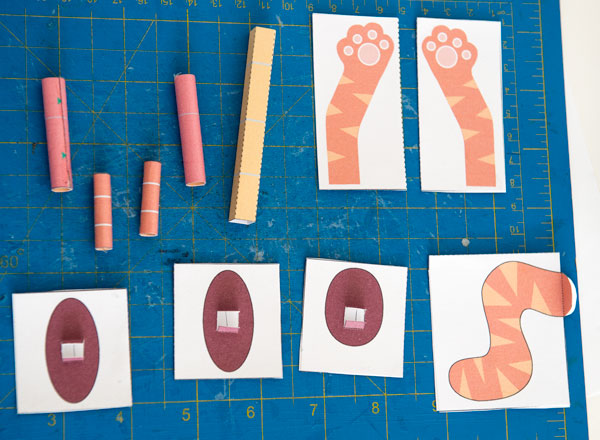
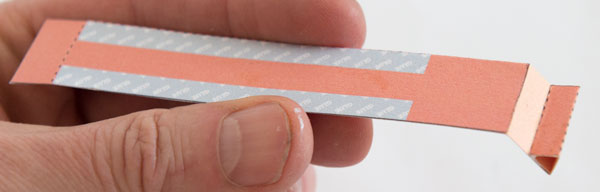
The three cam followers are all made the same way.
Fold over the main body and glue it down to make double thickness card.
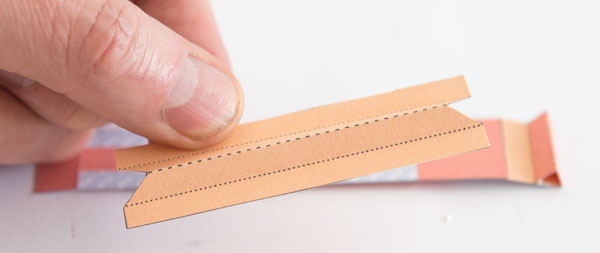
Fold round the tab at the end to make a small triangle tube
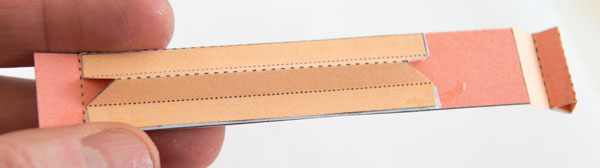
Fold up the stiffener as shown
Glue the stiffener to the cam follower.
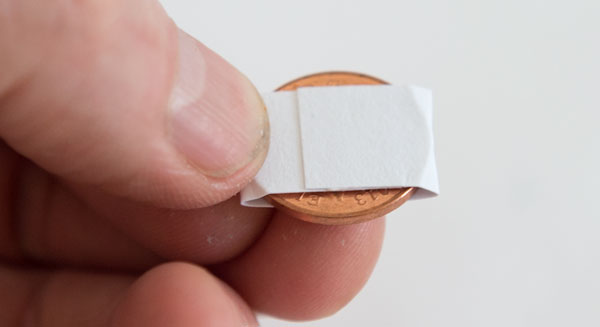
A small coin (20mm diameter, 4gm weight) is used as a weight for each of the cam follows. I used UK pennies. Fold a scrap of card tightly round the coin and glue it down as shown.
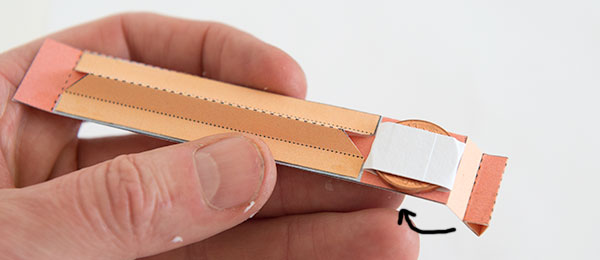
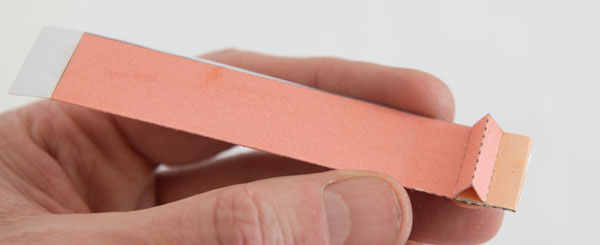
Glue the coin to the end of the cam follower.
Fold the tab with the triangle piece under the cam follower and glue it down.
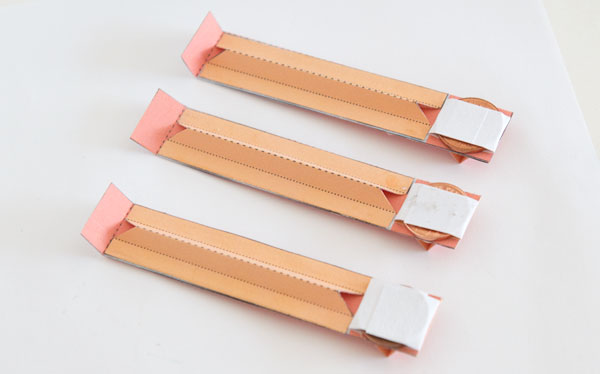
The three cam followers completed.
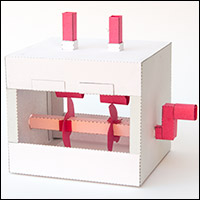
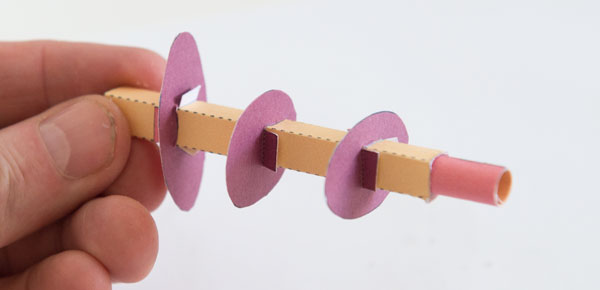
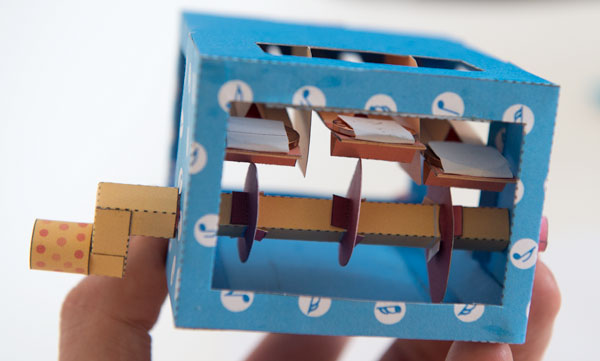
Fit the cams to the square cam shaft. The single lobed cam fits in the centre. The two lobed cams should be at ninety degrees to each other. I didn’t glue them so that I could try different cam profiles at a later date. Glue one of the axle tubes into the square tube. Don’t fit the other one yet.
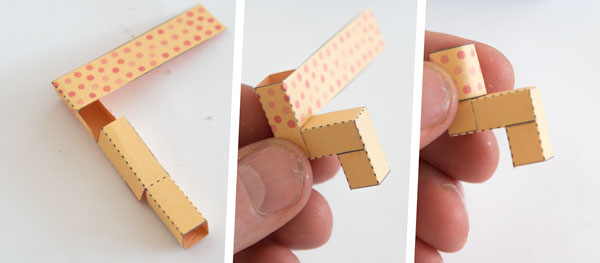
Assemble the handle in three steps.
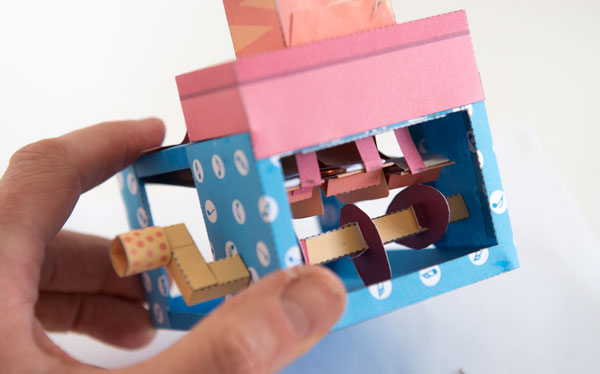
Thread the cam shaft into the box then fit the final axle tube into place on the right side of the picture. No need to glue it, friction will hold it into place.
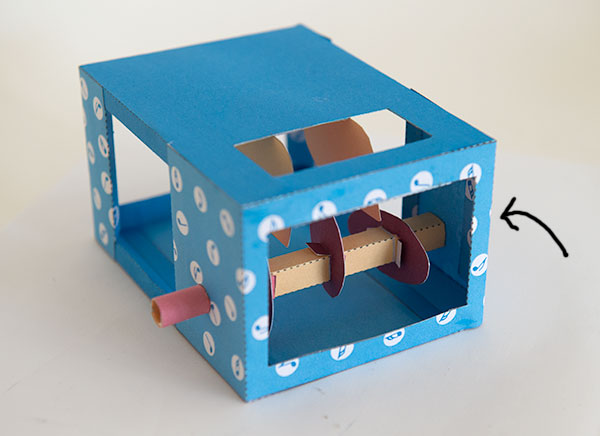
Thread the three cam followers into the box above the cams and glue them to the box end as shown.
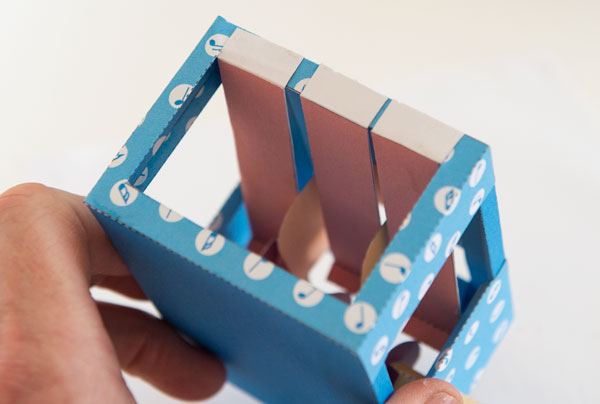
Glue the handle into place. The view from the other end. Turn the hand and the cam followers should move up and down.
Assemble the two arm axles as shown.
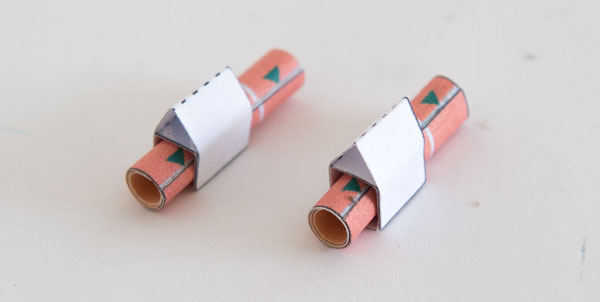
Glue a strap to each arm axle.
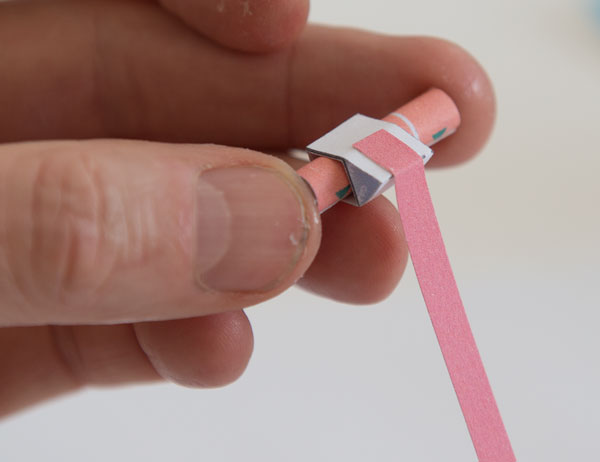
Fold a body sides round an arm axle and glue it closed. When you pull the strap the arm axle should turn. Make up the other body side in the same way but with the pull strap on the other side of the axle.
Join the two body sides using the body front as show. The pull straps should be at the back of the body on both sides.
Roll the body right round and glue it down.
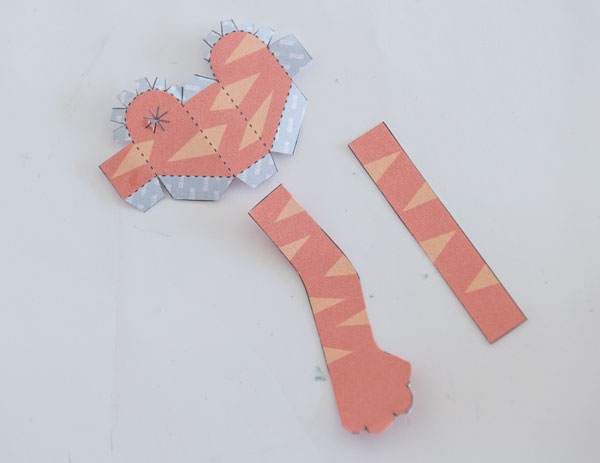
The arm parts. Note that the left and right arm parts are different, don’t mix them up. Shown here are the left arm parts.
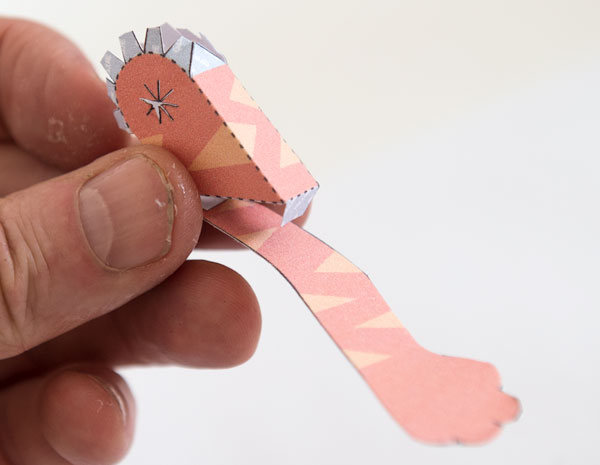
Fold found and glue the upper arm. Glue the lower arm to the back tab on the upper arm.
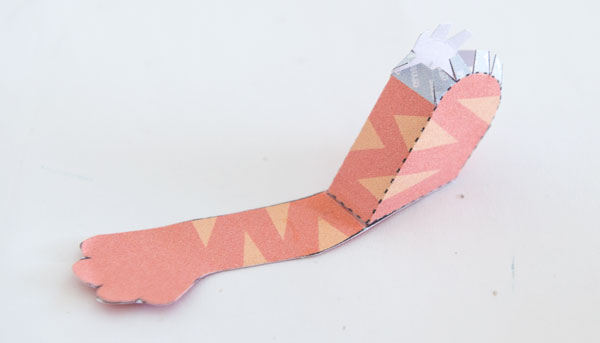
Glue the upper and lower arm together.
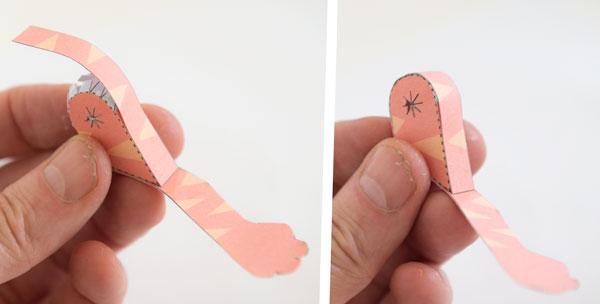
Glue the arm cover into position. (This part is the same on both arms.) Make up the other arm in the same way.
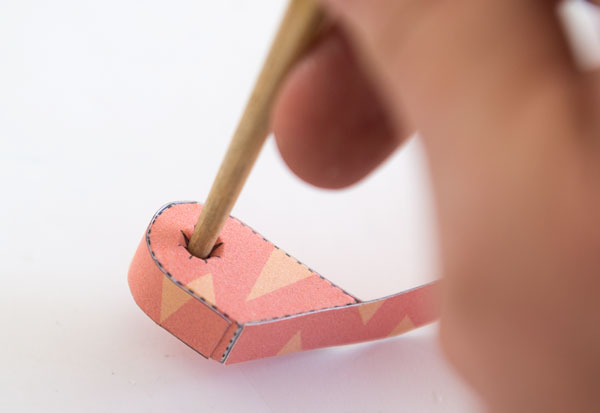
Gently open out the hole in the arm with a chop stick or other suitable implement.
Both arms assembled.

Turn the arm axles so that the internal swing arm is horizontal then glue the arm onto the axle so that the forearm is also horizontal.
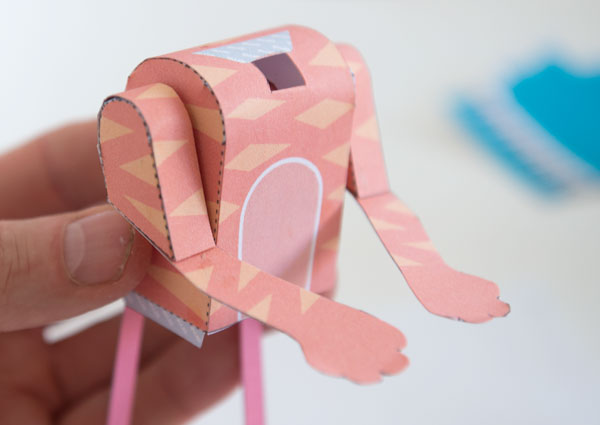
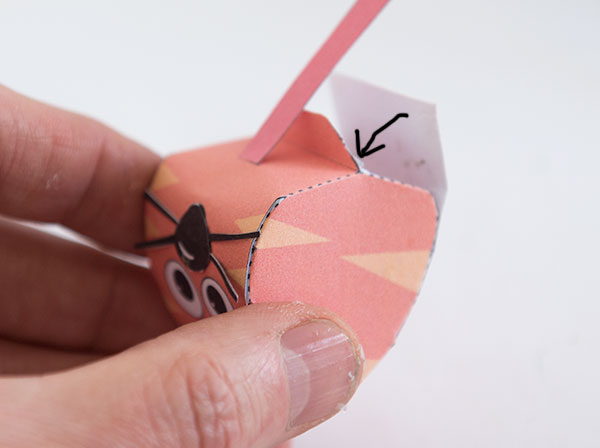
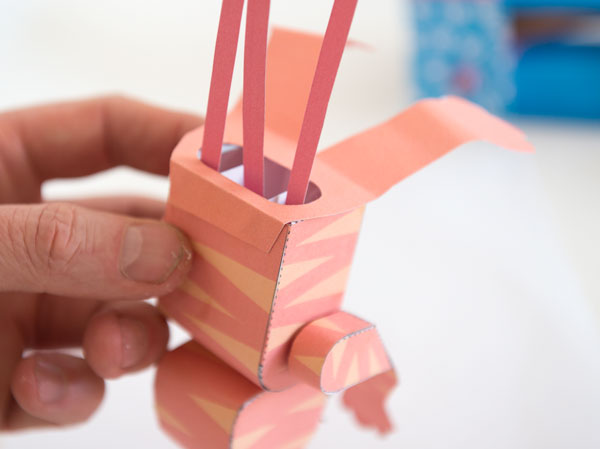
The black line on the head is not a mouth, it is actually a slot for a strap to fit through!
Thread the final strap through it and glue to the inside of the head.

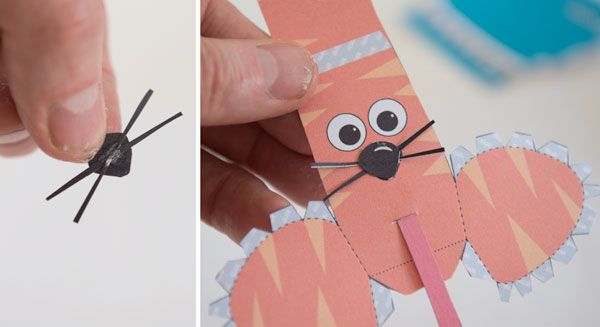
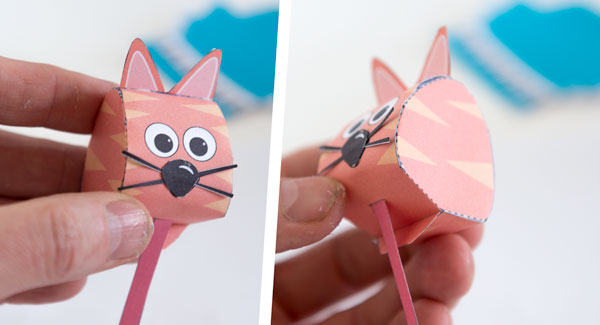
Assemble the nose and whiskers and glue them into place.
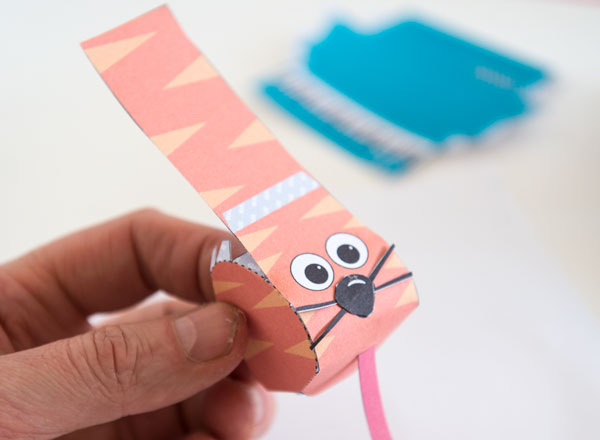
Work your way round the head gluing the front of the sides.
Glue on the ears.
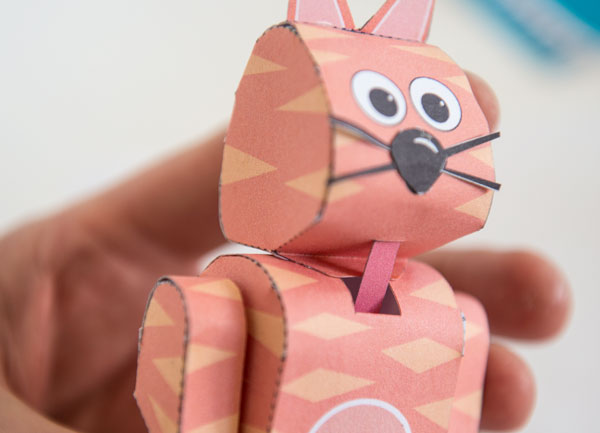
Thread the head strap down through the hole on the body then glue the head to the body.
Assemble the stool.
Glue the stool to the box.
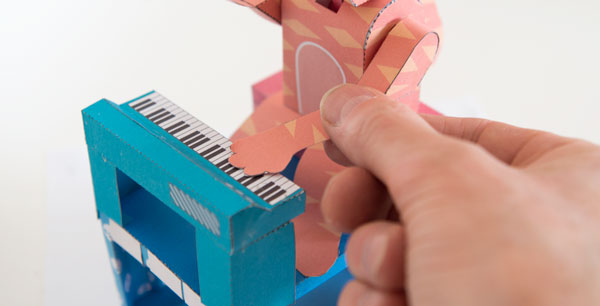
Thread the three straps through the hole on the legs then glue the legs to the body.

Thread the straps down through the hole in the stool and out through the back of the box.
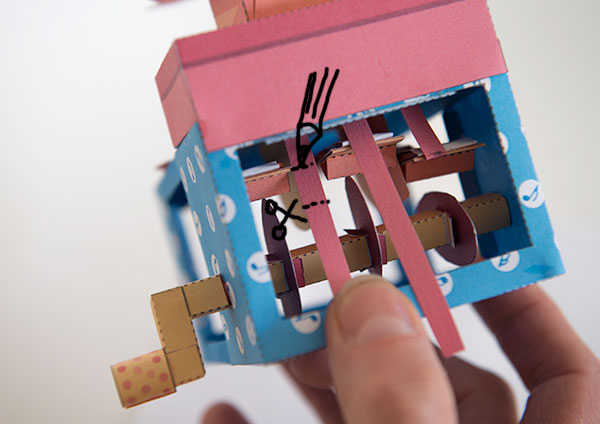
Fitting the straps to the cam followers is the same process for each cam.
Turn the cam until the cam follower is at its maximum height. Pull the strap so that the forearm is horizontal and mark with a pencil where the strap meets the cam follower. Cut off the excess strap approximately 5mm below the mark then crease the strap at the pencil mark. Glue the strap to the cam follower.
Assemble the keyboard as shown.
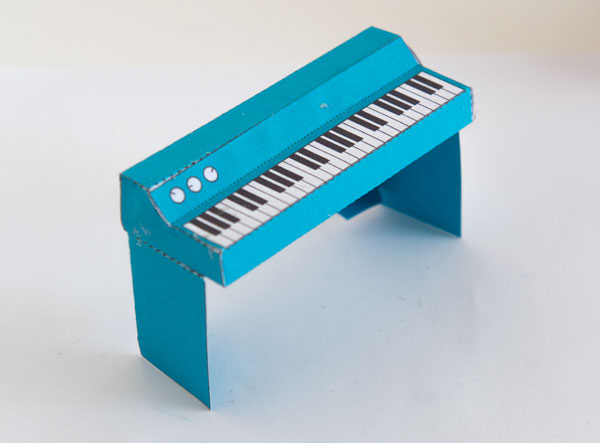
Fit the keyboard to the box so that the keyboard is under where the arms fall naturally.
With the arms at their lowest point you may need to make small adjustments by gently bending the forearm so that they just touch the keyboard.
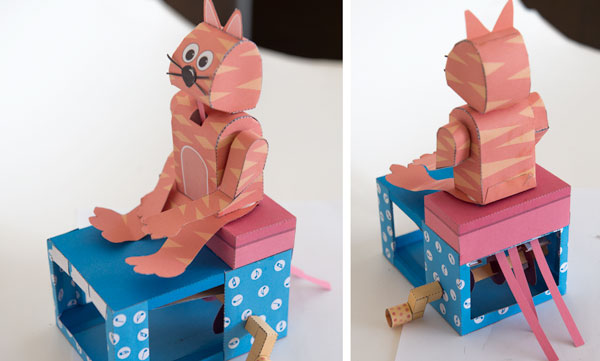
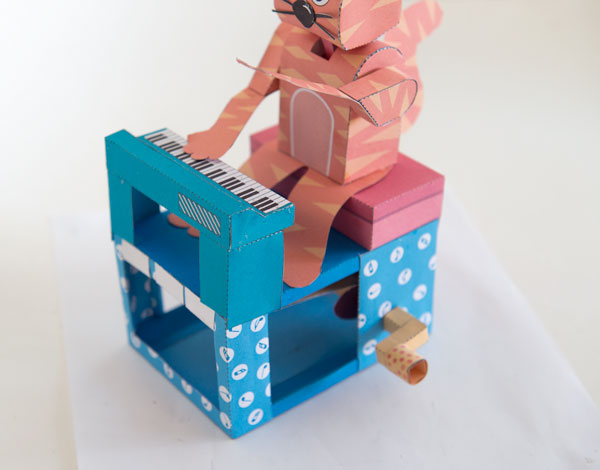
Glue the tail to the cat, and glue the name plate across the front of the box to complete the model.
Once the glue is dry, turn the handle to bring the Keyboard Kat to life!