Index mechanism.
Essential Mechanisms.
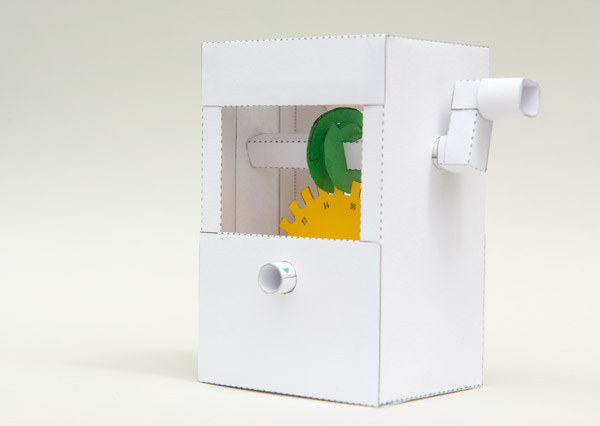
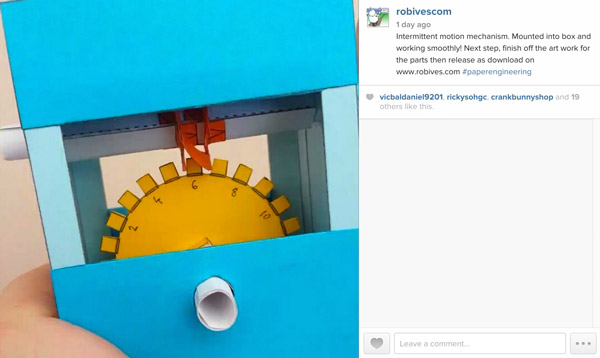
An indexing mechanism or intermittent drive is a mechanism that turns a wheel or shaft a small amount then stops for a set amount of time the turns again repeating this process over and over as the drive handle is turned.
Indexers are used for all sorts of things including digital displays when a sequential number can be displayed or in machines used to cut gear teeth.
This paper indexer has a twenty four tooth drive wheel. It takes twenty four full turns of the handle for the geared wheel to make one full turn. Download and make this model to find out first hand just how an indexer works. Use it as an exercise in pure mechanism or as the starting point for your own designs.
In this Instagram video you can see the indexer in action.
Paid subscribers can download the project for free. Thanks for signing up! Non-members can download the parts for £2.50
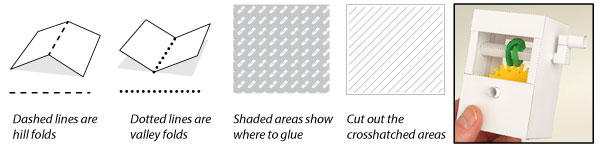
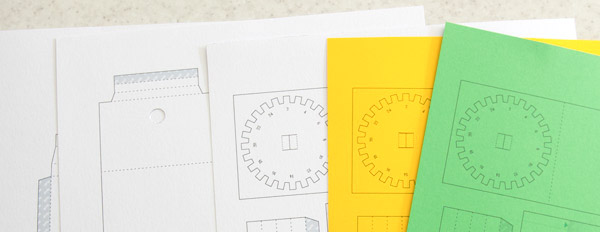
Print out the parts onto thin card (230 gsm / 67lb) Score along the dotted and dashed line and cut out the holes before carefully cutting out the parts.
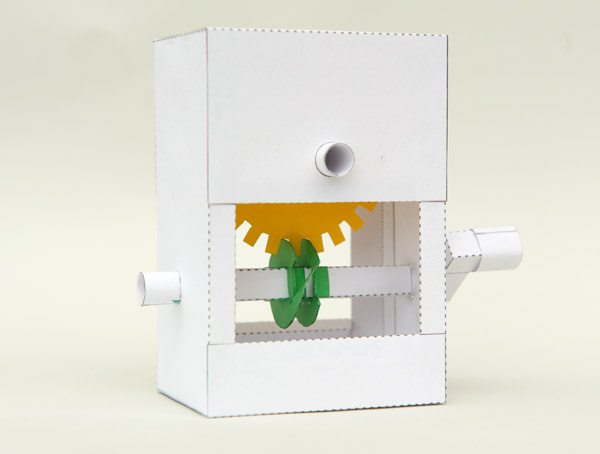
I printed the box parts onto white card and the mechanism page onto coloured card so that the mechanism would stand out in the finished model.
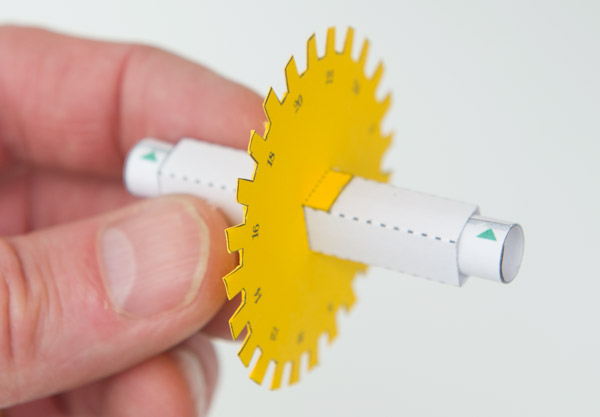
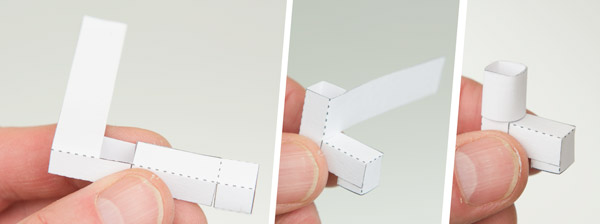
Roll up and glue down the two tubes lining up the ends with the points of the arrows.

Fold over the gear and glue it down to make double thickness card.
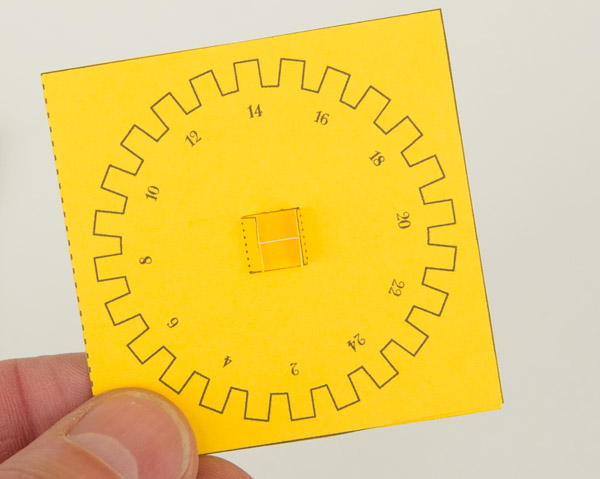
Once the glue is dry carefully cut out the teeth.
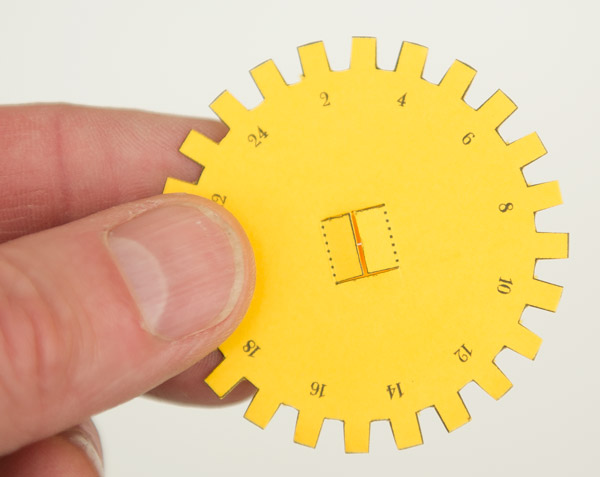
Thread the gear onto the gear axle and glue it into position with it lined up with the grey line.
Thread the round axle into place. No need to glue, friction will keep it in position.
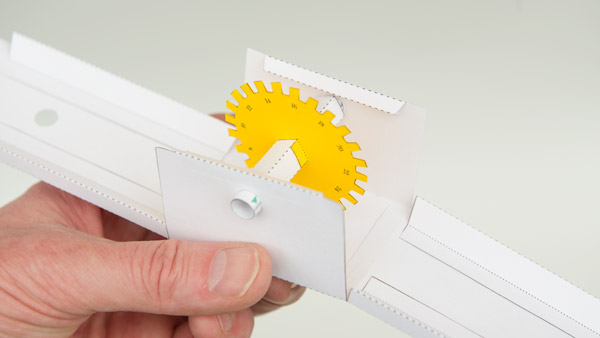
Fold over and glue down the two plates making double thickness card.
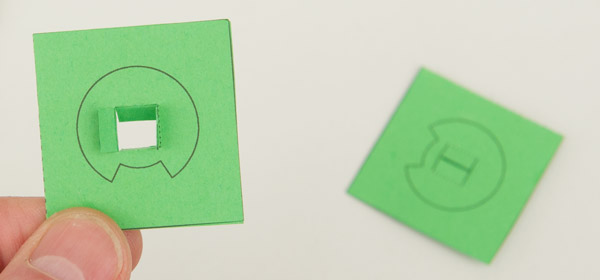
Carefully cut them out.
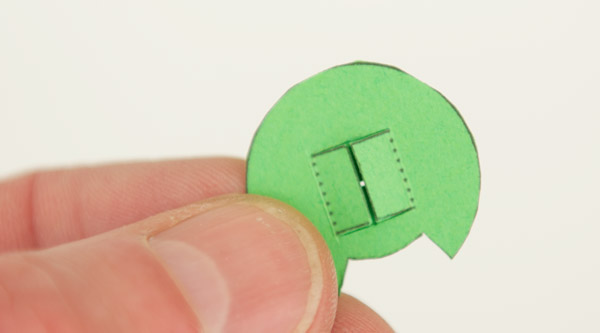
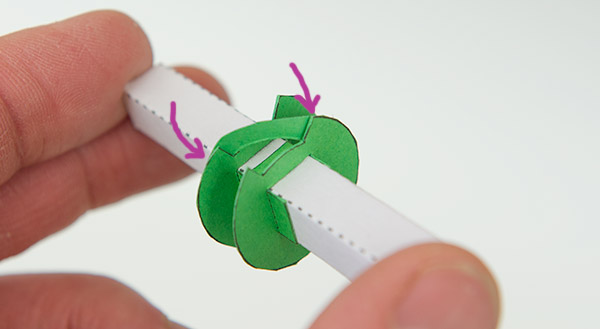
Thread the two plates onto the shaft lining them up with the grey lines.
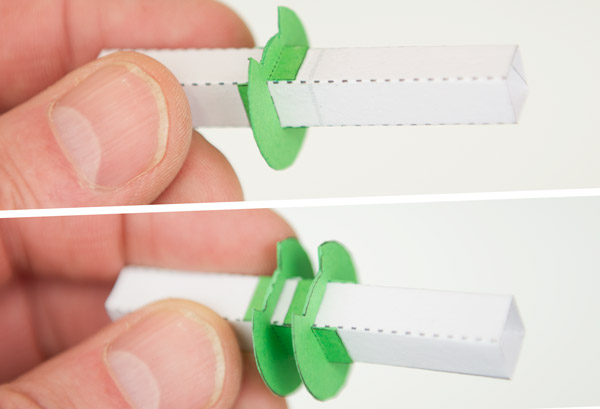
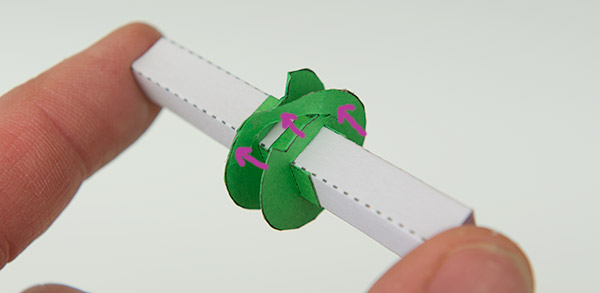
Glue the two swashes into place back to back. They link the two plates together as shown and will push the gear forward on tooth at a time.
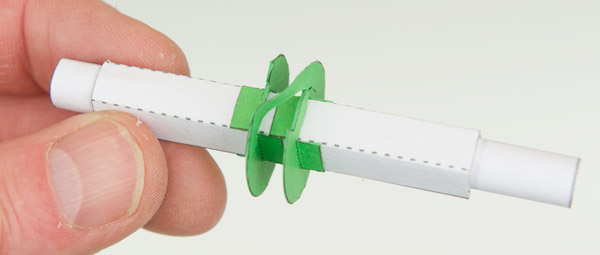
Thread the longer round shaft into place in the square tube to complete the indexer shaft. Again, no need to glue, friction will keep it in position.
Assemble the box sides. The triangle tubes are right angled triangles.

Assemble the top and bottom. The triangle tubes are equilateral triangles.

Assemble the handle in three steps as shown.
Glue together the four parts of the box in the order shown. Note the positions of the various holes.

Fold up the box sides as shown and fit the gear into position. Make sure that it turns freely. If it is a tight fit expand the size of the hole carefully with the body of a pen.
Fold up the box side and thread the indexer in through the holes in the box.

Close the box and glue down the various flaps.
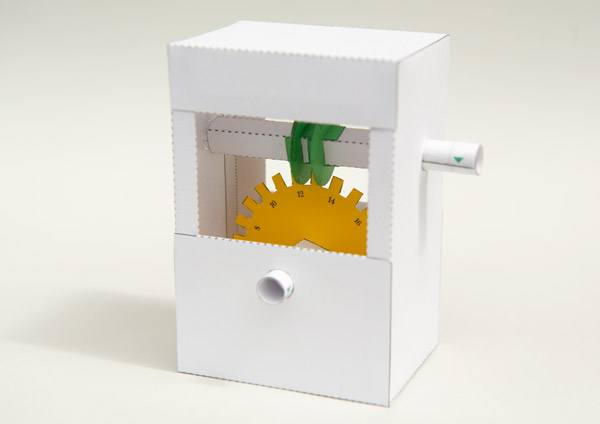
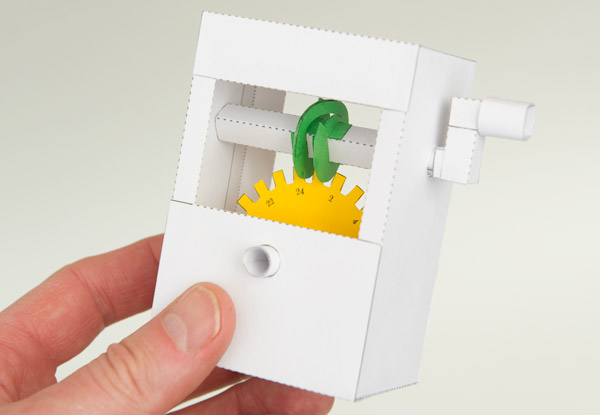
Complete the mechanism by gluing the handle into position. Once the glue is dry turn the handle and marvel as the gear is indexed fifteen degrees at a time!
Don’t forget that if you are using this model as a starting point for your own designs it could be used either way up.