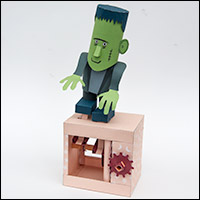
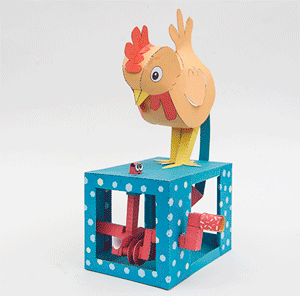
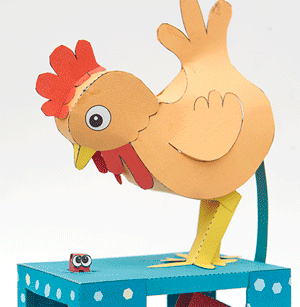
 Turn the handle on the Hen Pecked paper animation kit and the hen tries unsuccessfully to peck the worm. Meanwhile the worm tries unsuccessfully to get some fresh air but keeps having to dodge out of the way of the voracious hen. I’m sure it is an allegory for something.
All the parts for the model are included in the download, you just need to print them out onto four sheets of thin card and you can make your very own allegorical automaton!
Check out the YouTube clip here:
Members can download the parts for free from the link, Patreon patrons will receive the file in their patreon feed. Thanks for signing up! Non members can join in the fun for £2.50. Print the parts onto thin card (230 gsm / 67lb) The model includes both a coloured and an uncoloured version. For the coloured version each sheet has a front and back. Print the front onto the card, flip the sheet over and return it to the printer to print the back.
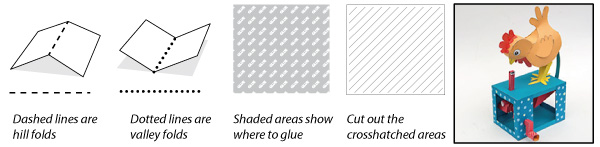
Score the dotted and dashed lines and cut out the holes before carefully cutting out the pieces.
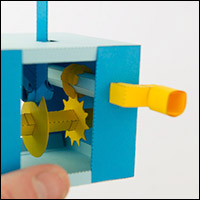
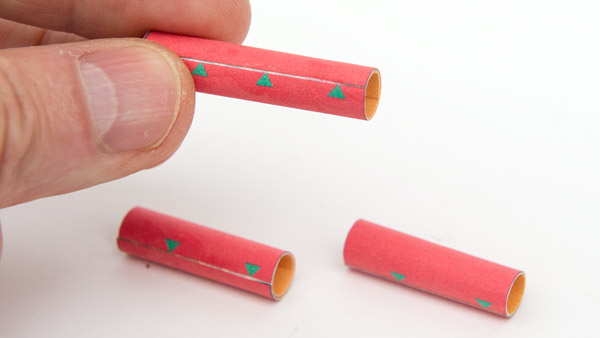
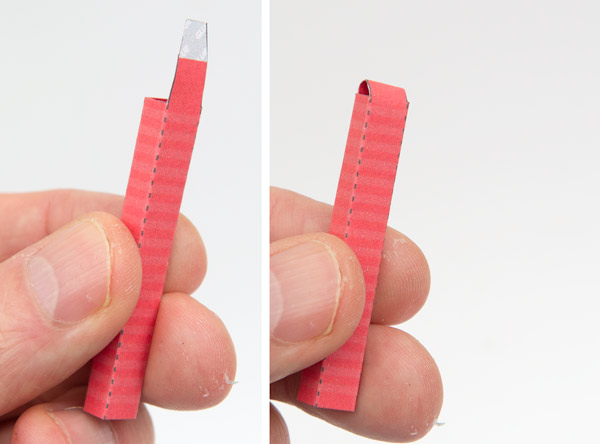
Roll up and glue down the three axle pieces lining up the edge with the point of the arrows.
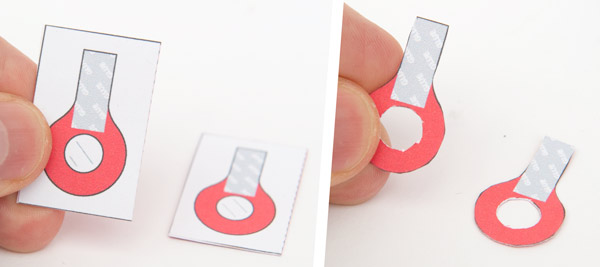
Fold over and glue down the crank ends to make double thickness card. Once the glue is dry carefully cut out the hole and the pieces.
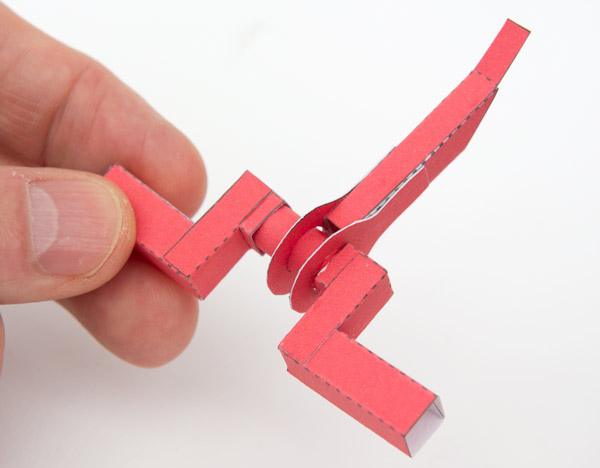
Glue together the push rod. Thread the crank ends onto one of the short axle tubes and glue them to the push rod
Assemble the two crank pieces.
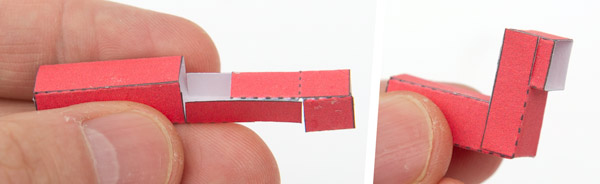
Glue the crank pieces to the axle as shown.
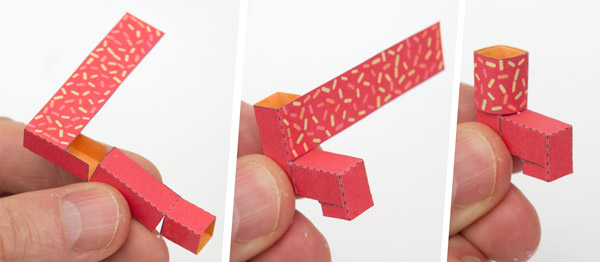
Assemble the handle in three steps.
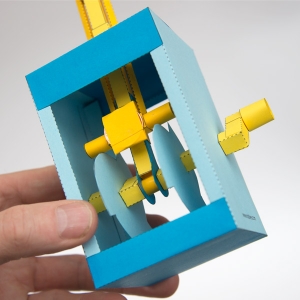
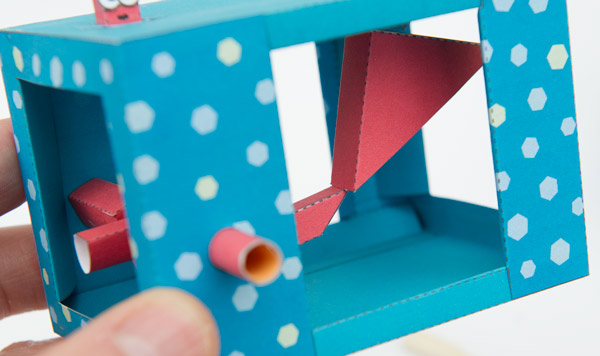
Fold round and glue the tabs on the box top and base making right angled triangles.
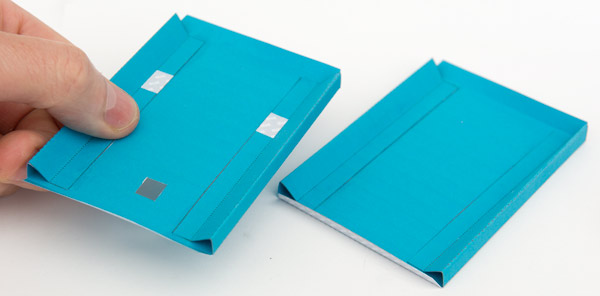
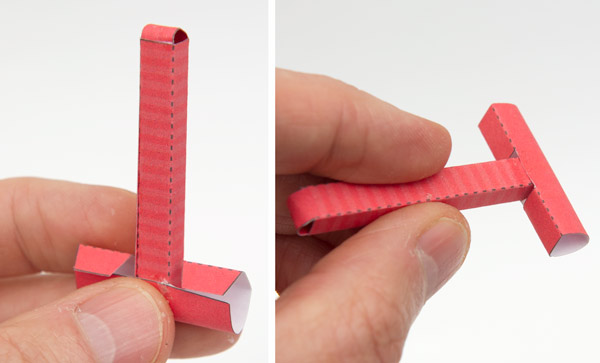
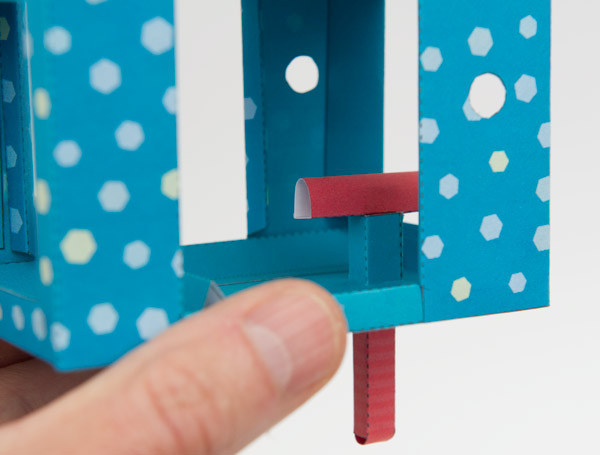
Assemble the bell crank stand and glue it to the underside of the box top between the two grey areas.
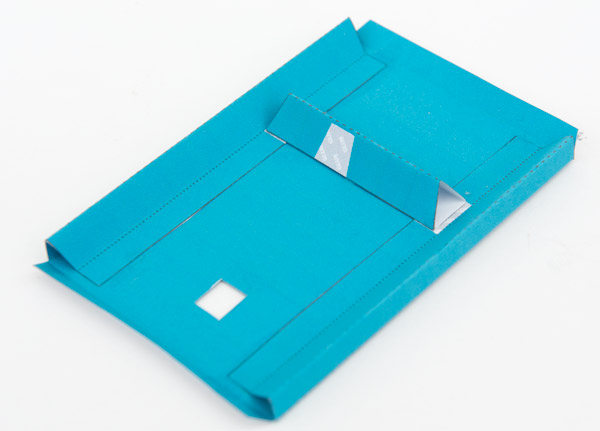
Fold round and glue the tabs on the two box ends making equilateral triangle tubes.

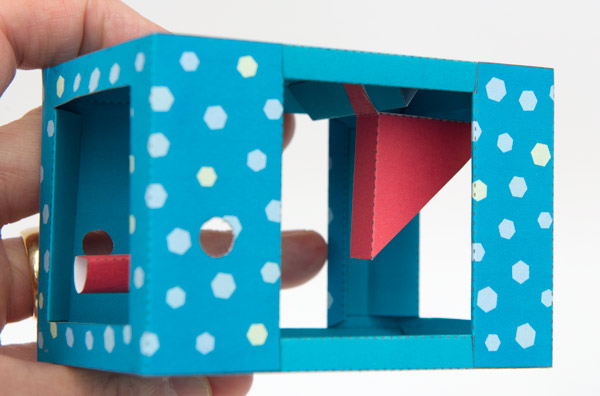
Glue the box end with the holes to the box top. Note the arrangement in the picture.
Glue in the other box end and the box base.
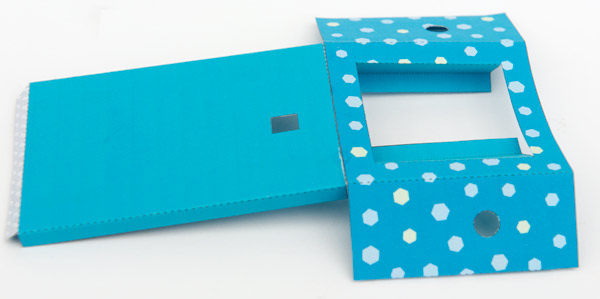
Glue the sides into position.
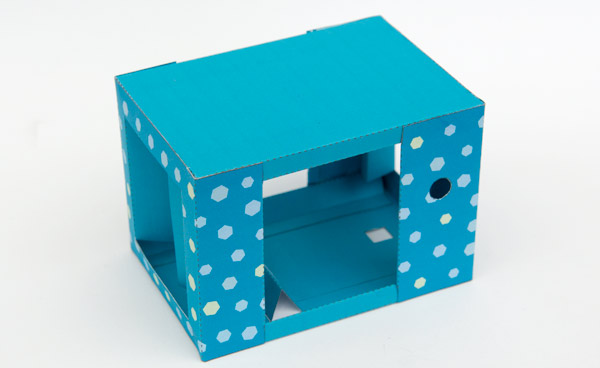
Fold in the tabs as shown. Note that the tabs next to the holes tuck under so that they don’t obstruct the holes.
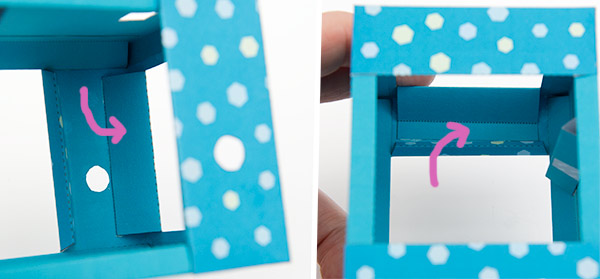
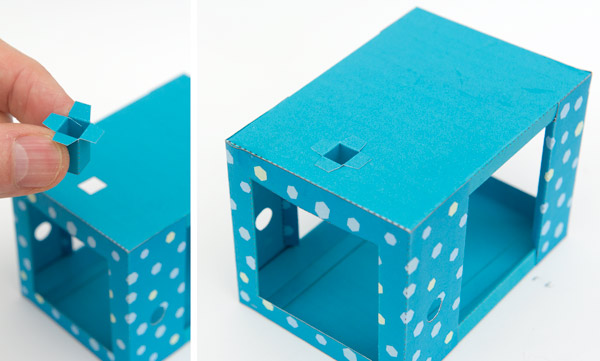
Assemble the worm hole and fit it into position.
Assemble the worm as shown.
Curve round the worm base and glue it into position as shown.
Thread the worm up through the worm hole, this picture shows the box inverted.
Glue the eyes to the worm head.

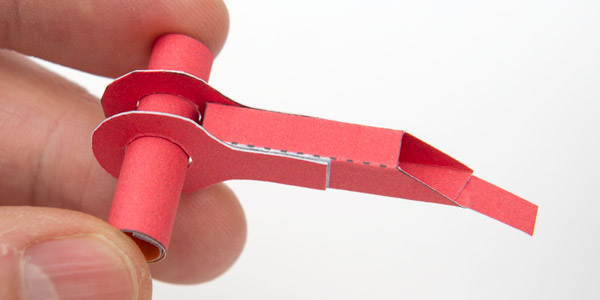
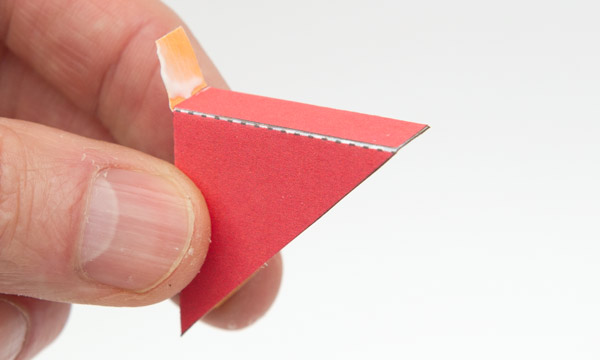
Assemble the bell crank.
Glue the bell crank to the bell crank support as shown.
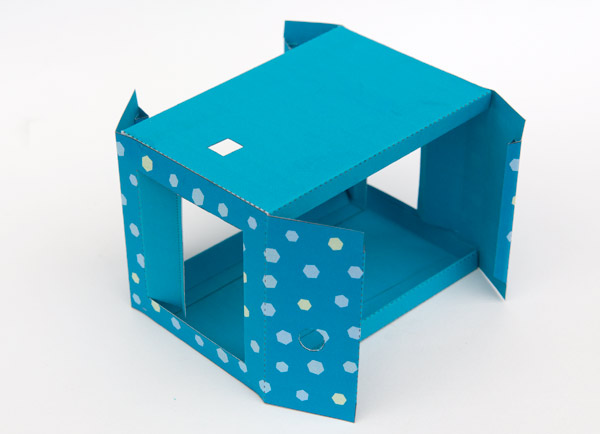
Fit the assembled crank into the box, slide the push rod to one side and let the worm base rest on the other side. Fit the axle tubes into place with the longer tube to the right.
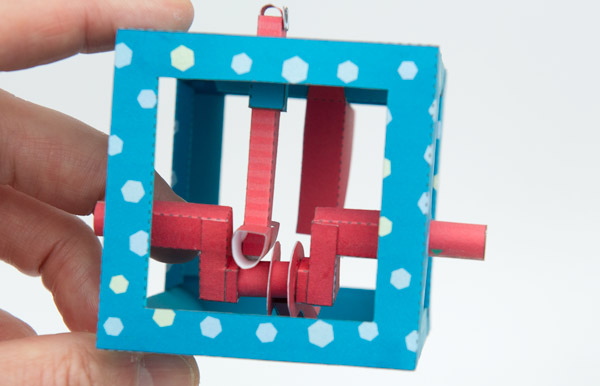
Glue the tab to join the push rod to the bell crank.
Glue the handle to the longer axle tube.
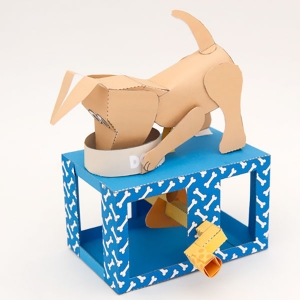
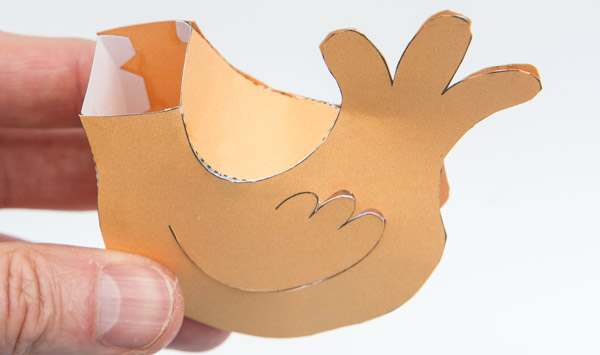
Making the Hen.
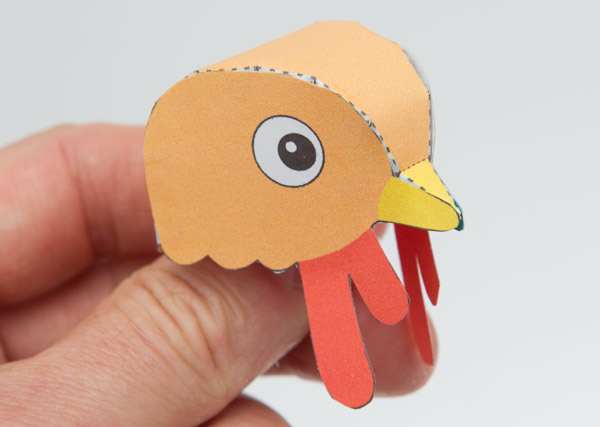
Assemble the three parts of the head.
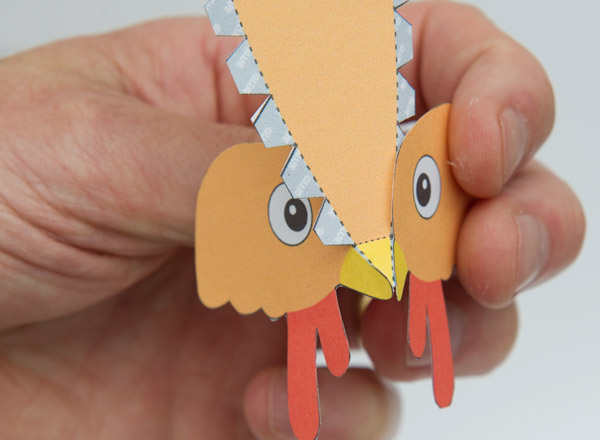
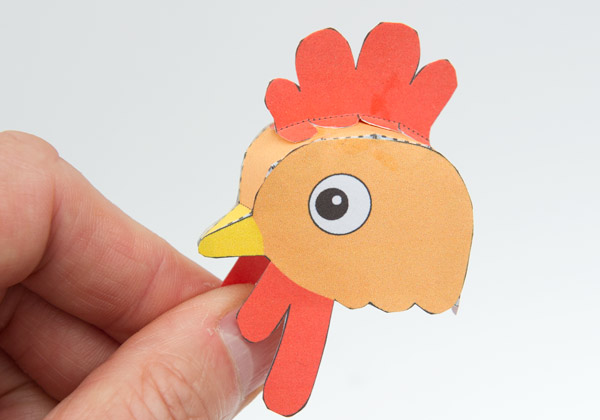
Fold over and glue down the comb then carefully cut out the double thickness card.

Glue the comb to the centre of the head.
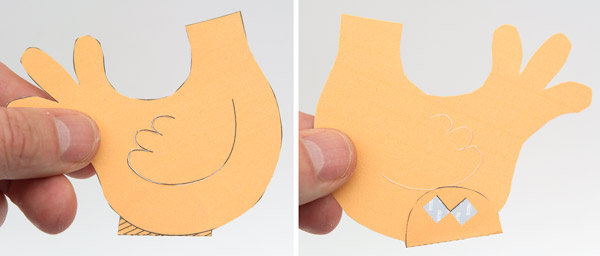
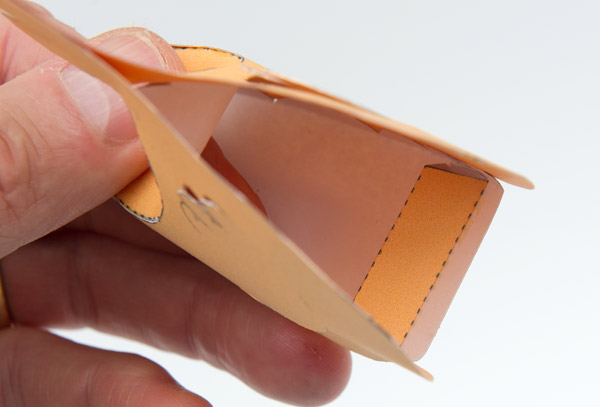
Fold the flap on the hen-side round and glue it down. Once the glue has dried cut off the cross hatched section.
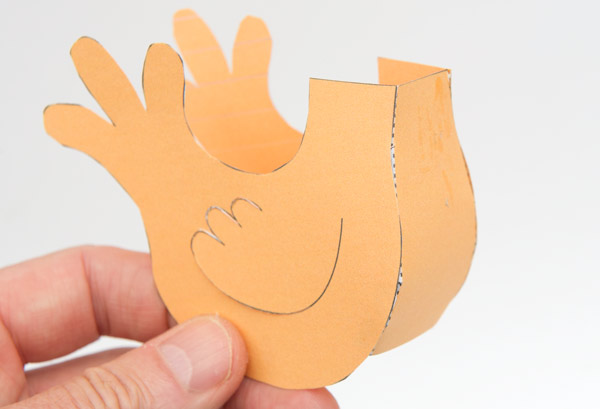
Glue the front of the hen into place aligning the top edges.
Glue in the hen top.
Fold round and glue together the leg stand then glue it into place inside the body lining up the edge with the edge of the body.
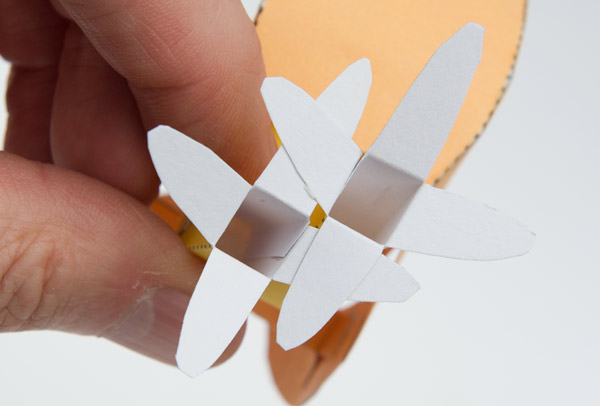
Glue together the legs and glue them into place on the leg stand.
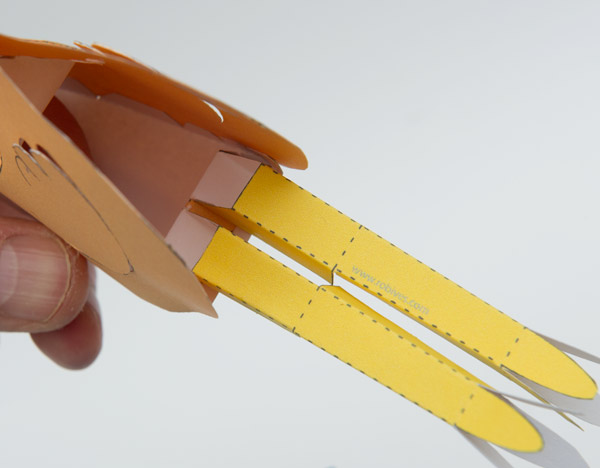
Glue the leg stop to the grey areas inside the body.
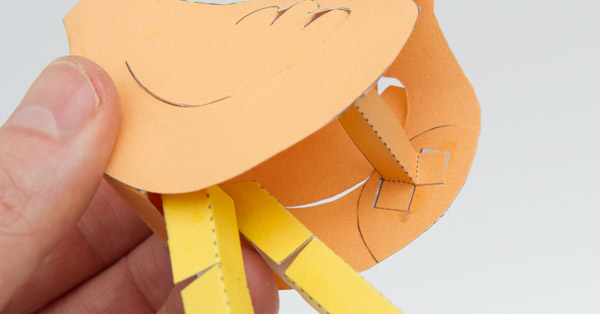
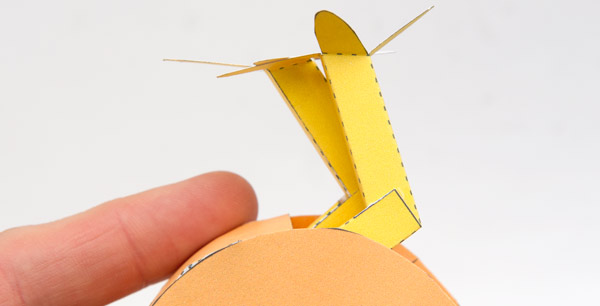
Fold up and glue one knee just short of a right angle.
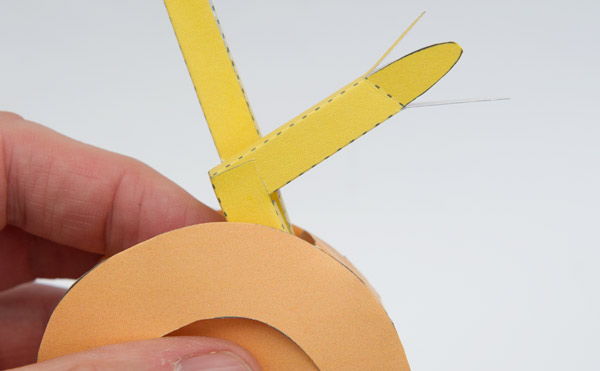
Overlap the feet and glue them together.
Glue up the second knee.
Glue on the head.
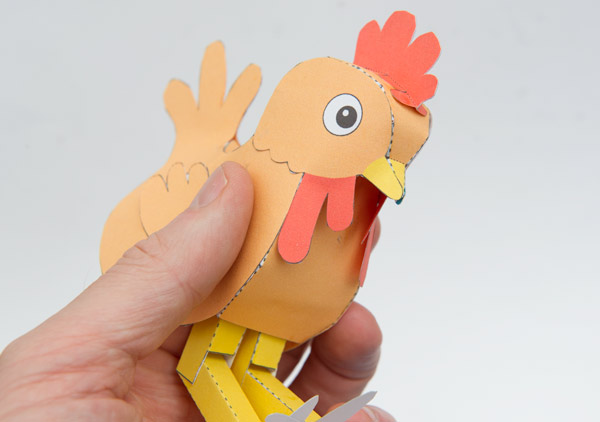
Glue the hen to the box so that the beak is over the worm when the hen is rocked downwards.
Connect the bell crank to the leg stop with the strap.
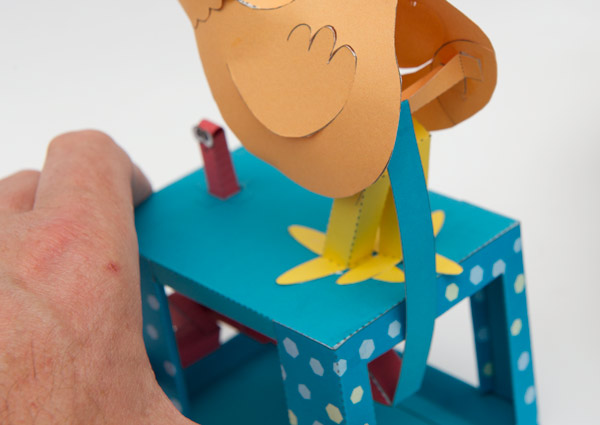
 Turn the handle and watch the circle of life in action!