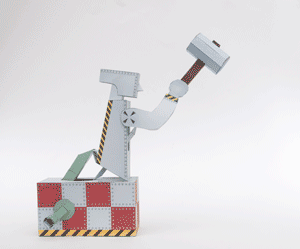
 Turn the handle and the remorselessly hammers anything in its path. This hammering robot uses a four bar linkage to create an interesting motion driven by a turning crank.
Members can download the parts for free at the link above. Non-members can download the parts file for £2.50.
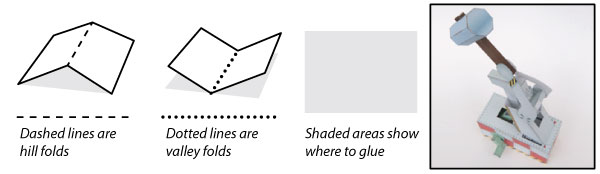
The file comes with both coloured and uncoloured pages. Print out your choice of pages onto thin card (230 micron/ 67lb) Score along the dotted and dashed line and cut out the holes before carefully cutting out the parts.
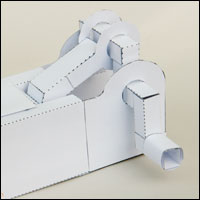
Fold up and glue together the three crank parts.

Glue together the two crank joiners.
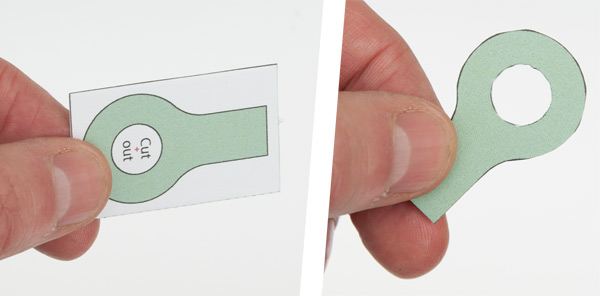
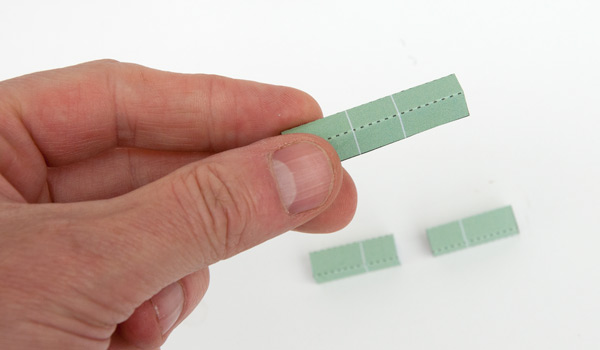
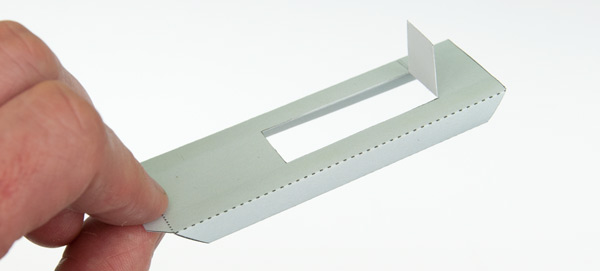
Fold the push rod ends in half and glue them down to make double thickness card. Once the glue is dry carefully cut out the parts.
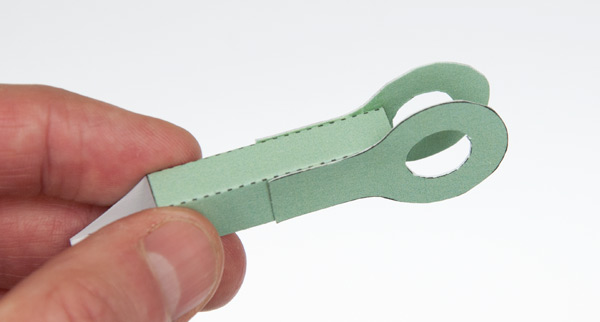
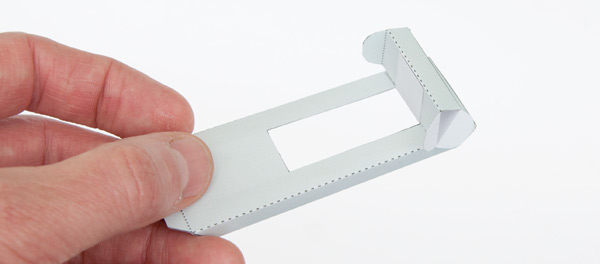
Glue together the push rod. Glue the push rod ends to the grey areas.
Glue a crank joiner to the longest crank piece then glue one of the other crank pieces into place. Use the grey lines for alignment.
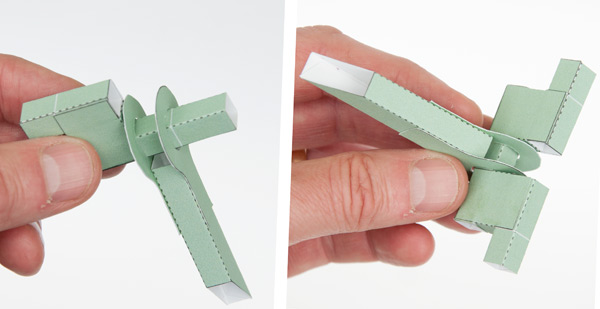
Thread the push rod end into the longer crank piece. Glue the other crank joiner and crank into place to complete the crank assembly. The push rod ends must be free to turn.

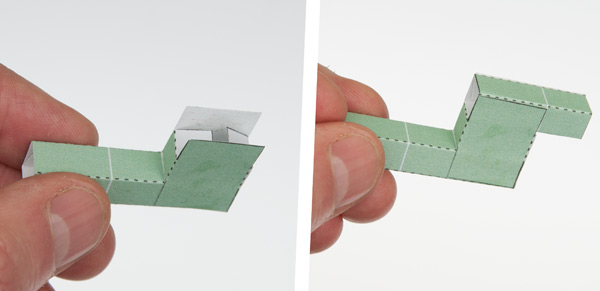
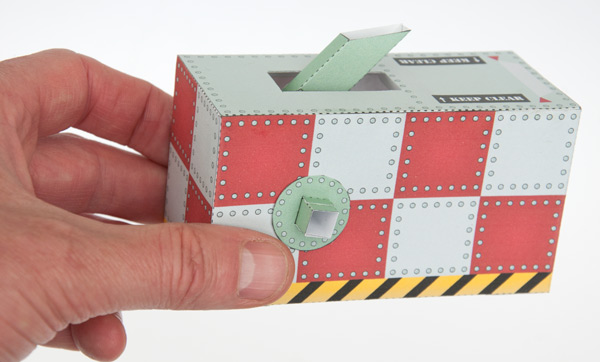
Fold round the tabs on the side of the box parts to make right angled triangle tubes.
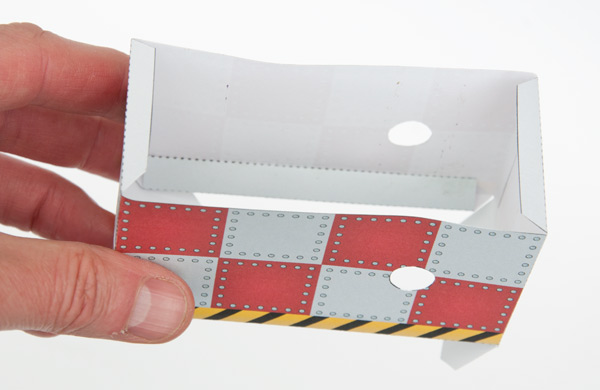
Glue the two box halves together making sure that they are aligned accurately.
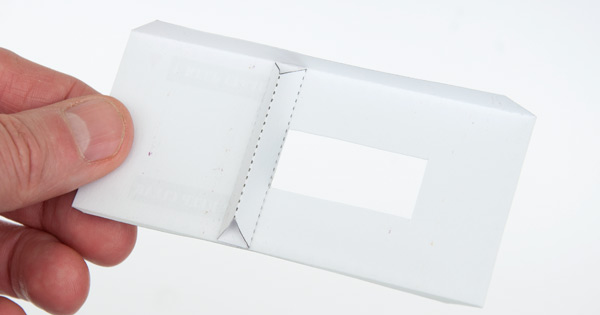
Assemble the box top stiffener and glue it to the box top so that it just touches the edge of the hole nearest the centre of the box.
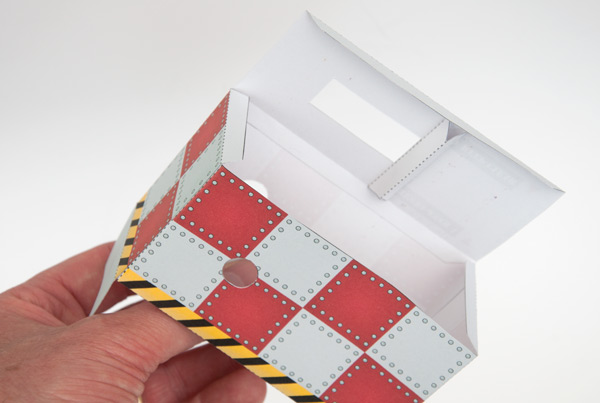
Glue one side of the box top into place. Note that the crank holes and the box top hole are both at the same end of the box.
Fit the crank into place so that the longest side of the push rod is closest to the box centre.
Glue the box closed with the push rod emerging from the box. Glue the washers into place.
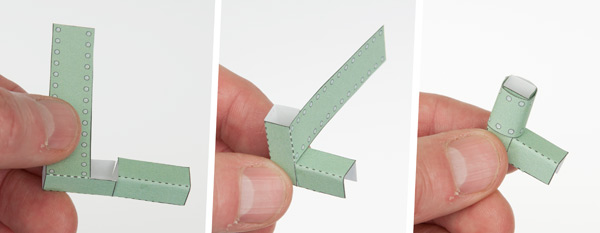
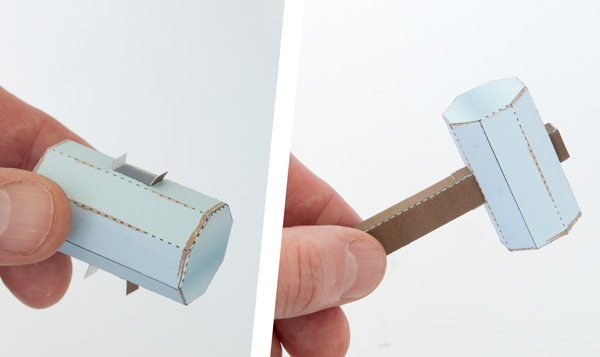
Assemble the crank handle in three steps: Fold up the two main sections and glue them down. Fold one square section into the other and glue. Roll round the long tab and glue it down.
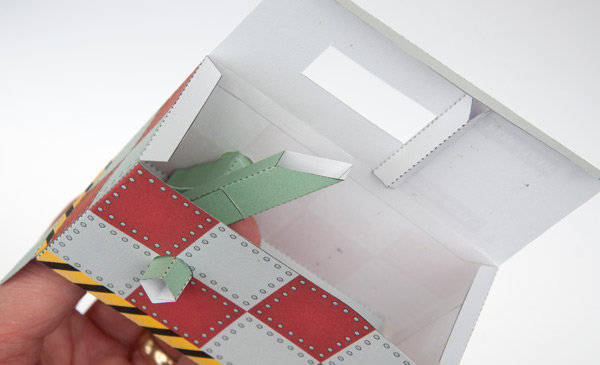
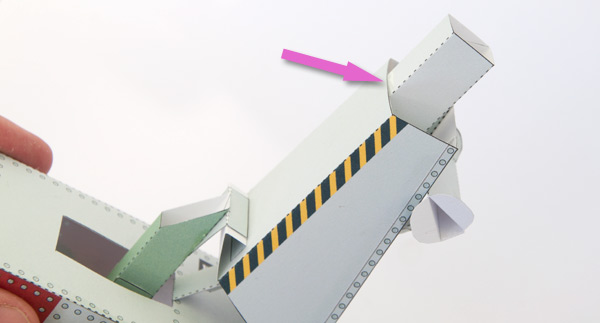
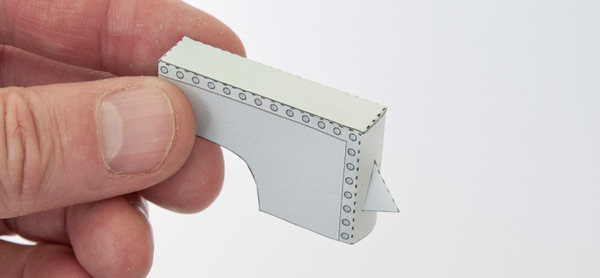
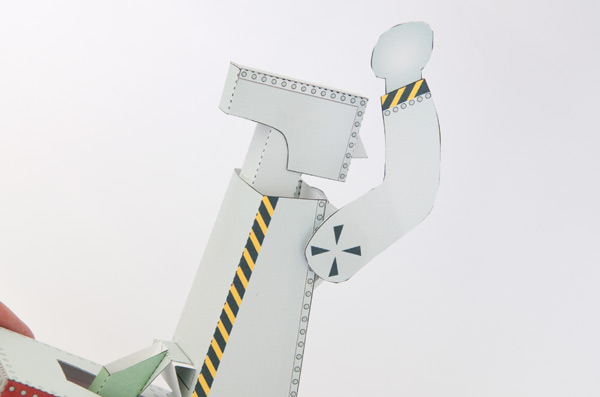
Fold the two sides of the body front and glue them down to make right angled triangle tubes. Flip the hinge tab out as shown.
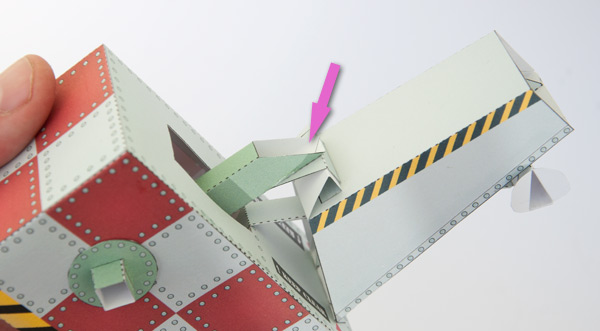
Assemble the arm holder and glue it to the hinge tab using the grey area for alignment.
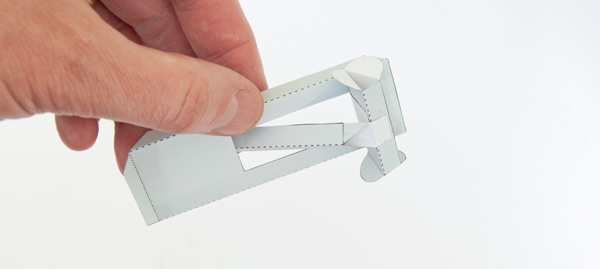
Glue the linkage together and glue one of the end tabs to the centre of the arm holder. Notice that the triangular face of the linkage is pointing to the front of the body.
Fold round and glue down the triangular section on the back of the body back.
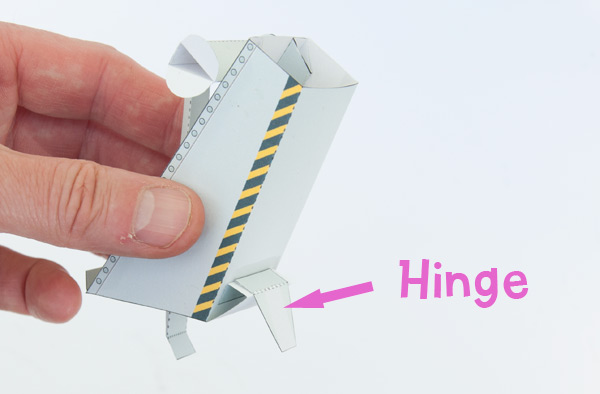
Glue the body back to the body.
Glue the hinge into place.
Make up the hammer as shown above.
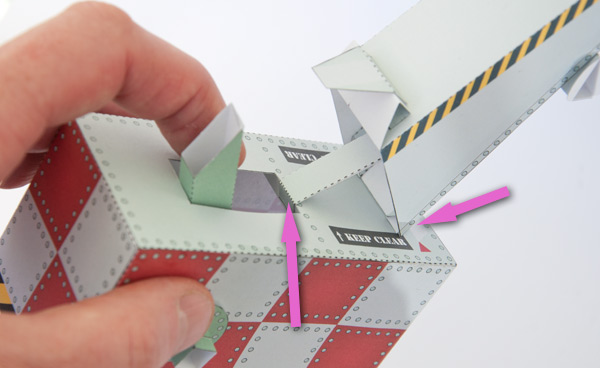
Glue the tab on the front to the body to the grey area on the top front of the box.
Glue the tab on the end of the linkage to the box top stiffener. Let the glue dry completely.
Glue the push rod to the hinge. While the glue is still wet make sure that the crank can turn a full circle easily. You may need to slide the push rod up or down on the hinge before the glue is completely dry to achieve a smooth motion.
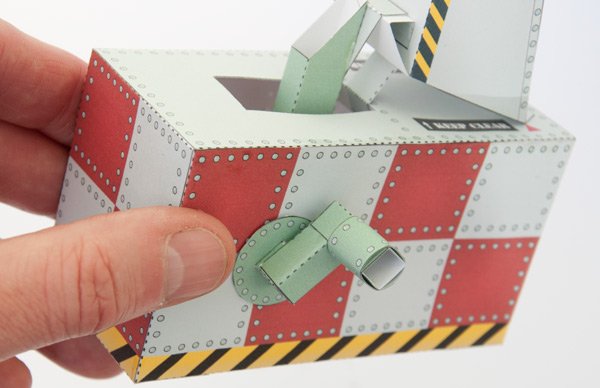
Glue the handle into place.
Glue the neck to the inside back of the body lining it up with the grey area on the neck piece.
Assemble the nose and head.
Glue the head to the heck.
Turn the crank handle so that the body is as far back and down as it goes. Glue an arm to the arm holder so that the fist is directly above the head.
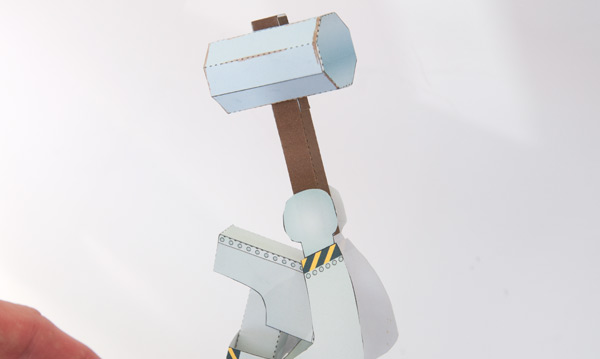
Add the second arm and glue the hammer between the two fists.
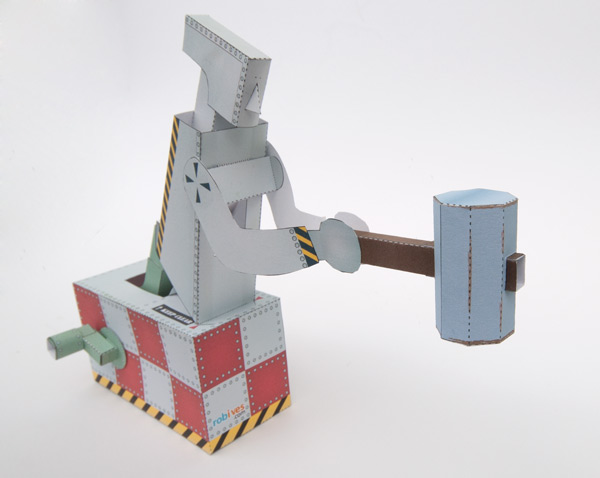
Turn the handle and the robot will activate his mighty hammer. Use it for smashing all sorts of thins such as scrunched up tissue paper or perhaps a pile of feather! Might indeed!