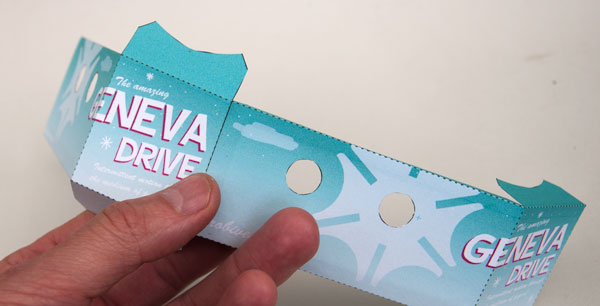
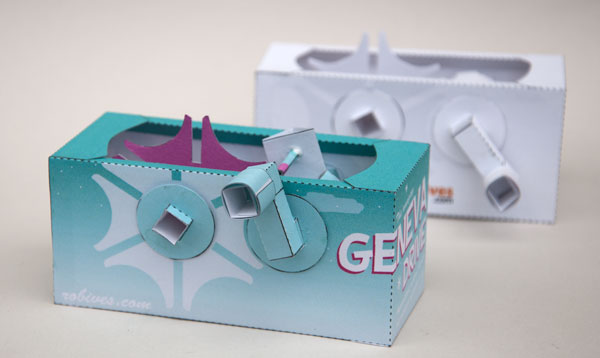
Turn the handle on this Genava drive mechanism and the slotted wheel turns one sixth of a turn for each turn of the handle. This model uses a slightly different construction design to the four slot Geneva drive from earlier. Try them both out, see which you prefer.
Members can download the parts for free, thanks for signing up! Non members can access the parts for a modest fee.
The model comes in two forms, one colour and the other mono. Print the parts onto thin card 230gsm/230 micron.
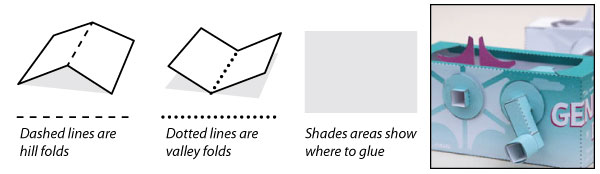
Score along the dotted lines, cut out the holes and then carefully cut out the pieces.
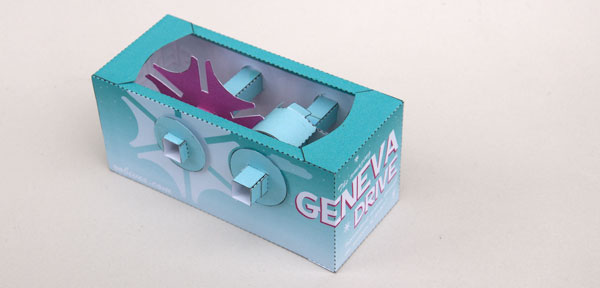
 The completed model in all its animated glory. Notice that for most of the turn of the handle the slotted wheel is stationary, moving only at the last arc of the turn. the stationary angle is known as the dwell angle.
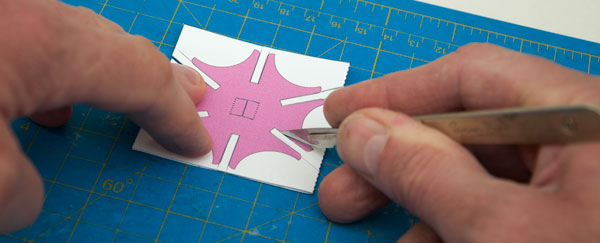
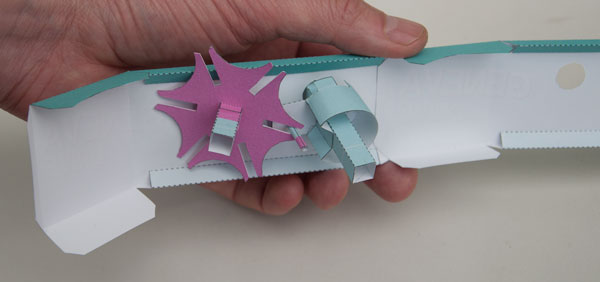
Fold the slotted wheel in half and glue the two halves together to make double thickness card. When the glue is completely dry cut out the six slots with a sharp knife…

…then cut out the rest of the piece with scissors.
Assemble the two axles. Slip the slotted wheel onto the shorter of the two axles. Line it up with the grey line then glue it into place.
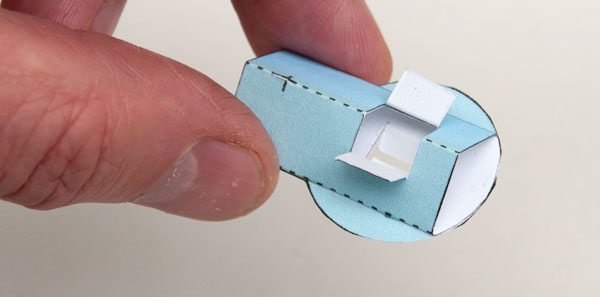
Glue the drive wheel body to the drive wheel back as shown.
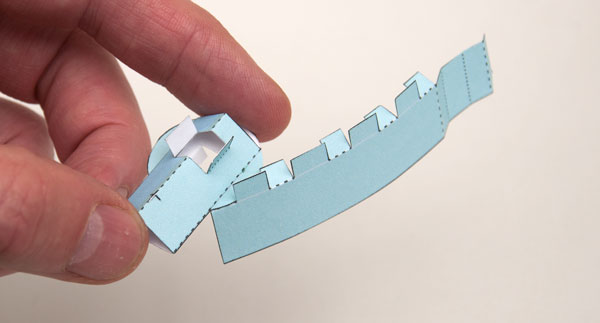
Starting from one end, glue the tabs of the drive wheel edge to the drive wheel front face.
The completed drive wheel edge.
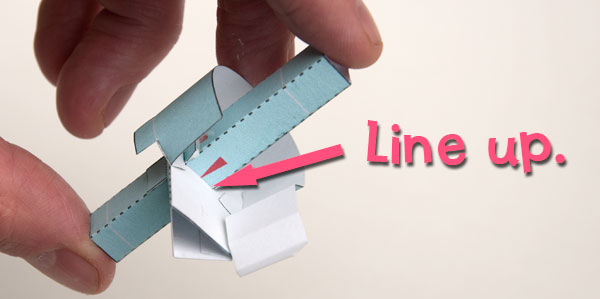
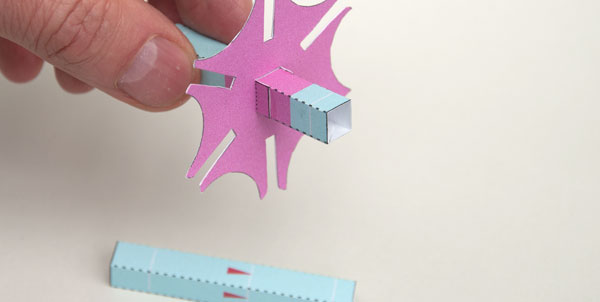
Slide the axle into place. Line up the red arrows with the face of the drive wheel. Make sure that the parts are straight and square then glue down the four tabs.

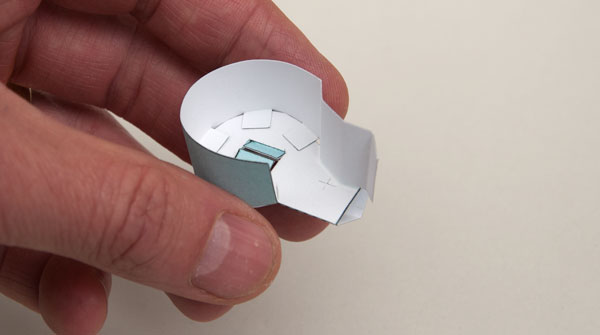
Make the drive wheel cut-out by glueing the remaining piece to both the drive wheel edge and the axle as shown above.
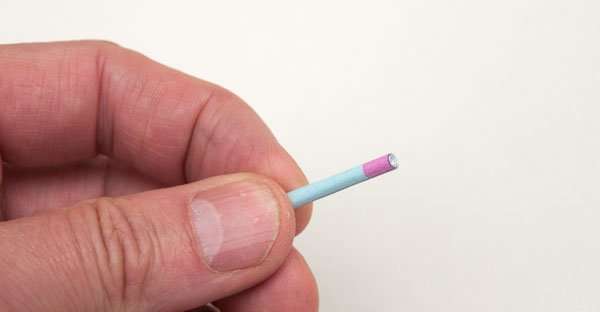
Roll the drive pin up as tight as possible and glue it closed.
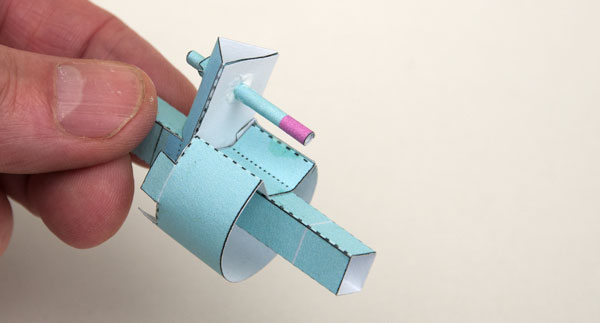
Enlarge the cross shaped holes in the drive wheel with a cocktail stick then thread the drive pin into place and fix it with a small blob of glue.
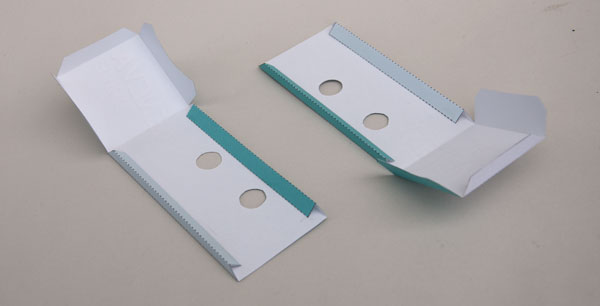
Fold round the tabs on the two box parts and glue them down making right-angled triangle tubes.
Glue the two halves of the box together.
Fit the drive wheel and slotted wheel into place. The drive wheel fits in the hole closest to the end of the box.
Fold the box round and glue it shut. Glue on the washers, then glue down the tabs top and bottom.

Make the handle in three steps.
Glue up the two sections to make square section tubes.
Fold one section into the other and glue.
Roll round the long tab and glue it into place.
Complete the model by gluing the handle to the drive wheel. Turn the handle and the slotted wheel advances one sixth of a turn at a time.
Use the Geneva drive to learn how mechanisms work or as the starting point for your own design.