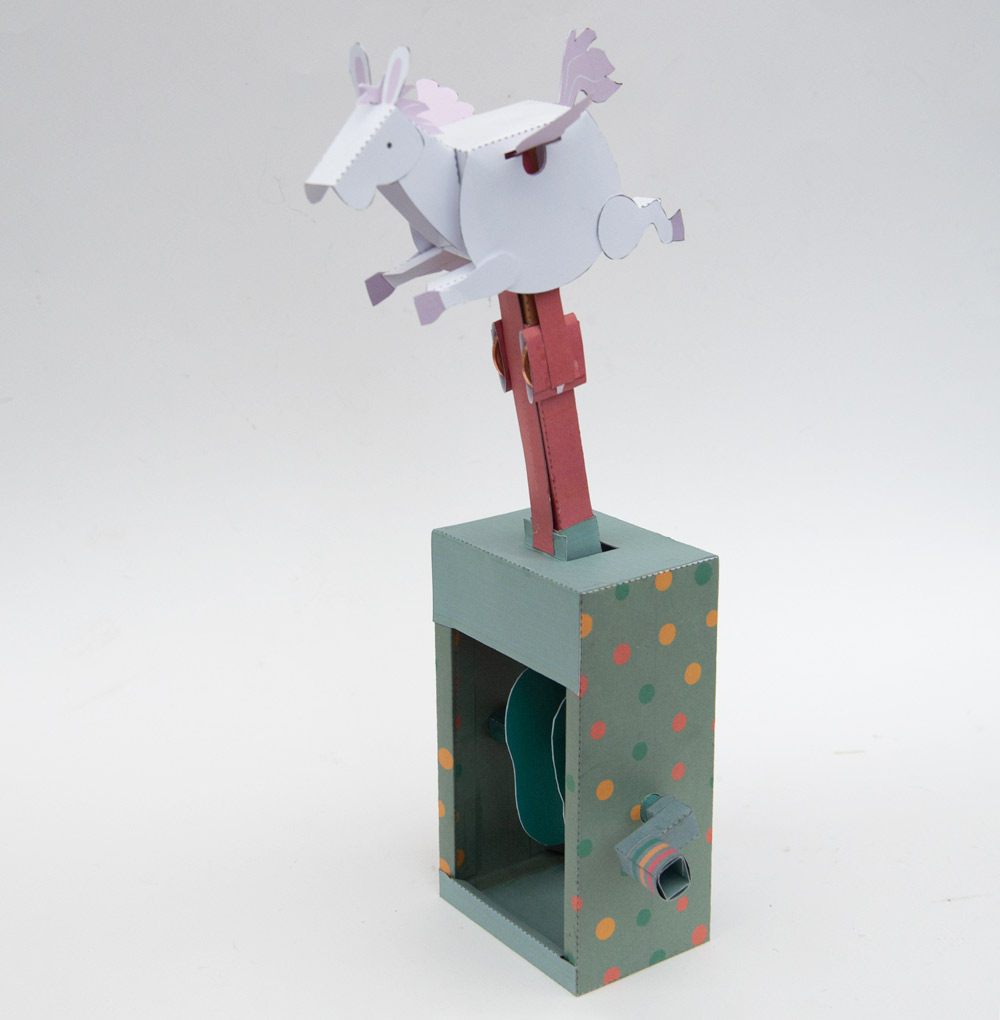
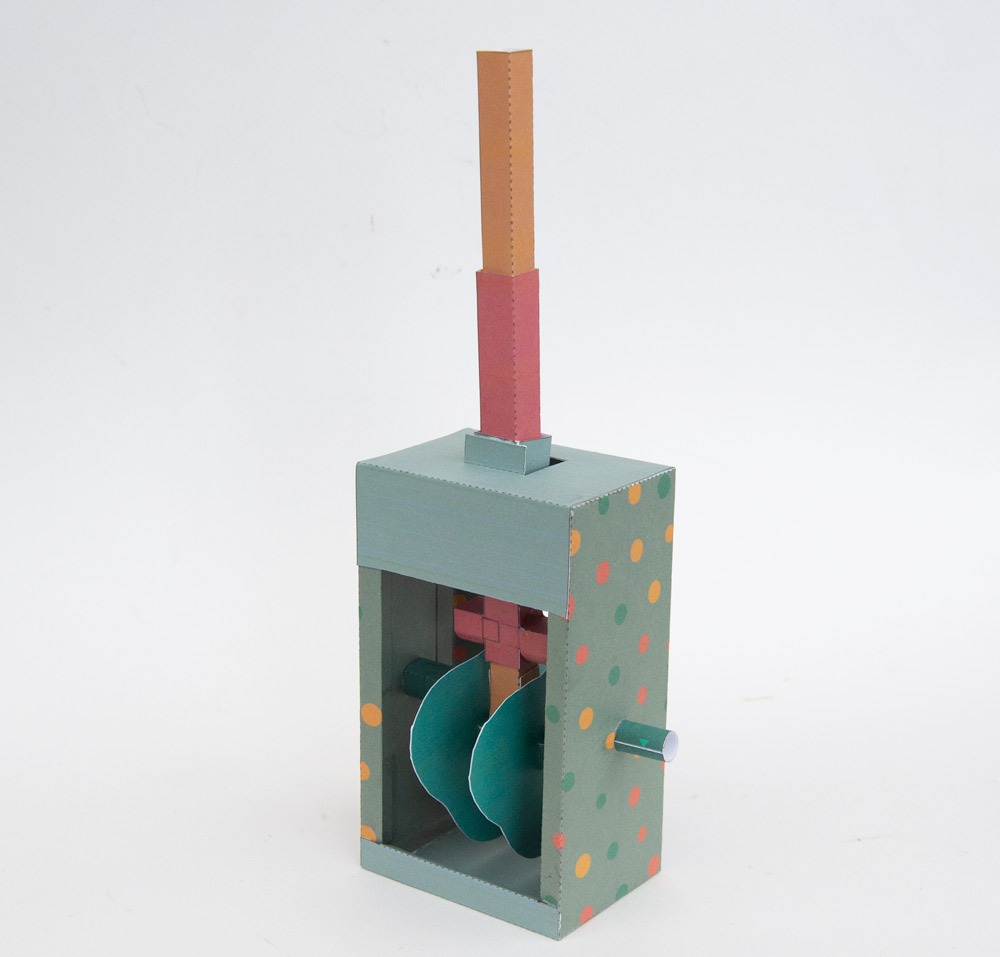
Flying Horse paper Animation Kit to download and make. Turn the handle and the horse flutters her wings and flies!
https://www.instagram.com/p/BpuPAEVHmsw/
Members can download the parts for free at the link, thank you for signing up! Non-members can join in the fun for £2.50 or equivalent or you could become a member and download this and all the other models on the site for free!
Print out the onto thin card (230gsm) Note that the first three pages of the colour version are printed on both sides. Print the page, flip the card and return it to the printer to print out he back.
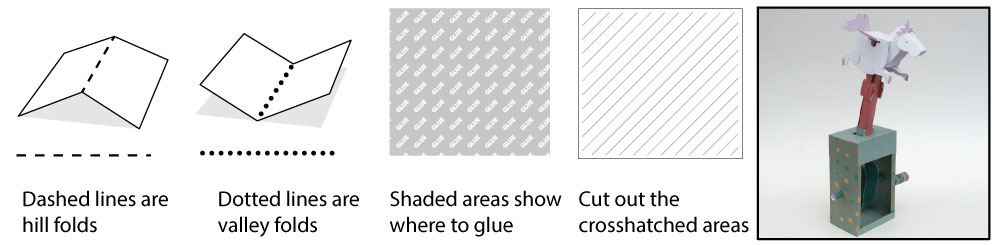
Score all the dotted and dashed lines then cut out the holes before carefully cutting out all the parts.
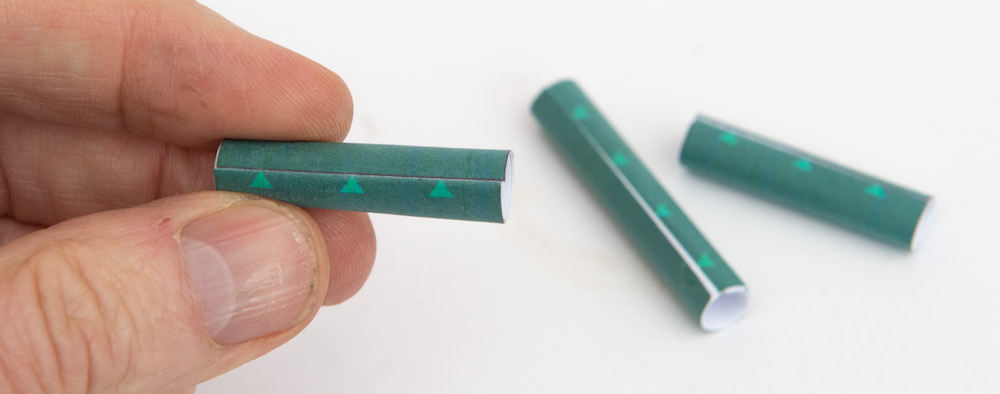
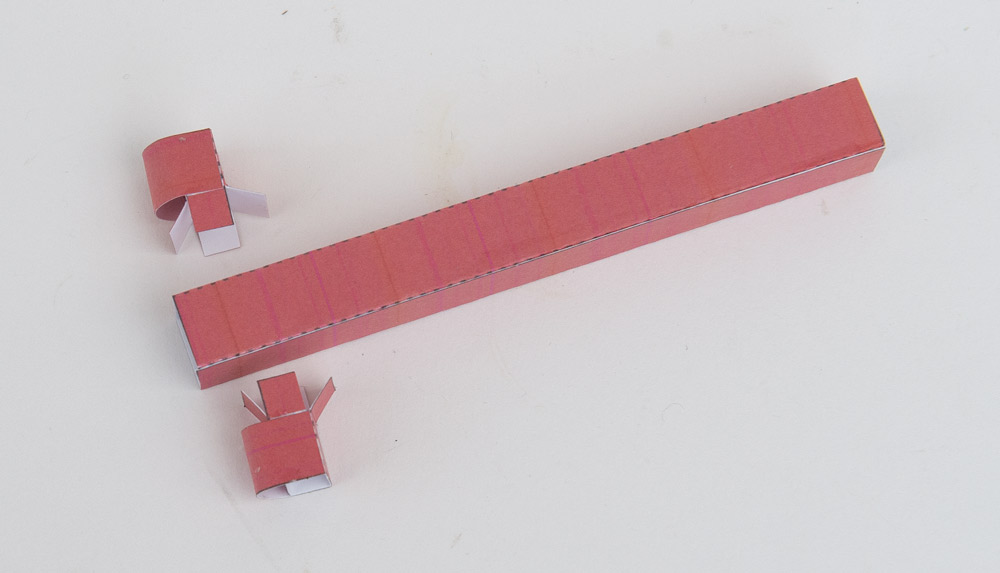
Roll up and glue the three axle tubes.
Fold over and glue down the pushrod ends to make double thickness card. Once the glue is dry carefully cut them out.

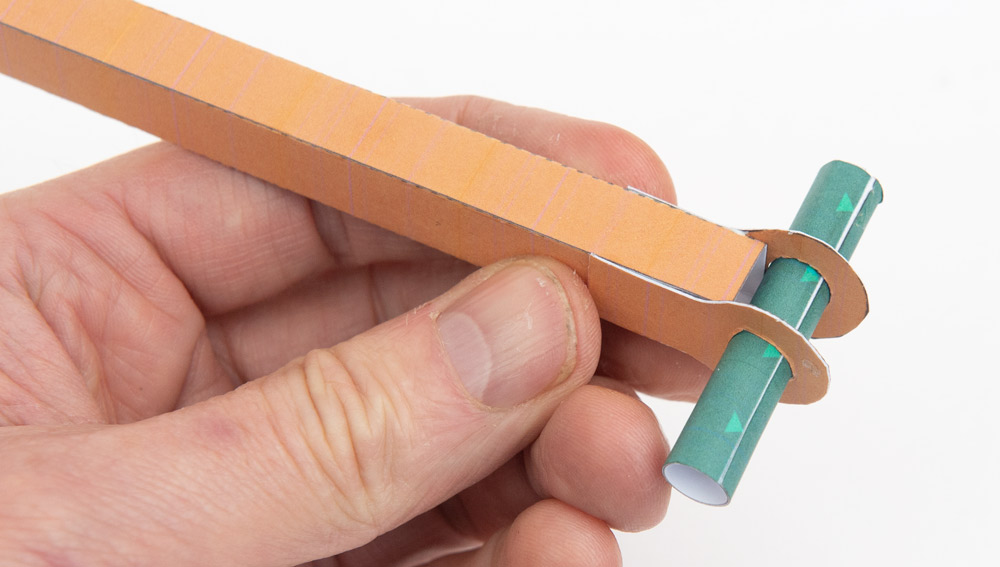
Thread the longer of the three axle tubes through the pushrod ends then glue them to the pushrod. Make sure they are straight.
Fold up and assemble the two crank parts.
Make up the two cams from double thickness card.

Glue the cams to the cranks as shown lining up the ends of the tabs with the end of the crank.
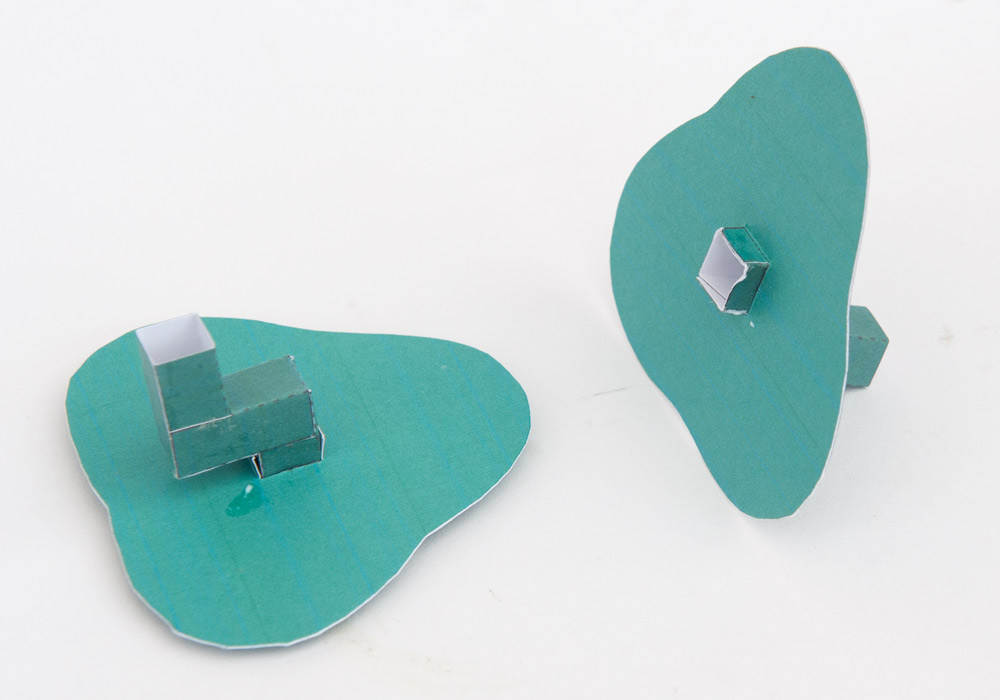
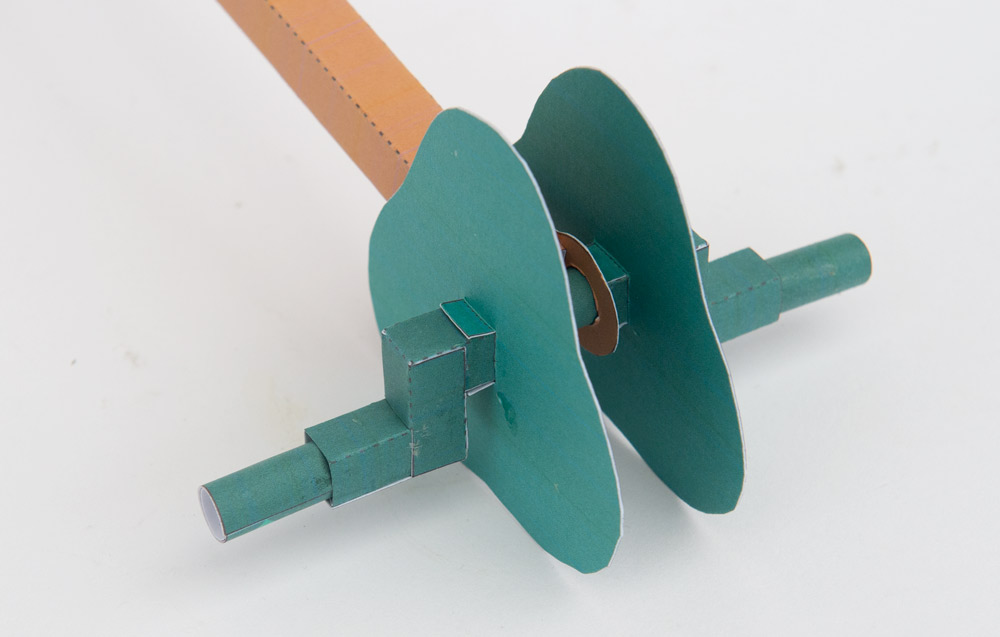
Glue the cranks to the axle tube. Make sure that they are lined up properly.
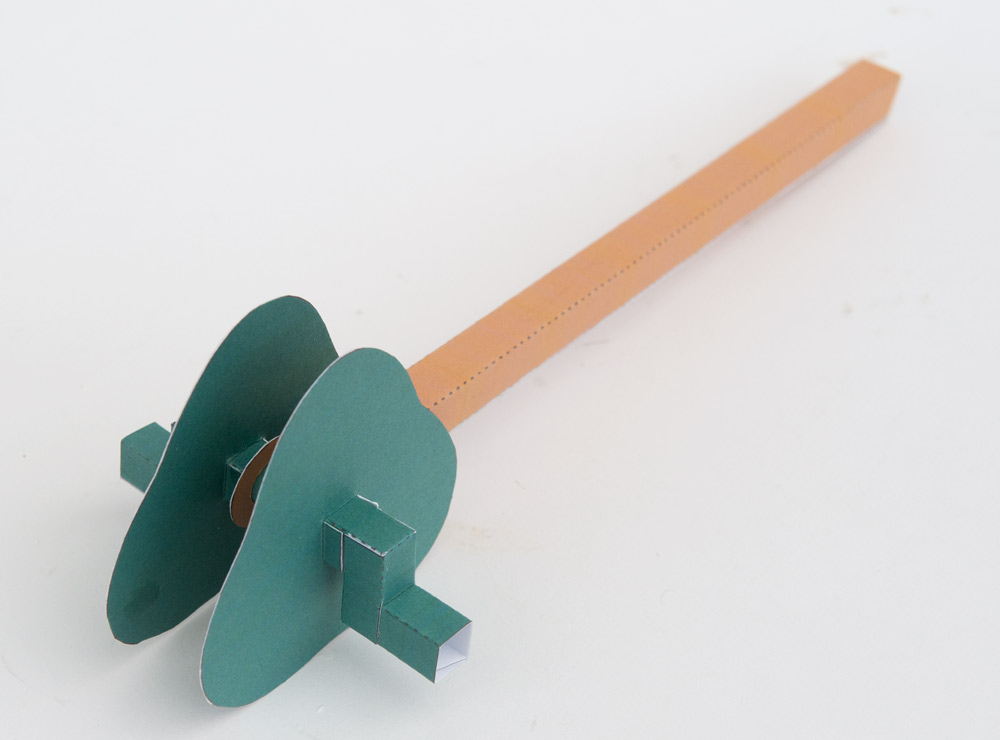
Glue the two remaining axle tubes into the crank ends.
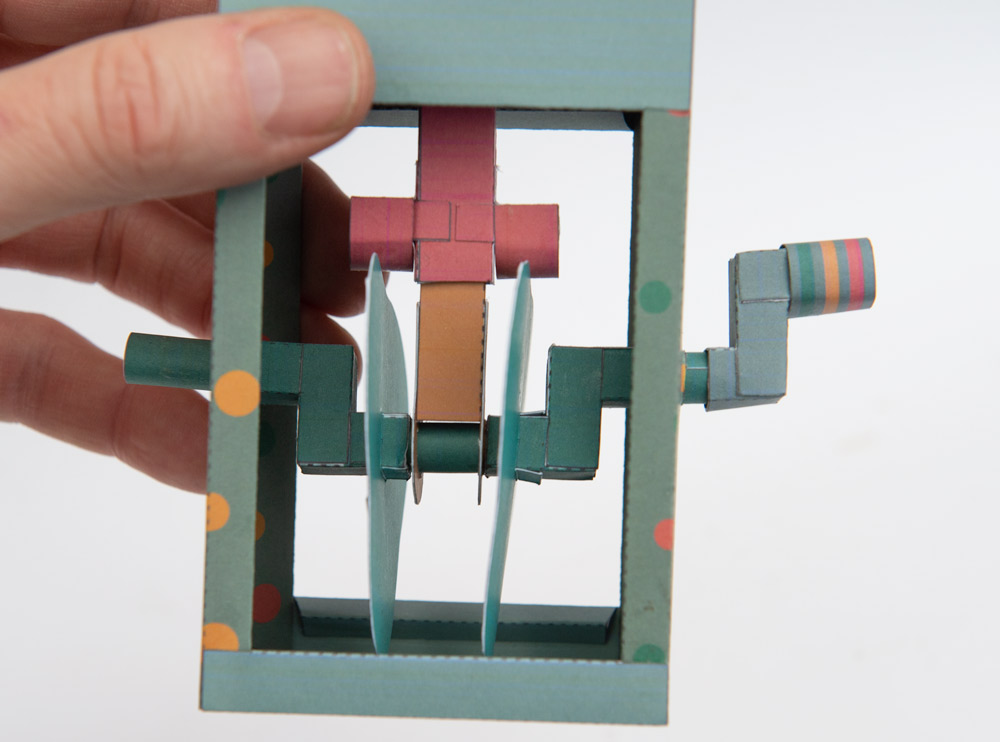
Assemble the cam follower.
Glue the small curves into place on the cam followers.
Glue the cam followers to the end of the slider tube.
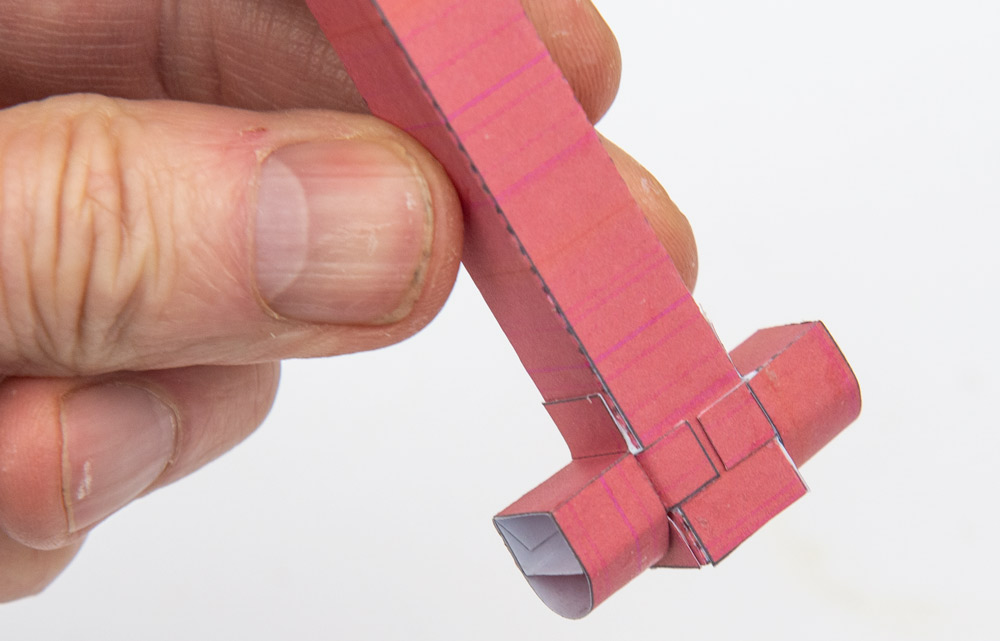
Slide the slider tube down onto the pushrod. Make sure that it moves freely up and down the pushrod.
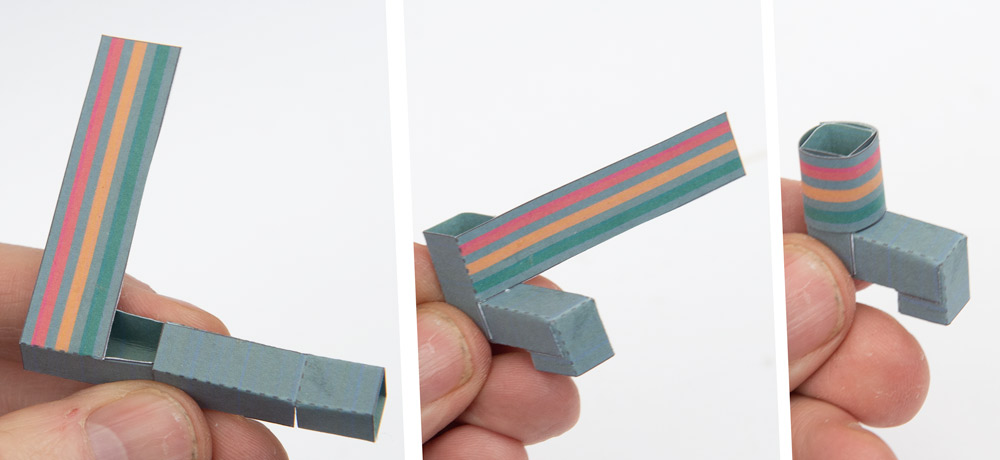
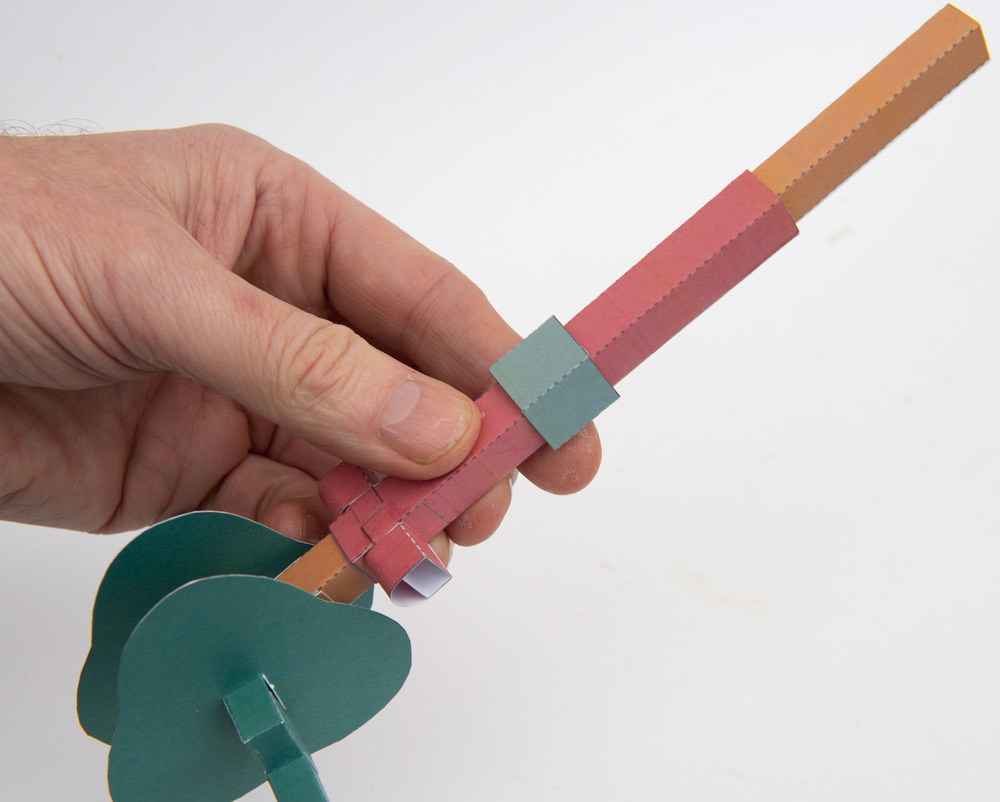
Assemble the handle in three steps as shown.
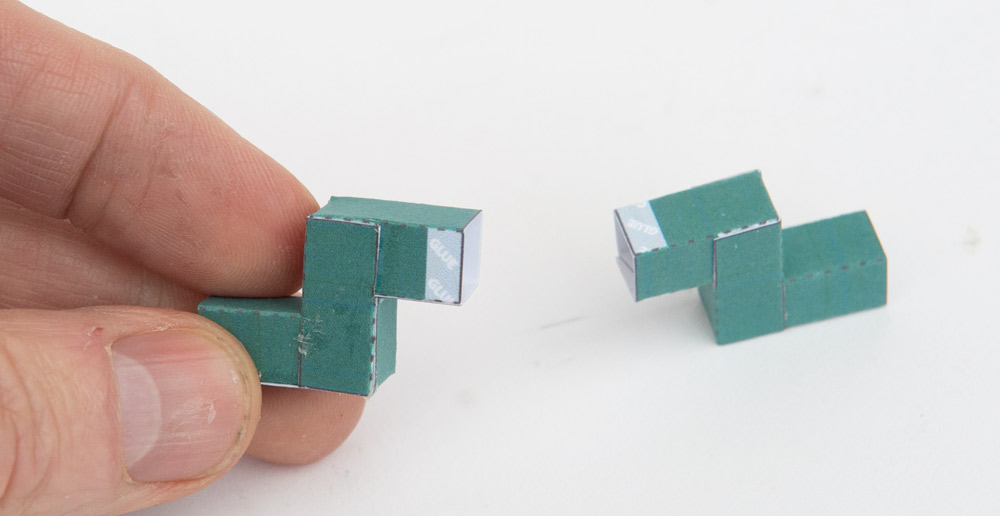
Glue together the box sides making right angle triangle tubes.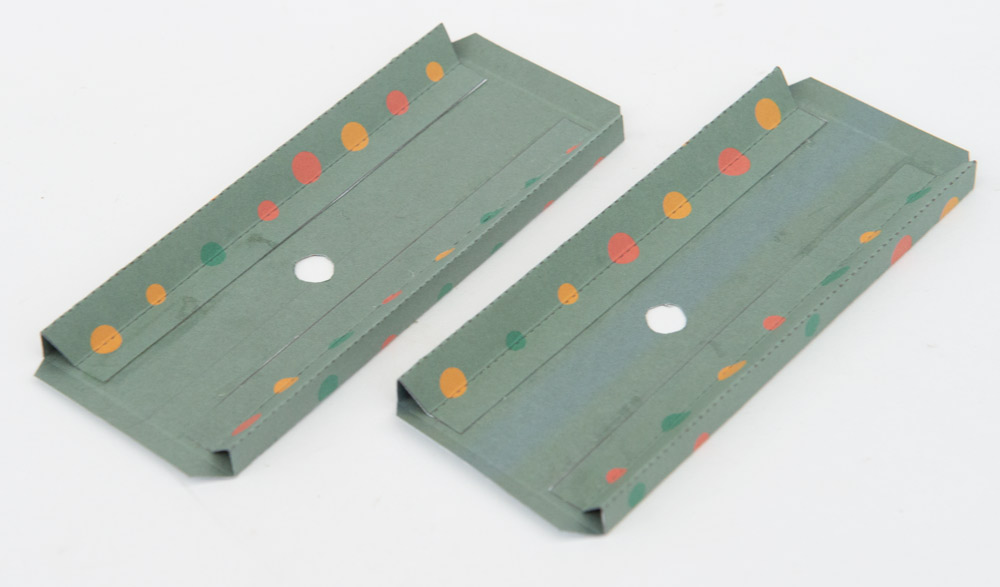
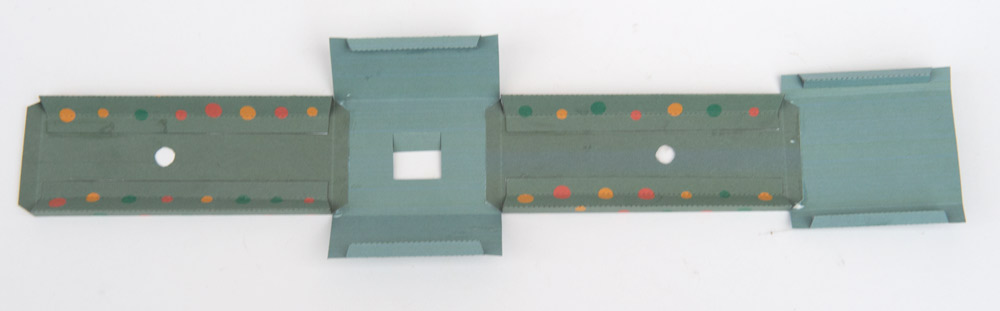
Glue together the box top and base.
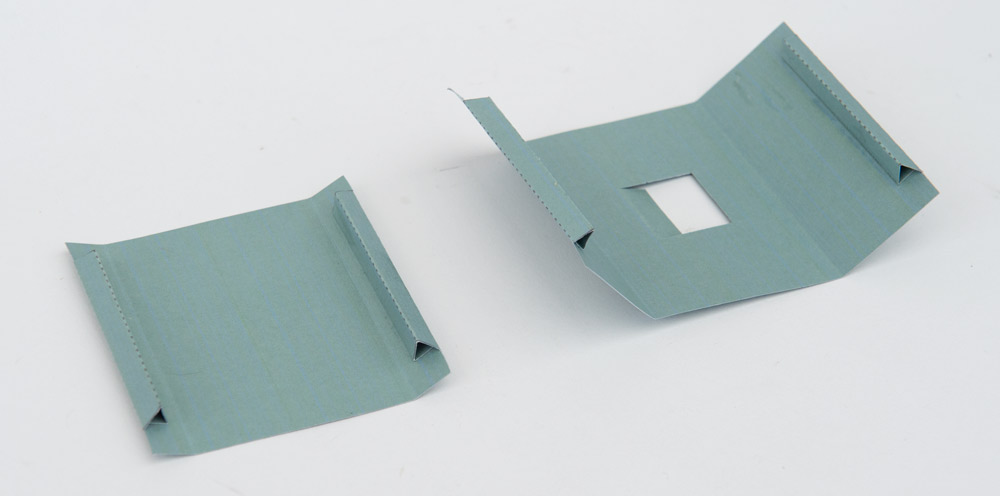
Glue together the four parts of the box as shown.
Slide the outer short slider tube into place.
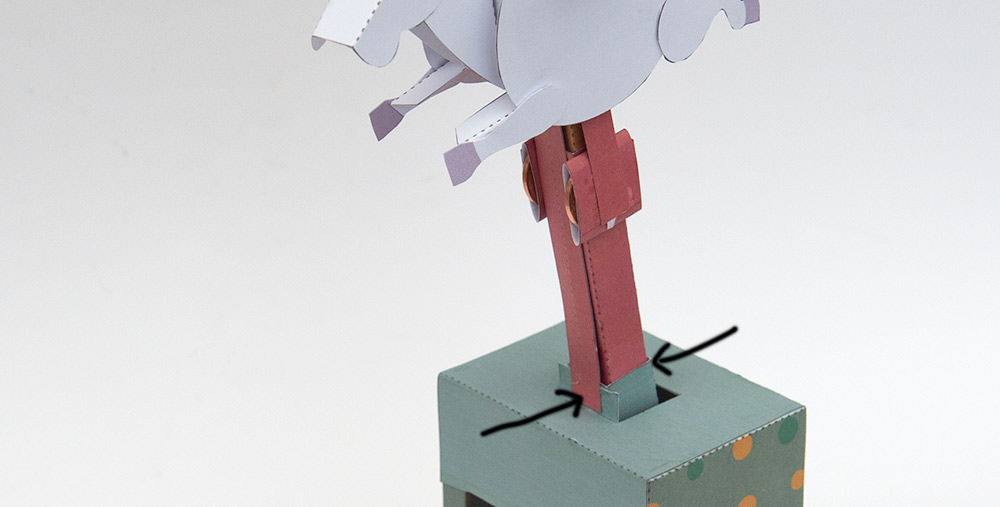
Thread the pushrod up through the hole in the top of the box. Glue the outer slider tube to the tab. Fold the box round and glue it closed.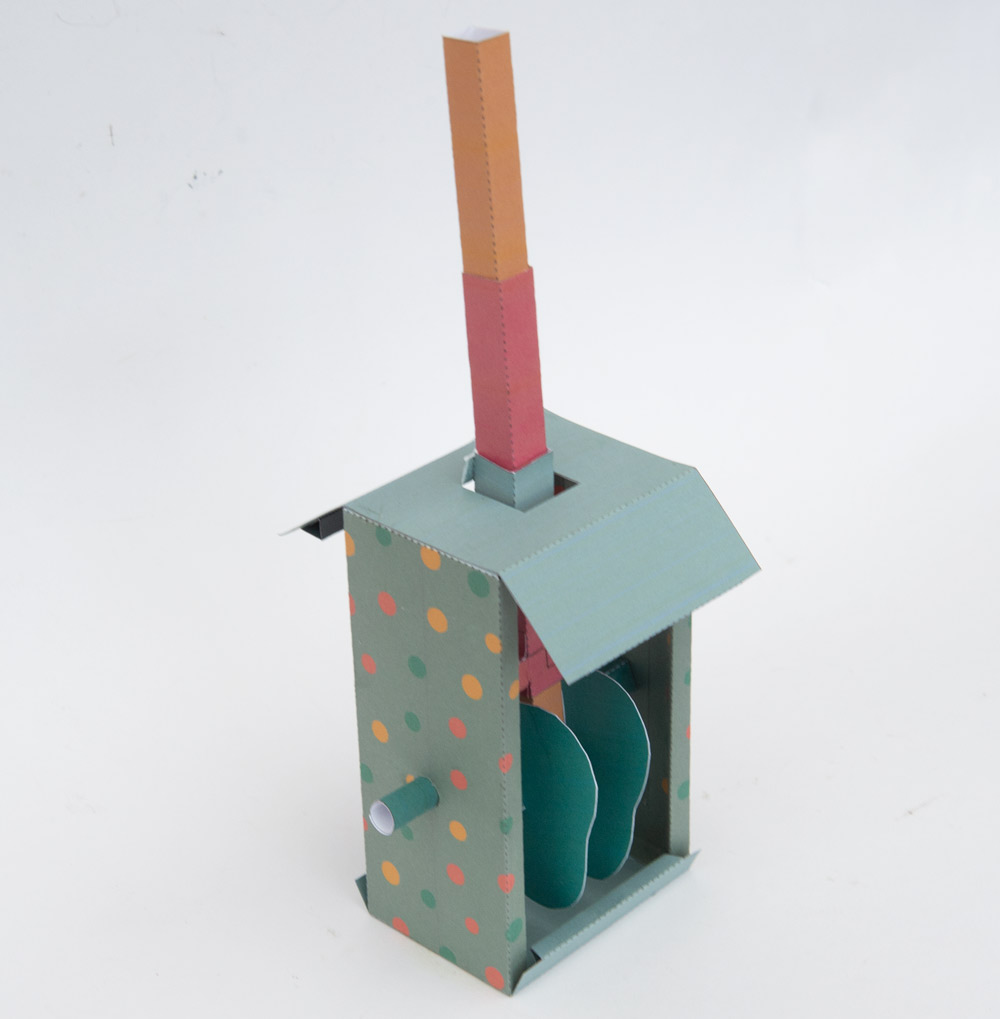
Glue the front and back flaps into place to complete the box.
You will need a couple of small coins. UK 1p pieces are perfect. (20mm diameter 4gram weight) Wrap them tightly 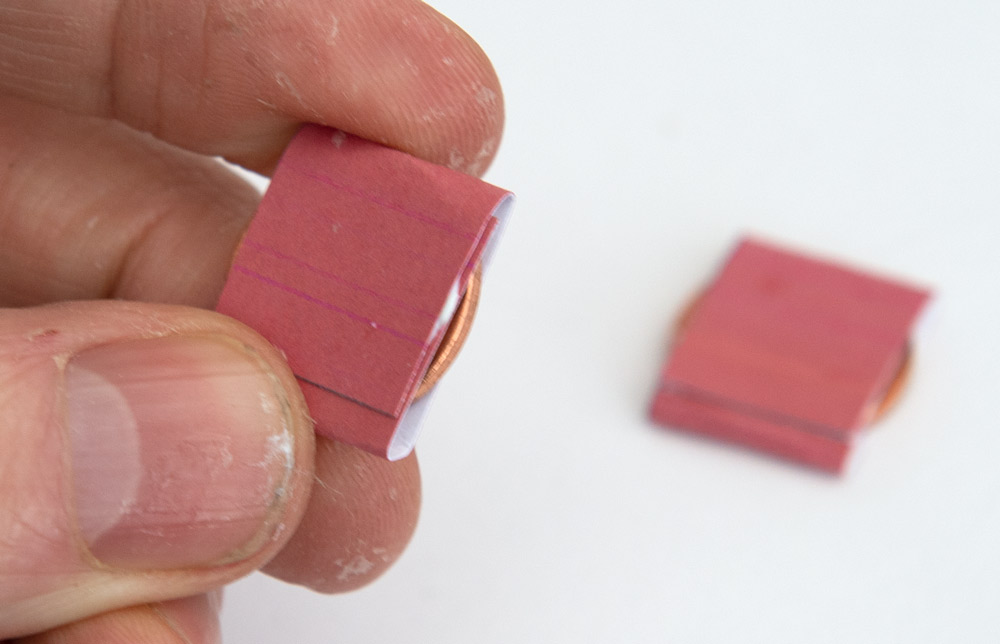
Glue one coin to each side of the slider tube.
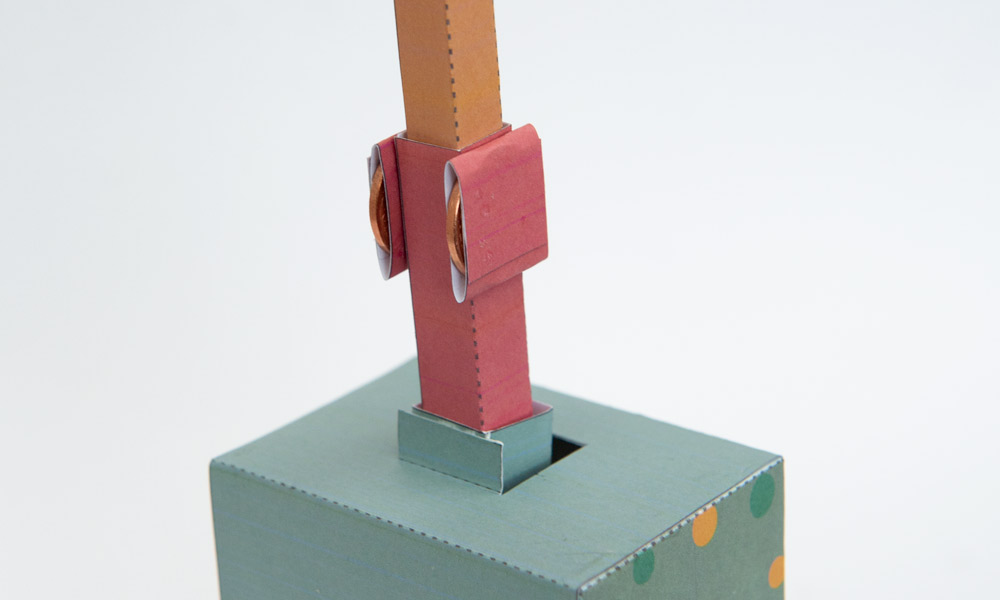
Glue the handle into place – turn the handle to make sure that the mechanism is working.

Making the Horse
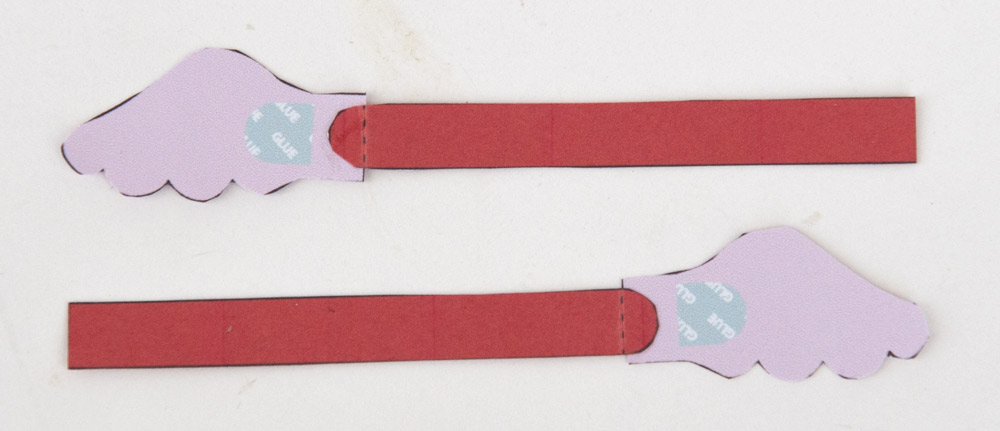
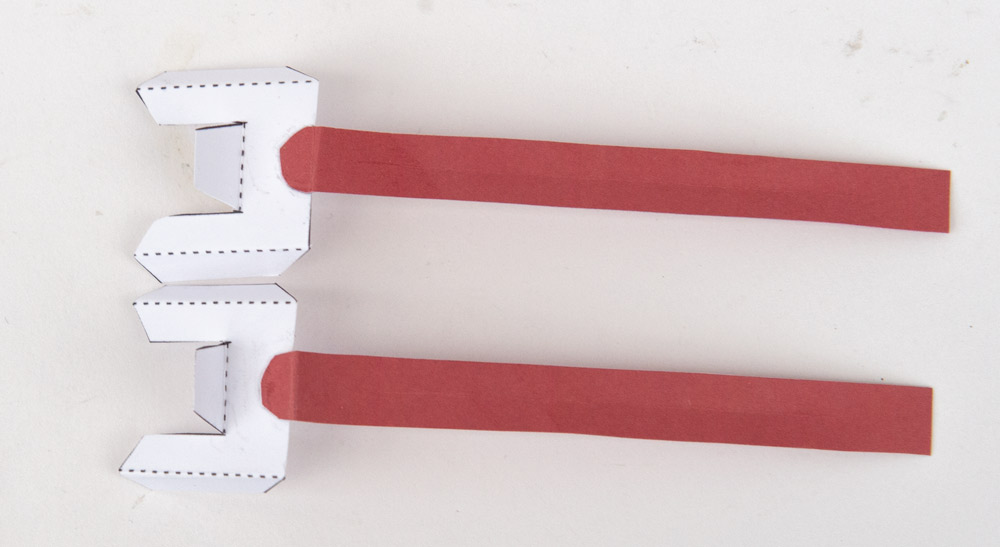
Glue the wing pushrods to the wings
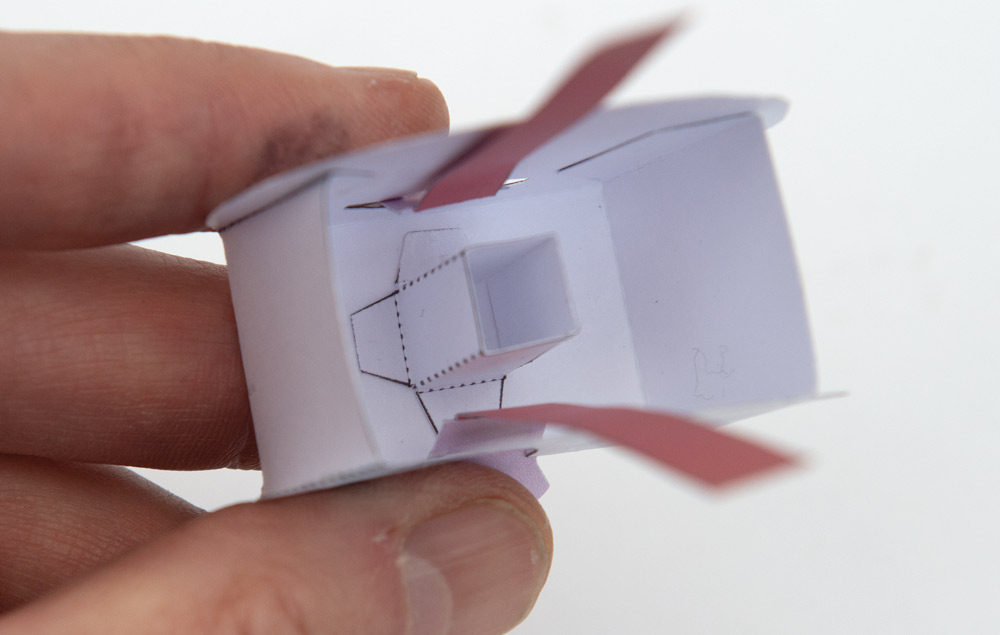
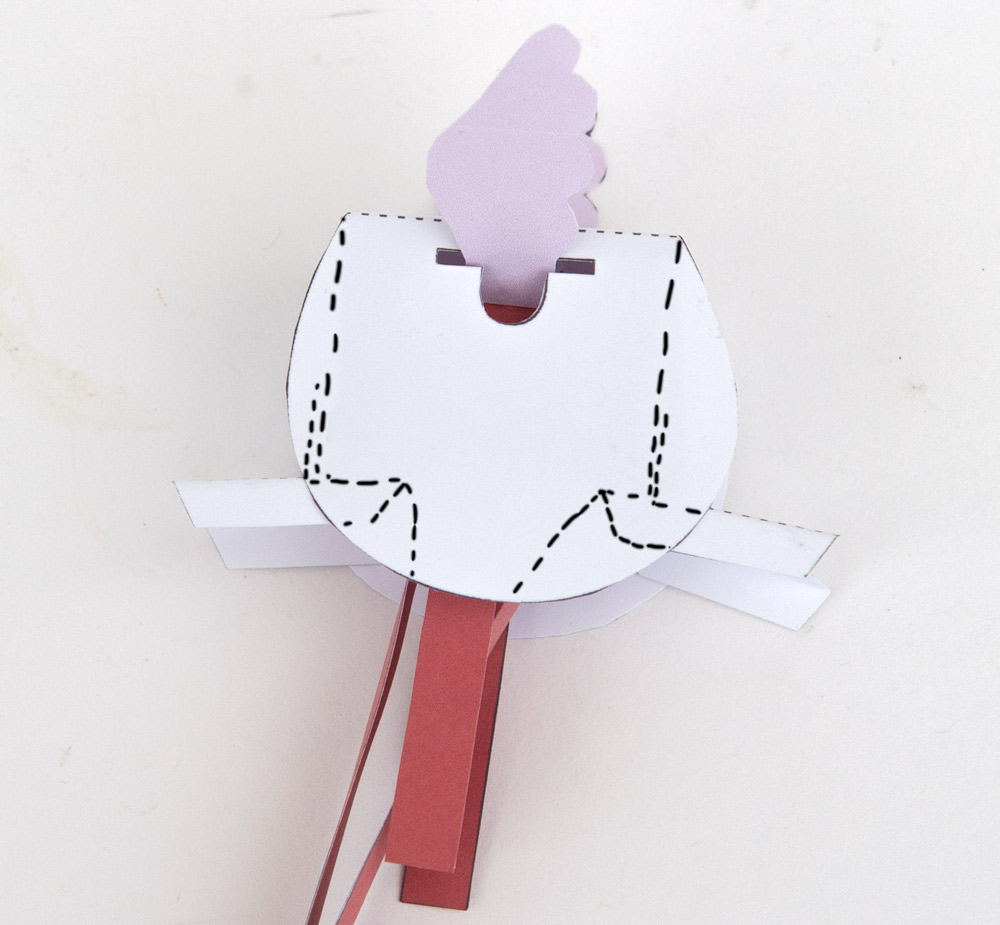
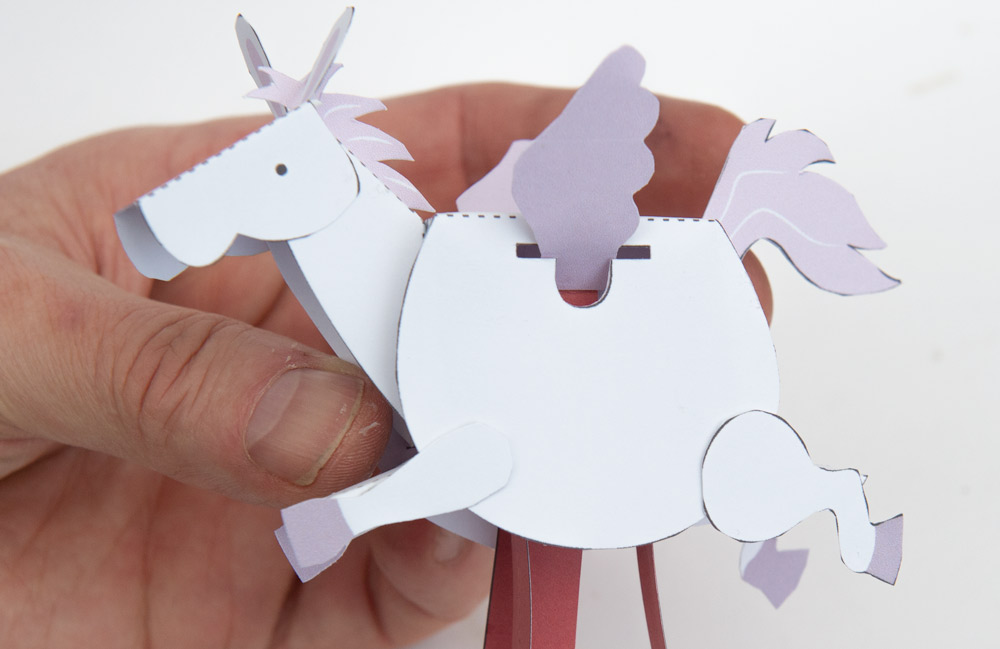
Glue together the body as shown.
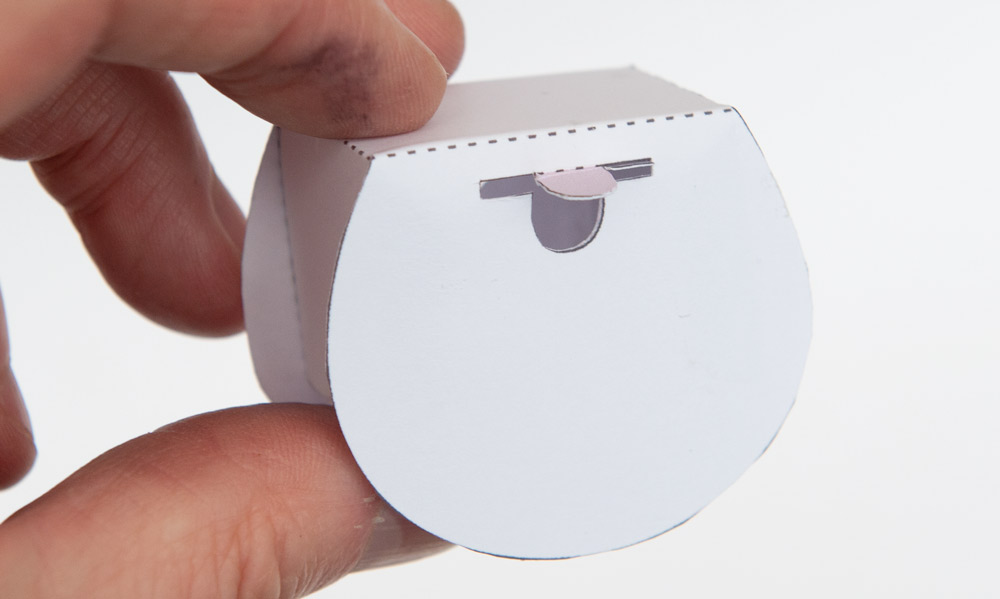
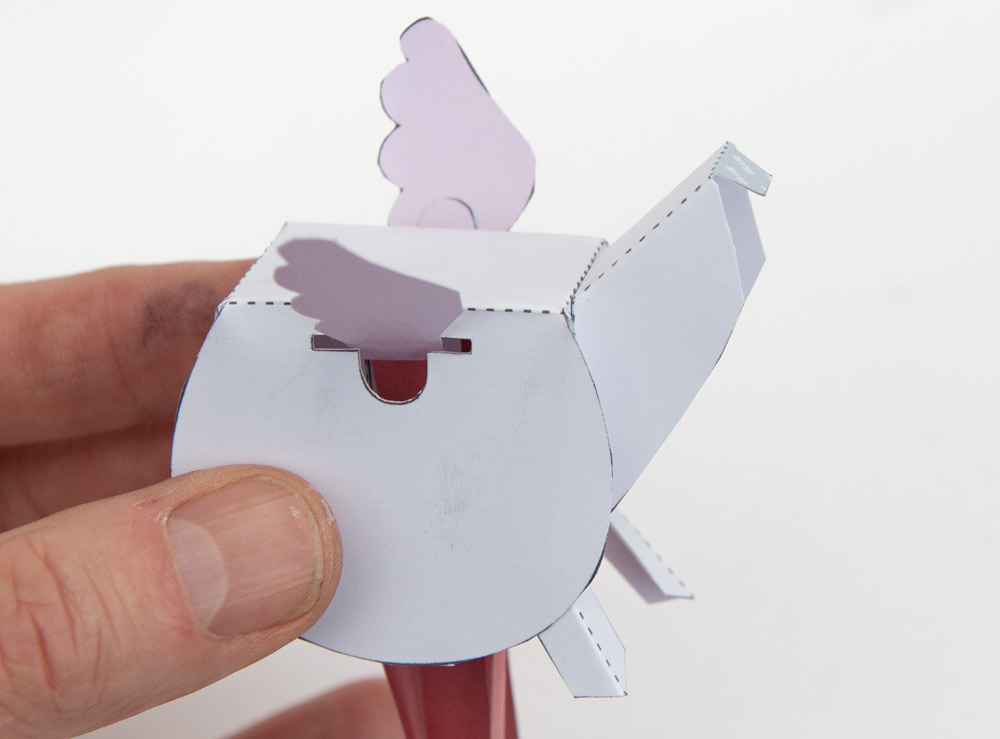
Thread the wings into place and glue them to the tabs.
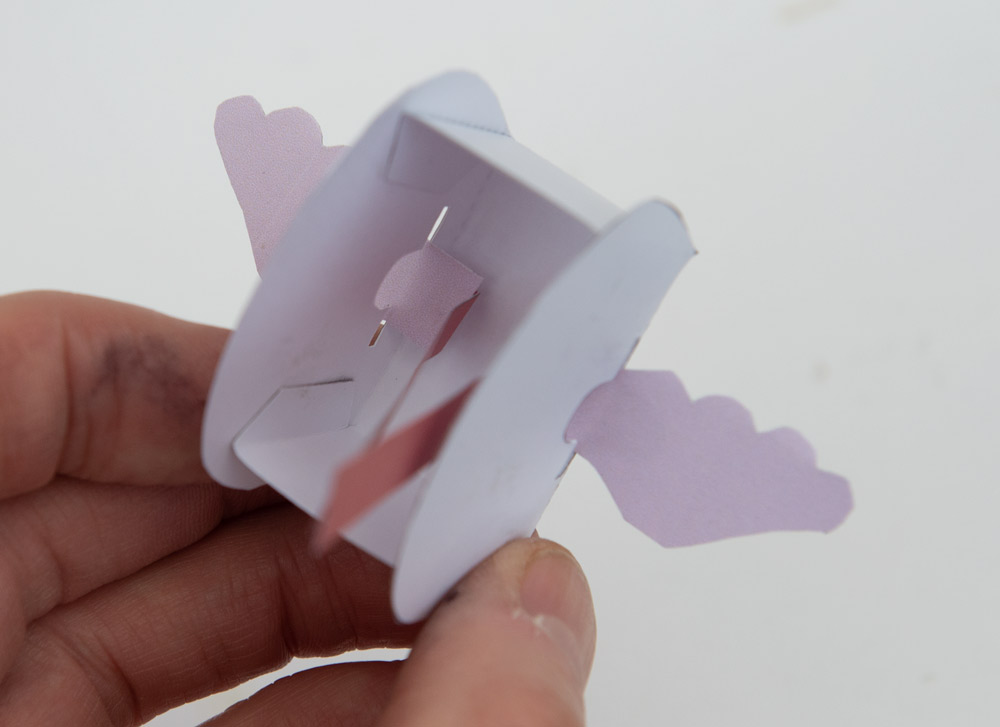
Glue the body tube into place.
Glue the leg pushrods to the legs.
Fold up the tabs on the legs and glue them to the vertical part of the body front and back.
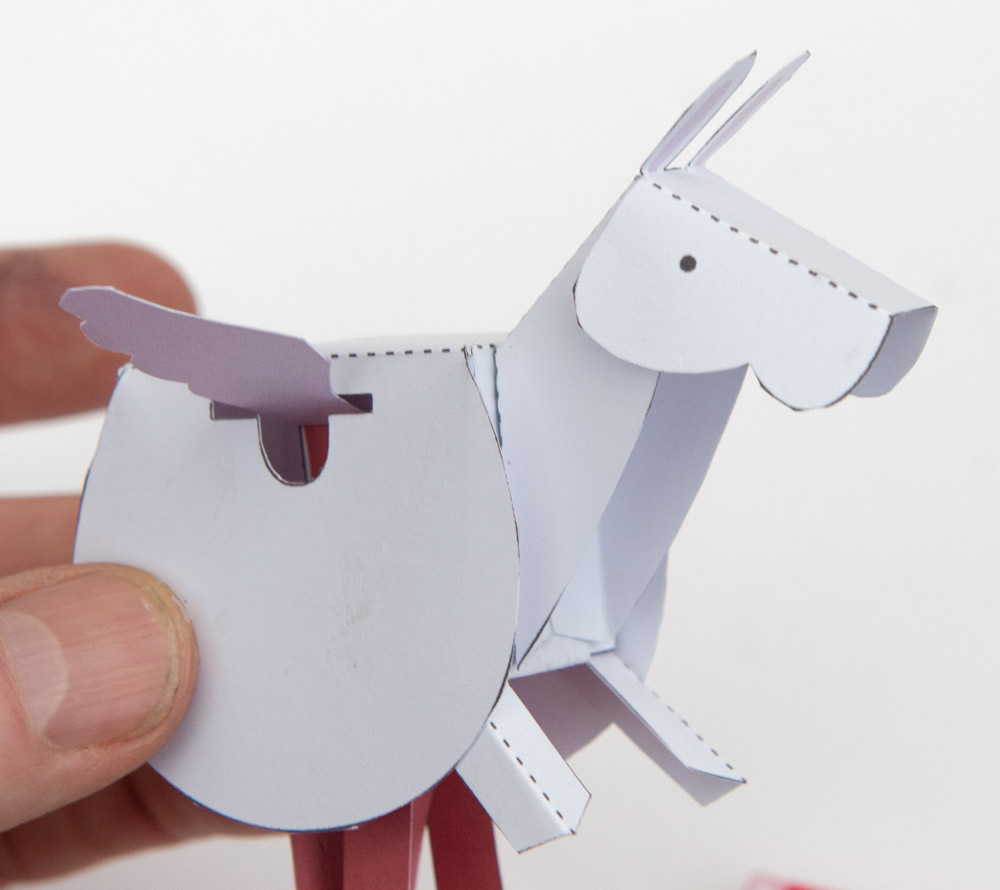
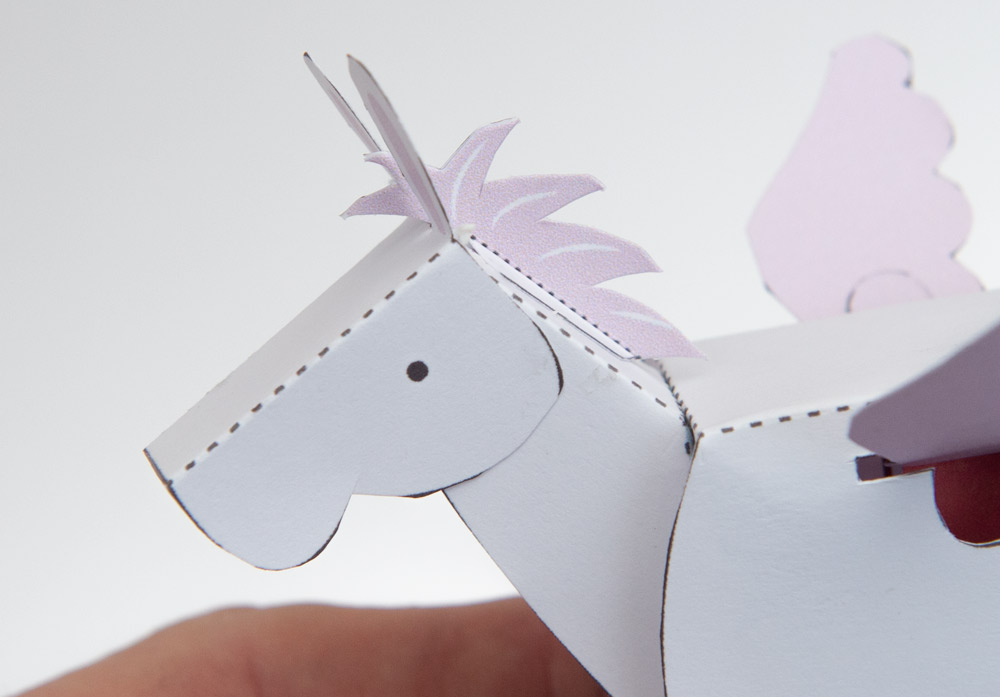
Glue on the neck.
Glue on the head.
Make the tail from double thickness card.

Glue on the tail.
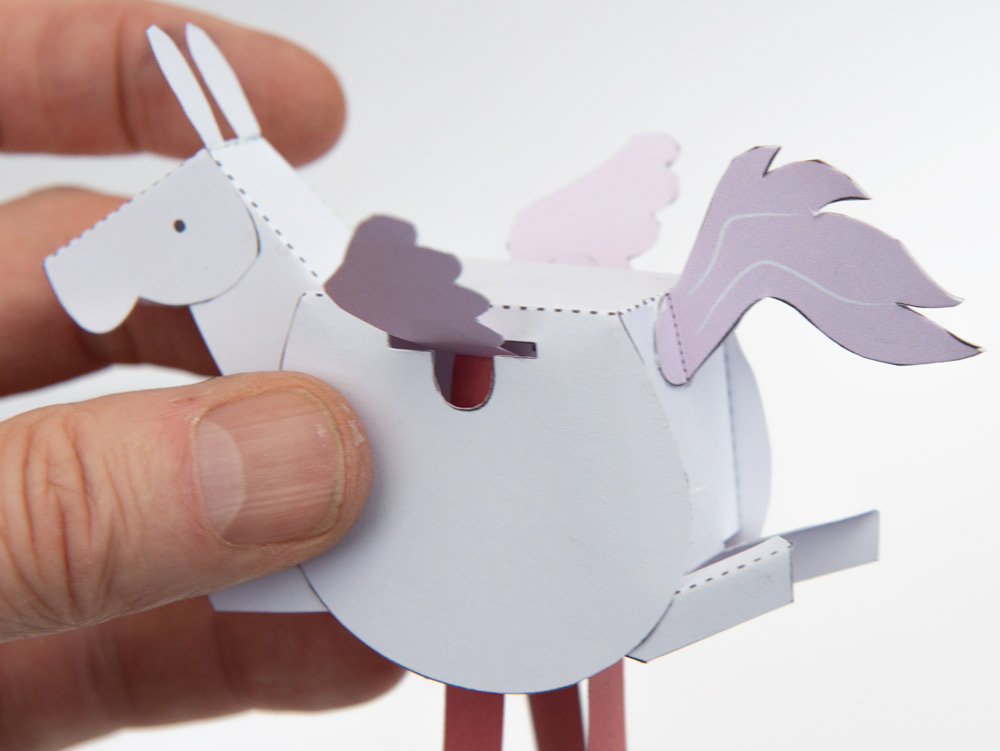
Glue the mane into place.
Fit the horse to the main pushrod.
Turn the handle so the the crank and cam are at their lowest position.
Glue the front and back legs into place. Glue the ends only, don’t hget any glue on the body!
Pull down the wing pushrods to that the wing is up and glue the other end to the coin wraps.
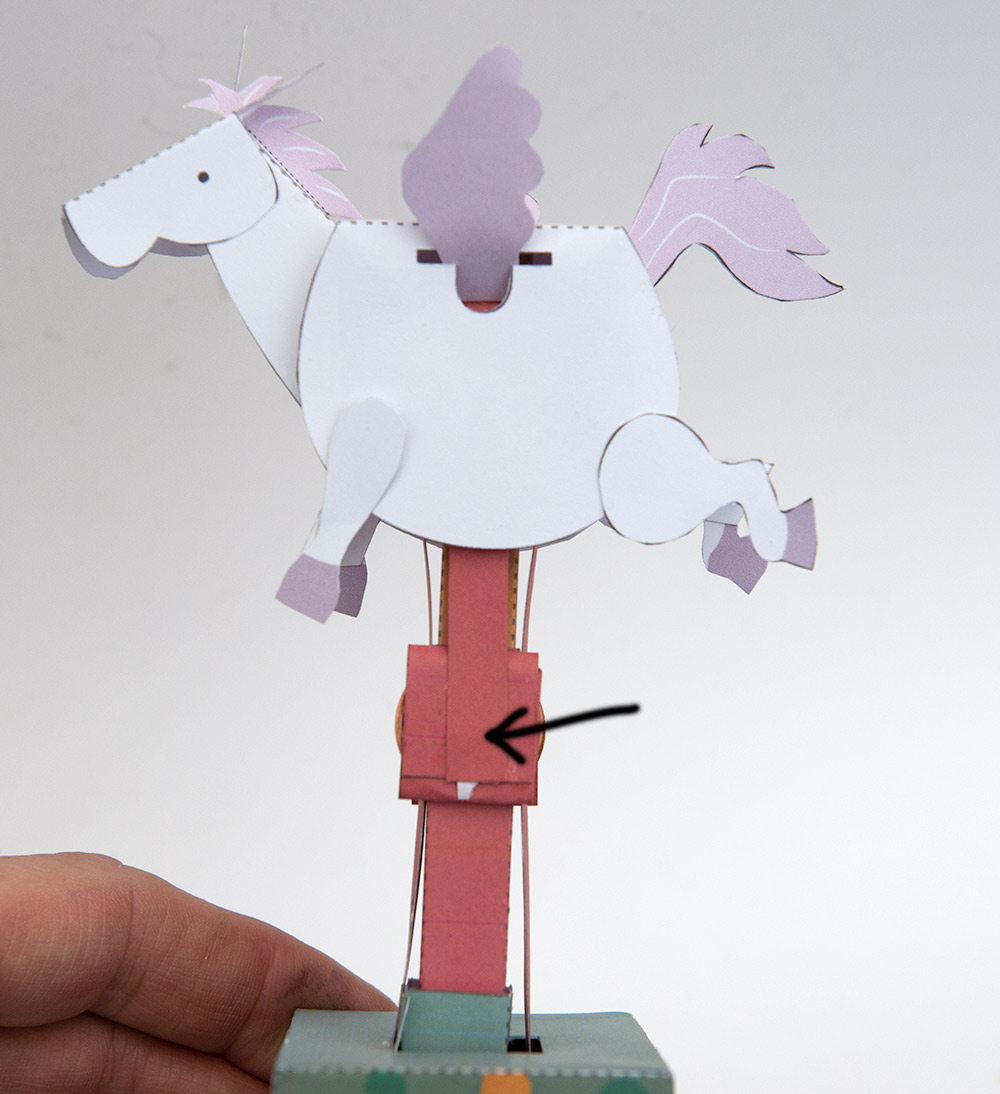
With the legs pulled up, glue the pushrods to the short, outer slider tube, front and back.
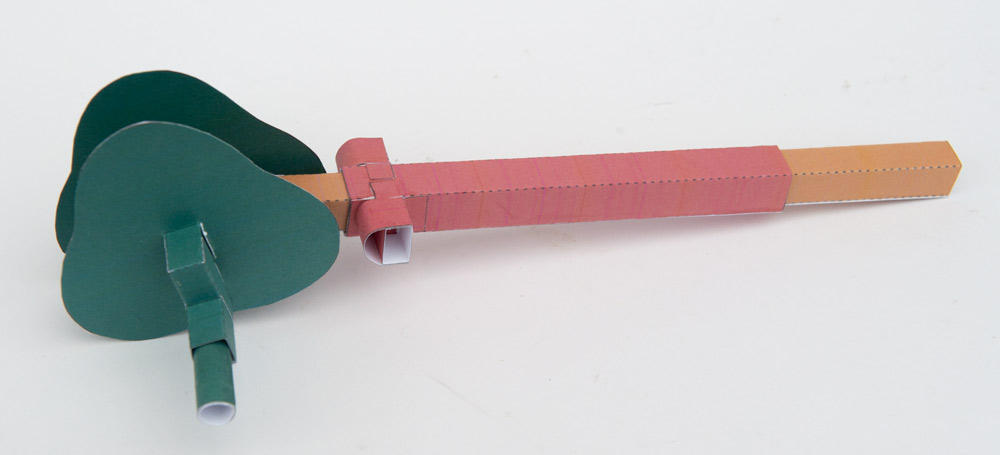
Ta daa! Turn the handle and the horse flies!