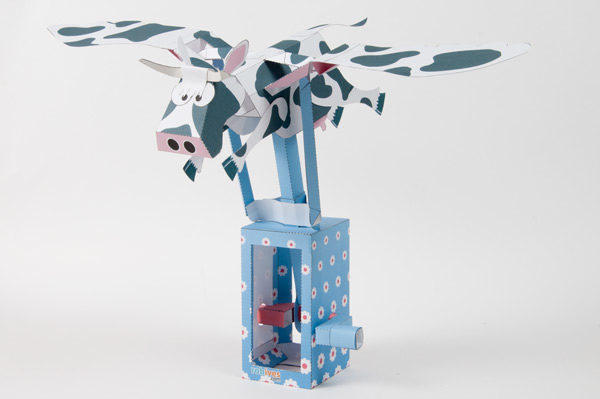
A Flying Cow to download and make. Turn the handle on this fun papertoy and the cow flaps her wings using four bar linkages to make a the movement particually enthusiastic.
As always, members can download the parts for free at the link. Non members can download the parts for £2.50
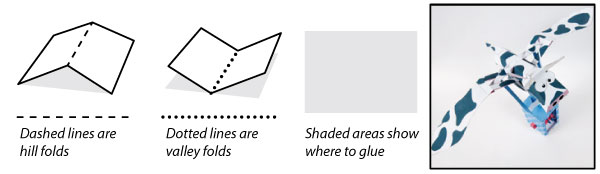
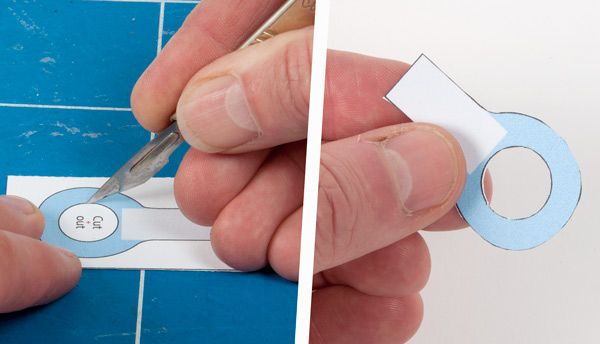
Print out the parts onto thin card (230 micron / 67lb) Score along the dotted lines and cut out the holes before carefully cutting out the pieces.
Fold over the push rod ends and glue them down to make double thickness card. Once the glue is dry carefully cut them out.
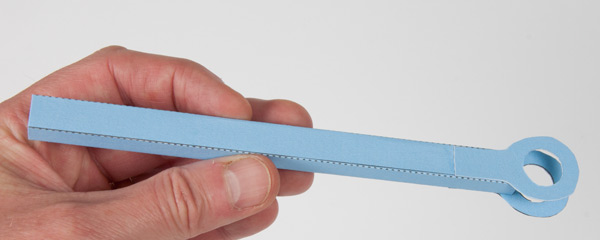
Fold round and glue together the main push rod. Glue the push rod ends onto the grey areas.
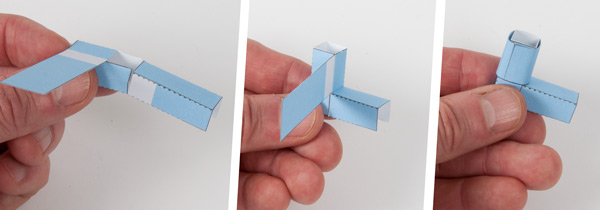
Glue together the three section of the crank tube. Join the long piece to one of the short crank tube using one of the crank joiners. Thread the push rod end onto the longer crank tube.
Glue on the other crank joiner and crank tube to complete the crank assembly.
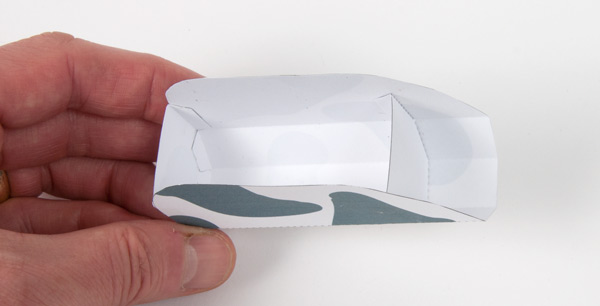
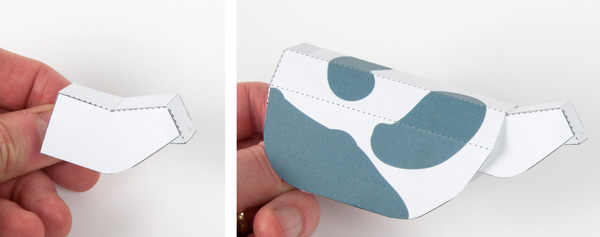
Fold round and glue down the tabs on the box pieces to make a right angled triangle.
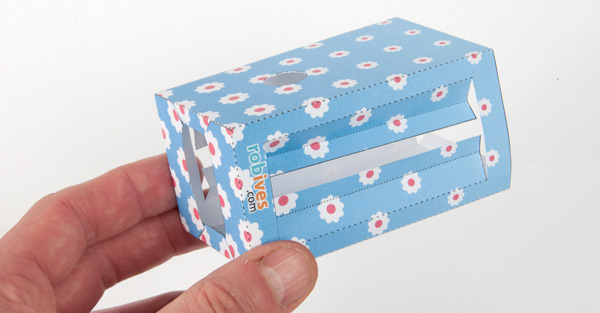
Glue the two box side together.
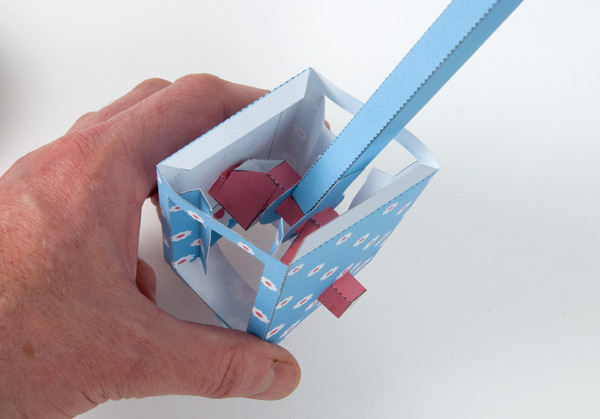
Fit the crank into the box. This is a bit fiddly but stick at it, you’ll get there!
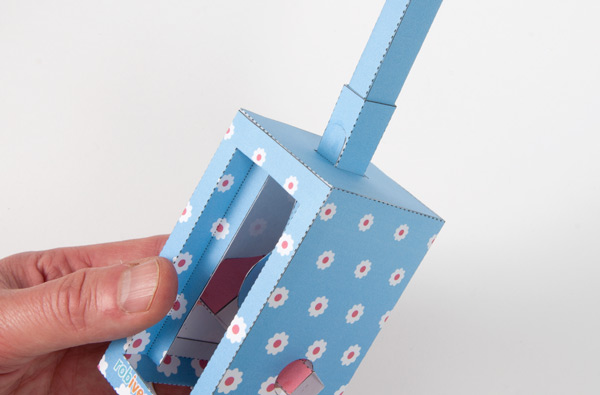
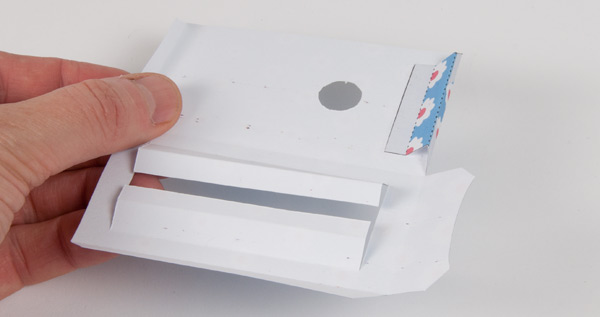
Fit the box top into place over the push rod and glue it down.
Assemble the slider tube, slide it over the push rod and glue it to the tab in the box top.
Assemble the handle in three steps. Fold up and glue the two tubes. Fold one tube into the other and glue it into place. Roll round the long tab and glue it down.
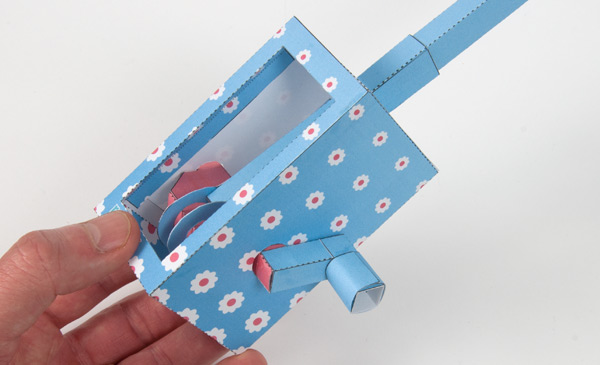
Glue the handle to one of the crank ends. Pick one, it doesn’t matter.
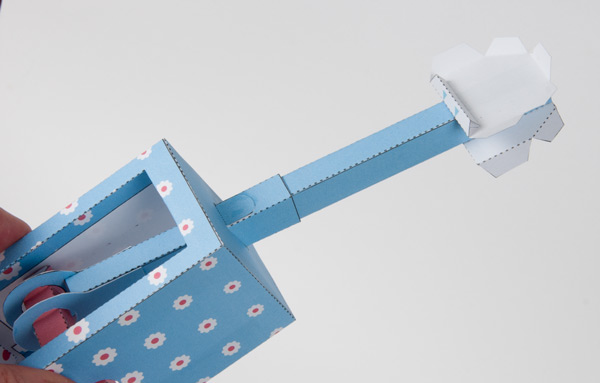
Fold the tabs round on the two body supports to make triangular tubes. Glue them to the top of the push rod, front and back.
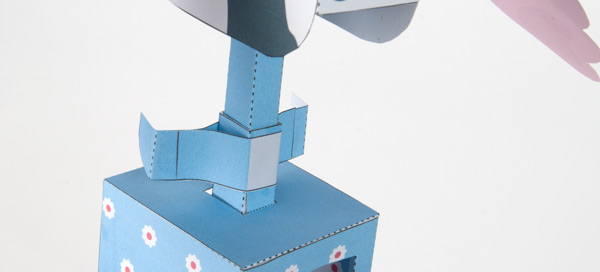
Assemble the body. Glue the body support into place approximatiely 25mm from the front of the body.
Glue together the three parts of the neck.
Glue the neck into the body.
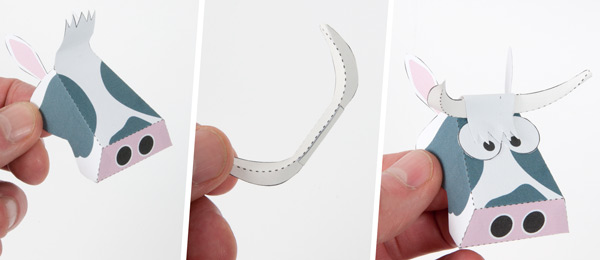
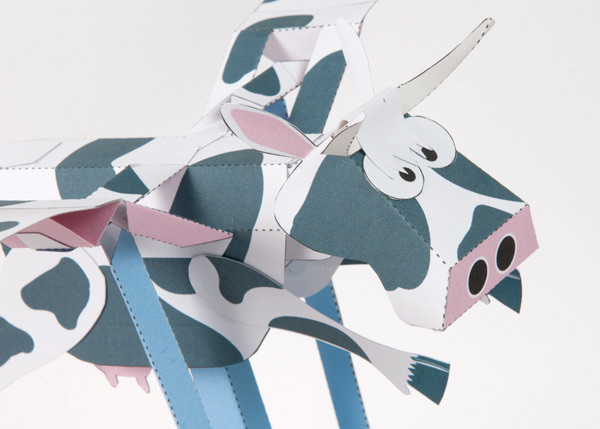
Assemble the head.
Assemble the horns.
Glue the horn to the head, glue on the eyes and glue down the fringe holding the horns into place.
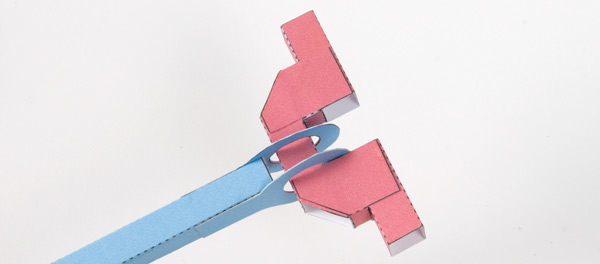
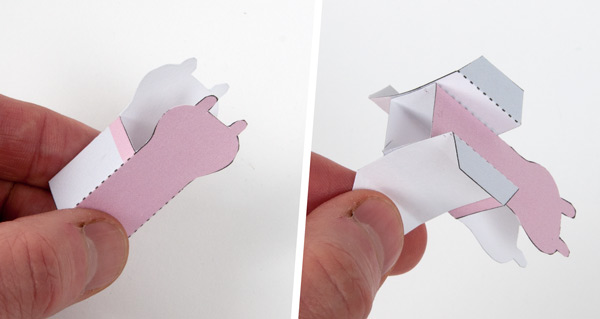
Fold up the tab on the end of the wings to make a right angled triangle.
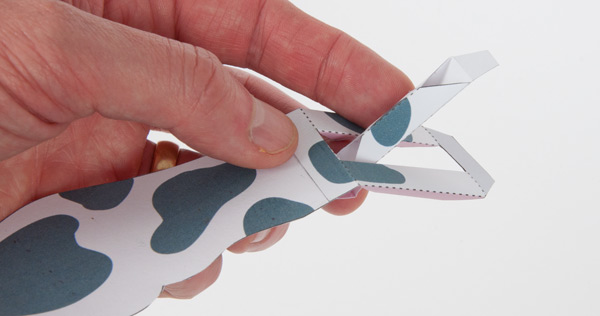
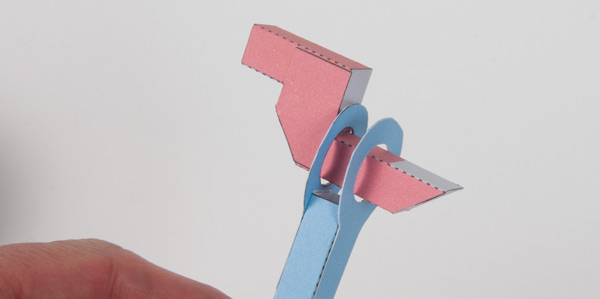
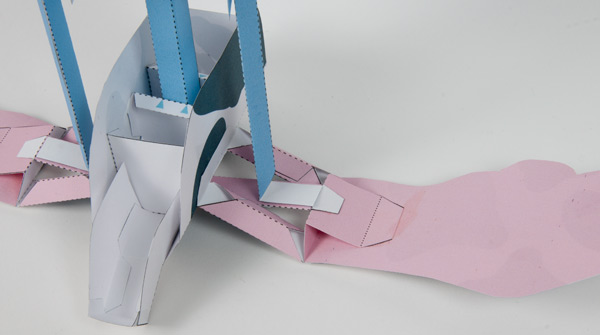
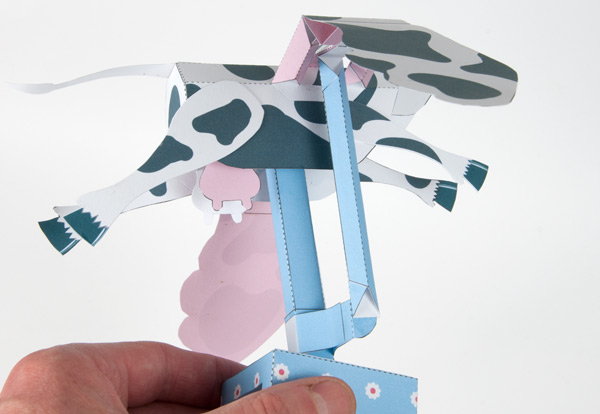
Assemble the linkage parts. Glue them to the wings so that they criss-cross as in the picture above.
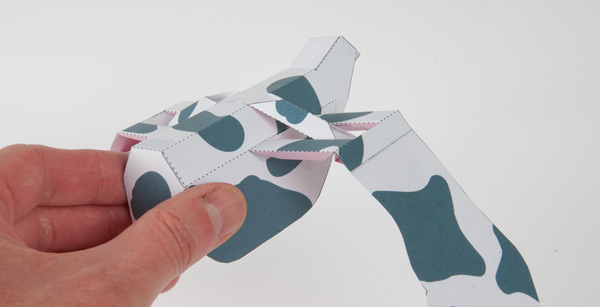
Glue the linkages to the body.
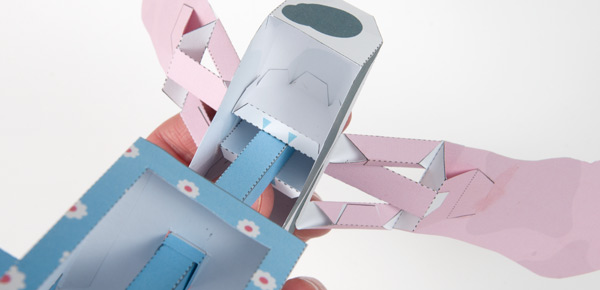
Fit the body to the push rod so that the push rod lines up with the back linkage.
Glue the two wing push rod supports to the slider tube 2mm from the top. The longer of the two should be at the the front of the slider tube.
Invert the model. Glue the wing push rods to the centre linkages so that the end of the tabs touch the end of the linkage.
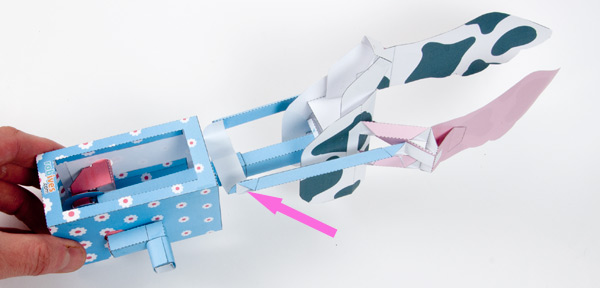
Turn the handle so that the push rod is at its lowest position. Lift the wings to their highest position then glue the wing push rod to the tab on the wing push rod support.
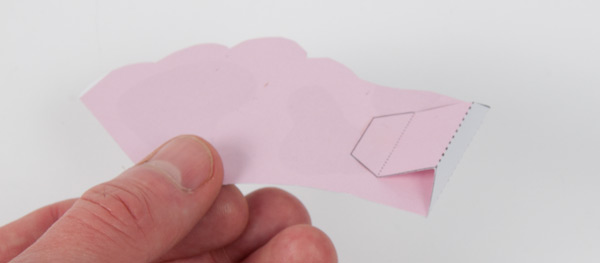
Assemble the udder. Glue the body supports in place front and back.
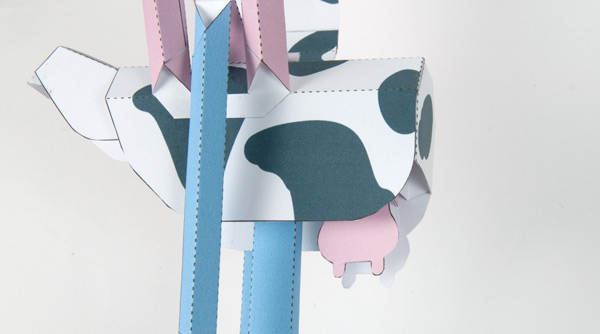
Glue the udders into place in the body.
Fold the legs in half and glue them together to make double thickness card, once the glue is dry carefully cut them out and glue them into place.
Finish off the model by adding the head.
Once the glue is completely dry, turn the handle and your cow should moo-ve smoothly through the air.