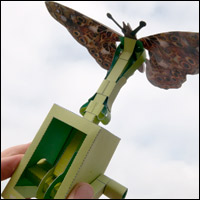
A ratchet driven paper animation kit to download, print out and make. Rock the ratchet handle back and forth and the early bird tries in vain to pull the worm from the ground. Members can download this model for free. Non members can buy the file for a small fee.
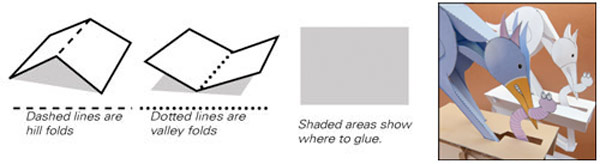
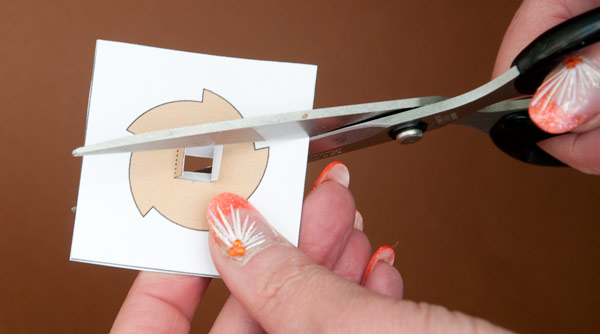
 Print the parts sheets onto thin card. (230 micron/230 gsm.) Score along the dotted/dashed lines and cut out the holes before cutting out the parts.
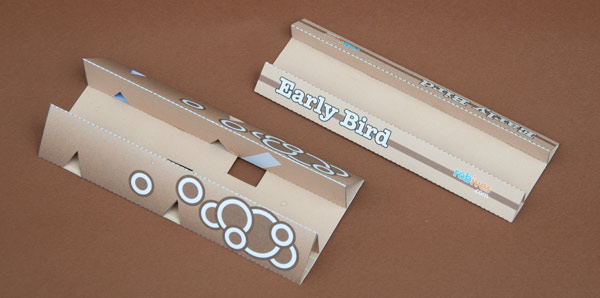
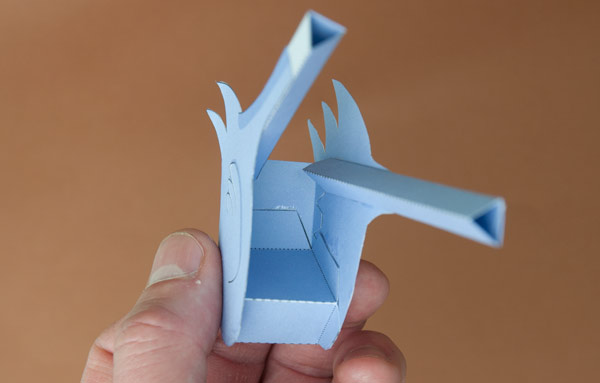
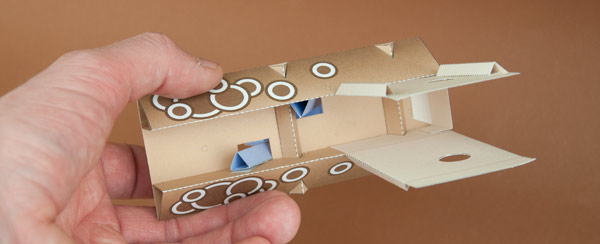
Fold up and glue together the top and the base as shown above.
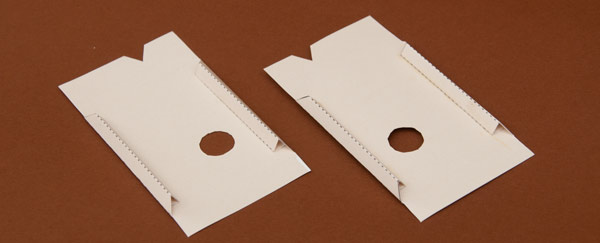
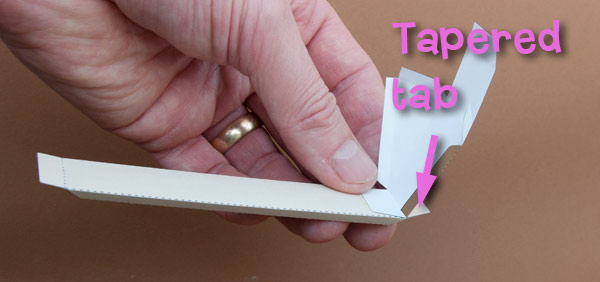
Fold over the tabs on both side pieces and glue them down to create triangular tube sections.
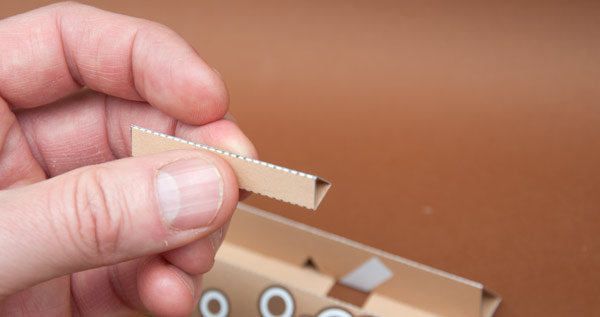
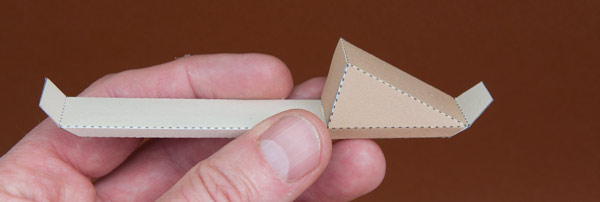
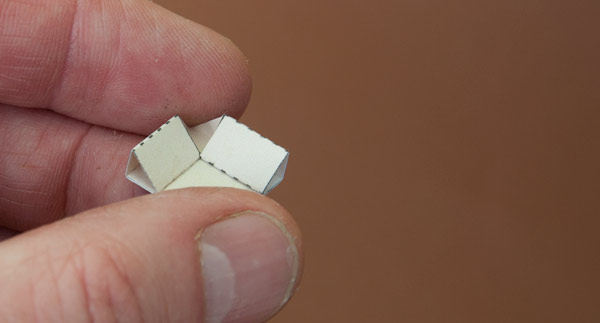
Fold round and glue together the two triangular pins.

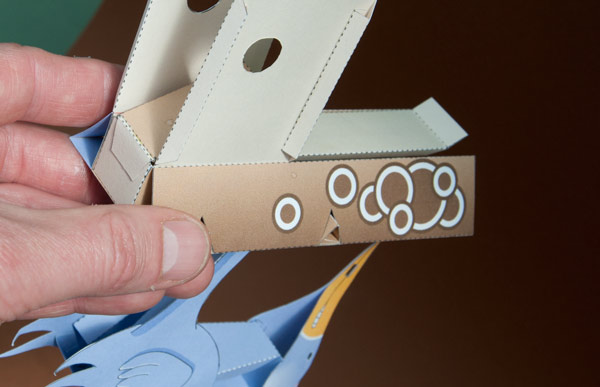
Slide the pins into place through the triangular holes in the top piece. It is not necessary to glue them down.
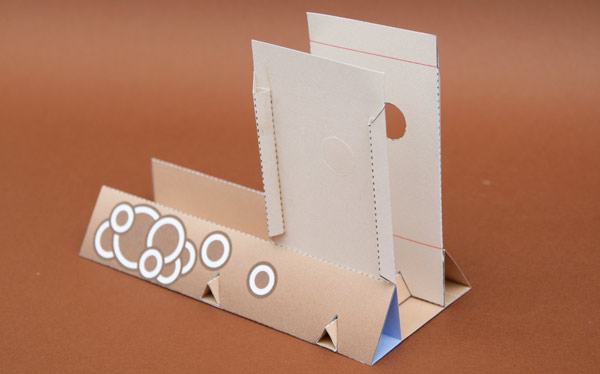
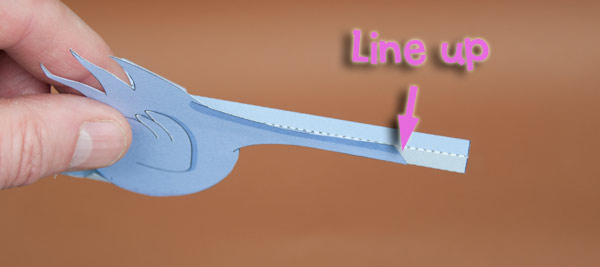
Glue on the two sides, the red line lines up with the edge of the top piece. Notice how the side has a notch which lines up with the pin.

Glue the end cap into place between the two sides.
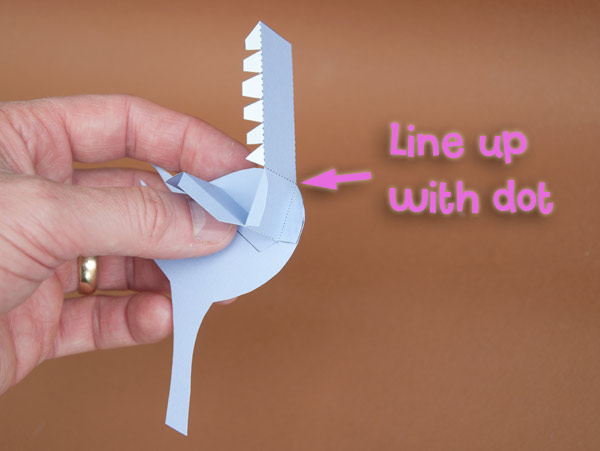
Glue the body top to one of the bird sides starting with the curved tab. Line up the edge of the curved tab with the edge of the body and with the small dot at the top of the body.
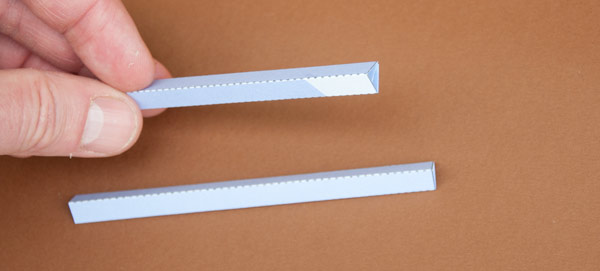
Fold round and glue together the leg supports.
Glue the leg support to the body side lining up the edge of the grey area with the end of the leg. Make sure you use the longer leg support on the longer leg!
Glue on the other side again using the dot for alignment.
Glue down the remaining tabs on the body top.
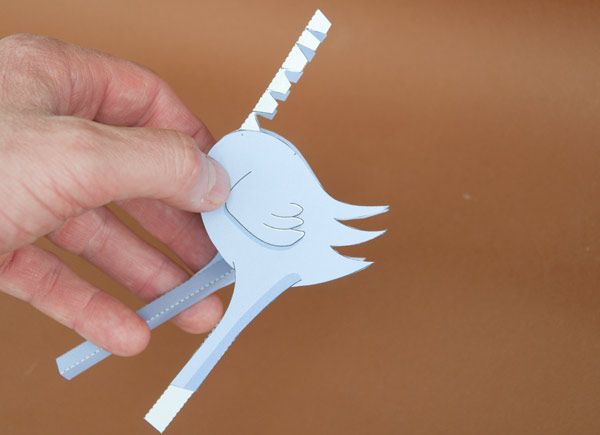
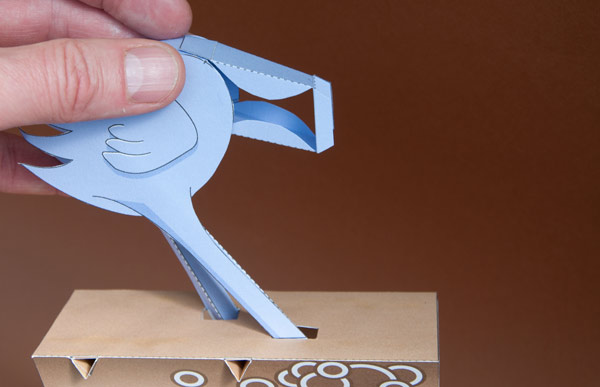
Fit the body to the top through the holes in the top.
Use the grey areas to line up glued areas.
Glue together the first 20mm of the beaks.
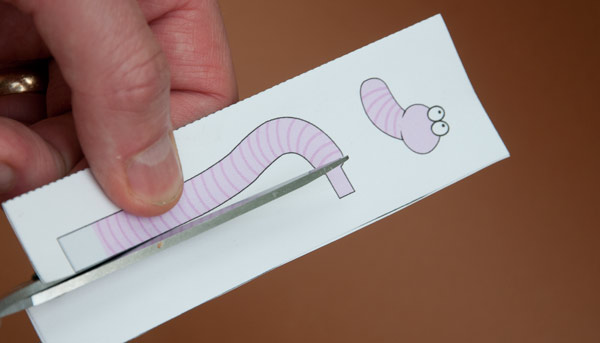
Fold the worm in half and glue it down to make a double thickness card. Once the glue is dry, cut out the two worm pieces.

Cut out the marked hole in the bird beak.
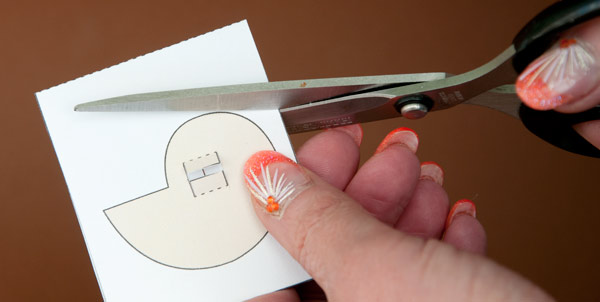
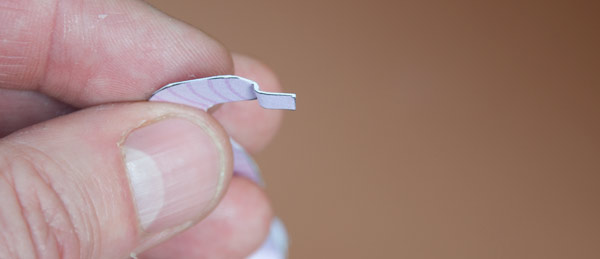
Fold the cam in half and glue down to make double thickness card. Once the glue is dry carefully cut out the part. (Like the nails ?)
Repeat the process with the two gears.
Fold up and glue together the cam follower. Glue the cam follower end to the grey area.
Complete the cam follower as shown.
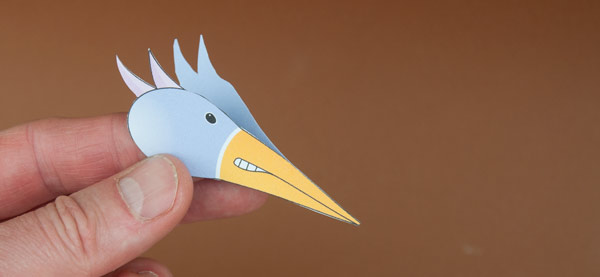
Glue the neck to the body. Note the the centre tabs are folded forward.
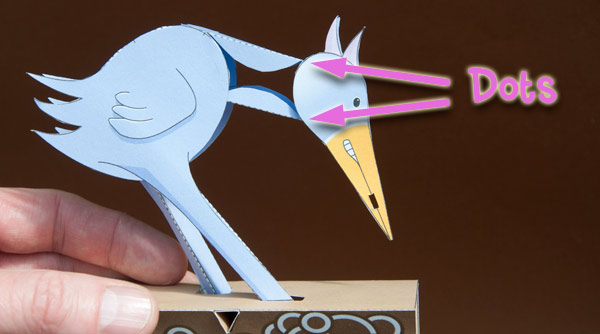
Glue the head to the centre neck tabs using the dots on the head for alignment.
Glue the cam follower to the end cap.
Glue the small tabs to the end of the worm.
Fold a small dog-leg into the top end of the worm body.
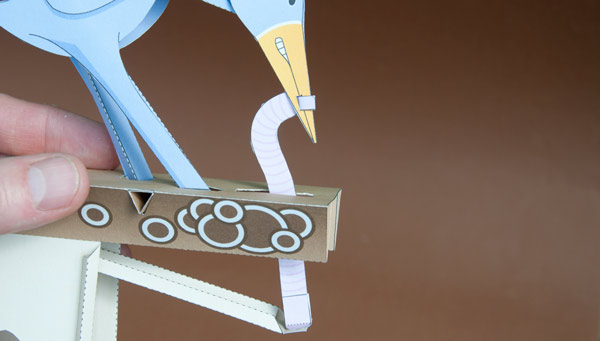
Thread the worm up through the hole in the top. Glue the tabs on the end of the cam follower, thread the other end through the hole in the beak.
Glue the worm head onto the tab. Make sure you don’t get any glue on the beak.
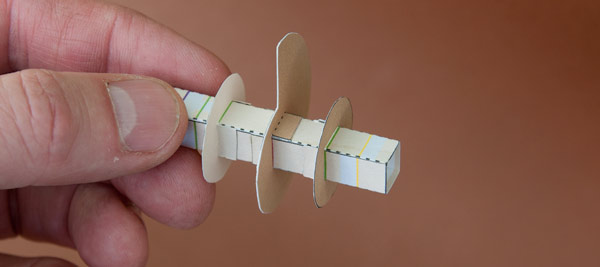
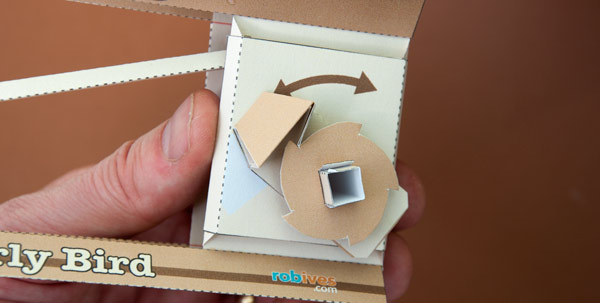
Glue together the square section of the crank shaft. Thread the cam into place on the crank shaft. Make sure that you put the cam on the right way. Note in the picture above the cam lines up with the red line and the yellow line is to the right. Glue two washers to the green rings on the crank shaft with the tabs pointing inwards.
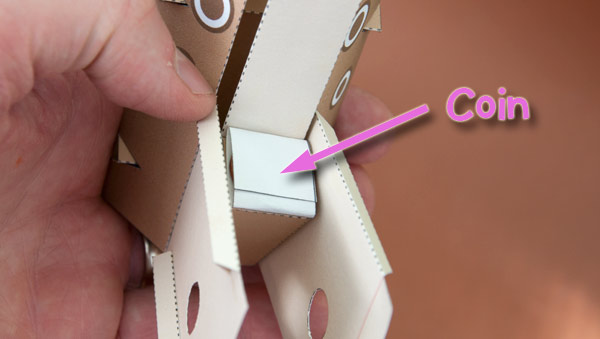
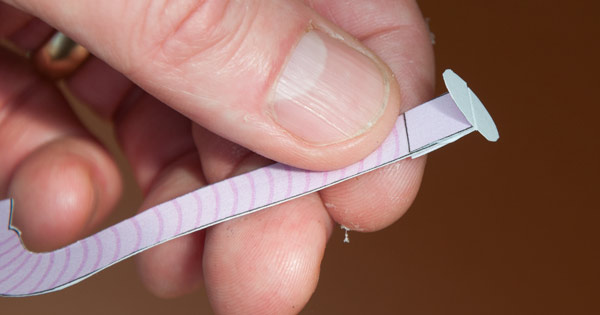
Wrap a small (20mm diameter) in a small offcut of card and glue it to the front on the cam follower.
Fit the cam shaft into the box. In the picture above the purple ring is towards the front.
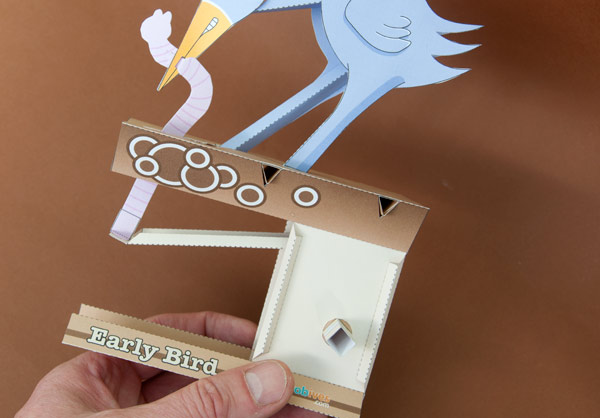
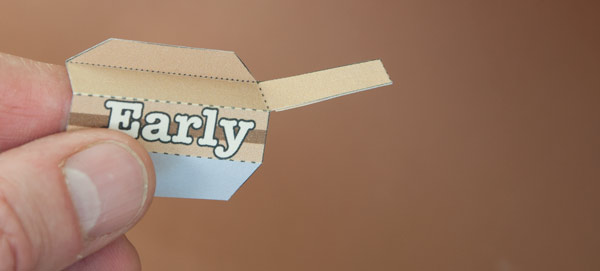
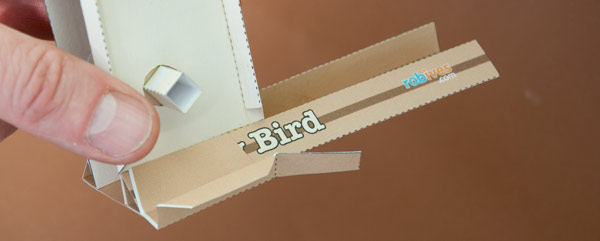
Glue on sides to the base.
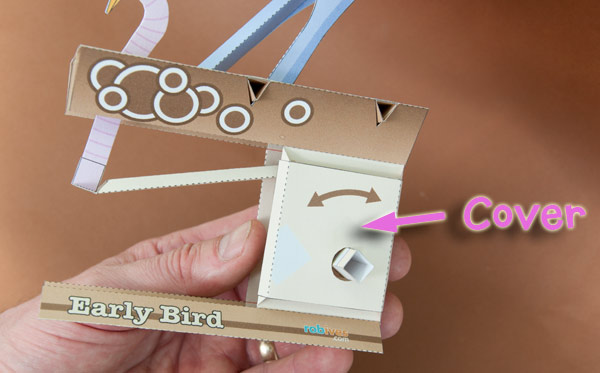
Glue the cover into place.
Fold the pawl over and glue it to make double thickness card.
Glue the bottom of the secondary pawl to the base…
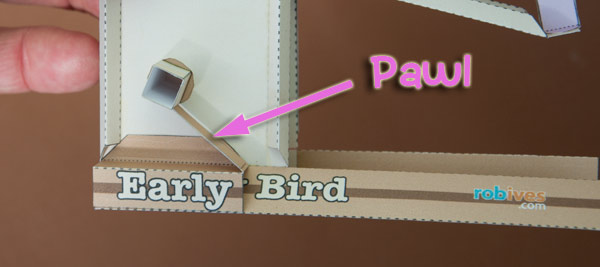
…the glue the top to the box side.

Thread one of the gears to the yellow ring on the cam shaft aking sure that the pawl is in place as shown

Fold over, glue down, and cut out the hole in the pawl housing. Fold over the top to make a triangular section then fold over and glue down the pawl to make it double thickness.
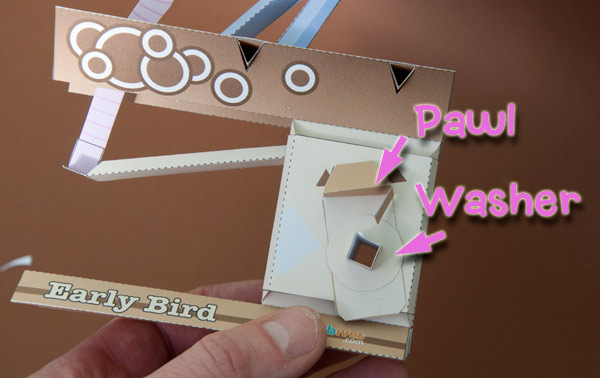
Thread the pawl housing over the cam shaft. Fit it into place with the washer.
Assemble the stop as shown
Fit the second gear to the cam shaft. Check front and back to make sure that the teeth are lined up.
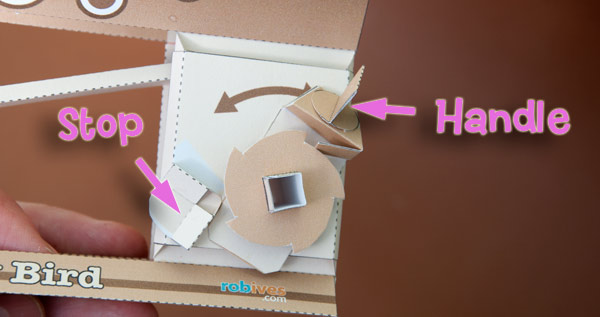
Glue the handle into place. Positioning of the stop is more art than science. Hold it roughly over the marked area without gluing it. Rock the handle back and forth. Move the stop so that both pawls click as the handle is rocked. Once you have found the best location, glue it into place.

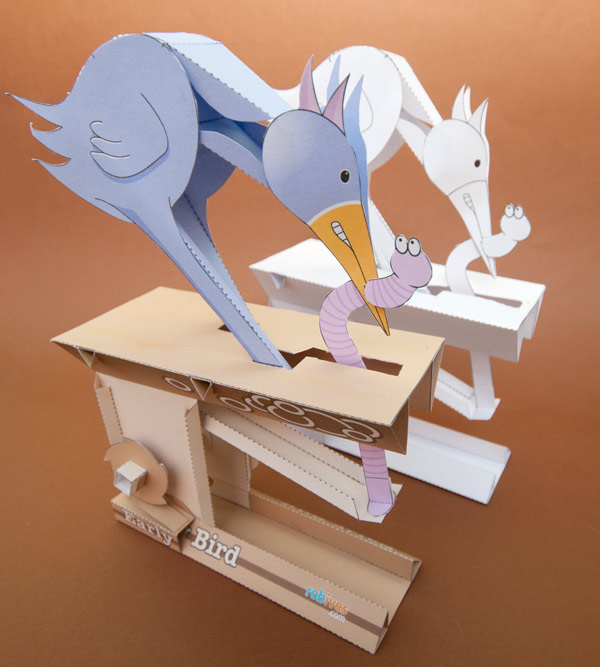
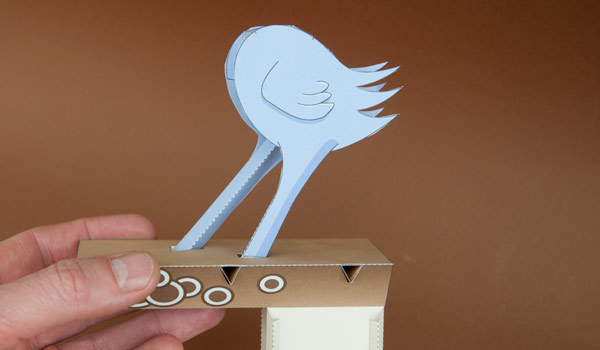
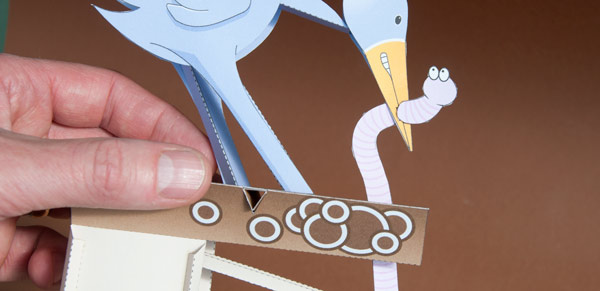
Your Early Bird is now complete!

Hold the handle, rock it back and forth and the bird will pull the worm from the ground a little at a time before the worm pulls back and the cycle begins again.