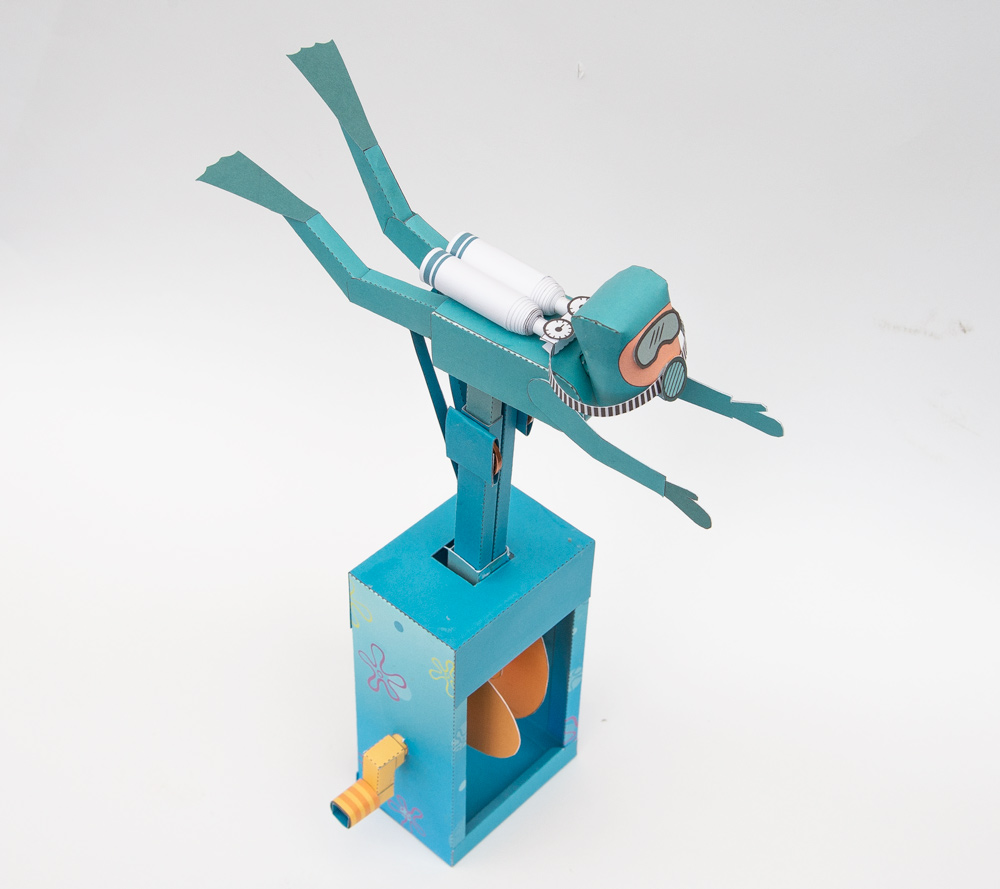
A Paper Diver to download and make. Turn the handle and the diver kicks his legs and swims powered by an interesting double cam/crank mechanism. Members can download the model for free at the link. Non-members can join in the fun for £2.50 or why not sign up as a member to get free access to this and all the other projects on the site!
Print out the parts onto thin card (230 gsm / 67lb) Note that the sheets are double-sided. Print out the front then flip over the card and return it to the printer to print out the back. Score along the dotted and dashed lines and cut out the holes before carefully cutting out the parts.
Roll up the three axles tubes and glue them down as accurately as possible.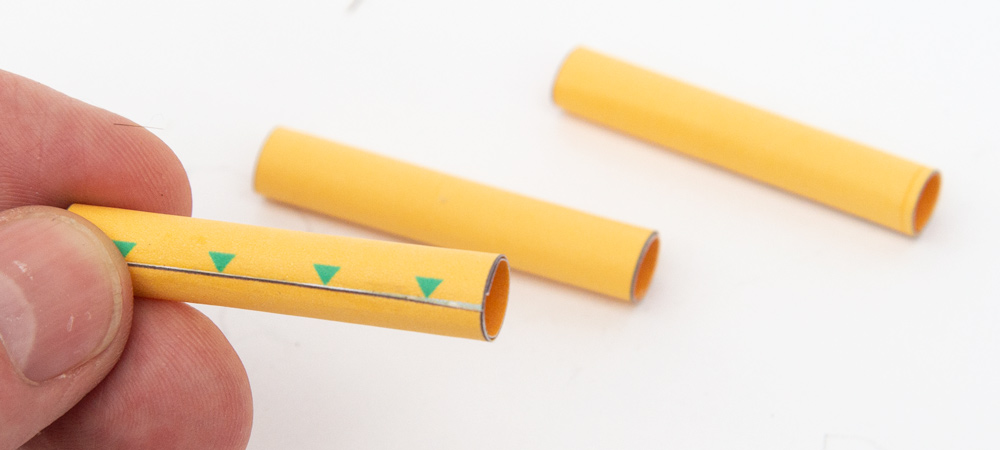
Assemble the two cranks as shown.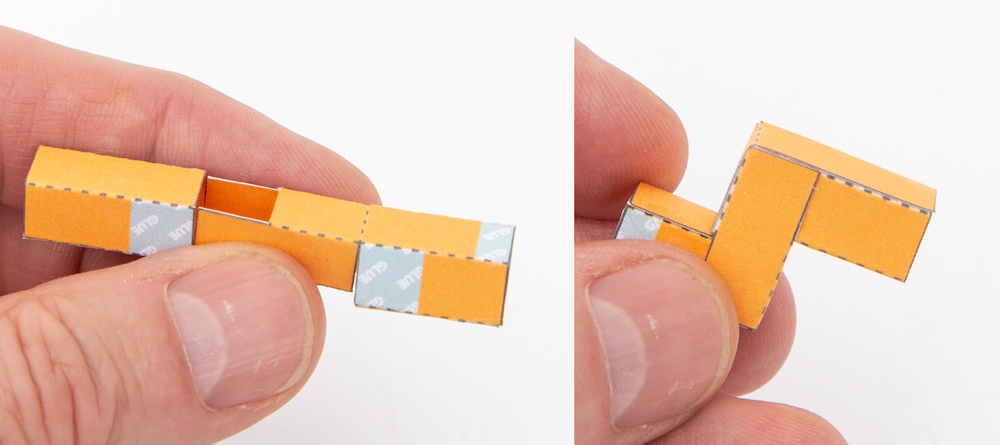 Put together the handle in three steps as shown.
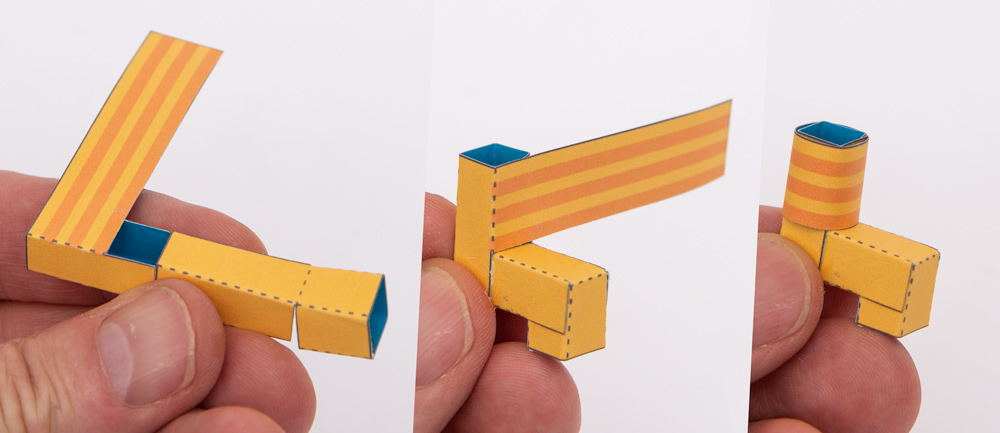 Fold round and glue the two main push rod tubes. Make sure they are straight, square and not twisted.
Fold the long sliders around the push rod tubes and glue down the flaps. They must be free to slide up and down the push rod.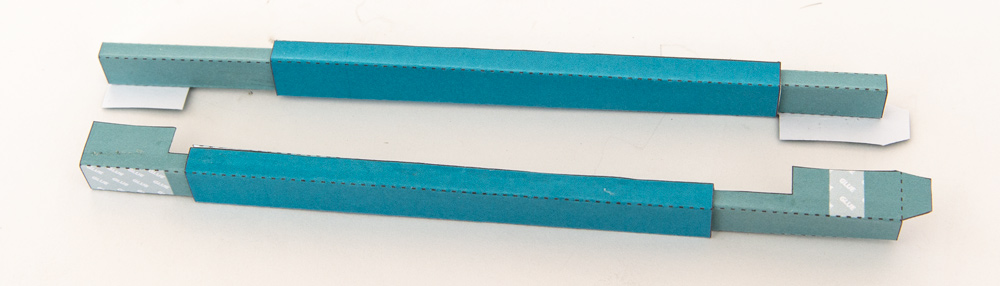
Glue the two push rods together by the tabs at the top. Make sure that the sliders are free to move.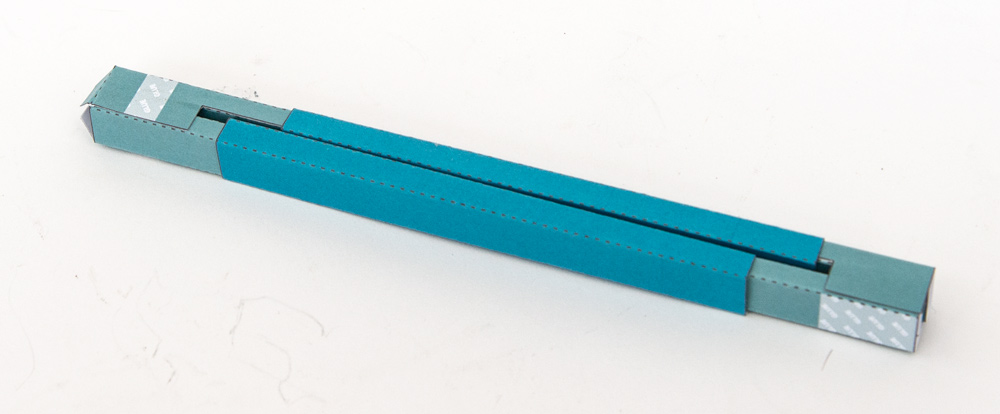
Fold over and glue down the crank ends to make double thickness card. Once the glue is dry, carefully cut them out.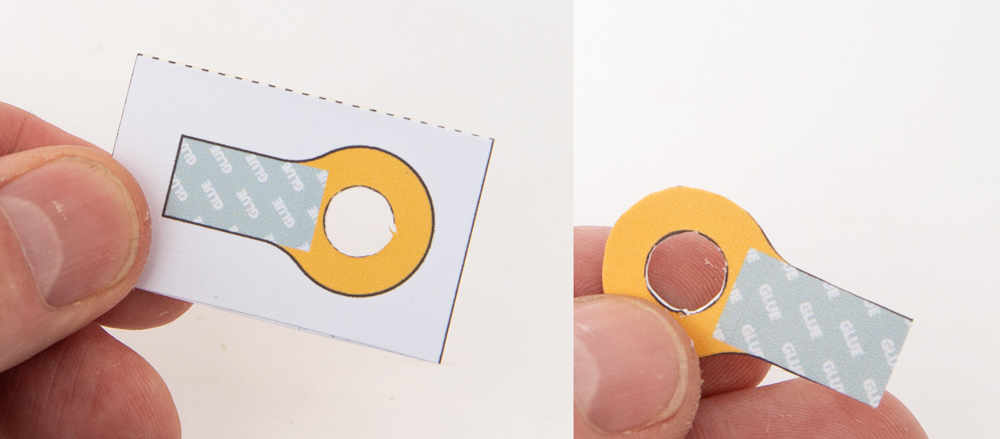
Fold over and glue down the two cams to make them double thickness.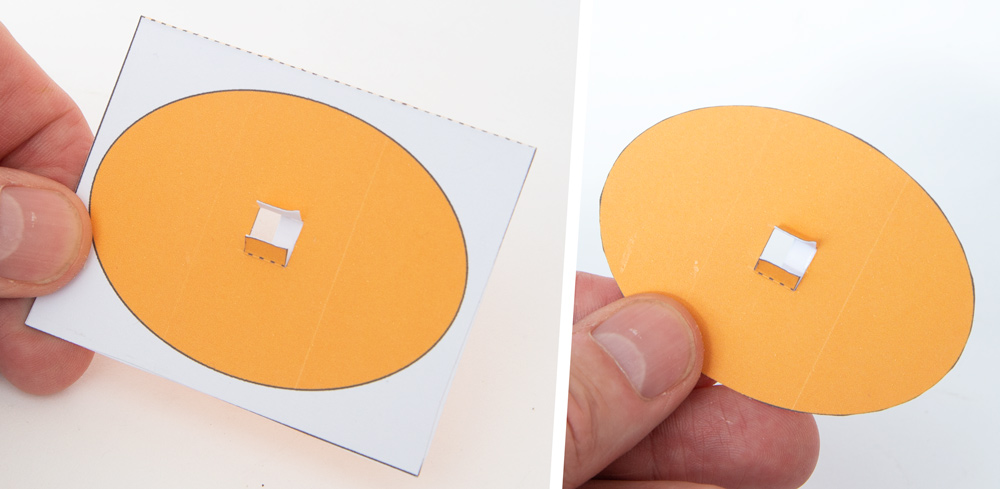
Glue one of the cams to a crank so that the end of the tabs touches the end of the crank tube.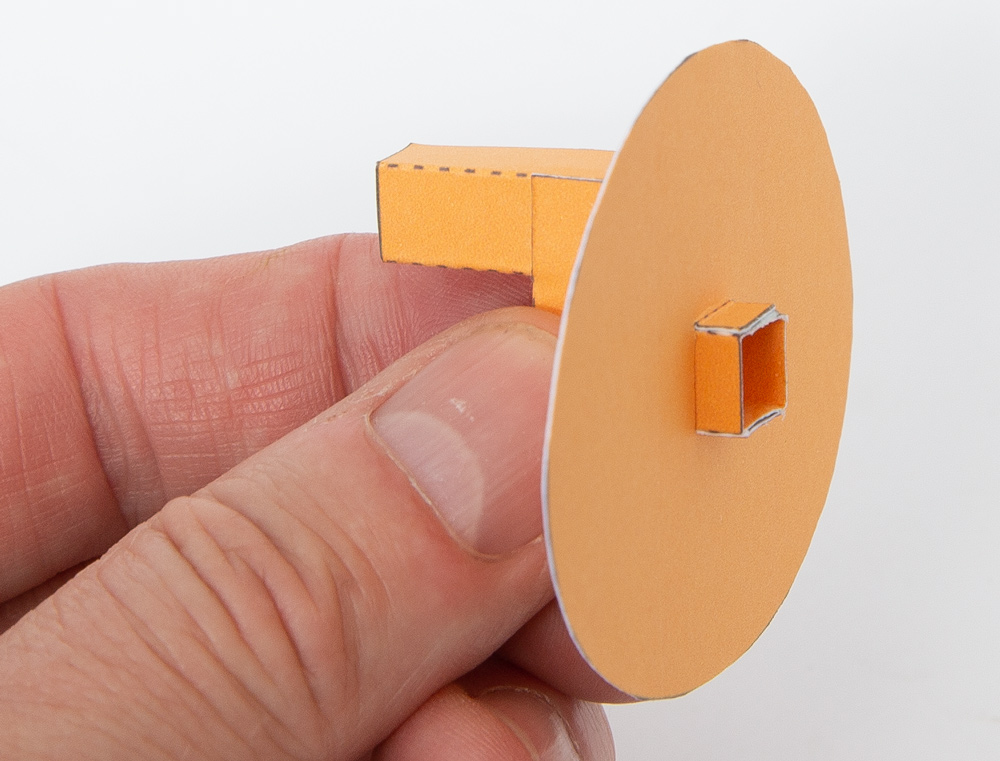
Glue the second crank into place so that it is rotated by ninety degrees.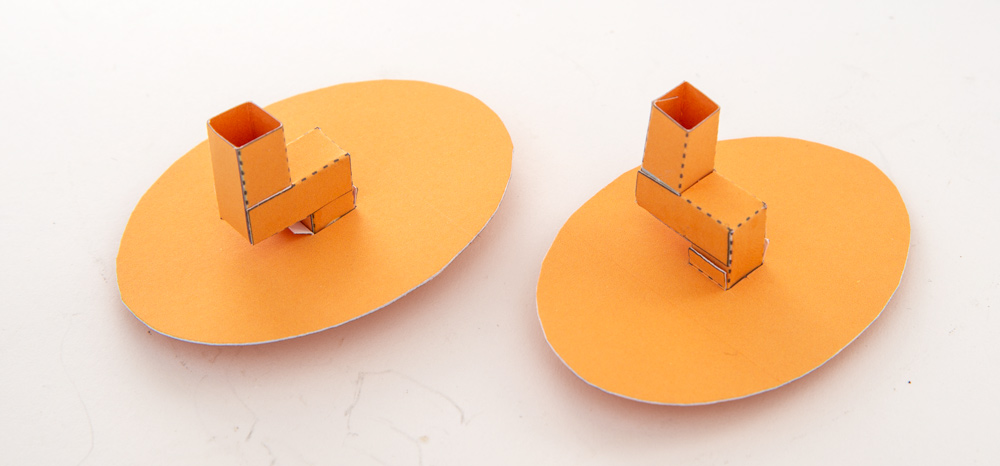
Assemble the two parts of the two cam followers.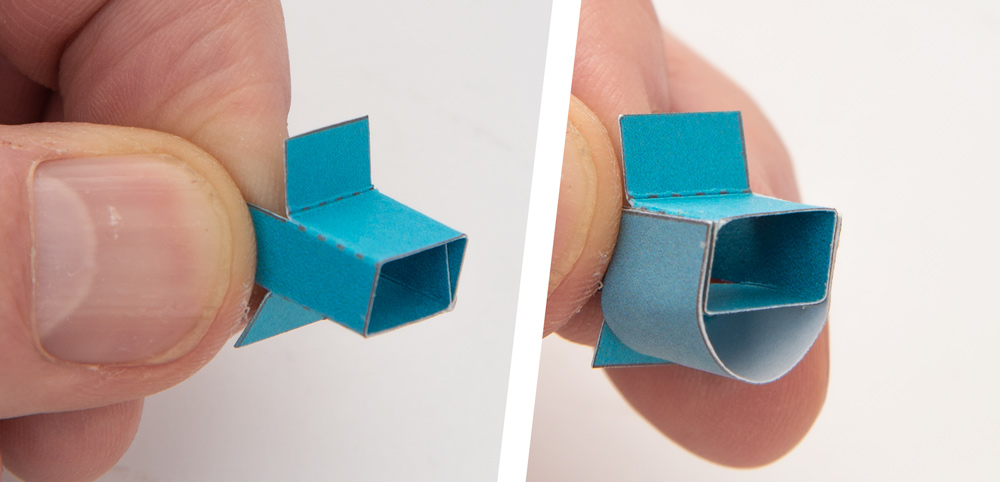
Thread the longer of the three axle tubes through the two push rod ends and glue them to the end of the push rod. Keep the tube as straight and square as possible.
Glue the cam follower to the end of the slider tube to that the curved end touches the end of the slider tube.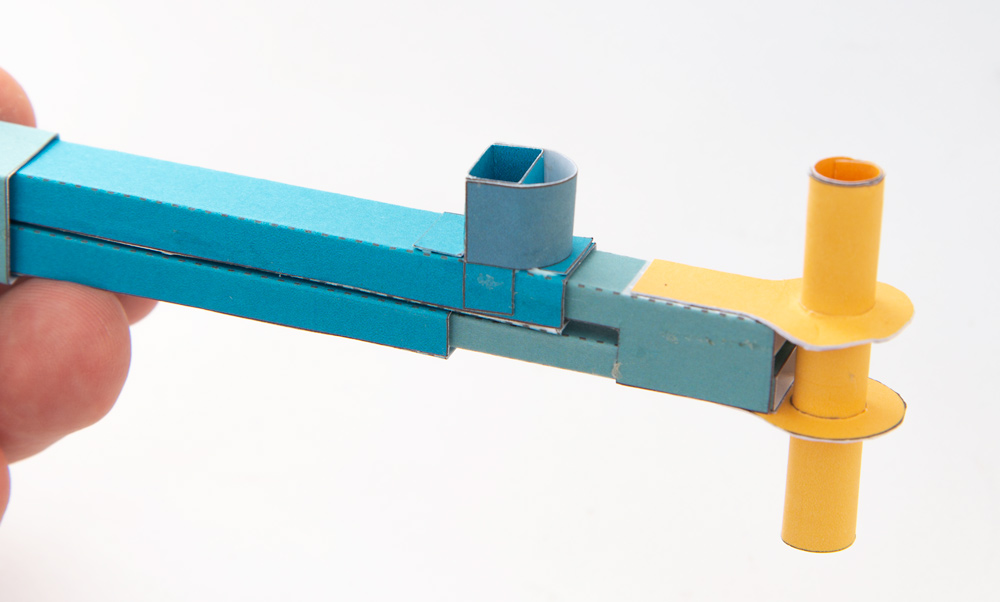
Glue the other cam followers onto the other slider.
Glue the cams to the centre axle pushing them fully home. Make sure that the cranks parts are lined up with each other. Fit the other two axle tubes securing them with a dot of glue. 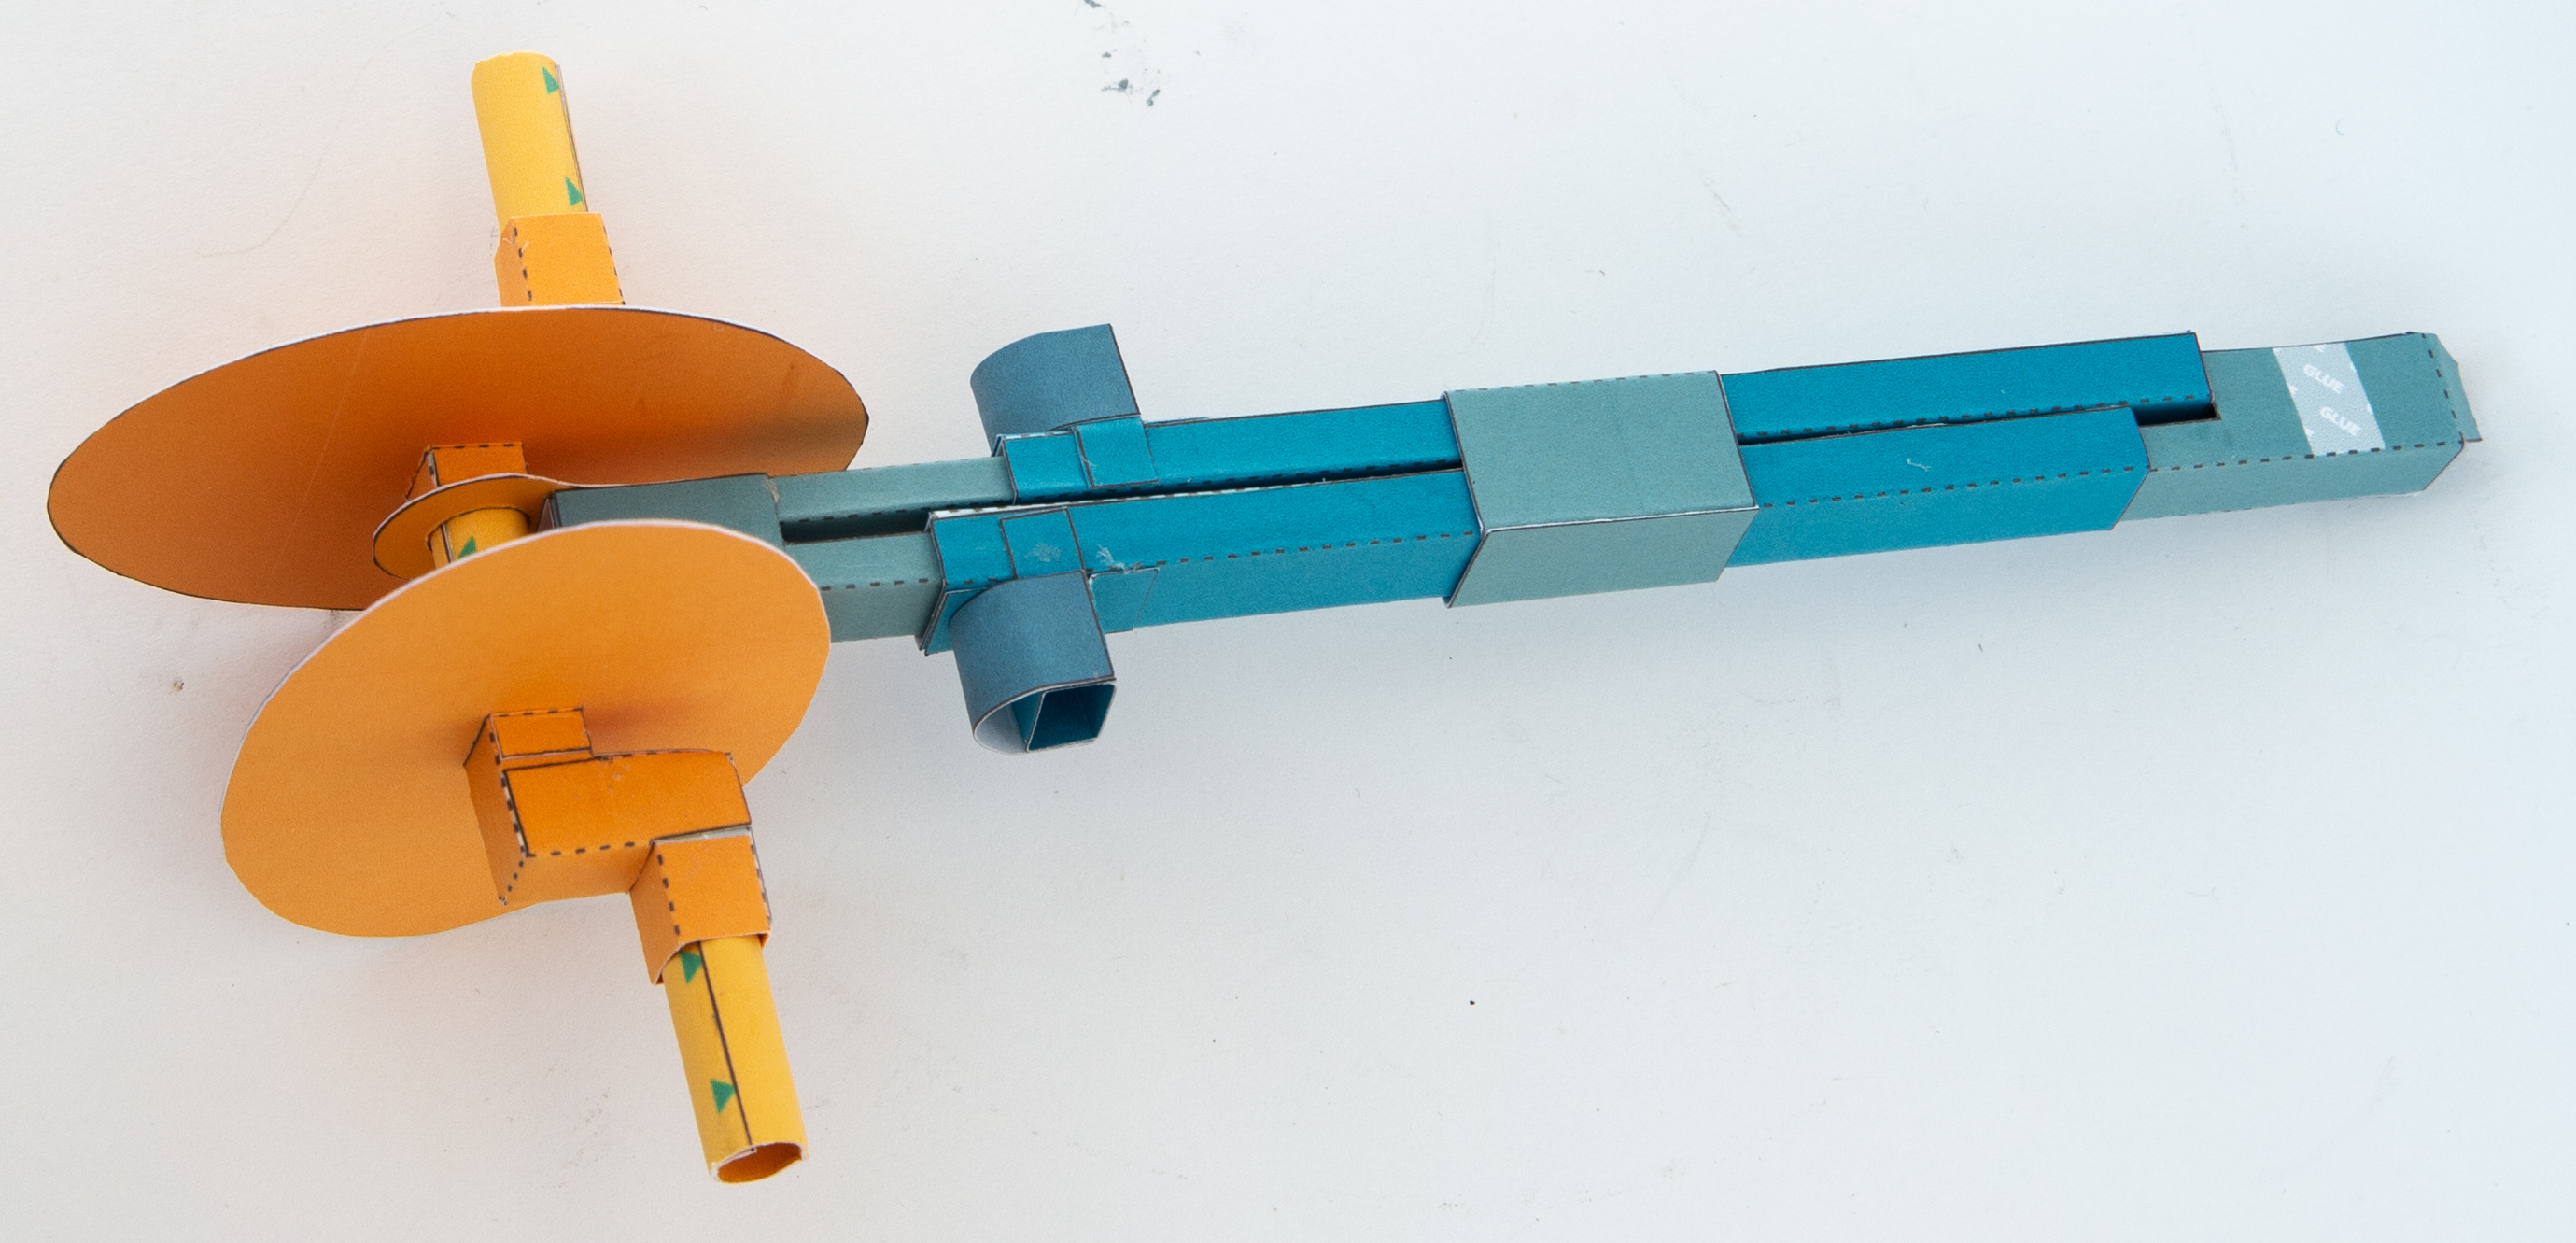
Tightly roll up and glue the tank centre.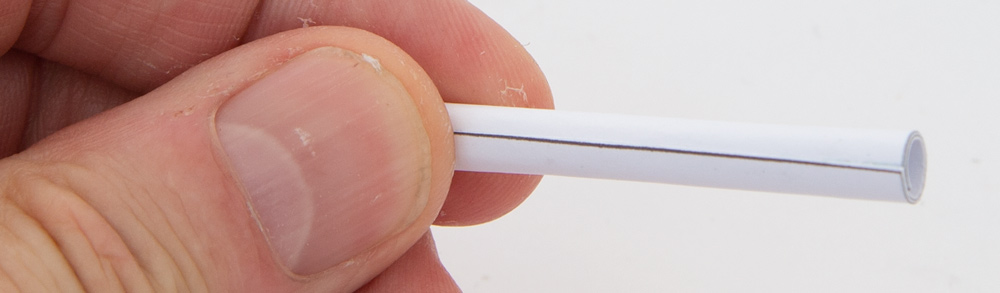
Starting at the edge of the centre tube, glue the tank middle piece and tightly roll it around.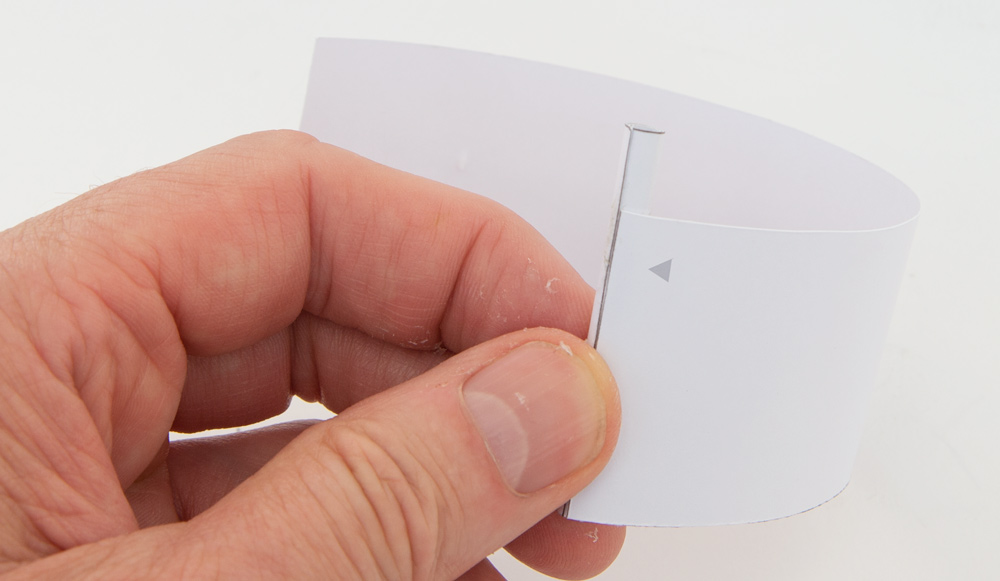
Glue and roll around the tank outer piece as shown.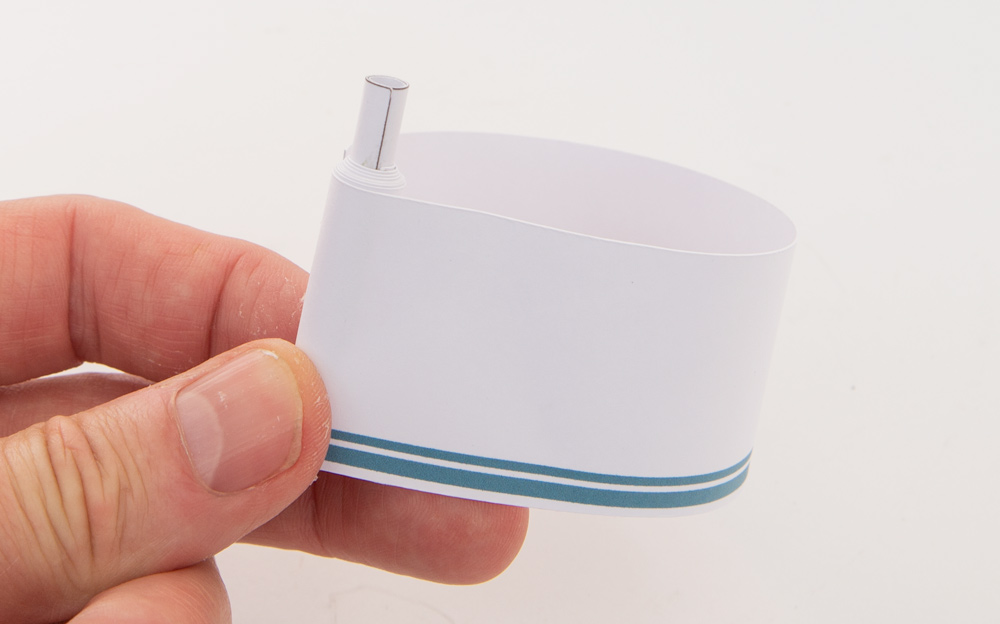
Make up the second tank in the same way.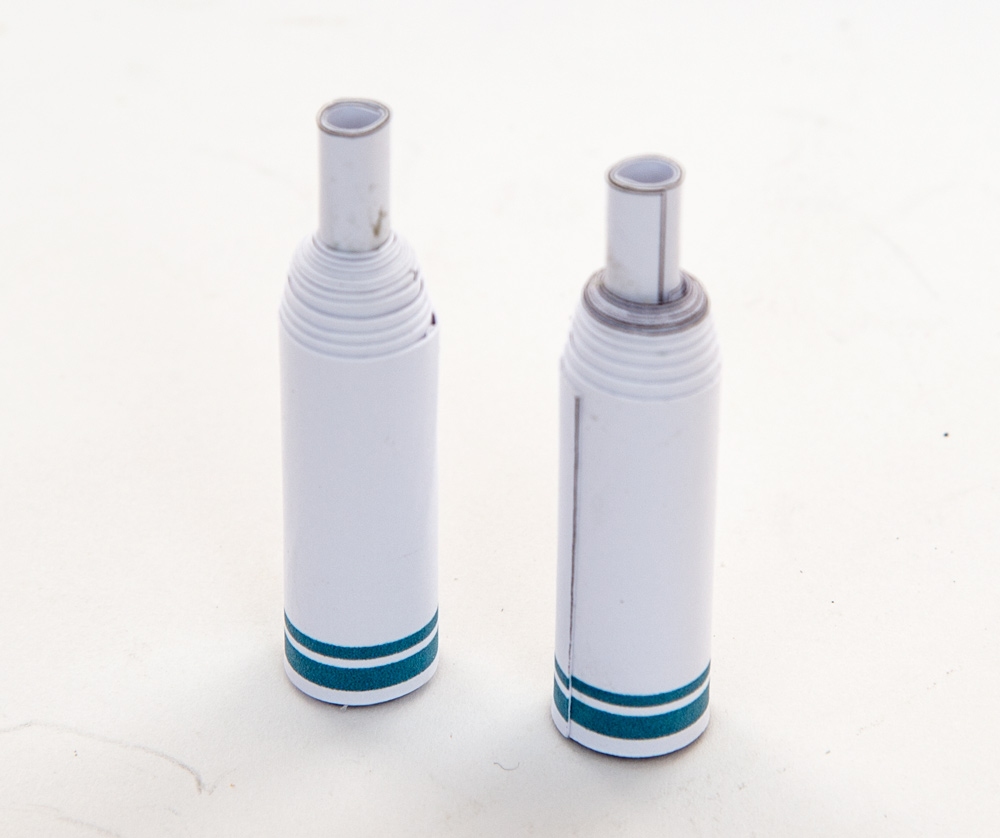
Glue the manifold to the pipes.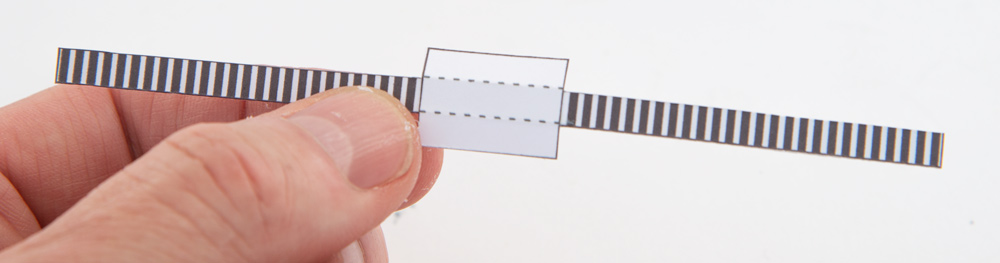
Glue the two tanks together.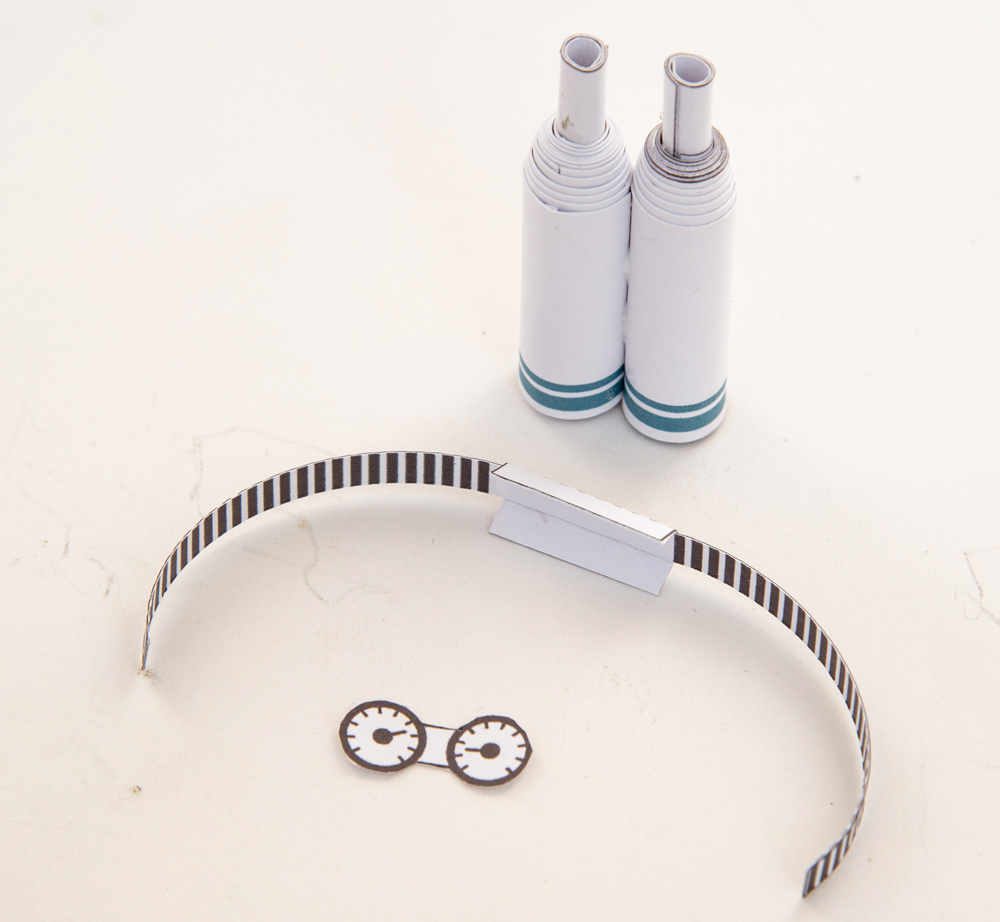
Fit the manifold and gauges.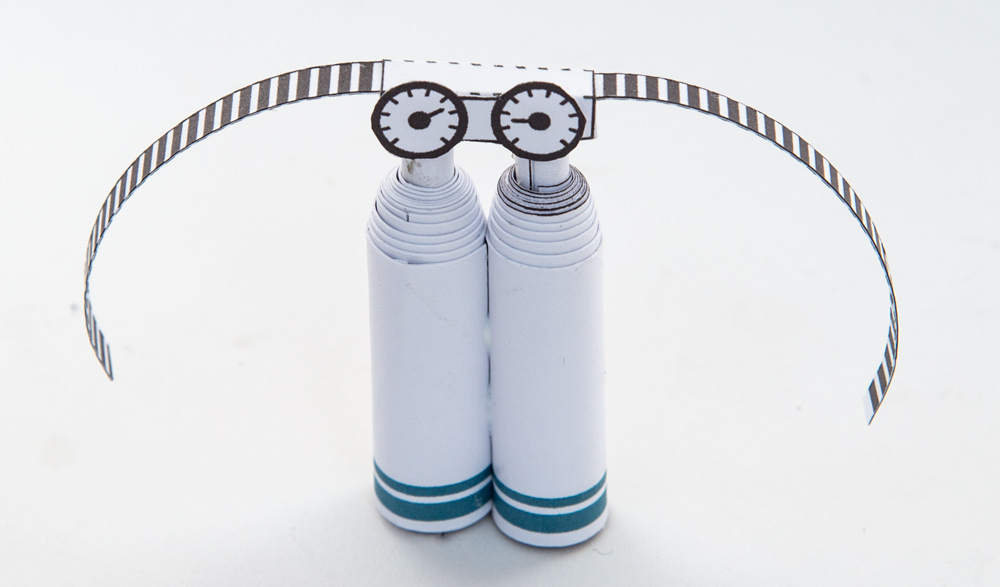
Glue the two legs as shown.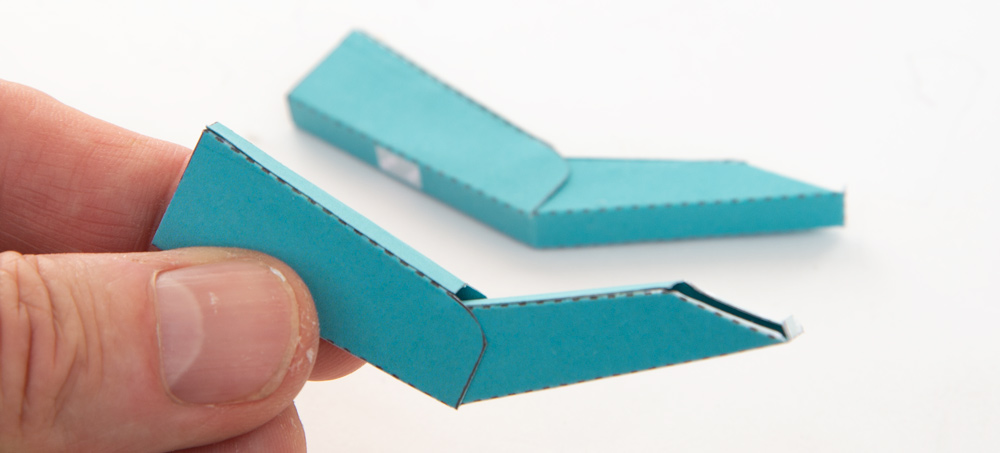
Glue the leg inners into place 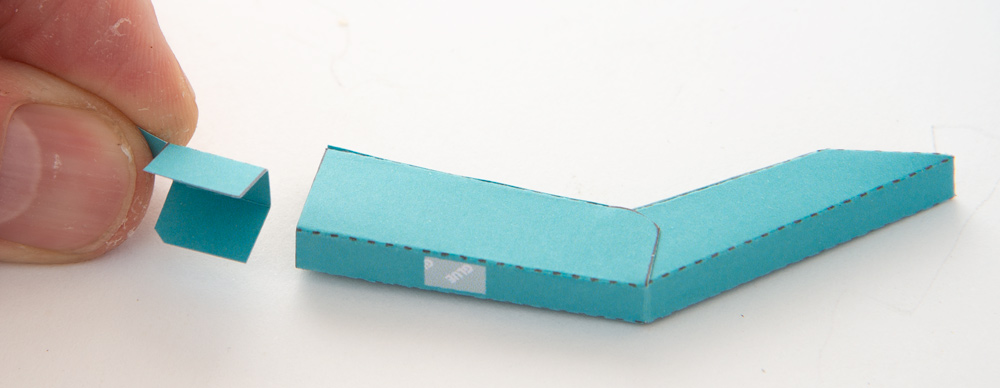

Glue on the flippers. Note that they are asymmetrical. The widest part goes to the outside so that they don’t bang into each other. 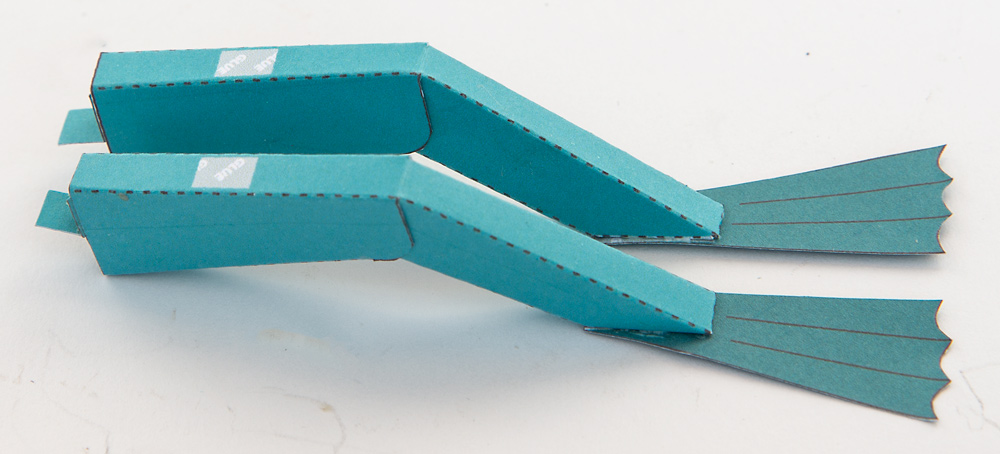
Make up the arms from double thickness card.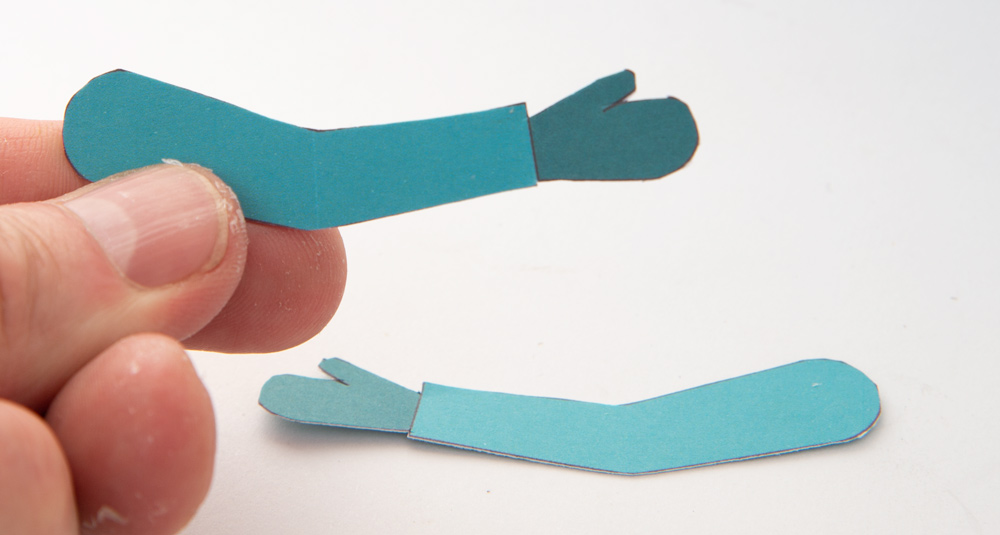
Fold round and glue down the triangular section tubes on the box top and box bottom
Glue down the right angle triangle tubes on the box sides.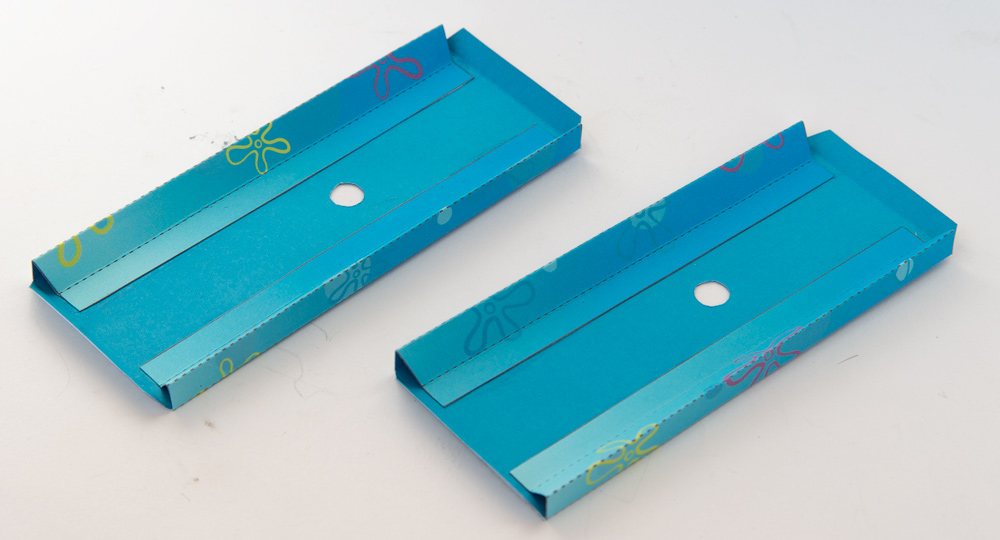
Glue together the four parts of the box noting where the holes are.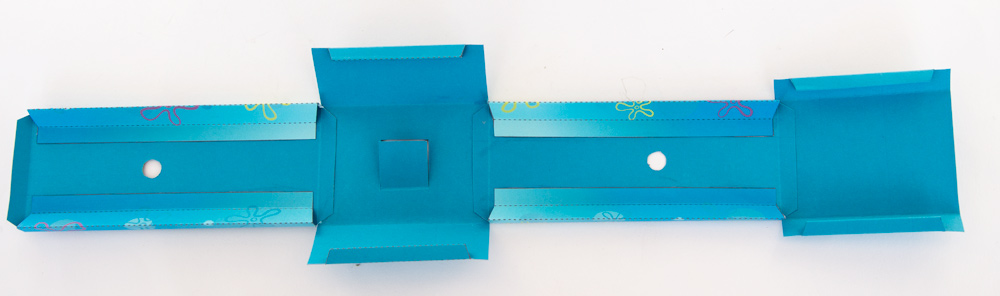
Thread the push rod up through the hole in the box top. Fit the axles into place and glue the box closed.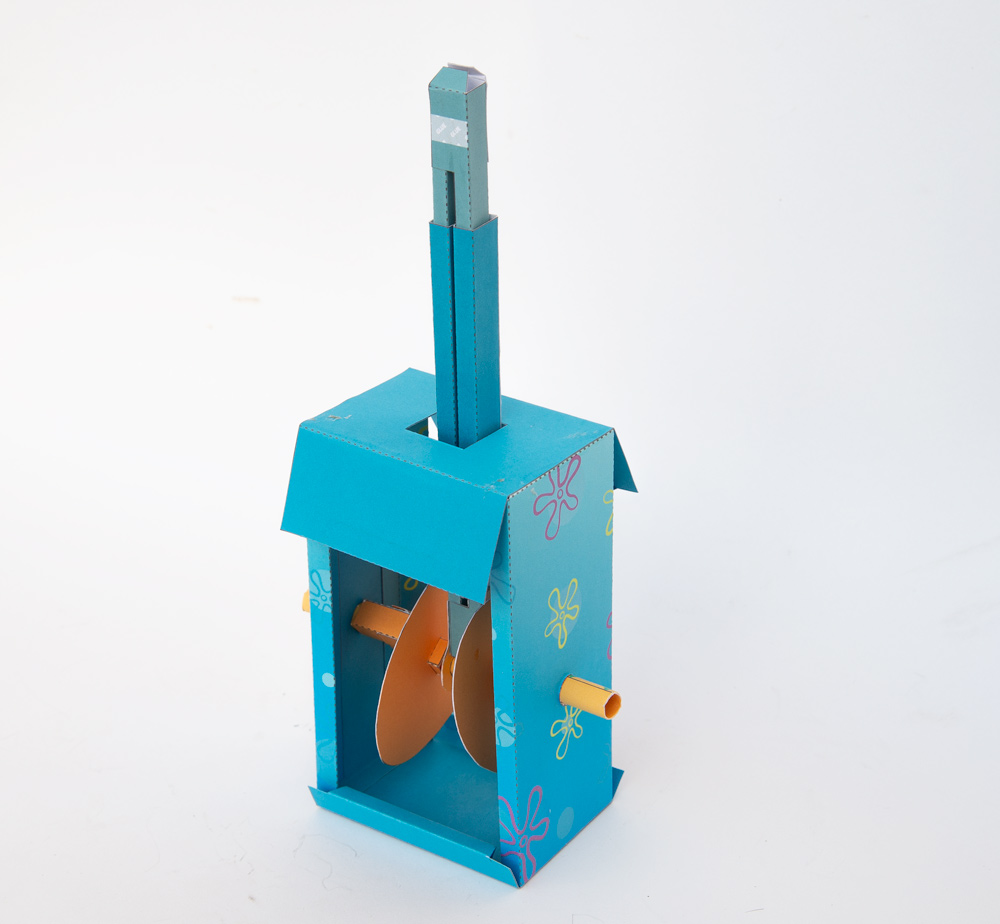
Complete the box by glueing down the flaps. Thread the outer slider tuber over the main slider tubes and glue it to the tab in the box top so that it is half in / half out of the box. Glue the handle into place.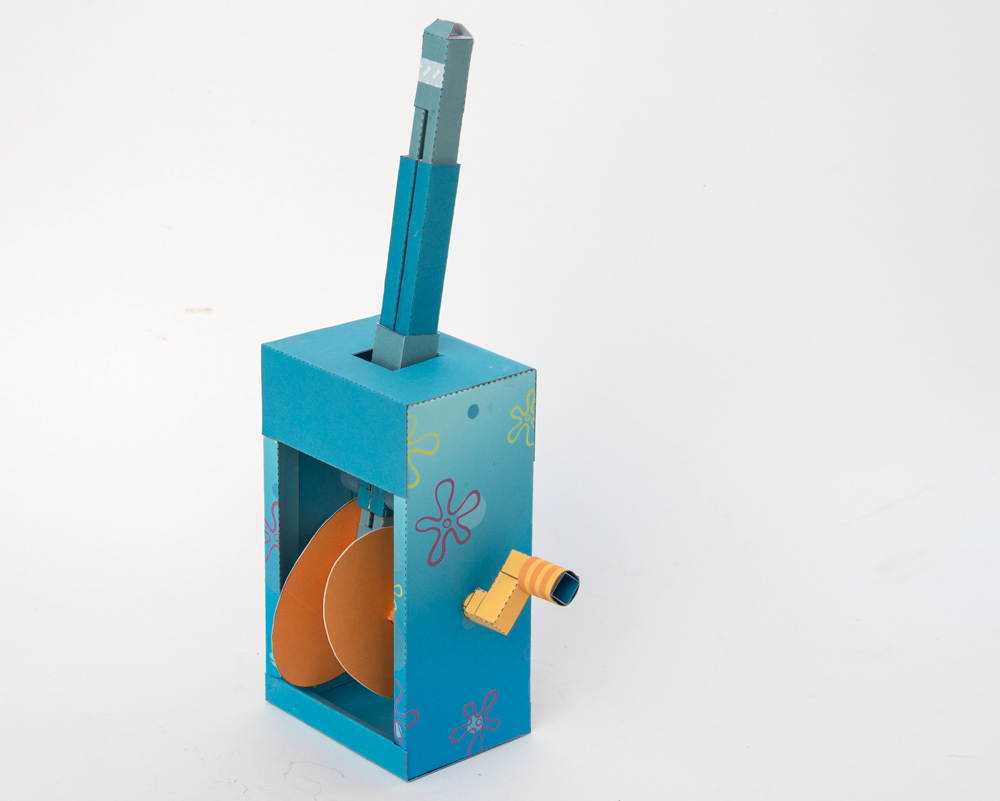
Glue on the leg holder to the grey area at the top of the push rod.
You will need two small coins. (20mm diameter 4 gram, UK penny EU/US cent are ideal.) Fold the coin wrap tightly around the coin and glue one to each slider tubes.
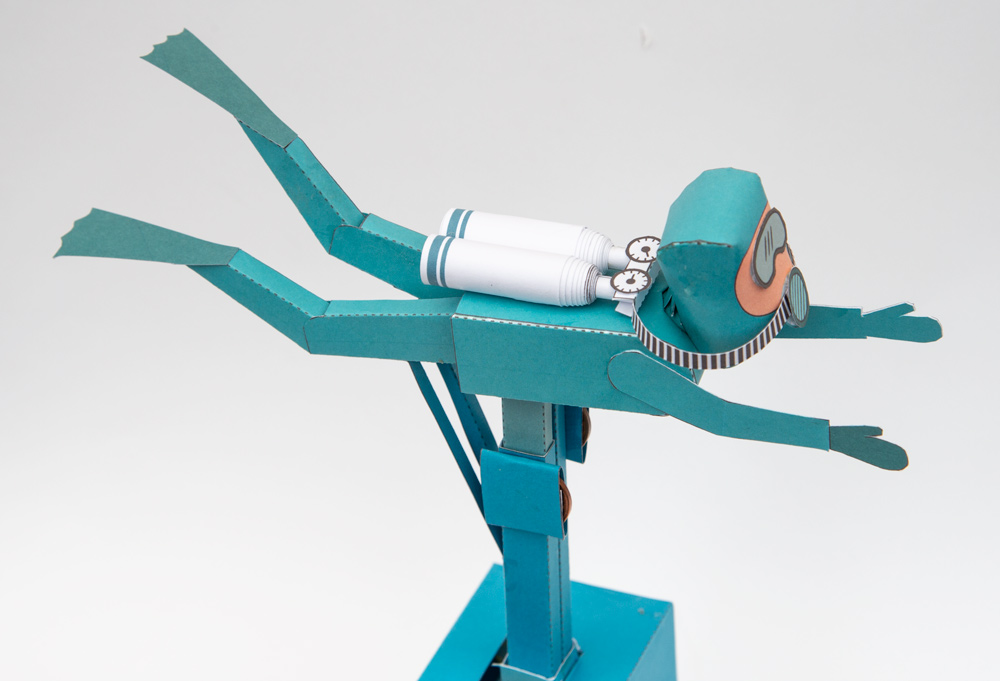
Assemble the head and glue on the mask.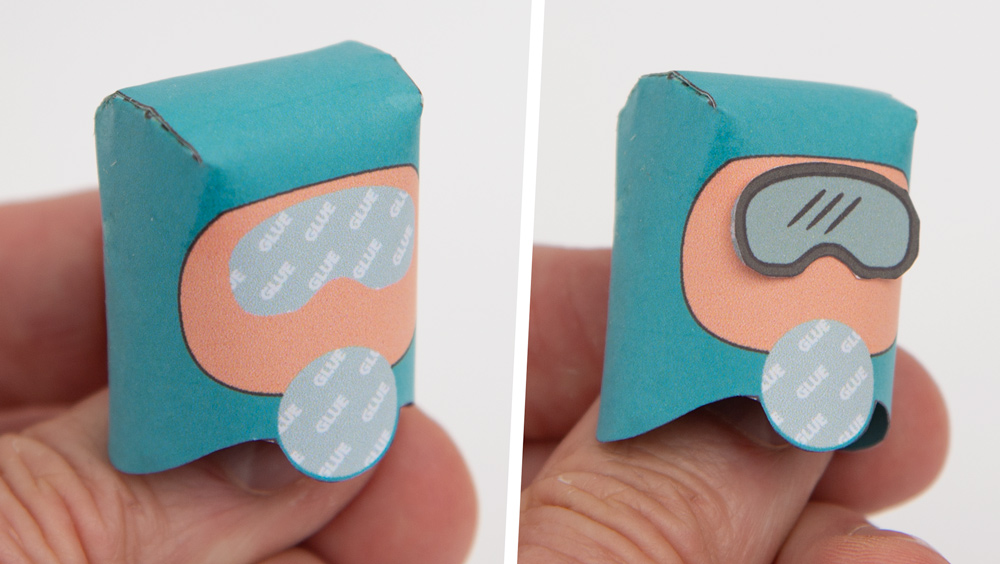
Assemble the body and glue it into place.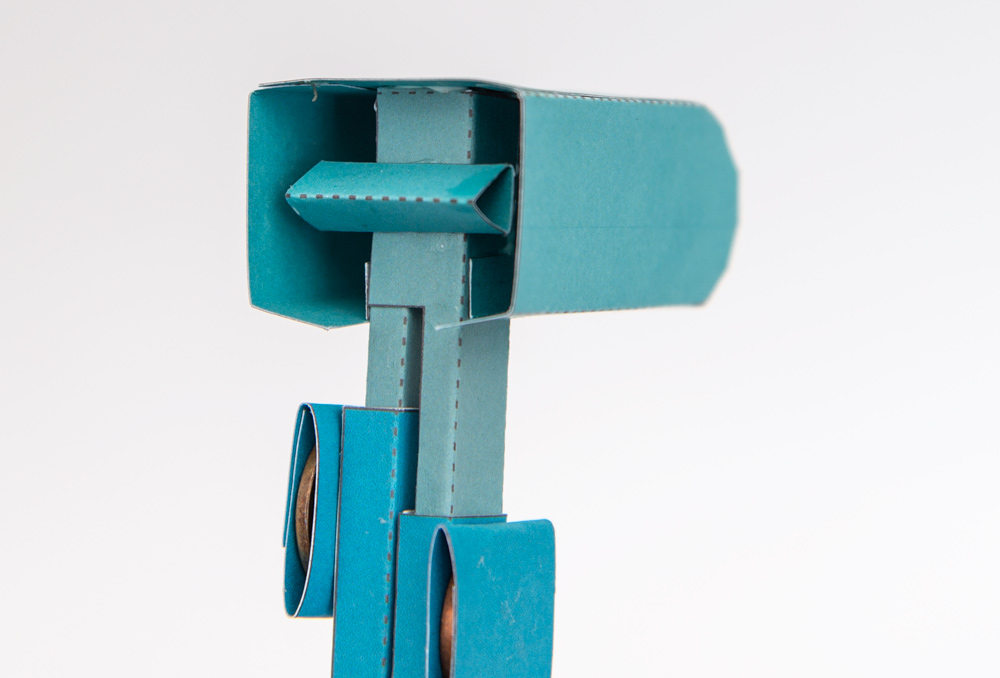
View from the top.
Fold the leg push rods to ninety degrees. Glue the leg push rods to the grey areas on the legs.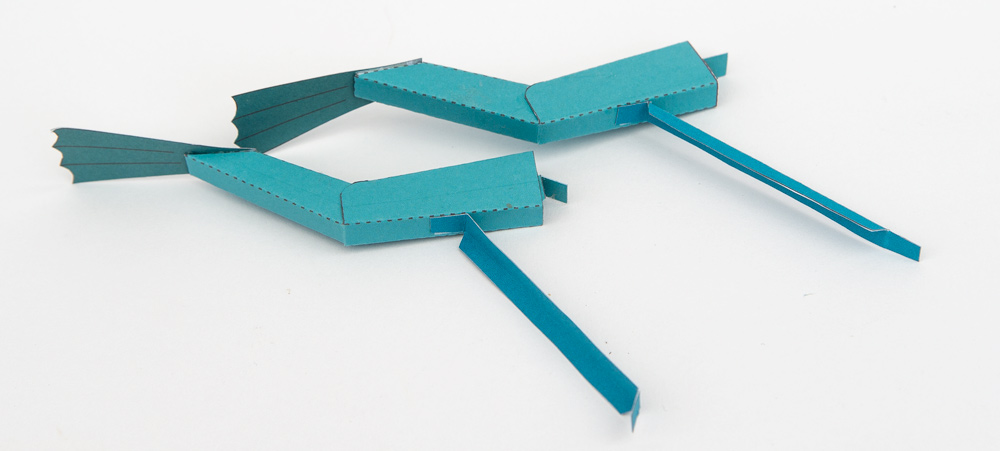
Glue the neck into place.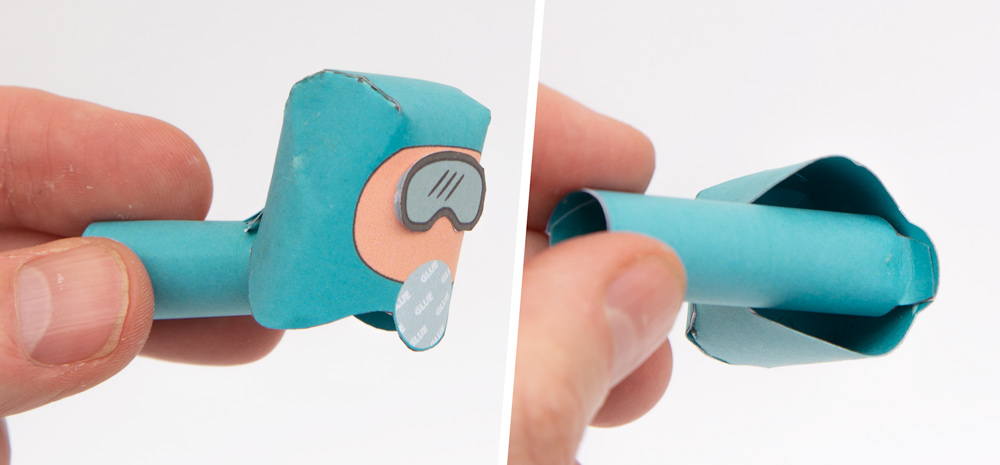
Glue the leg tabs to the leg holder.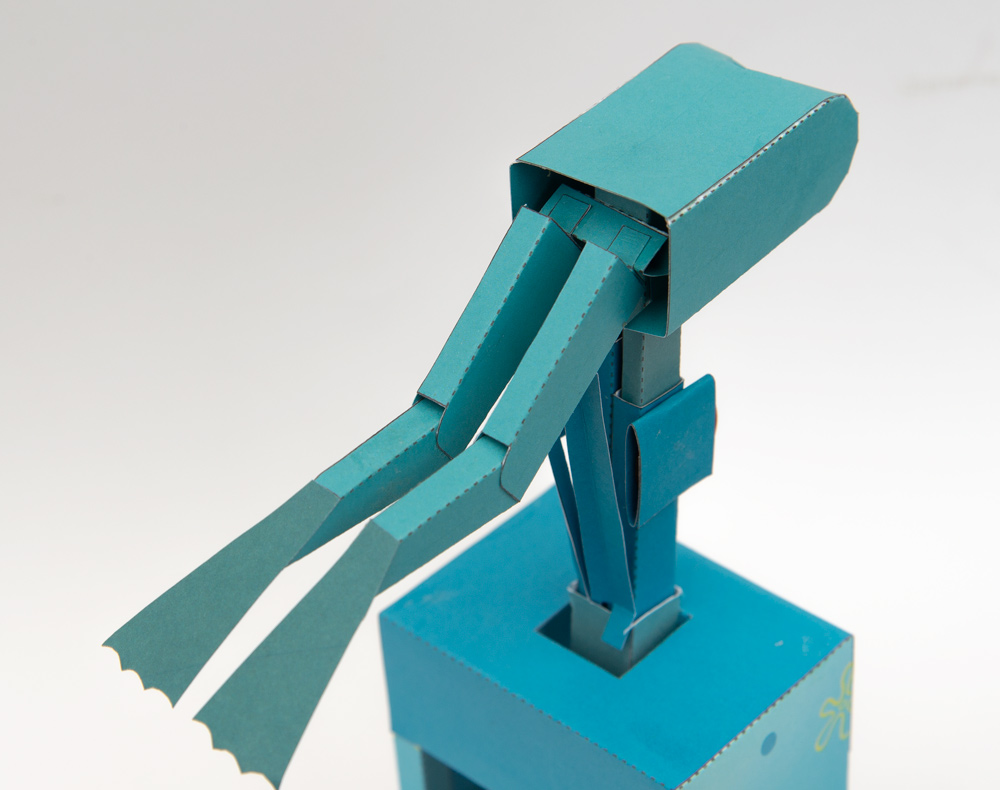
Glue the leg push rods to the slider tubes.
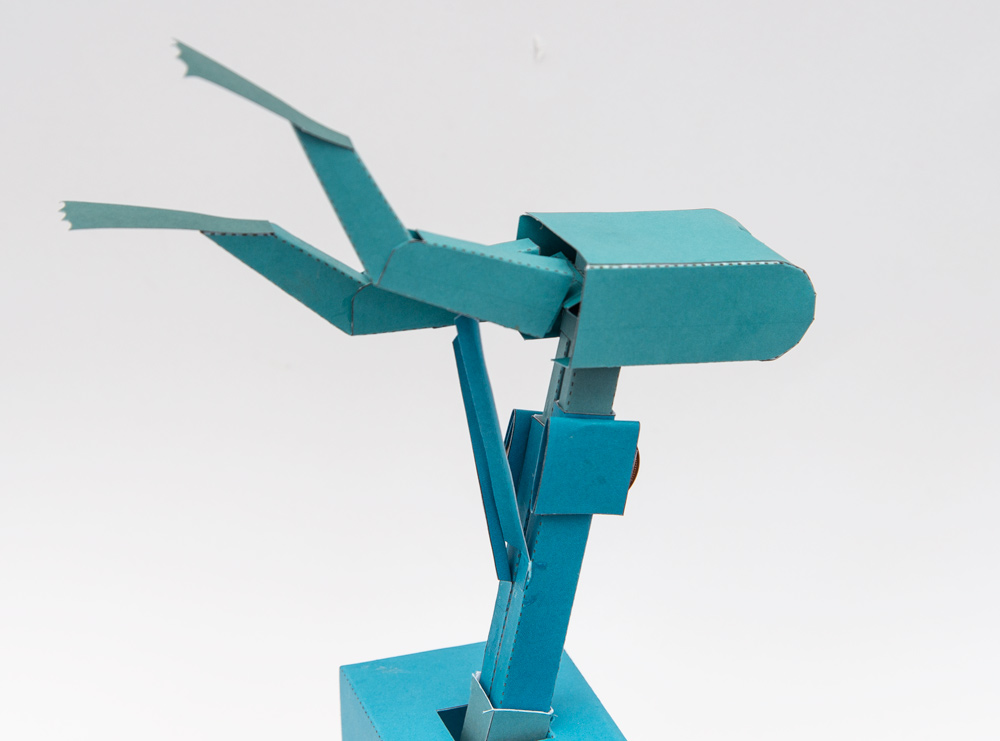
Glue on the air tanks.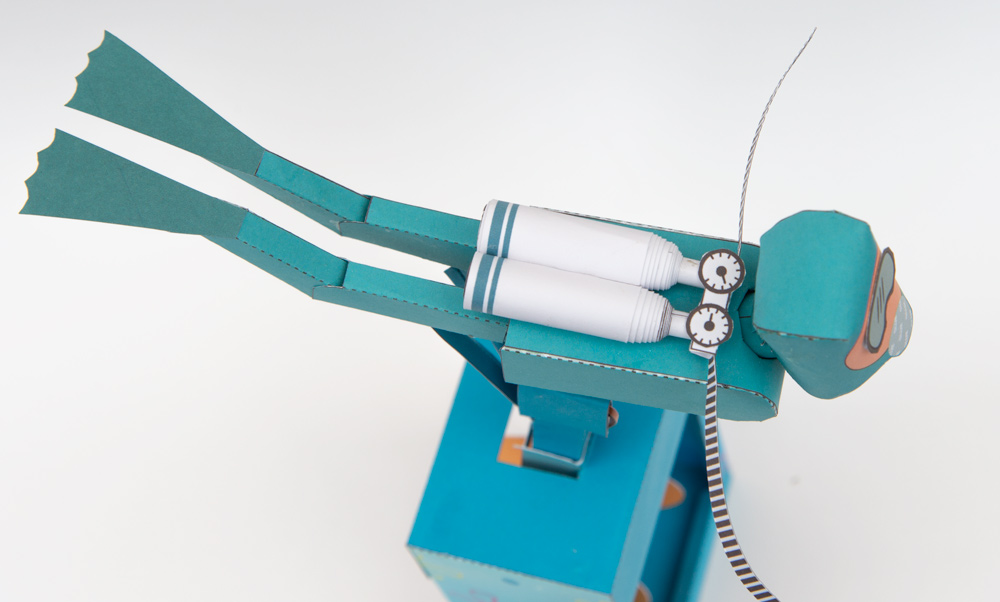
Fit the pipes and regulator to the head..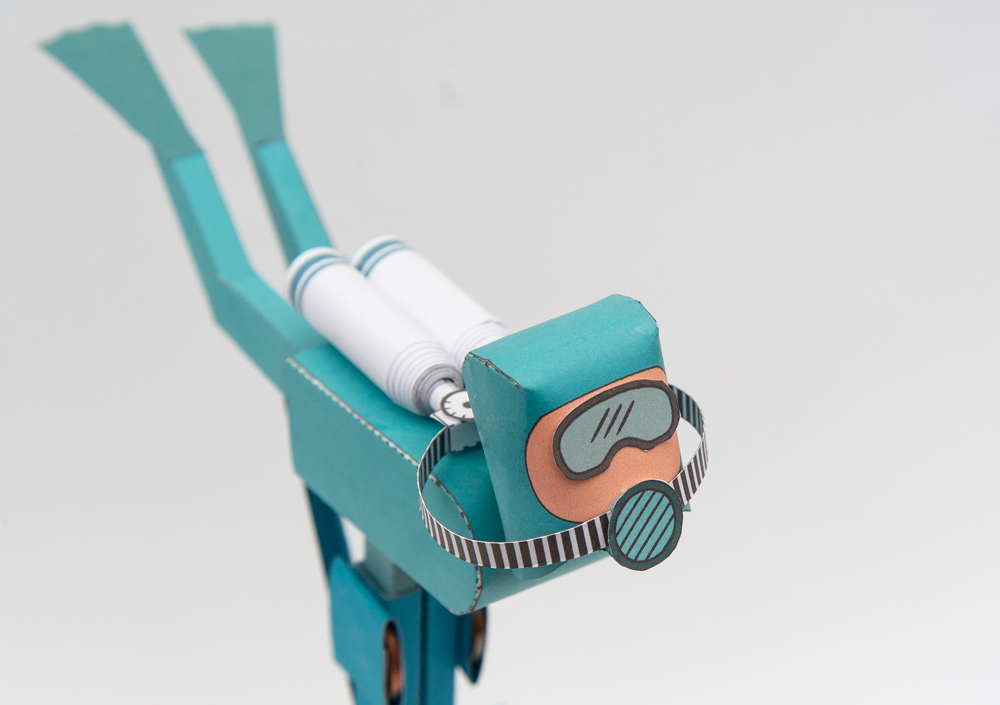
Glue on the arms to complete the model.