 The crank slider is a combination of two mechanisms, a crank and unsuprisingly a slider. It makes a useful starting point model for your paper animation projects. Build the mechanism then fit a flying bird or a leaping cat or perhaps even a writhing snake!
The model is free to download for all members. Non-members can download the parts for £2.50
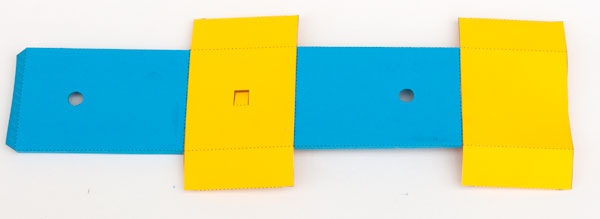
Print out the two pages onto thin card (230 micron-67lb) Score the dotted and dashed lines and cut out the holes before carefully cutting out the parts.

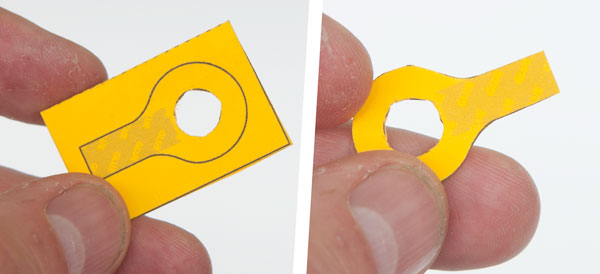
Fold the crank ends over and glue them down to make double thickness card. Once the glue is dry carefully cut out the parts.
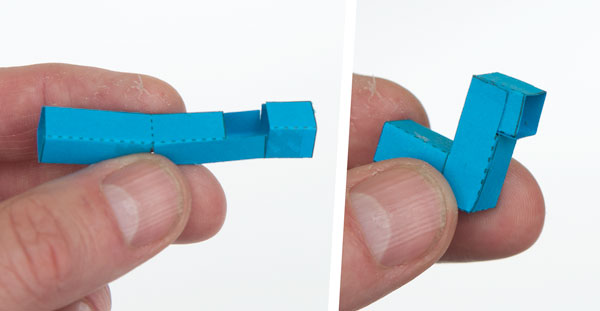
Assemble the the two crank parts as shown.
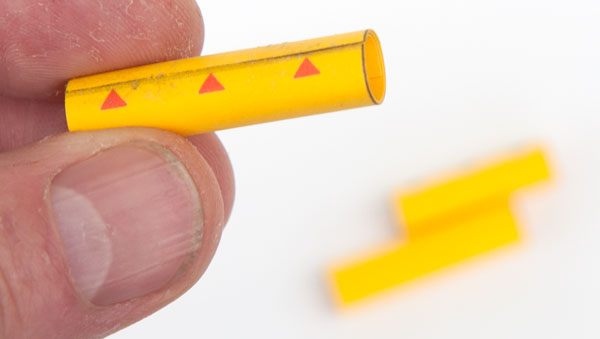
Roll up the three axle tubes. Line up the edges with the the small triangles.
Assemble the push rod. Glue the push rod ends into place with the short axle tube threaded into position.
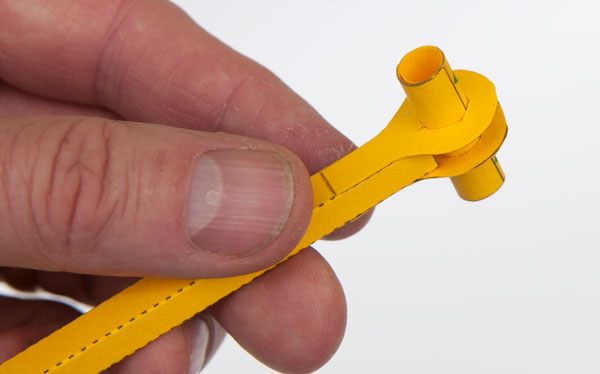
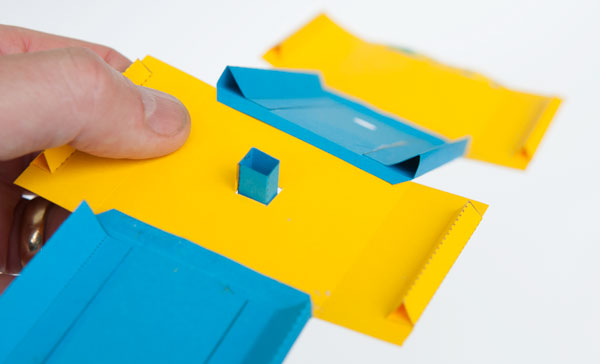
Glue the two crank parts and the two axle tubes into position.
Glue up the two box sides as shown.
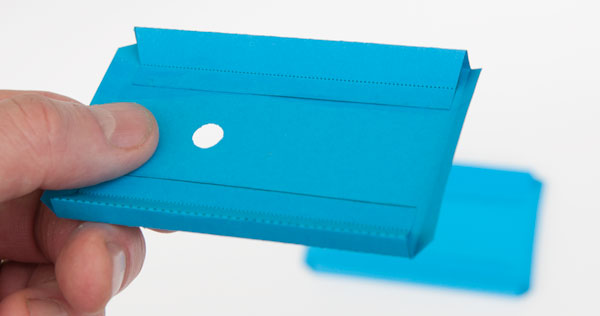
Glue up the box top and base as shown.

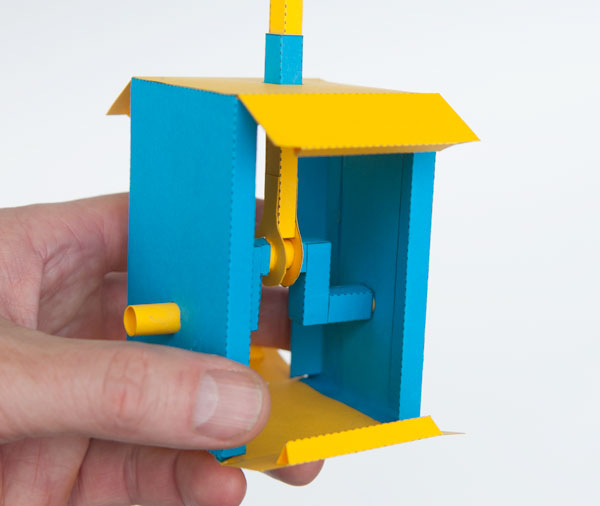
Glue together the four parts of the box. Note that the holes in the box sides go furthest away from the box top .
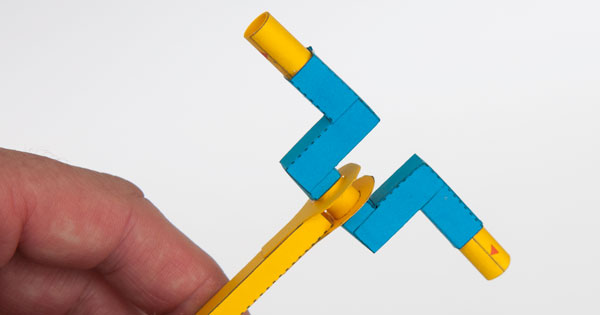
Assemble and glue the slider tube into position.
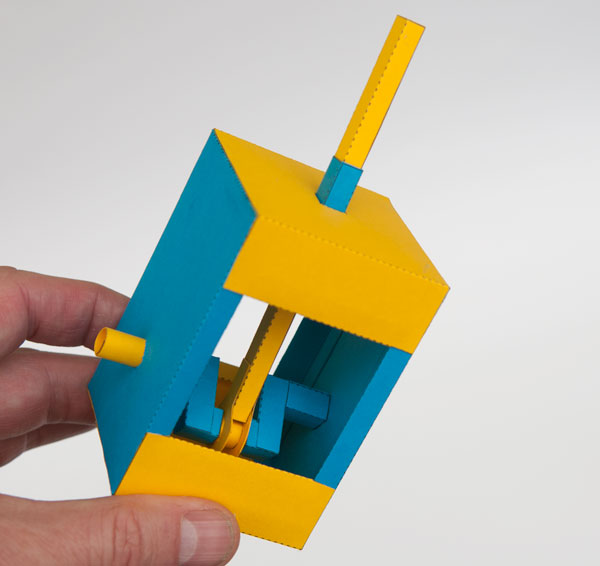
Thread the push rod up through the slider tube. Fit the box onto the crank and glue the box closed.
Glue the front and back flaps into position.
Assemble the handle.
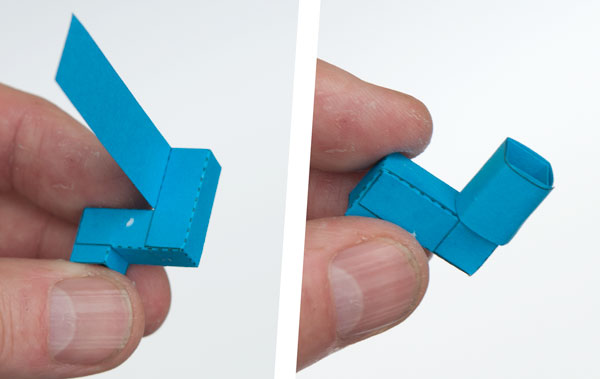
Finish off the box by gluing the handle into position.