This project is part of the Gears Collection
 Co-axial Gear.
Essential Mechanism.™
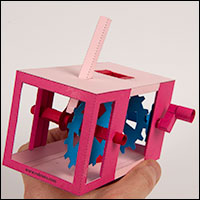
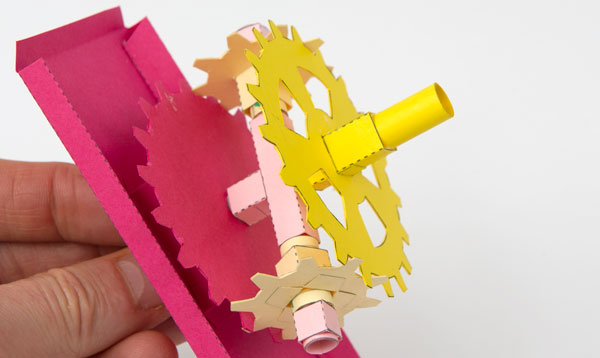
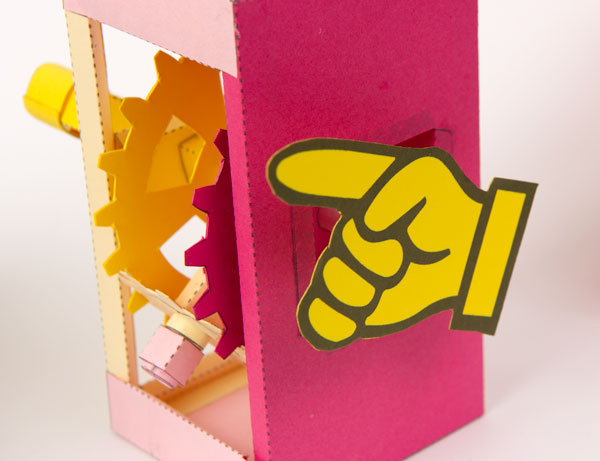
Here’s an interesting mechanism for you to download and make! Turn the handle on the front of the box and the planetary gear reduces the output speed by half.
Use it as a stand-alone paper mechanism or as the drive for your own paper animation kit.
Members can download the parts for free from the link, non-members can join in the fun for £2.50
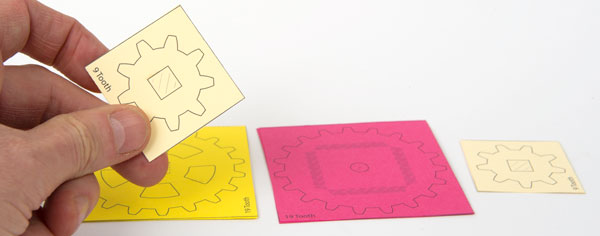
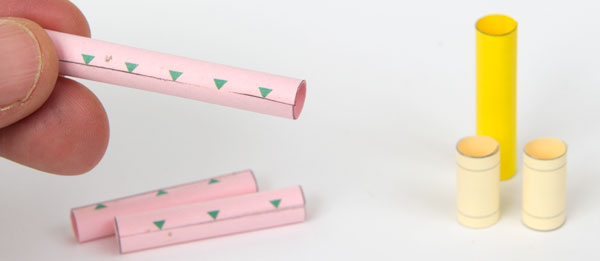
Print out the parts onto thin card (230 micron / 67lbs) Coloured card makes for a colourful model.
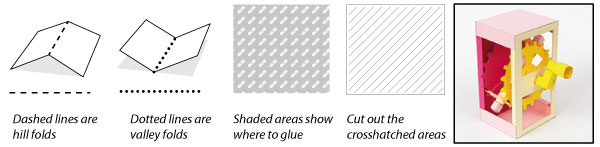
Score along all the dotted and dashed lines and cut out the holes before carefully cutting out the pieces.
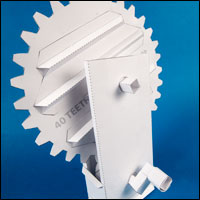
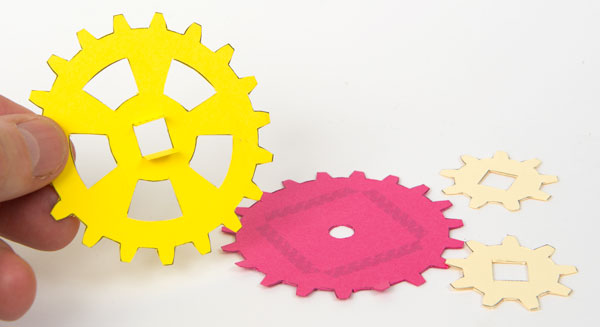
The four gears are made of double thickness card. fold them in half and glue them down. Once the glue is dry carefully cut them out.
Roll up various tubes and glue them down, carefully line up the ends with the arrow.
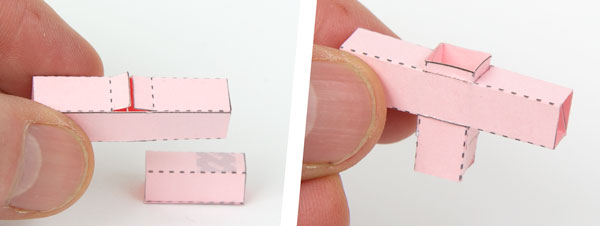
Assemble the two parts of the cross piece.
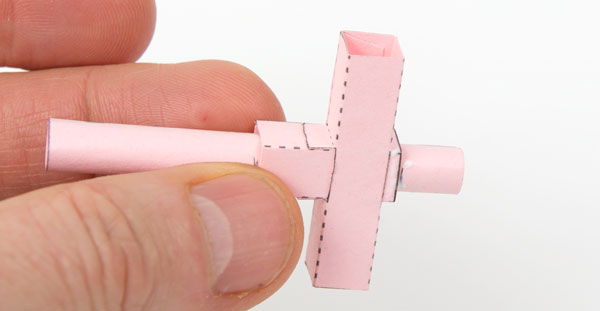
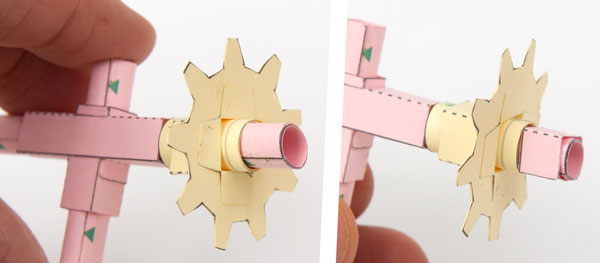
Fit the long 8mm tube into the cross piece lining it with the square tube between the two grey lines.
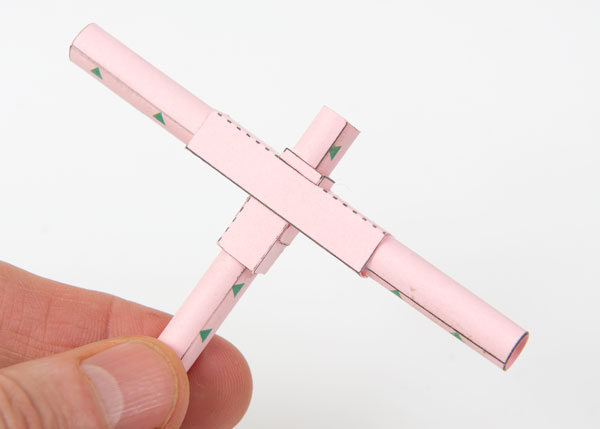
Glue the other two 8mm tubes into place.
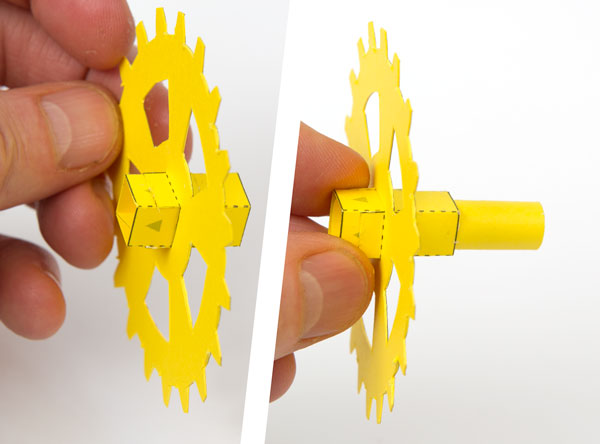
Fit the square section into the pinion gear then fit the short tube into place using the grey lines for alignment. Repeat the process with the second pinion gear.
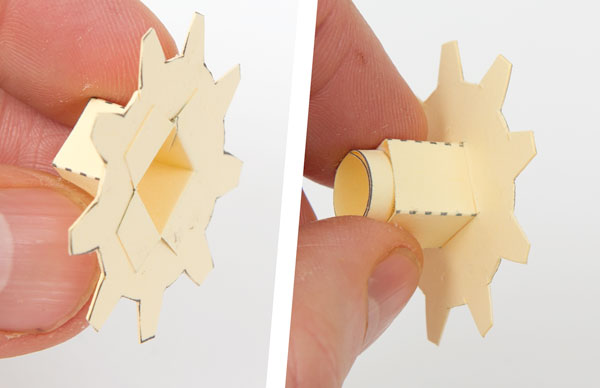
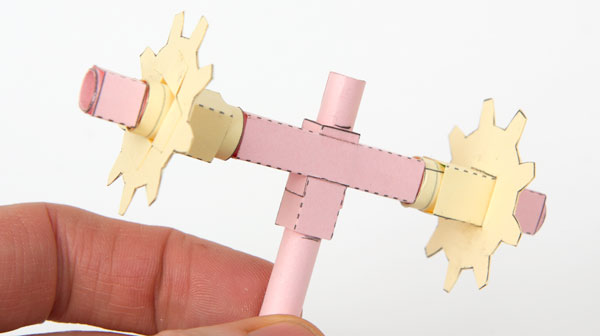
Thread the pinion gears over the 8mm tubes. They should turn freely. Glue the end stops on to hold the pinion in place without stopping them from turning.
The completed pinion assembly.
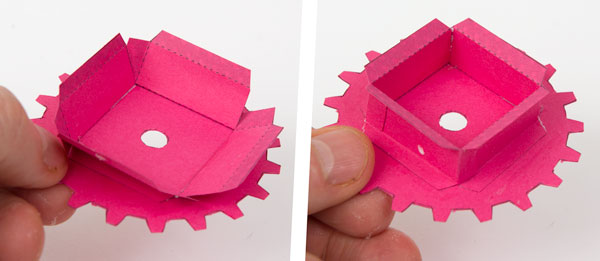
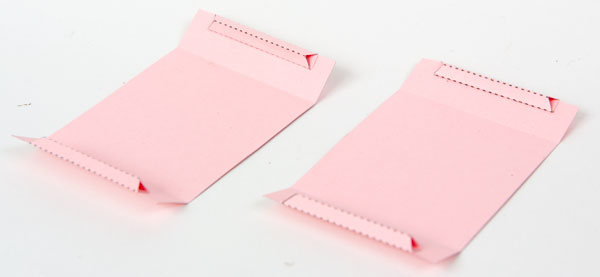
Glue the four spacers to the grey areas on the large fixed gear. Fold the spacers up and glue them to make a shallow box.
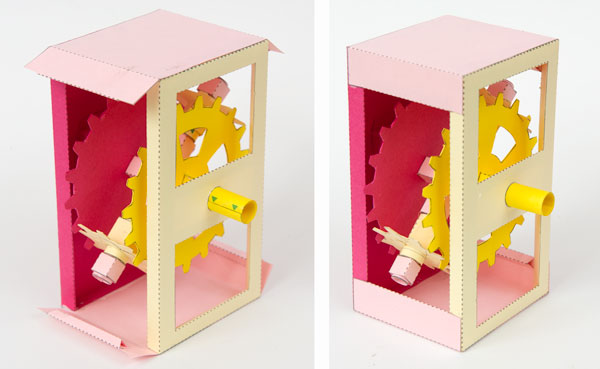
Assemble the box front and back.
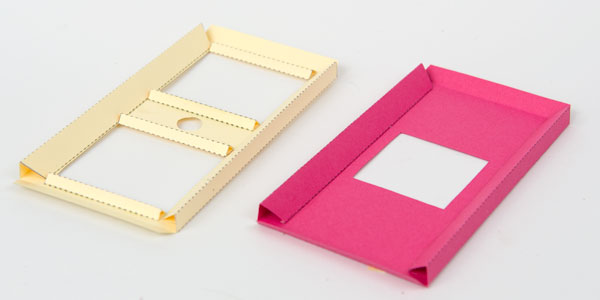
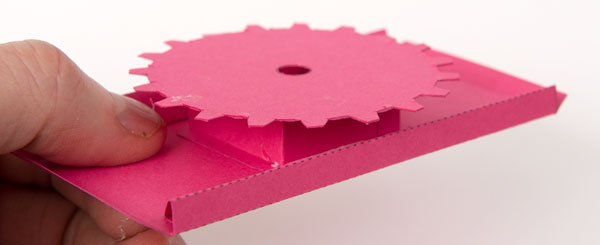
Glue the fixed gear into place in the hole in the box back.
Thread the pinion assembly into place so that the gears mesh with the fixed gear. The assembly should be free to rotate.
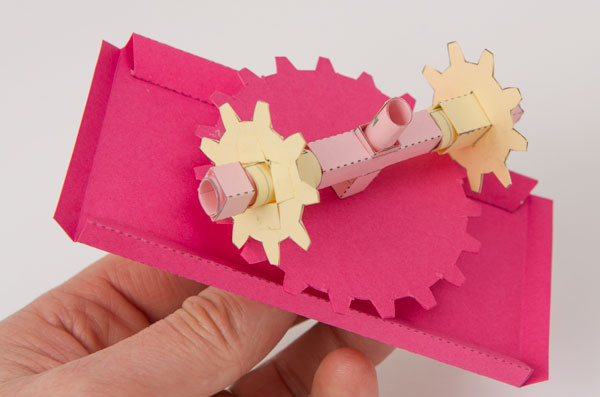
Fit the square tube into place in the large gear using the grey line for alignment.
Fit and glue the remaining tube into place lining it up with the end of the square tube.
Fit the large gear into place as shown. Don’t glue it! It should be free to turn over the pnion assembly.
Assemble the two box ends.
Thread the box front into place over the axle.
Glue the two box ends into place as shown.
Assemble the handle in three steps.
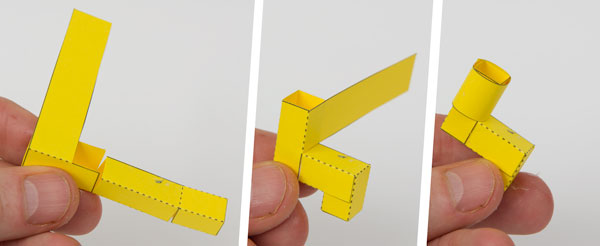
Glue the handle to the shaft as shown. Let the glue dry completely.
Turn the handle and the mechanism turns the output shaft at half the speed of rotation of the handle.

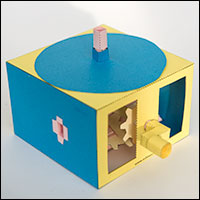
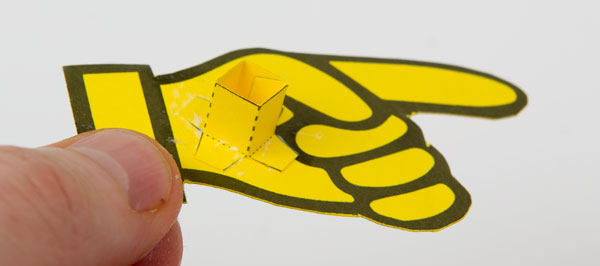
To make it easier to see the rotation of the output shaft assemble this push-to-fit hand. Once the glue is dry, slip it over the output shaft.
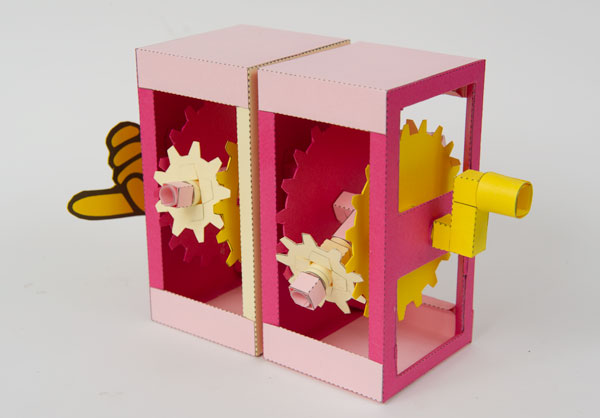 The input and output shafts are lined up so you can daisy chain more than one of the mechanisms. Each gear divides the rotation by a further two times.