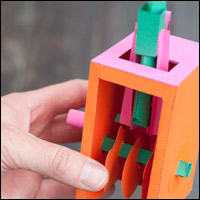
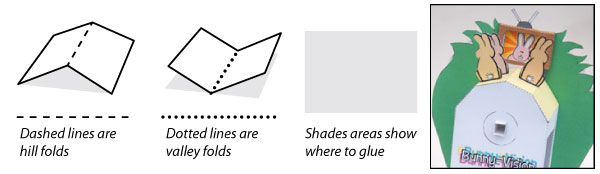
Paper powered bunny entertainment. Download and print out the parts of this Geneva stop powered model to see how rabbits while away their evenings. Members can download the parts from the usual place, non-members can download the parts for a small fee.
View this post on Instagram
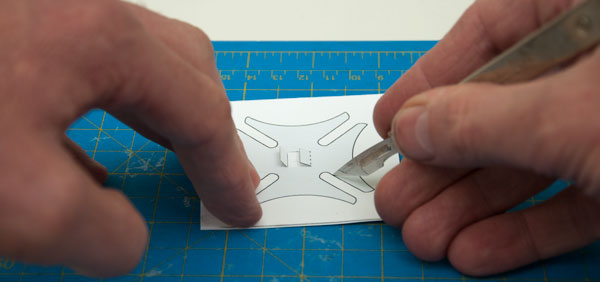
Print out the parts onto thin card (230 micron / 230gsm) Score along the dotted lines and cut out the holes with a sharp knife before cutting out the parts.
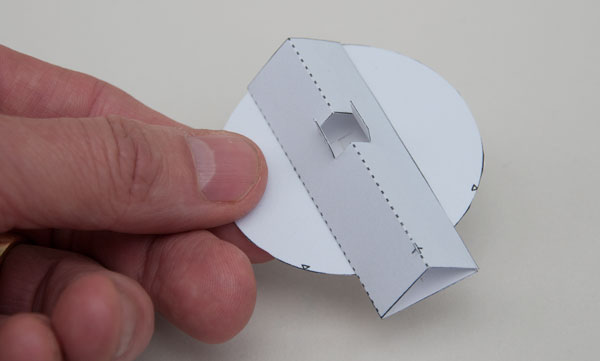
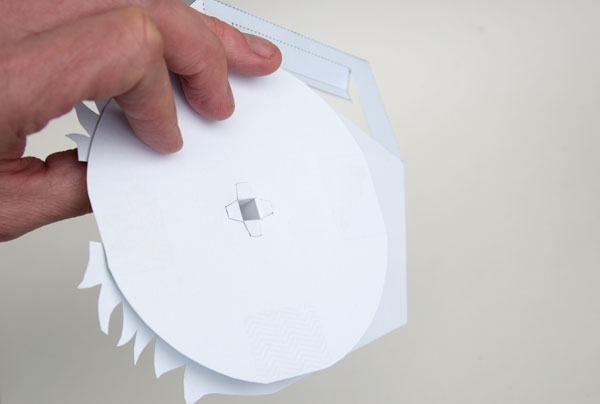
Fold the cross wheel in half and glue it back to back to make it double thickness. Once the glue is completely dry cut out the four slots…
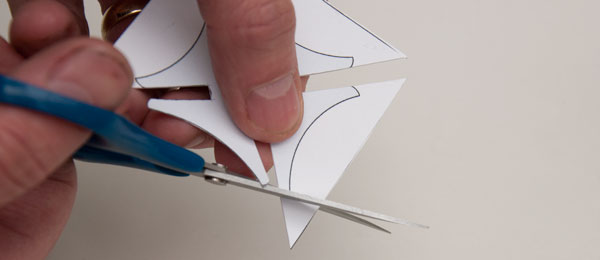
..then cut out the rest of the wheel.
Fold round and glue together the wheel axle.
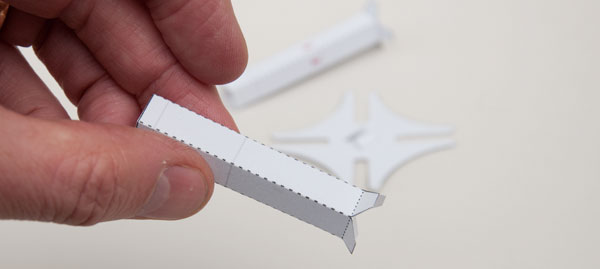
Roll around and make the two axle tubes.
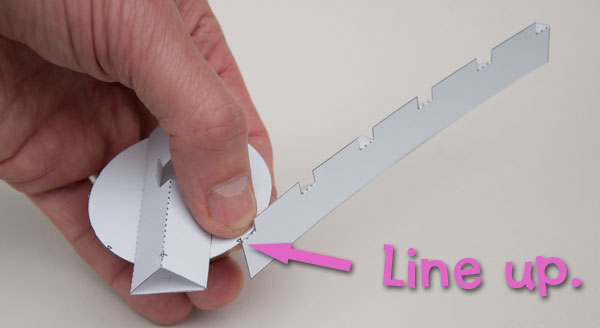
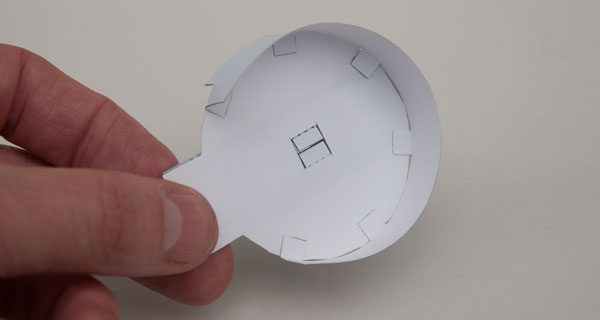
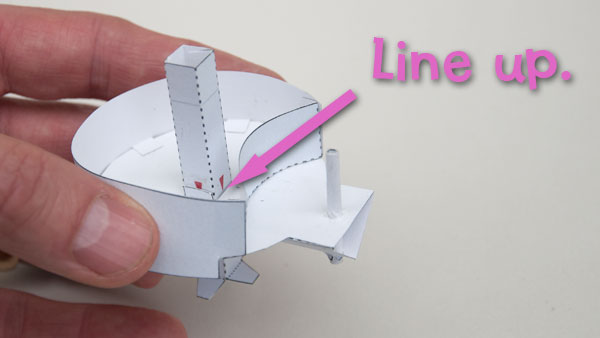
Thread the axle into place on the wheel lining the wheel up with the grey line. Glue the four supports into place on the side opposite the four tabs on the axle.
Glue the drive wheel and drive wheel back into place. The triangular section piece helps to stiffen up the drive wheel and keep the axle straight.
Starting from the small arrow on the back of the drive wheel, glue the drive wheel tabs into place.
The drive wheel edge in place.
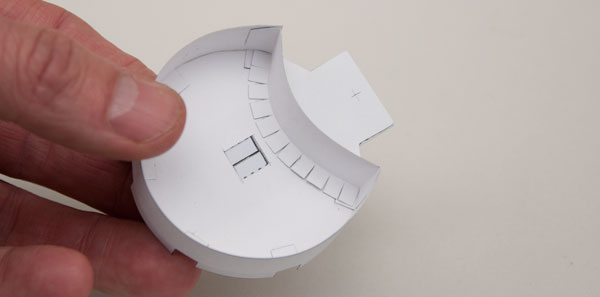
Glue the drive wheel cut-out into place.
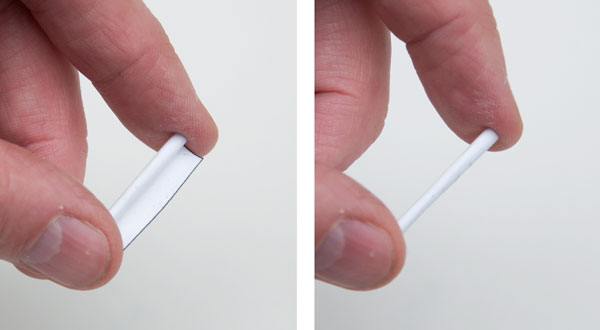
Make the drive pin by rolling up the card piece as tightly as possible then glue it closed.
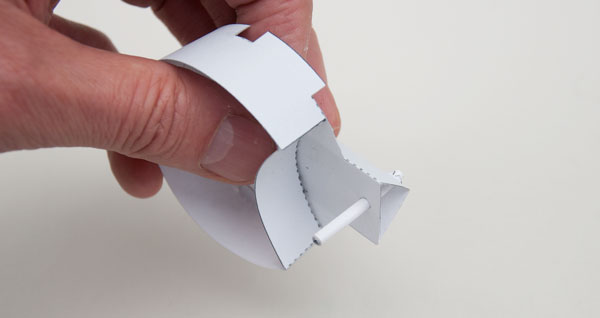
Expand the cross shaped hole with the point of a cocktail stick so that the drive pin is a tight fit. Slide the drive pin into place so that it threads a couple of millimeters through the triangular peak of the drive wheel back. Apply a dot of glue to fix it into position.
Glue together the remaining axle then slide it into place, lining up the red arrows with the base of the drive wheel. Glue down the tabs making sure that everything is square.
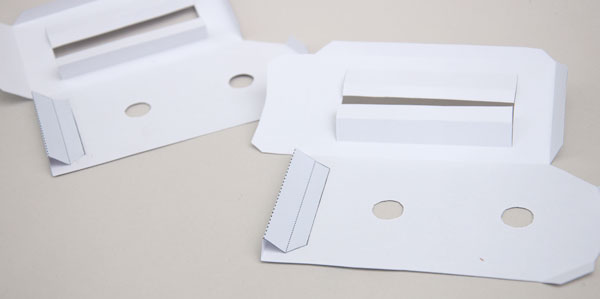
Fold the base of the box to make a right angled triangle. Repeat with the other base.
Join the two box pieces together.
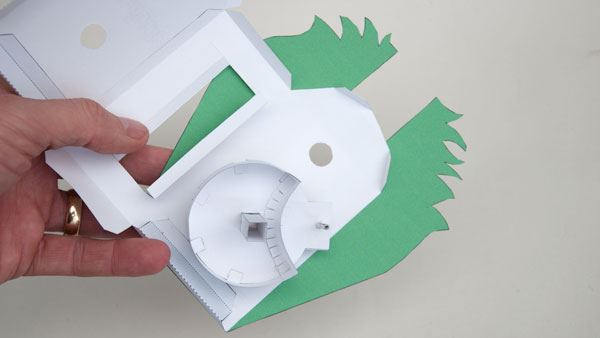
Glue the grassy back into place lining up the grey areas with the back of the box.
Thread the cross wheel through the top hole in the back of the box and glue the large circle into place on the tabs.
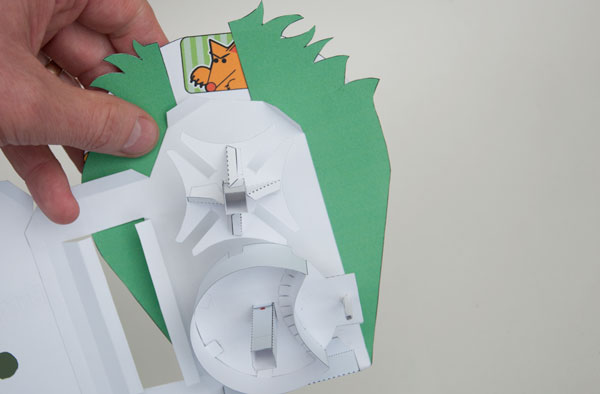
The drive wheel and cross wheel fitted into place.
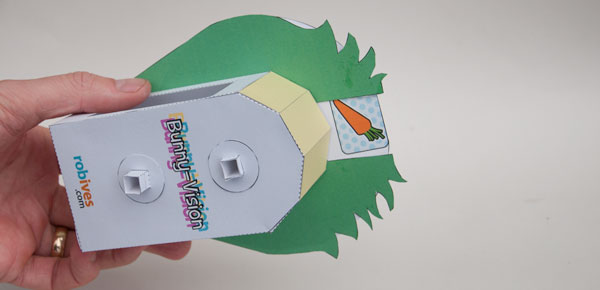
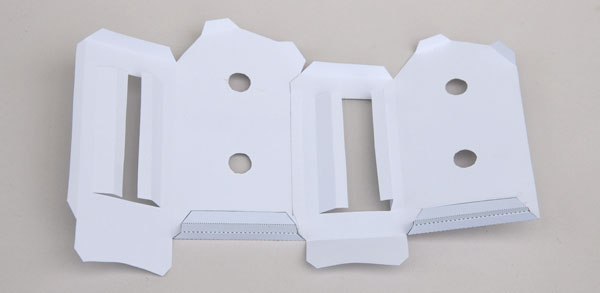
Glue the two box halves together.
Glue the washers to the axles.
Glue on the box top make sure you glue down all the tabs otherwise they might bind with the cross.
Glue the base flaps down onto the triangular sections on the bottom of the box.
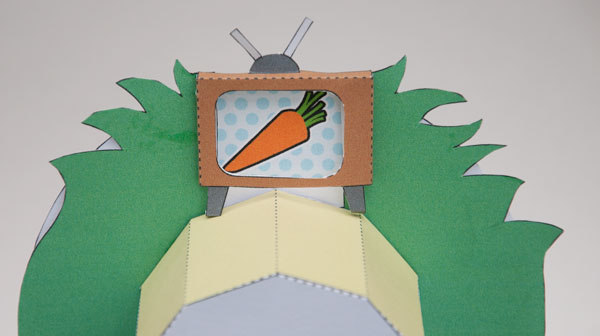
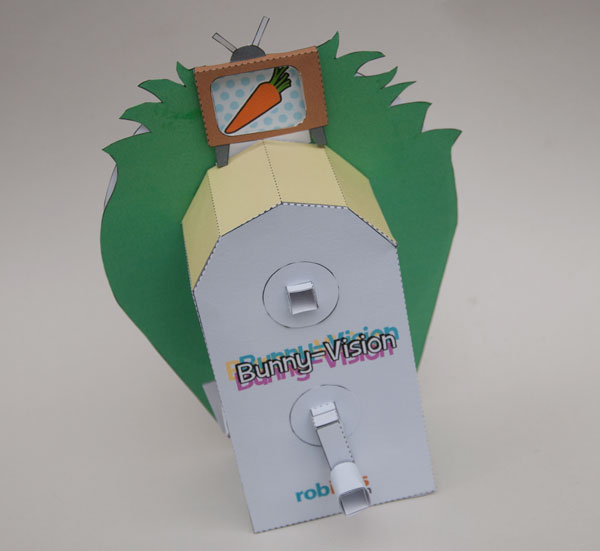
Glue the TV into place.
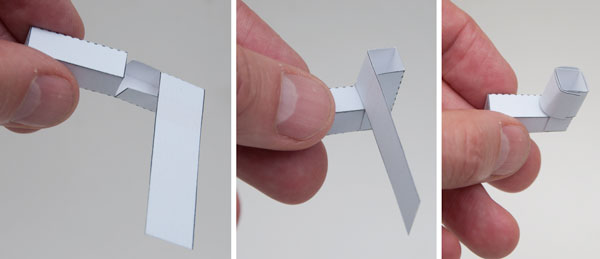
Assemble the handle in three steps. Fold round and glue the together the two square sections. Fold the two sections in half, one inside the other, roll round the long tab and glue it down.
Glue the handle into place on the lower drive shaft.
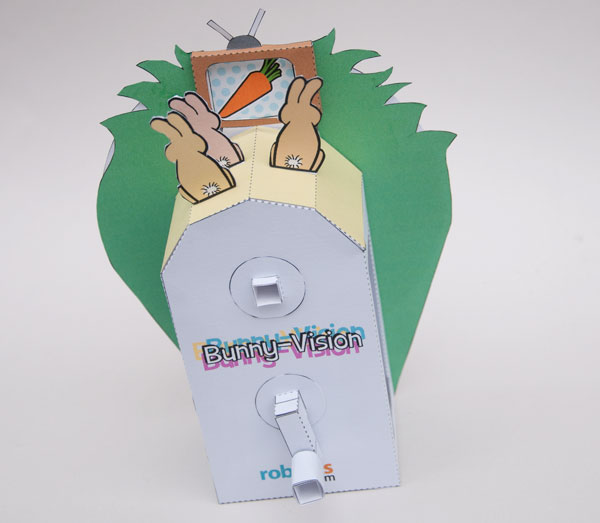
Complete the model by gluing the bunny audience into place. Turn the handle and the TV flips from channel to channel.
Frankly, its like watching the telly when #1 Daughter has the remote control.