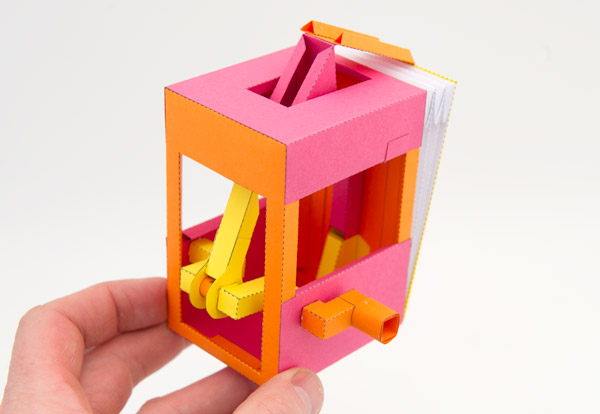
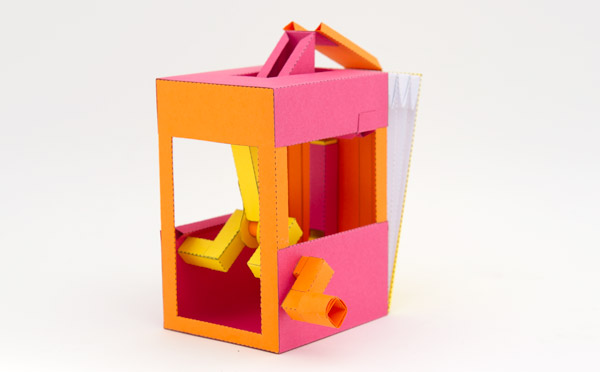
Bellows and Crank Bird Box to download and make. Turn the handle and the crank drives the bellows making the pipe whistle.
If you are a member you can download this model for free at the link. Thanks for signing up!
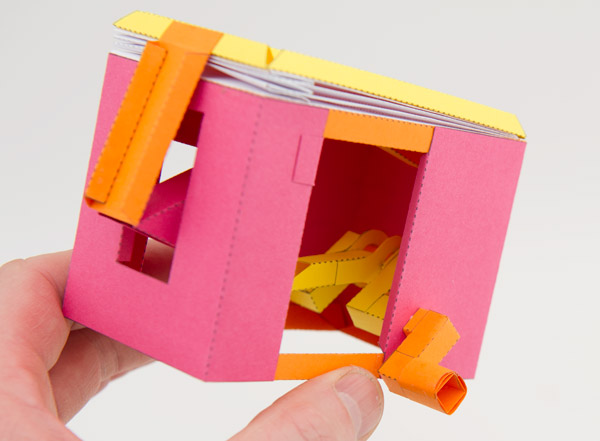
Download the files and print out the parts. The first page is the bellows, this is printed on normal printer paper. The remaining three sheets should be printed onto thin card. (230 gsm / 67lb) I used coloured card to make a colourful model. You could use white, coloured or patterned card for your model.
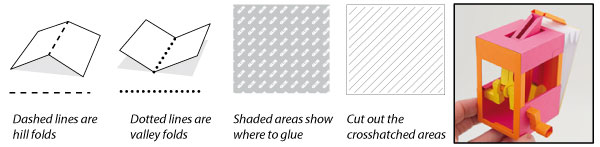
Score along the dotted and dashed lines and cut out the holes before carefully cutting out the pieces. Paper pipes must be made as accurately as possible if they are to work properly. Take care!
Check out the YouTube video of the completed model.
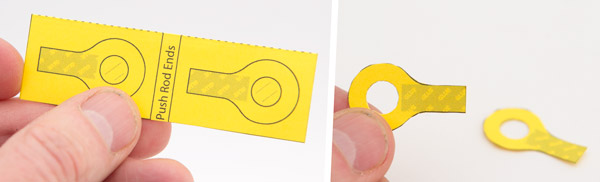
Fold over and glue down the crank ends to make double thickness card then cut them out.
Roll up the tubes and glue them down lining up the ends with the arrow points.

Assemble the push rod with the centre tube in position .
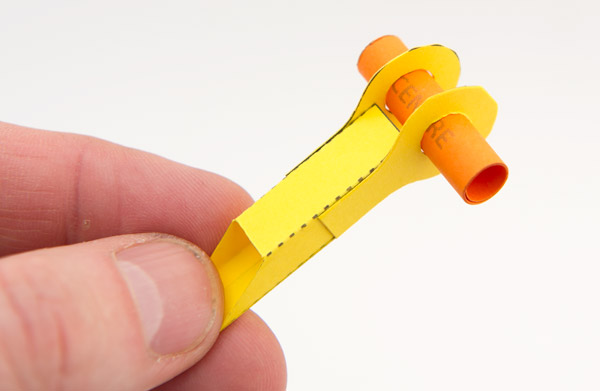
Assemble the two crank parts as shown.

Glue together the crank pieces. The push rod should be free to rotate.
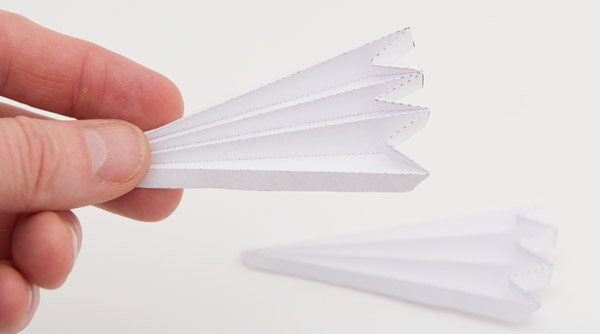
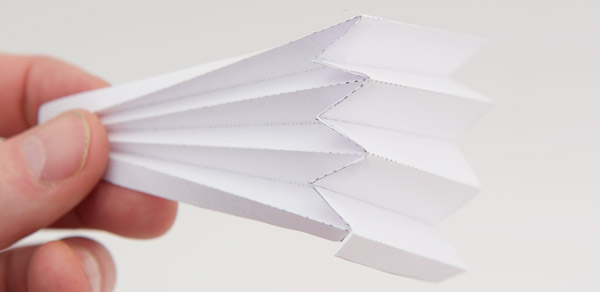
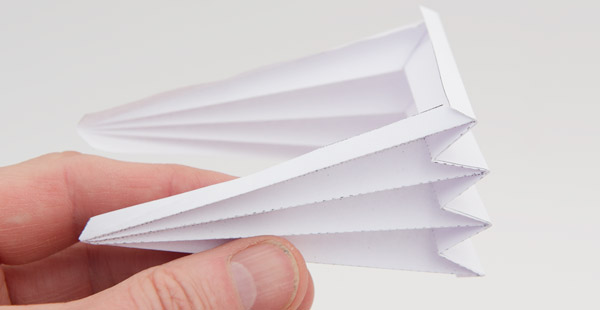
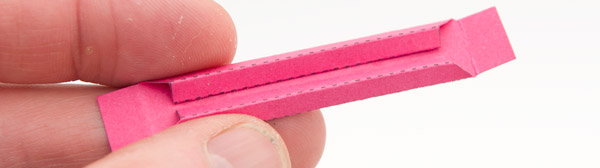
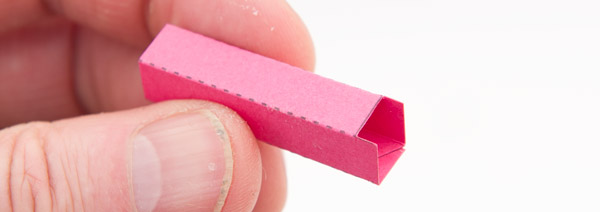
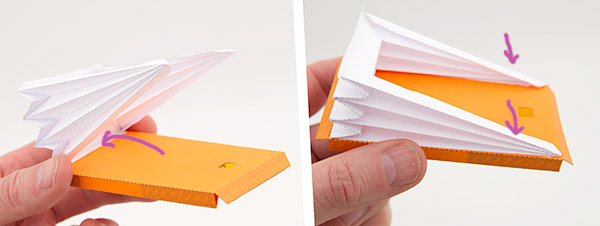
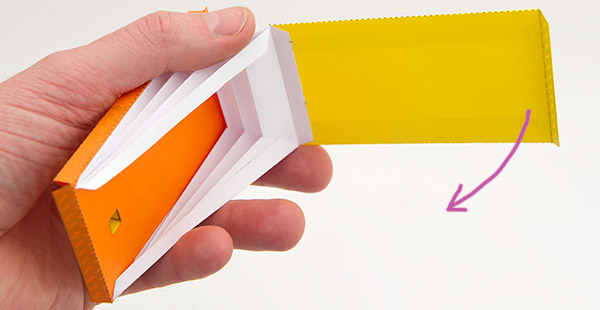
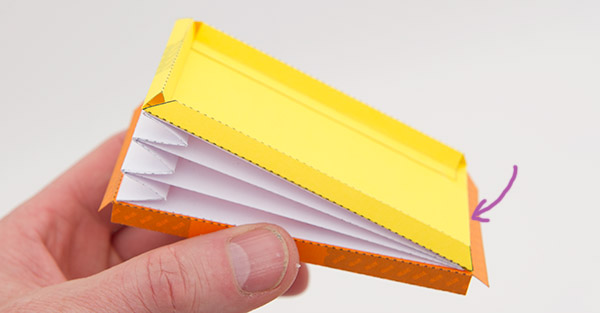
Fold up and glue together the three parts of the bellows. Make them as accurately as possible so no air leaks out from the joints.
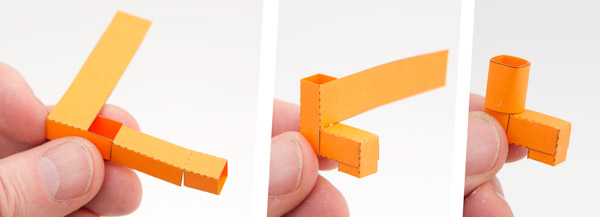
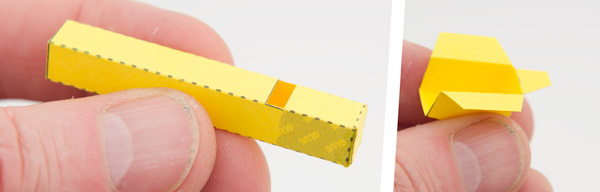
Assemble the handle in three steps.
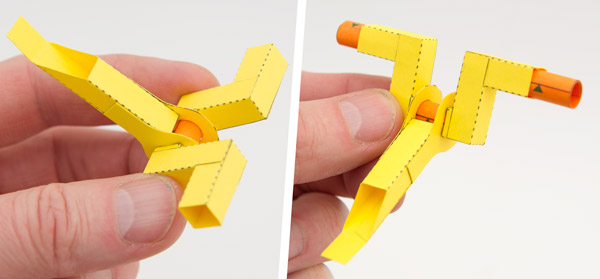
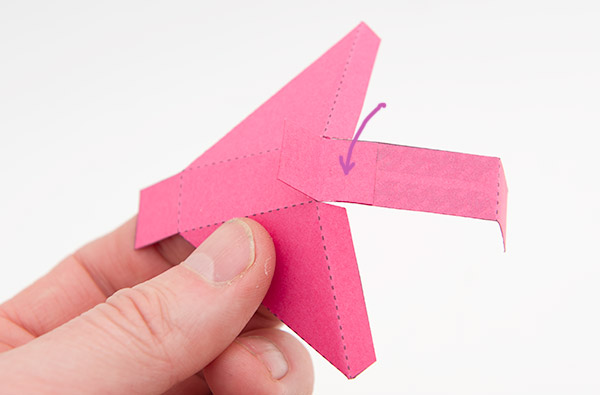
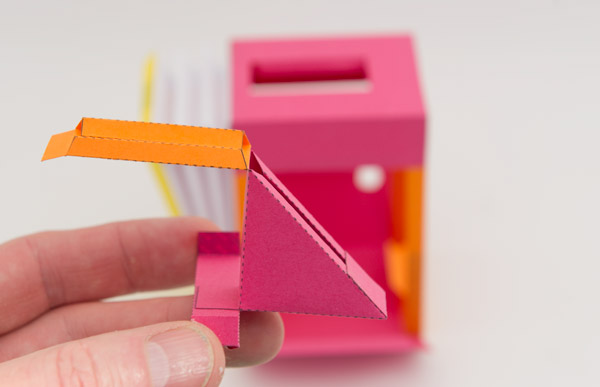
Glue the hinge to the bell crank as shown.
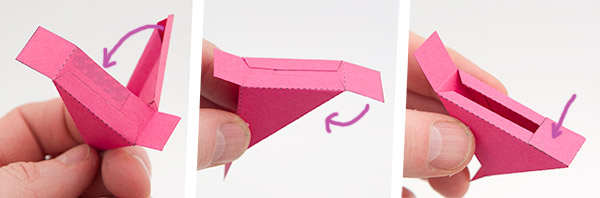
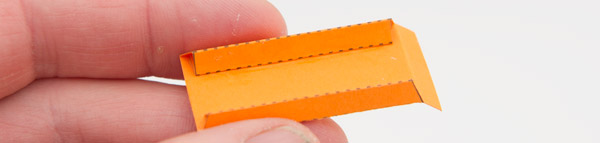
Fold round and glue together the bell crank.
Assemble the linkage
Assemble the cross piece.
Glue the linkage to the bell crank as shown.
Glue the bell crank to the cross piece.
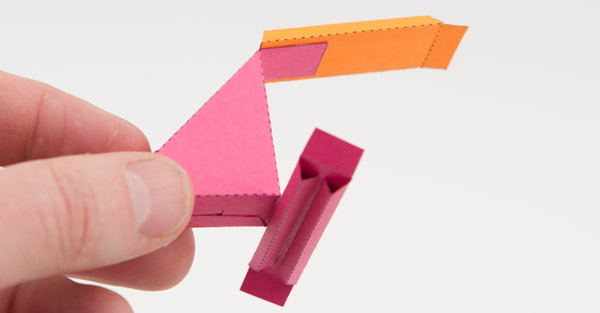
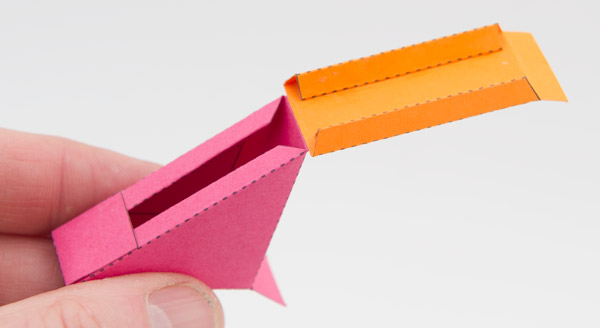
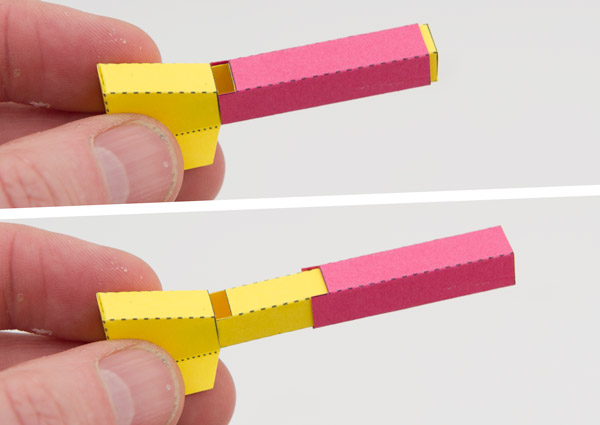
Glue together the pipe body and pipe end, Take care to make sure there are no holes in the joints and everything is lined up accurately.
Glue the cover to the pipe lining up the tab crease as accurately as possible with the bottom of the pipe body.
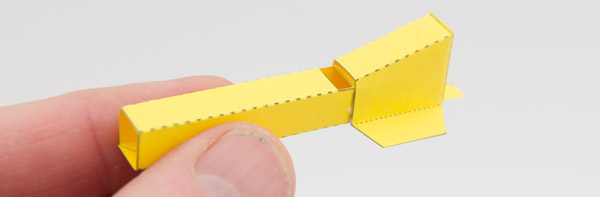
The slide is an optional extra. In future versions it will be connected to the mechanism to allow the bird whistle to change pitch. In this model it allows you to change the pitch of the whistle manually.
Fit the slide over the pipe as shown.
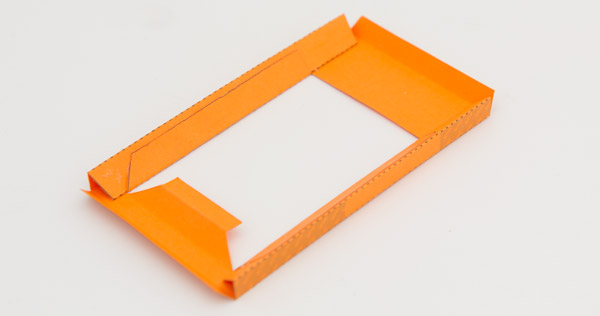
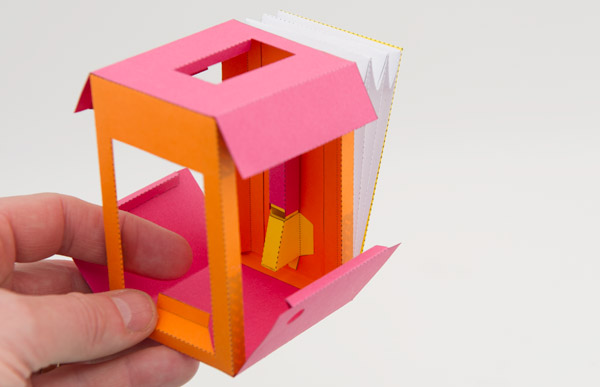
Assemble the box back by folding up the sides to make right angled triangle tubes.
Glue the pipe over the hole in the box back. Don’t glue the slide down.
Assemble the box front as shown
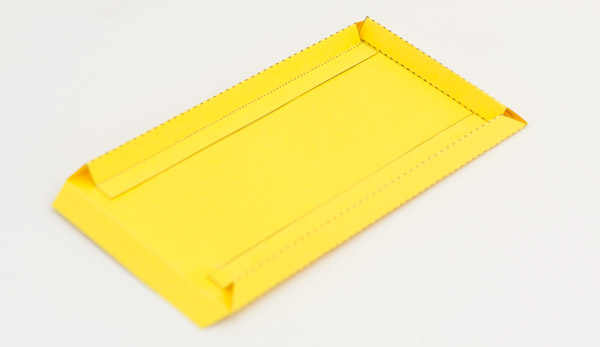
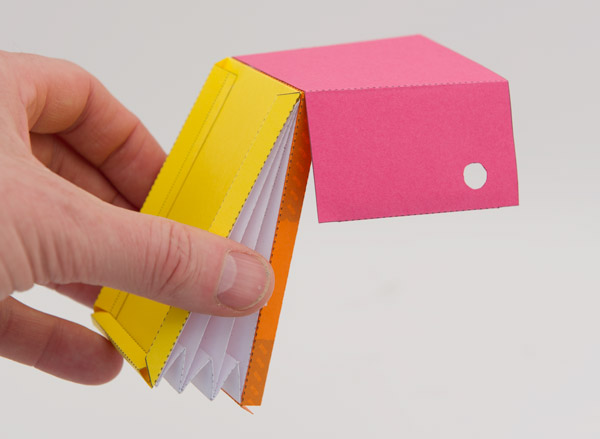
Glue together the box top and box base. Note the the tabs fold over to make equilateral triangle tubes.

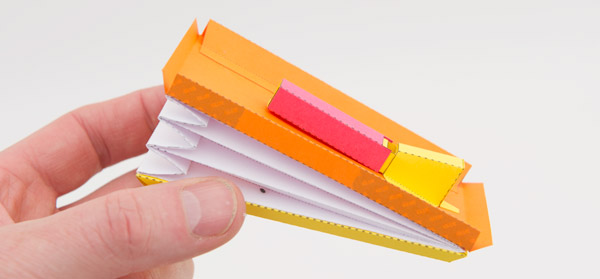
Assemble the bellows plate making three equilateral triangle tubes
Glue one side of the bellows to the box front. Note the position of the pipe hole.
Glue the bellows plate into position as shown.
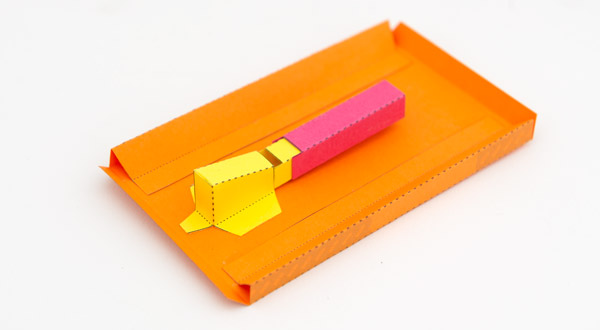
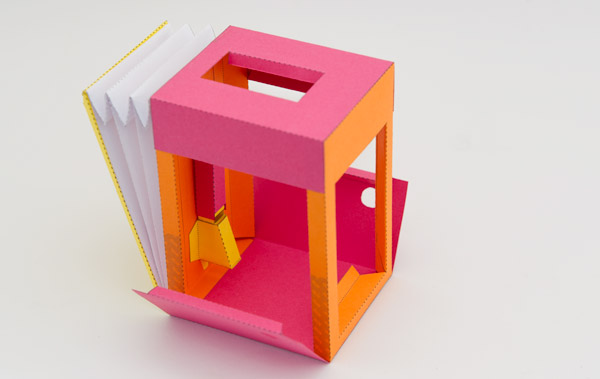
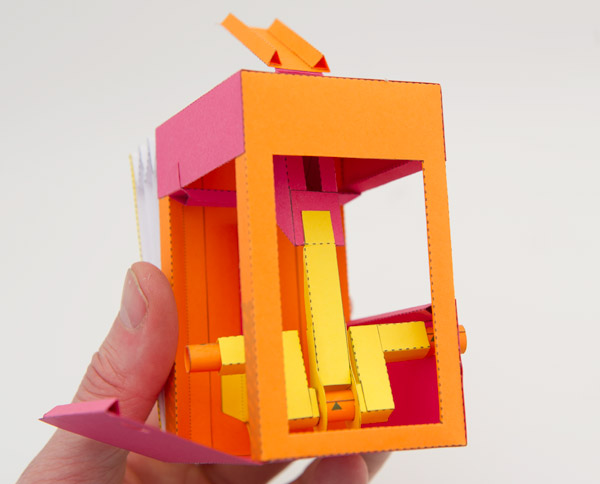
Once the glue is dry you should be able to test the bellows and hear the pipe sound.
Glue the box base to the bellows assembly. Note the position of the circular holes.
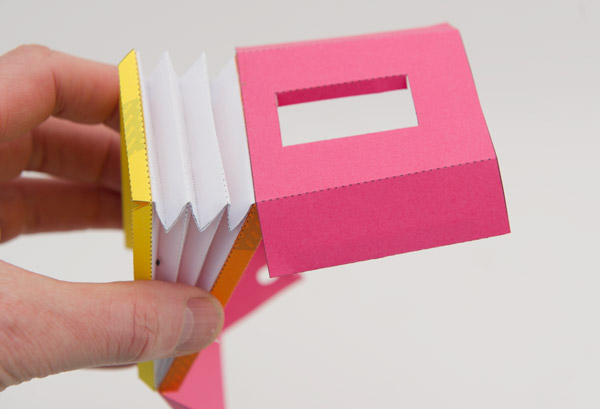
Glue the box top to the bellows. Again note the position of the hole in the part.
Glue the box front to the box top noting the orientation of the parts
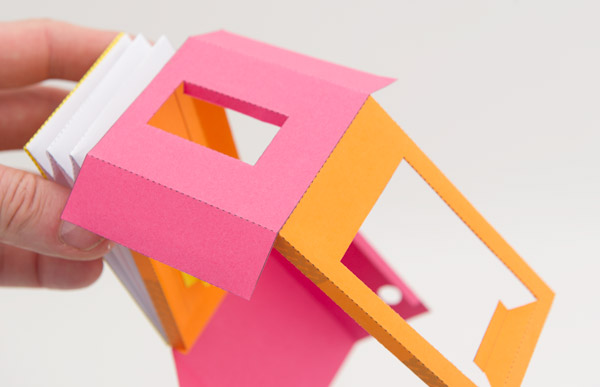
Glue the base to the front.
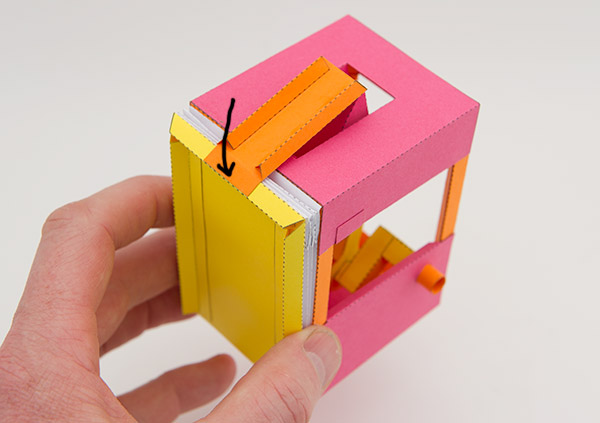
Hold everything square and glue down the tabs on the box top.
This picture shows how the bell crank assembly will fit into the box.
Thread the bell crank assembly into place in the box then glue the cross piece to the box top.
Glue one of the box base side into position and glue down the tab on the box front.

Thread the crank into position with the tab towards the front of the box.
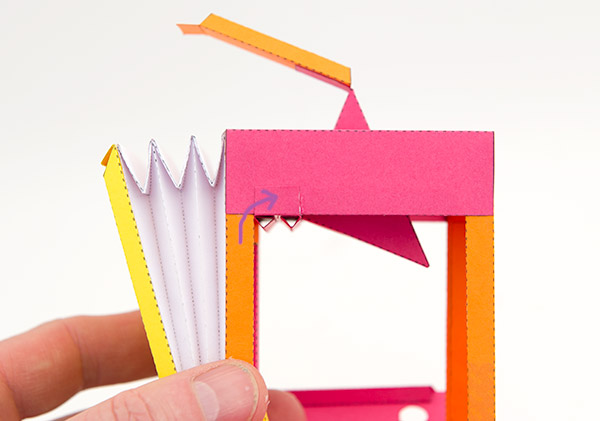
Glue the push rod tab to the bell crank end.
Glue the link to the top of the bellows plate as shown.
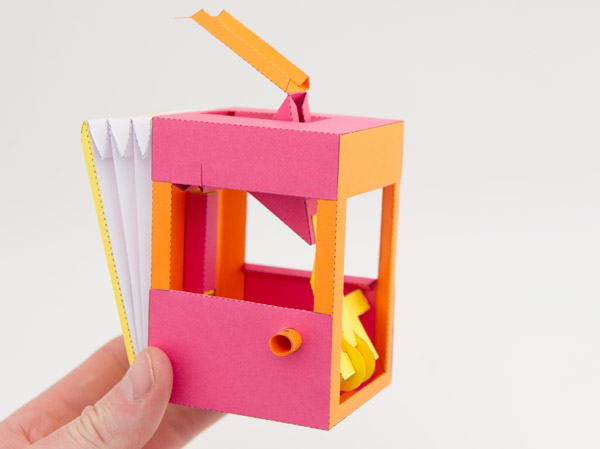
Complete the model by gluing the handle into place.
Ta daa! Turn the handle to hear the pipes tweet. Share the delightful sound with your friends and colleagues. #TrueLove tells me it is a charming sound and she loves to hear it over and over and over again. Honest.