The parts for this model are available to download at the end of this blog post. If you are member you’ll be able to download them for free. Non-members can download them for a small fee.
The model comes on four pages, the first three need to be printed onto thin card. Thin photocopier card is ideal. Note that the pages are marked ‘front’ and ‘back’. Print out the front page, flip the card over, return it to the printer and print the back on the other side. Wait until the ink is completely dry before continuing.
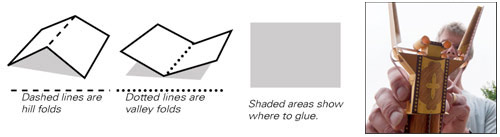
Solid black lines show where to cut, dotted lines are crease lines. Before cutting out the parts, score the dotted lines and cut out any holes. The more carefully and accurately you cut and score the parts the better your model will be!
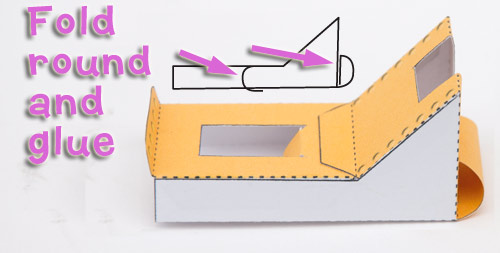
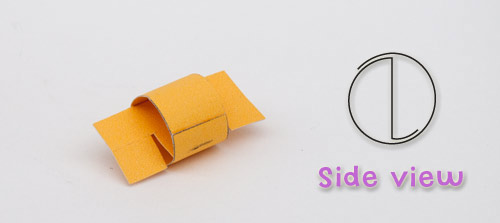
Curve round and glue down the tab on the right hand end as shown in the picture. Assemble the rest of the body side as shown. Finish off by threading the centre tab through and gluing it down. Use the line drawing above to help with positioning.
Assemble the shoulder wheel as shown above. Note that there are grey lines on the long tab marking where the centre piece glues.
Glue the shoulder wheel to the body side so that it is free to move. It should be able to rotate approximately three quarters of a turn.
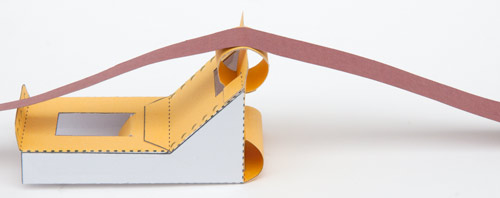
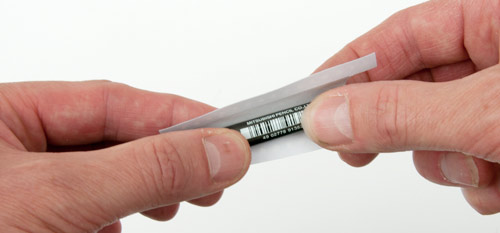
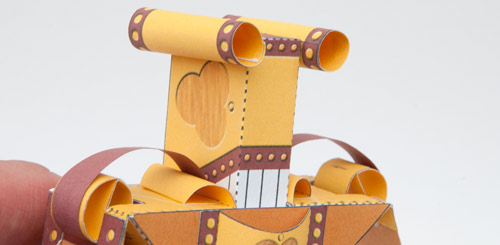
With the shoulder wheel lined up as shown, glue the paper belt to the top of the wheel. Use a narrow strip of glue so that the belt is joined to the smallest area possible.
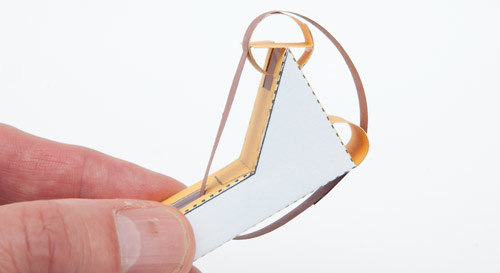
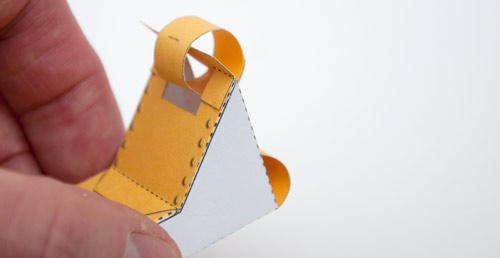
Thread the belt round through the hole in the body side. Cut the belt to length and glue the ends together with the belt a loose-ish fit as shown above.
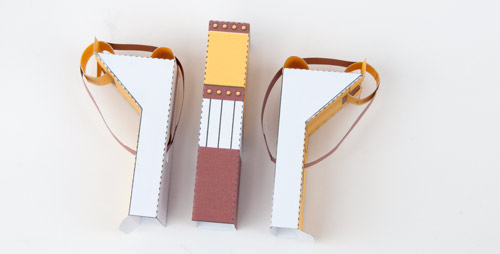
Repeat the same process with the other body side.
Fold and glue together the head.
Pull the belt down so that the shoulder wheel is pointing up as high as possible.
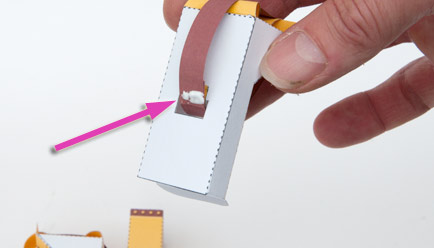
Apply a thin band of glue to the lowest end of the belt. (Arrowed)
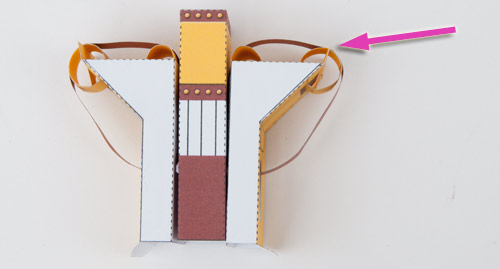
Line up the base of the head with the base of the body side then press the glued area of the belt onto the head. Repeat the same process with the other body side.
Let the glue dry completely before carrying on but do make sure that the belt doesn’t stick to the body side!

Glue the body front and back to the body sides – make sure that the head remains free to move.
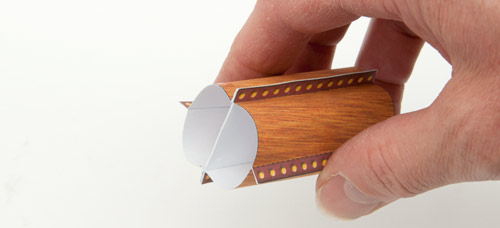
Roll the arm cover round a suitable pen to curve the surface…
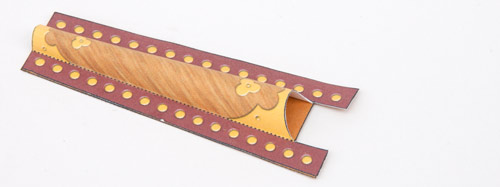
…then glue the arm cover to the arm underside.
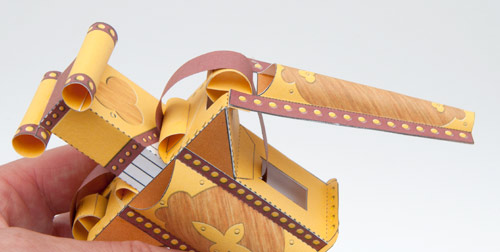
Glue the arm ends to the shoulder wheel as shown above.
Glue the body covers into place on the front and back of the body.
Roll round and glue on the two eye tubes.
Curve the four leg parts round a suitable pen. Glue together two of the leg parts then glue them to the leg centre. Repeat the process on the other side to complete the legs assembly.
Glue the waist to the bottom of the body.
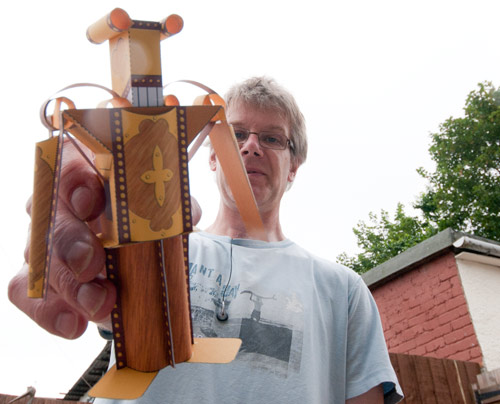
Glue the legs to the waist and the feet to the legs to complete the Beltbot. Once the glue is dry your Beltbot is ready.
I hope you enjoy it!