As promised in the blog post about designing bellows I present here the files so you can make your own ten sided bellows.
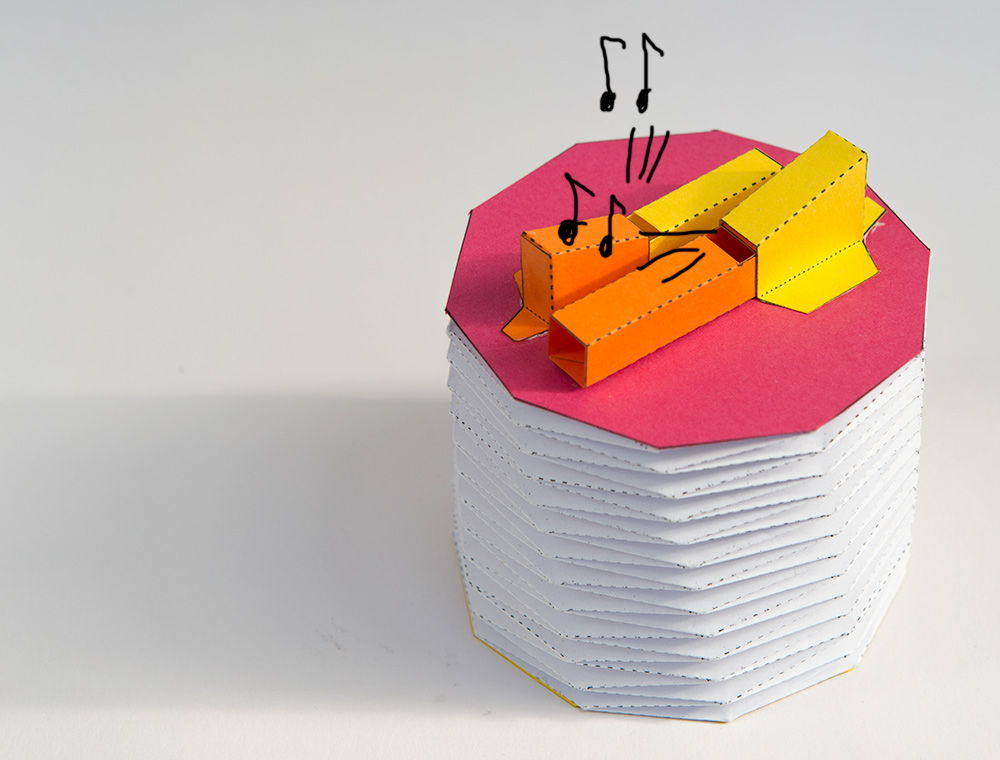
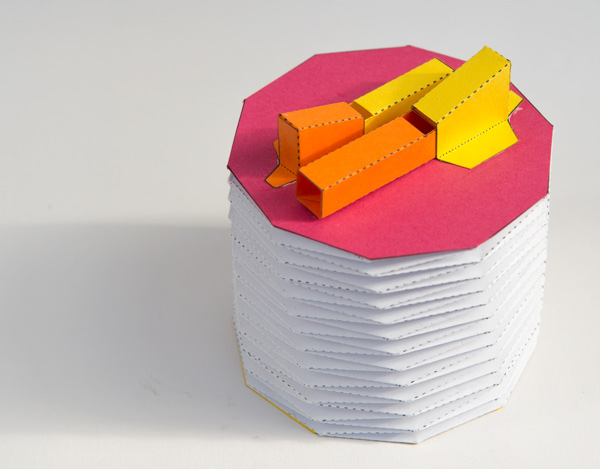
Rather than just make a ten sided bellows, I thought I would complete the model with a pair of whistling pipes. Check out the YouTube clip below to see and hear how they work.
As always, members can download the parts for free from the link. Non-members can join in the fun for £2.00 / $3.00
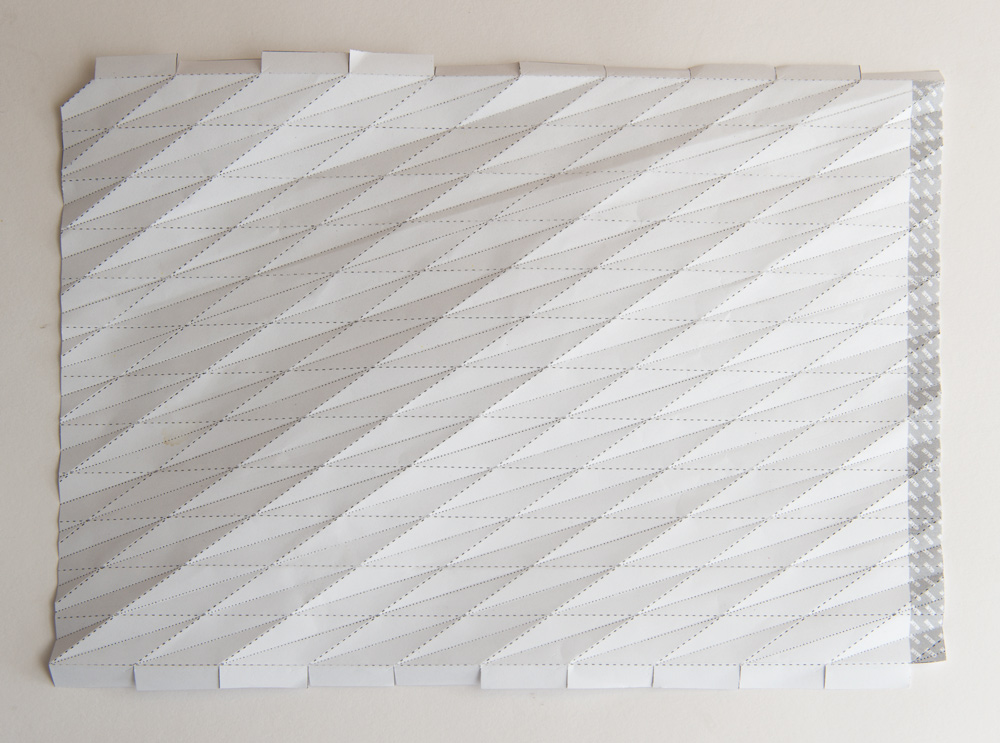
The first two pages are bellows, these need to be printed onto ordinary printer paper. The third page contains the parts for the bellows ends and the pipes. Print these pages onto thin card (230 micron 67lb) I printed out the third sheet three times onto different coloured card and mixed and matched the result for a colourful model.
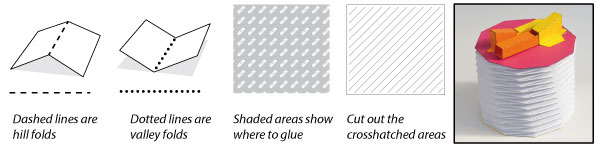
Score along the dotted and dashed lines then carefully cut out the parts.
The five sided bellows on the first page are included for your interest and amusement. The instructions below concern the ten sided bellows and pipes.
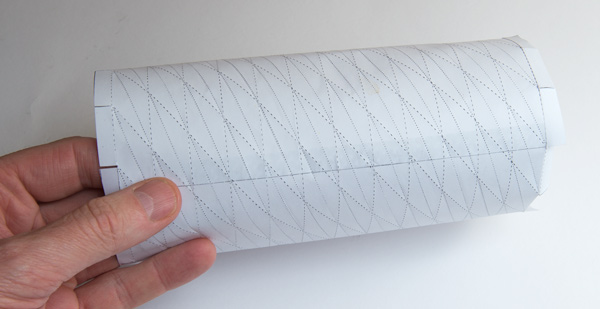
Pre-crease all the score lines before starting, this makes folding the bellows much easier than it would be otherwise.
Roll round and glue down the tube taking care to line up the edges as accurately as possible.
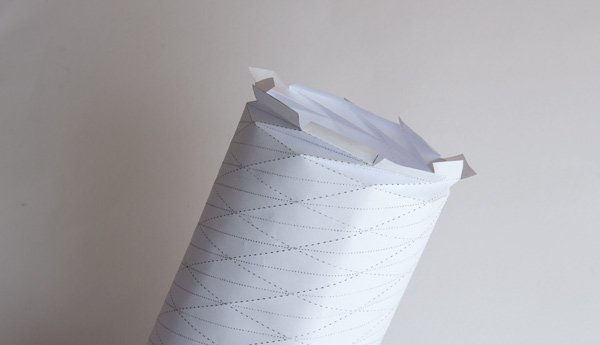
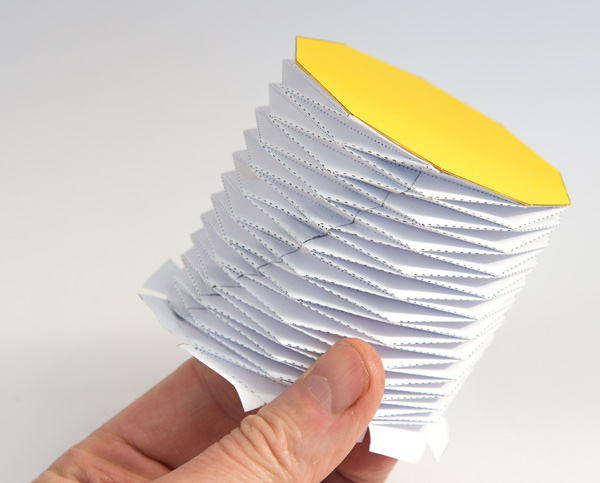
Fold down the first layer of the bellows.
Work your way down the bellows folding one layer at a time.
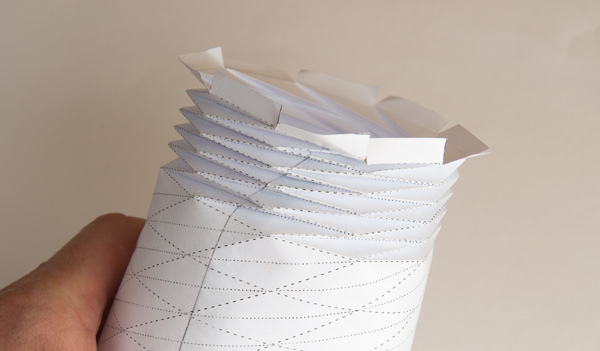
Keep going to the bottom of the bellows.
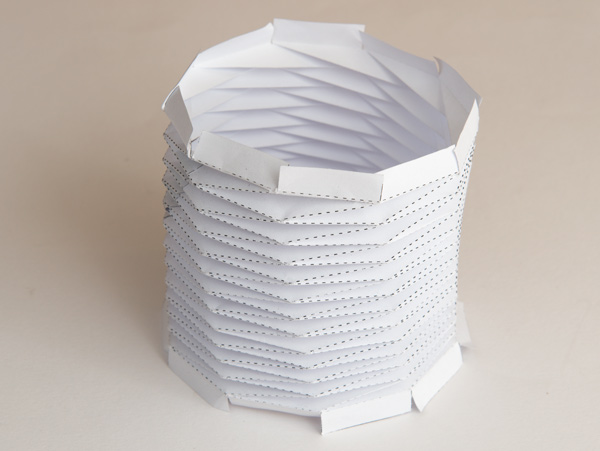
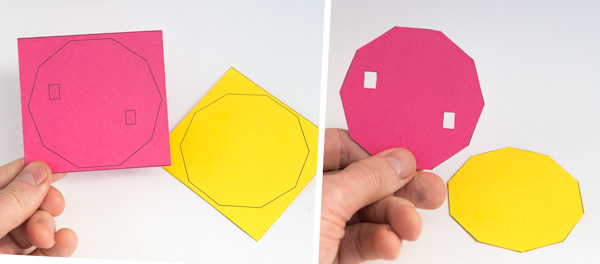
The ends of the bellows are made from double thickness card. Fold them over, glue them down. Once the glue is dry carefully cut them out and cut out the two holes in the top piece.
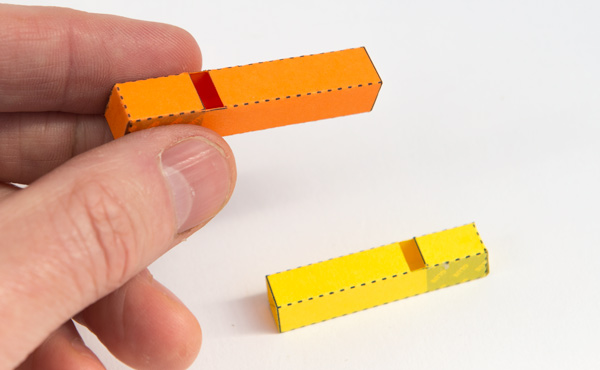
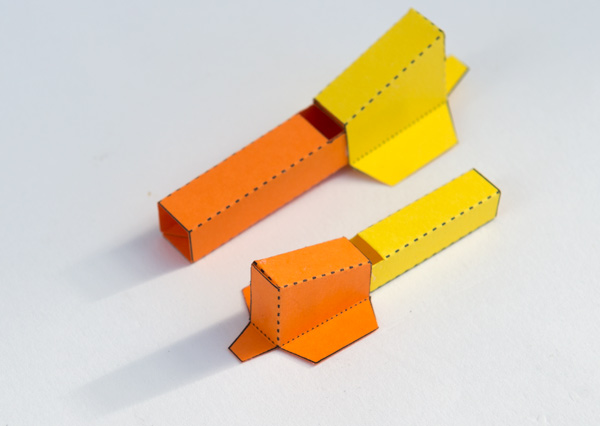
Fold up and glue the pipe bodies. Fold as accurately as possible and make sure all the joints are sealed with glue.
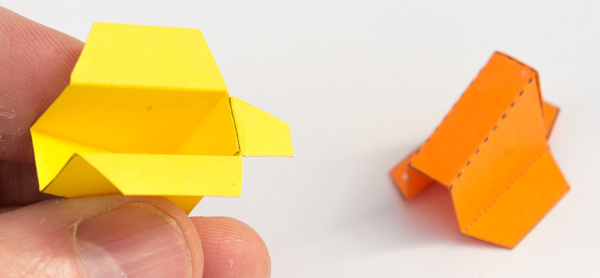
Assemble the top covers.
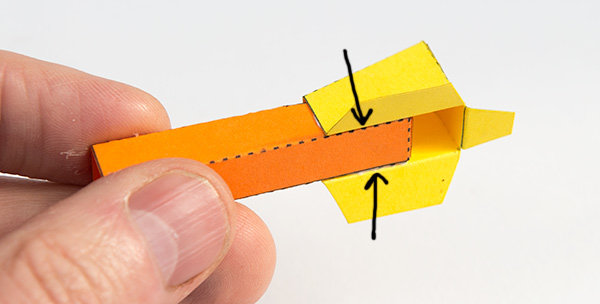
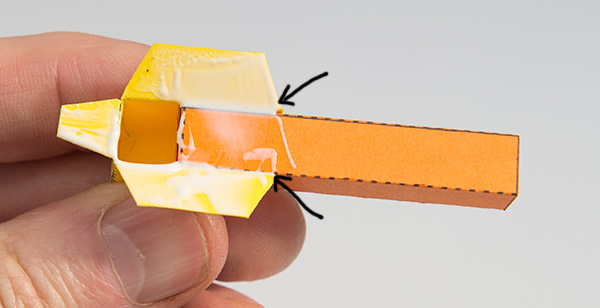
Glue the covers to the matching pipes. Line up the crease in the cover with the bottom of the pipe and line up the front edge of the cover with the edge of the glue area. While the glue joint is still movable blow through the bottom to make sure that the whistle is working.
The two completed whistles.
Glue the base to the bellows.
Prepare the pipe with a little more glue than you would normally use for an air-tight seal. Make sure you have sealed the grooves with glue.
Press the pipes down so that the holes are lined up with the holes in the top.
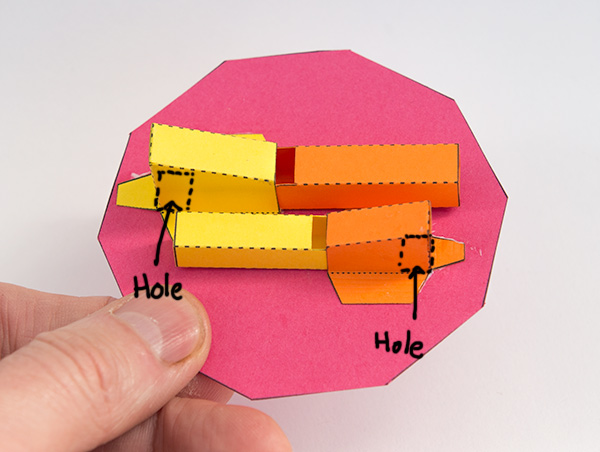
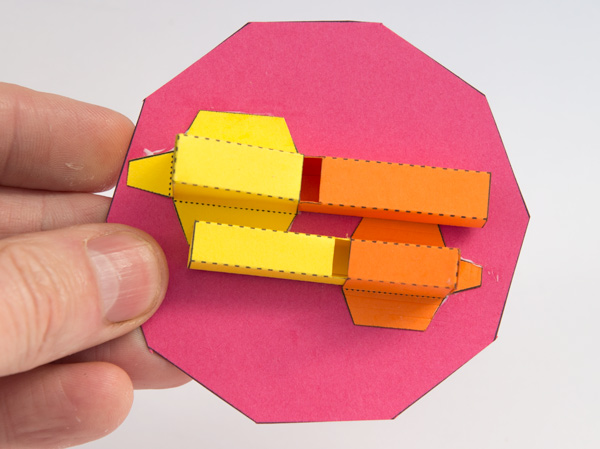
The pipes in position.
Glue the bellows top to the bellows to complete the model.
Push down to sound the bellows, the natural spring of the paper will re-inflate the bellows ready for the next whistle.