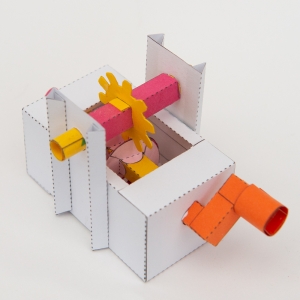
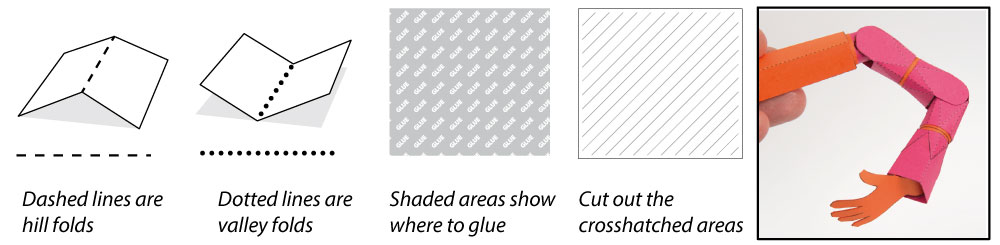
A poseable paper arm to download and make. You can use this model as an experiment in pure paper engineering or as the starting point for your own character based projects.
Print out the two parts onto thin card. 230gsm is ideal. I used coloured card for a colourful model. Score along the dotted and dashed lines then carefully cut out the parts.
Roll up and glue down the three cores.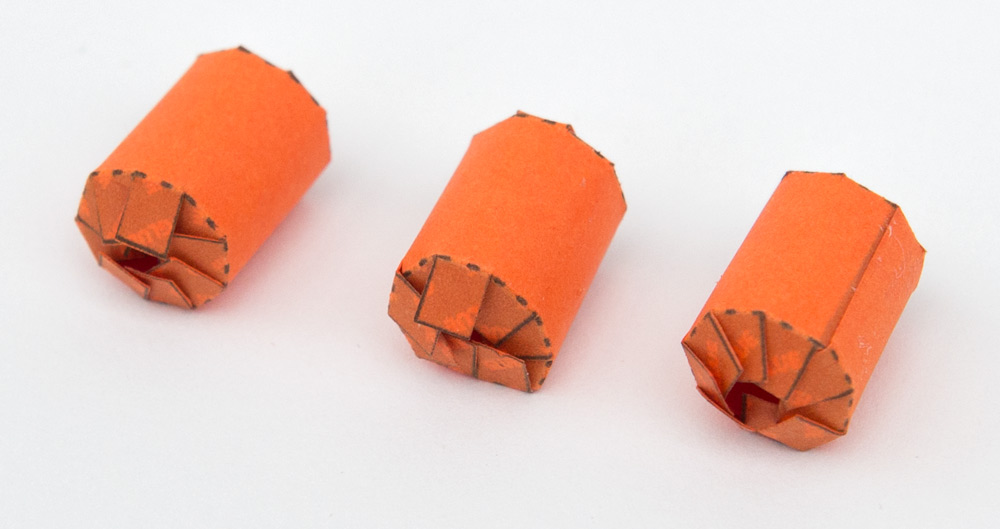
Roll up and glue the three tubes.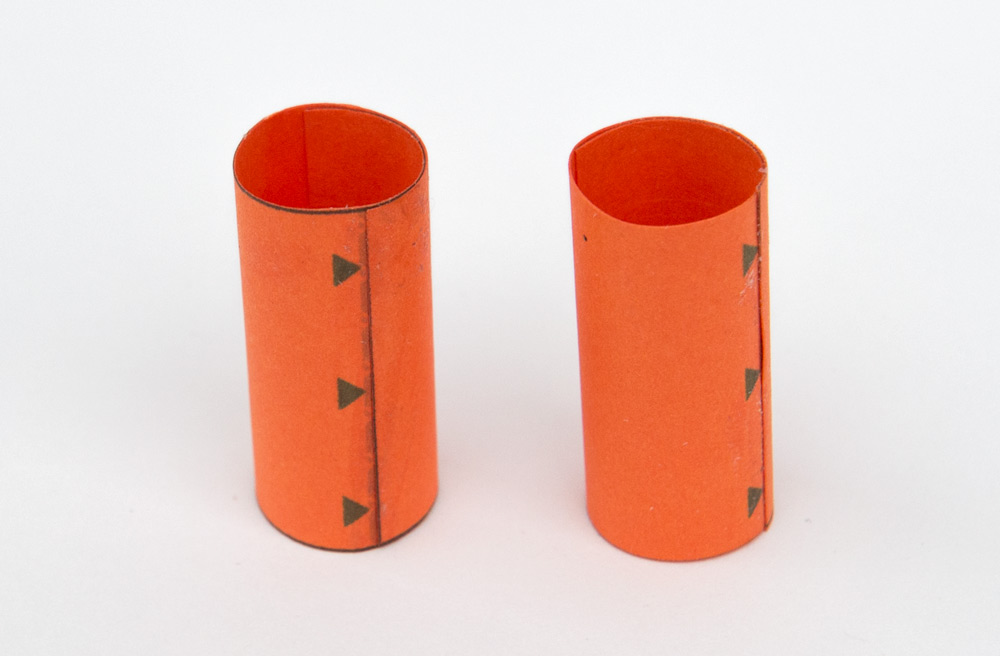
The ends of the various arm parts are made from double thickness card. Fold them over and glue them down. Once the glue is dry cut out the curved ends.
Curve around and glue together the arm sections.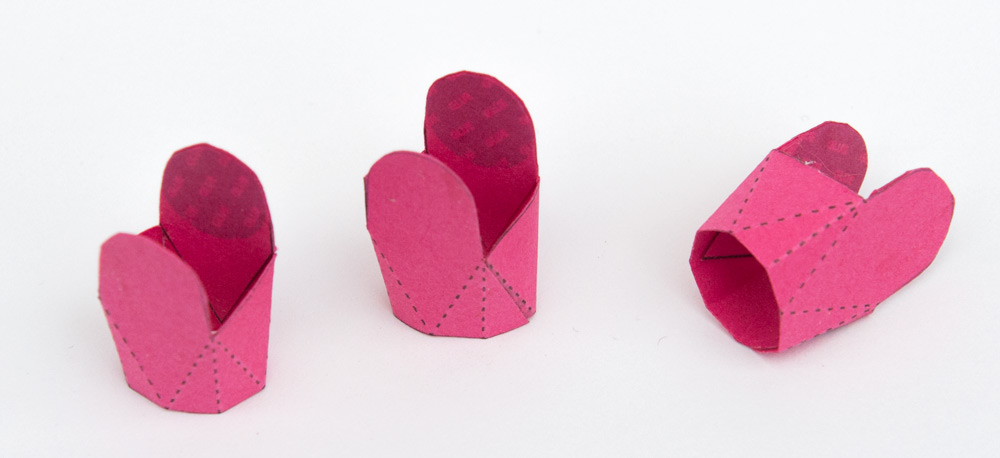
Roll a slip ring round one of the cores. It needs to be a tight fit but still be free to slip round.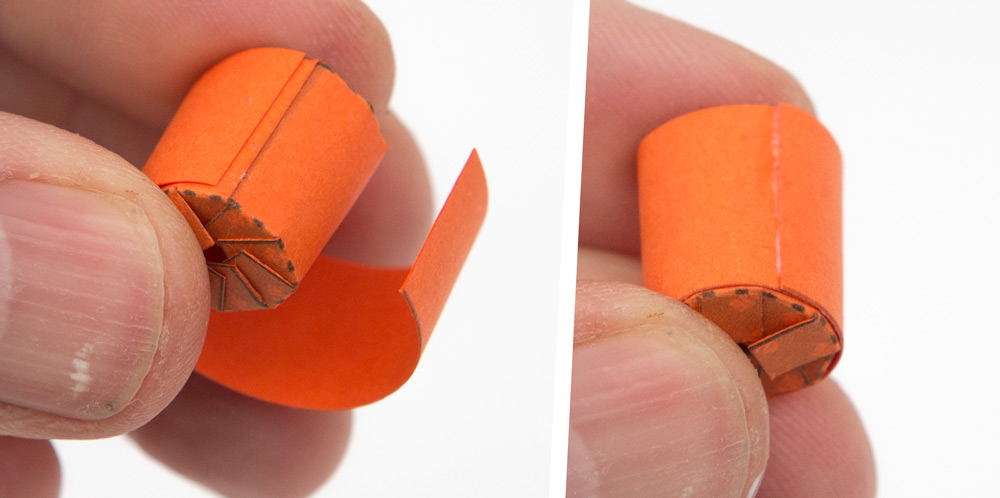
Roll up and glue the shoulder tube.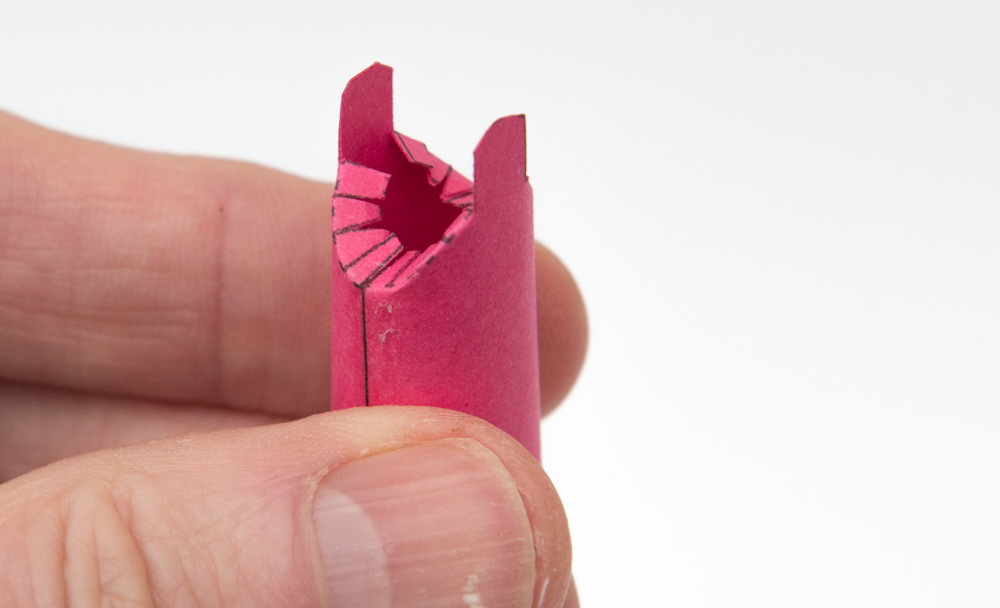
Glue the slip ring to the end of the shoulder tube. the core should still be free to rotate.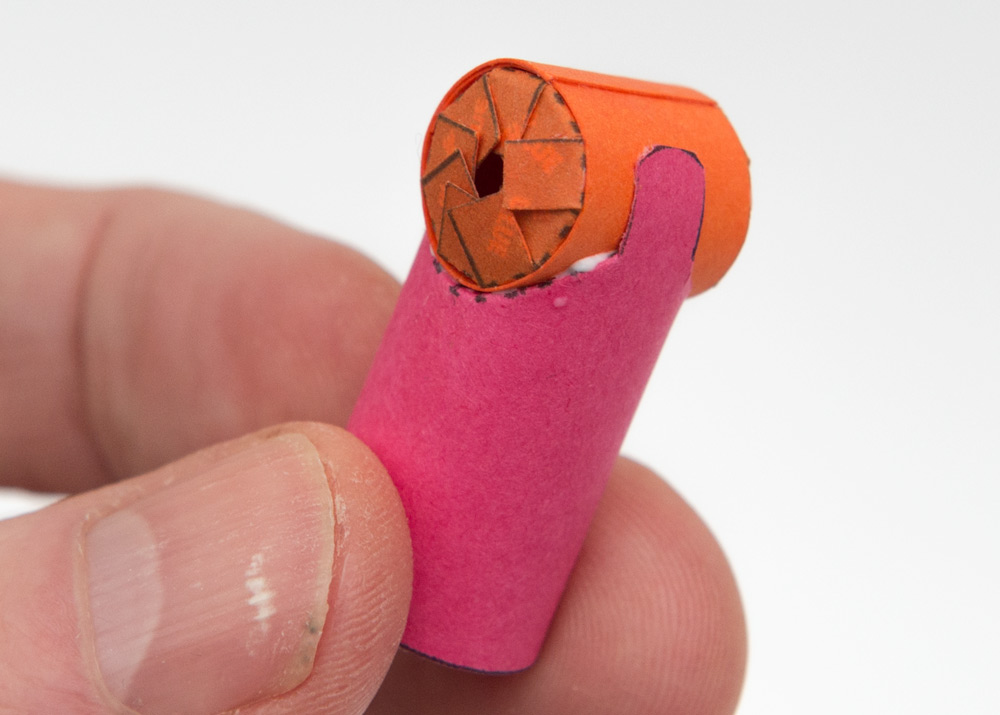
Glue a thin strip to the end of the shoulder.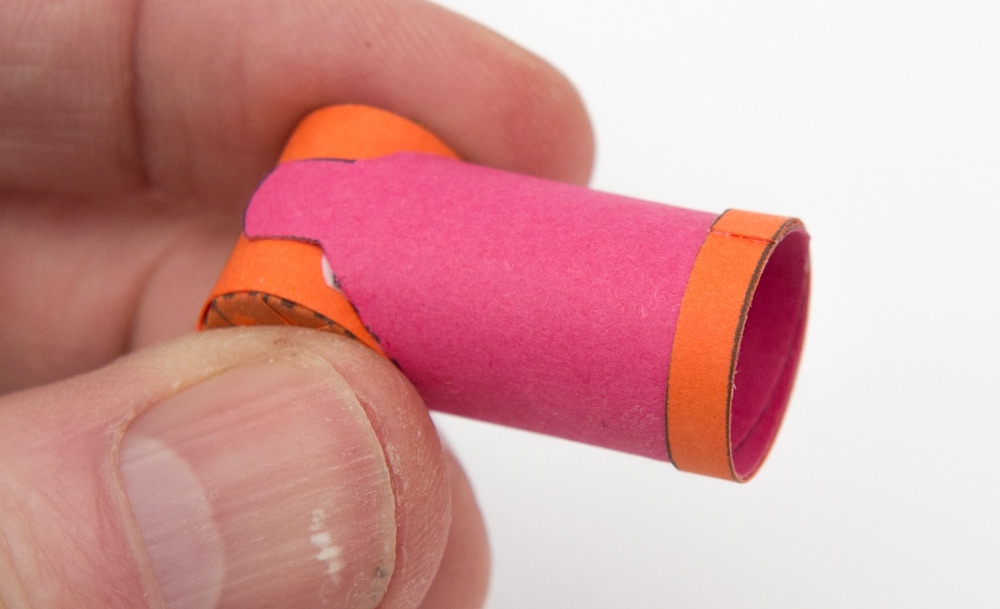
Fit a slip ring round the shoulder. It needs to be free to turn.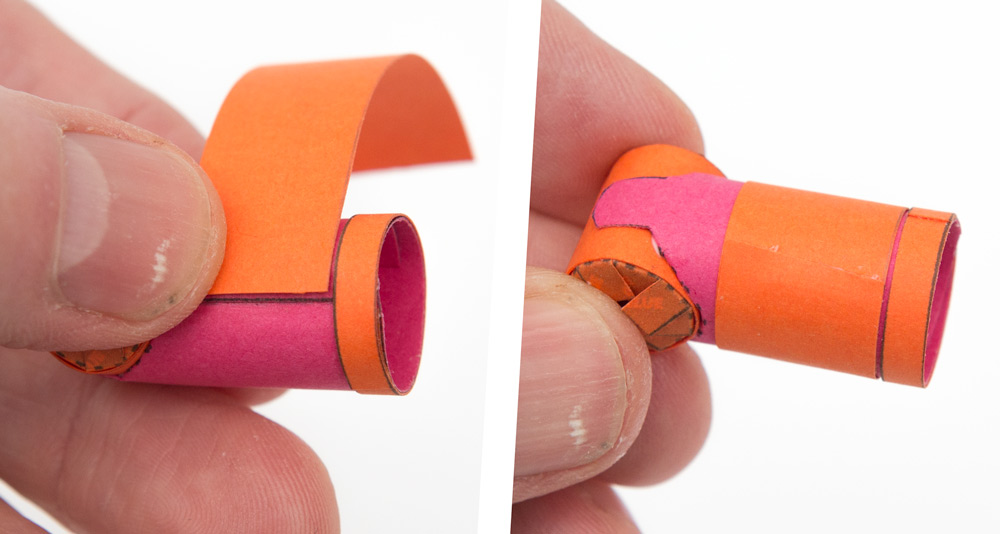
Glue a thin strip to each of the two remaining tubes then fit them with a slip ring.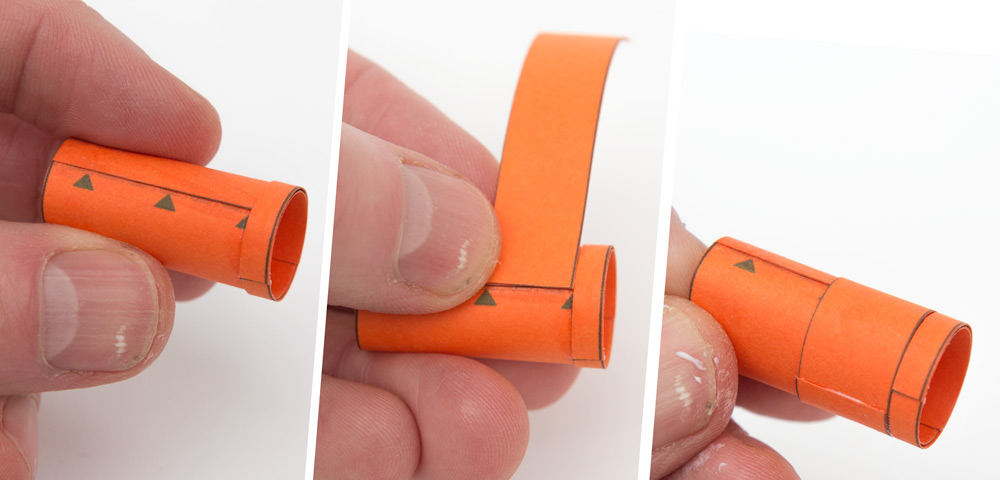
Fit an arm piece over the slip ring and glue it only to the slip ring 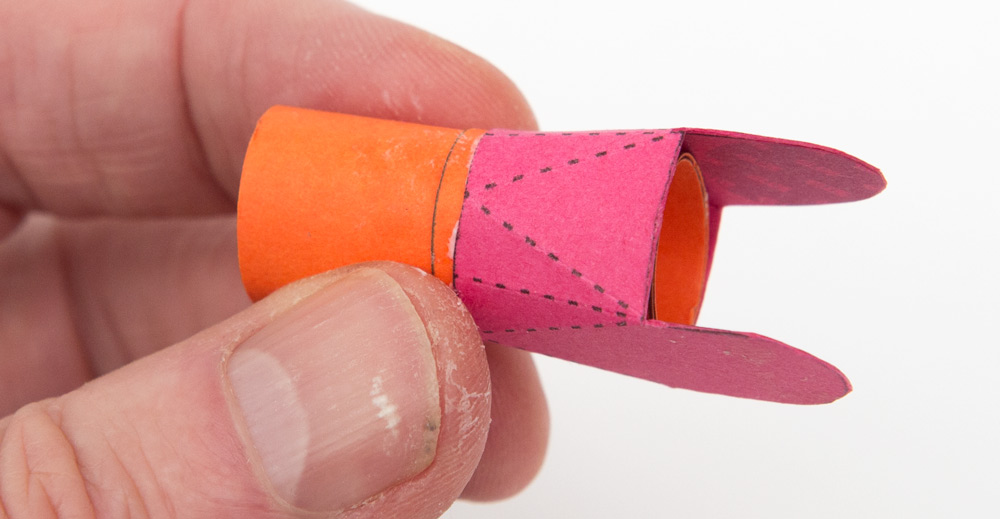
Glue an arm section to the core in the shoulder piece.
Glue the tube from the previous step to the arm section connected to the shoulder.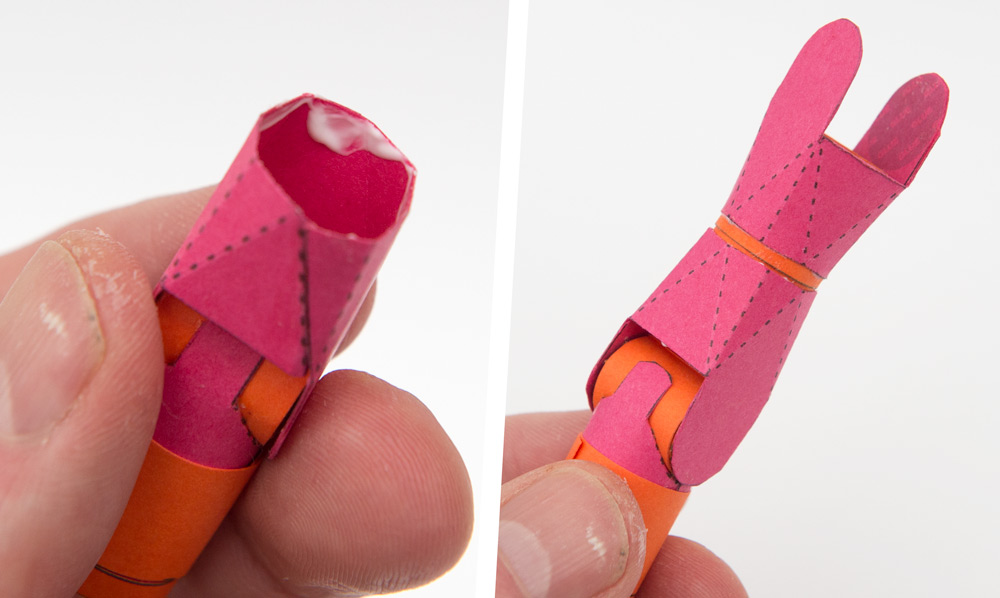
Glue the forearm piece to the slip ring on the remaining tube. Fit the core into place and secure the tab so that the core is held in place but free to rotate.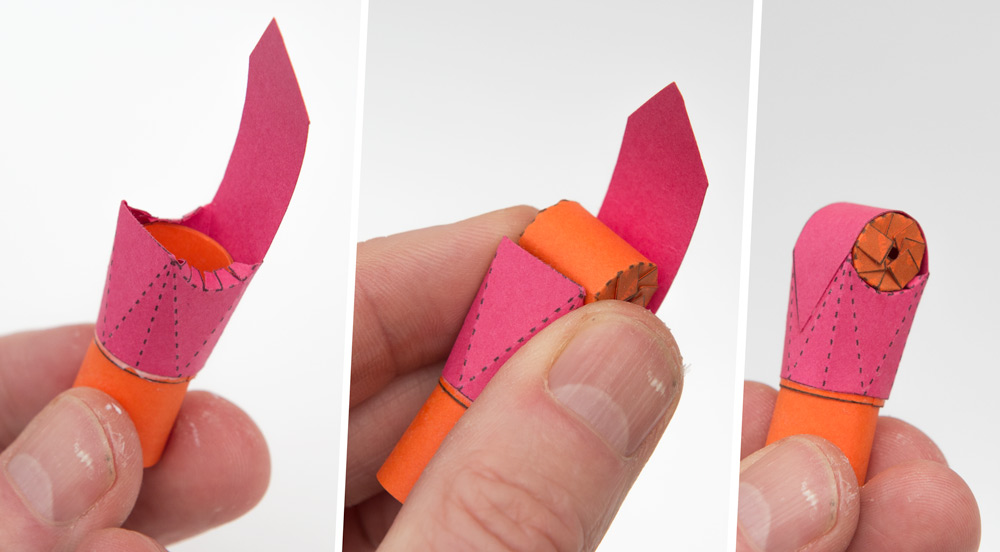
Glue the core to the upper arm that you previously assembled making an elbow joint.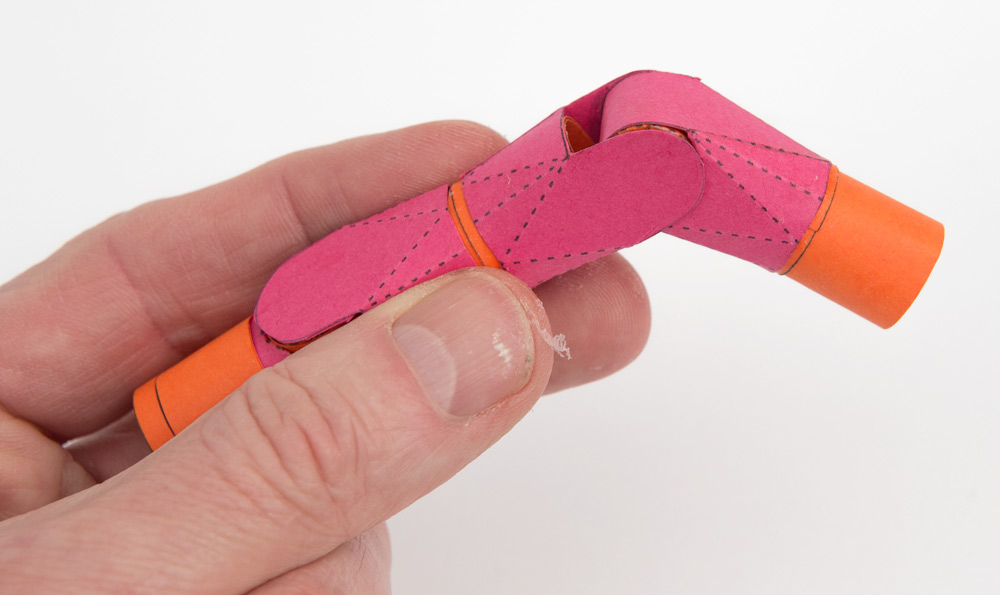
Glue the final arm piece to the tube.

Roll the hands round the core and glue them together so that the core is free to rotate.

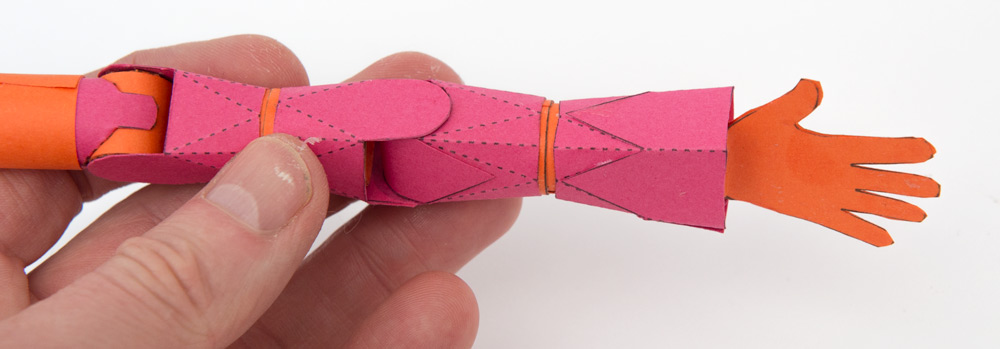
Glue the hand into place.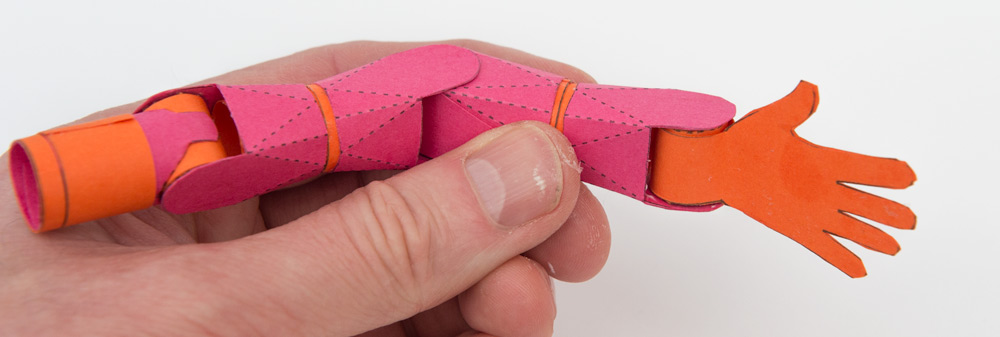
Glue the sleeve into place to complete the arm.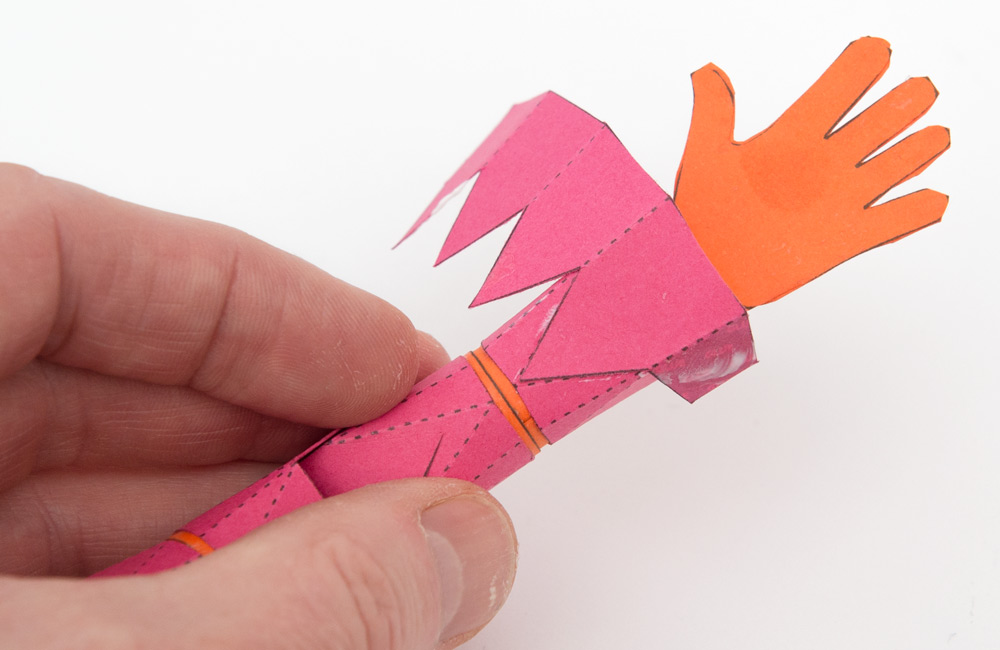
Glue the shoulder sleeve into the square section shoulder tube so that it is free to rotate.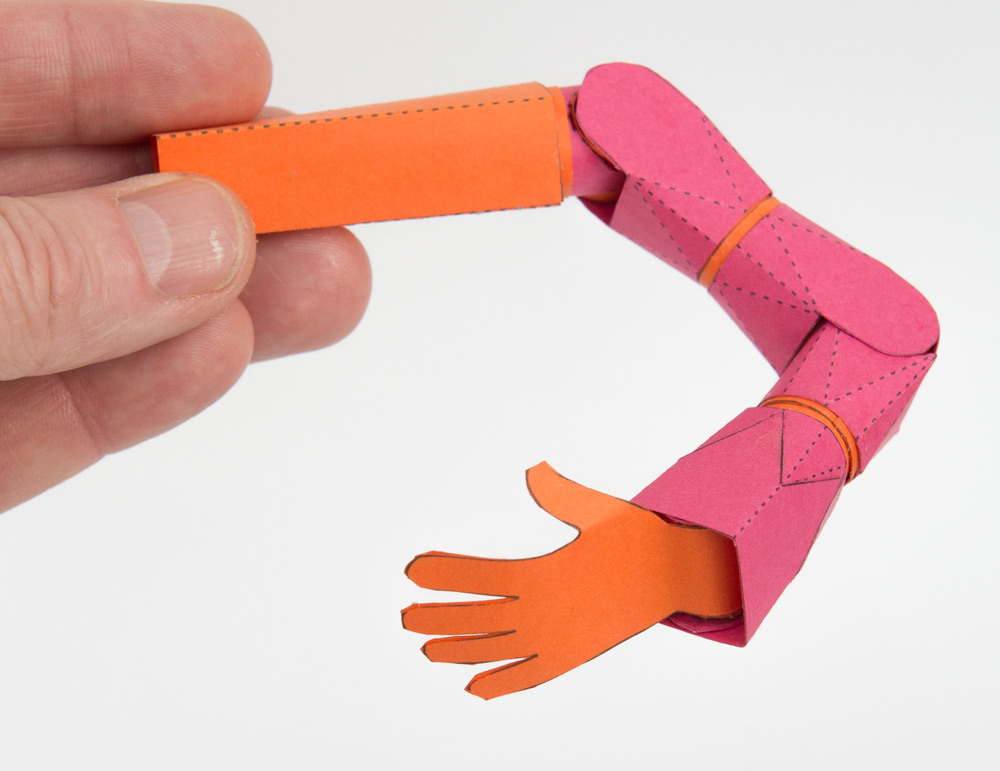
Make two for your poseable character!