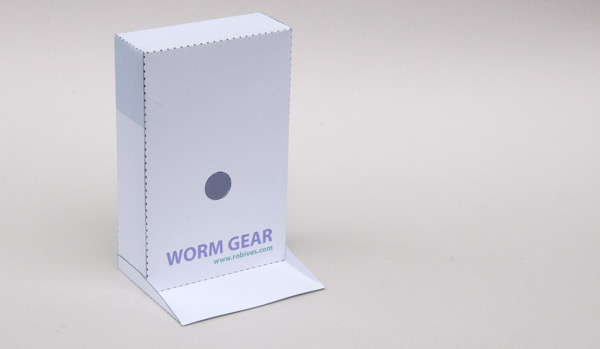
A worm gear model for you to download, print out and make. If you are a member you can download the parts for free at the end of this post. Non-members can download the parts for a small fee.
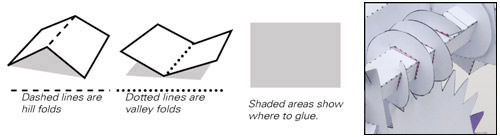
Print out the parts onto thin card. (230 microns / 230 gsm) Start by scoring the dotted lines and cut out the holes. Both these jobs are easier on whole sheets. Once complete, carefully cut out all the parts apart from the gear.
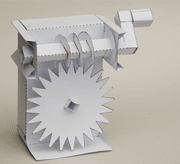
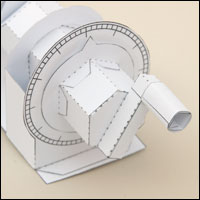
The completed work gear model. Turn the handle twenty four times and the main gear turns once.
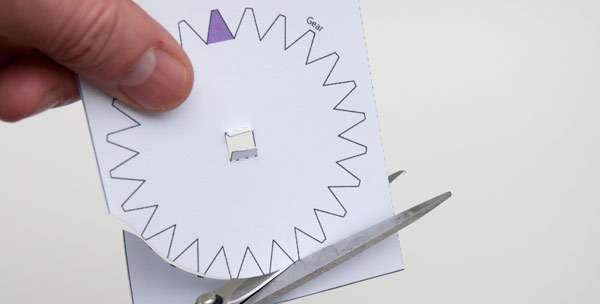
To make the gear, fold it in half and glue it together to make a double thickness piece. Make sure that the tabs are not glued down. Once the glue is dry cut round the outside of the gear…
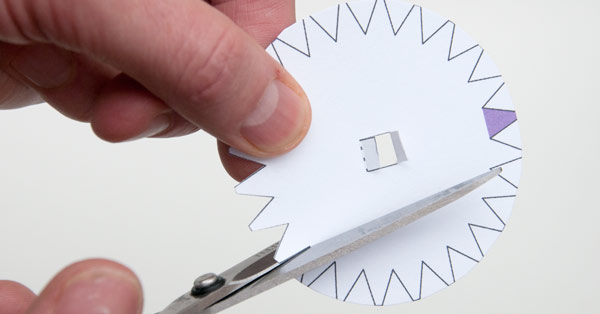
…then cut out the teeth.
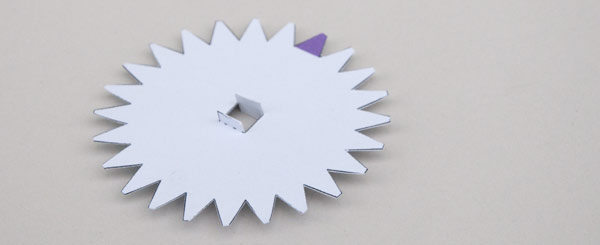
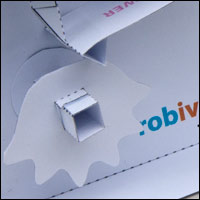
The completed gear.
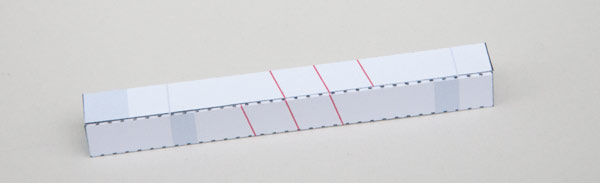
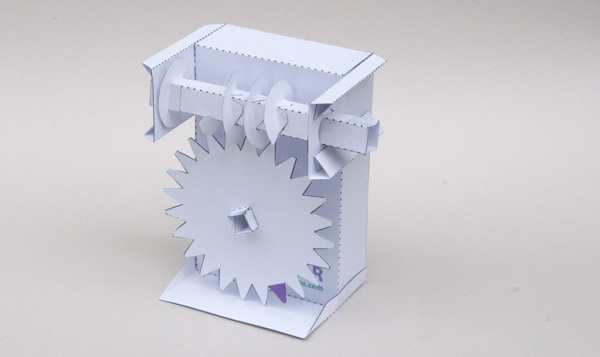
Fold round and glue together the worm shaft.
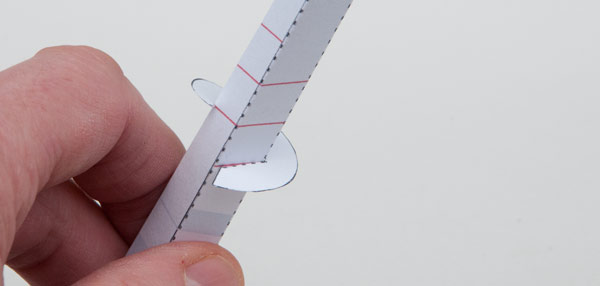
Starting from the handle end (with the two large grey squares) glue the first of the worm parts to the shaft using the red line for alignment.
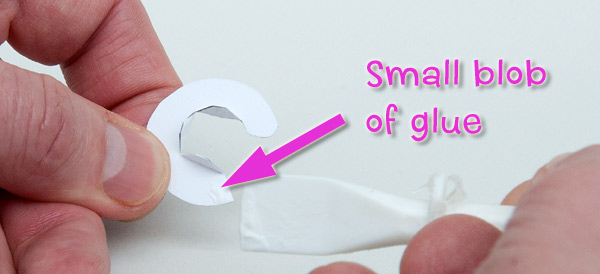
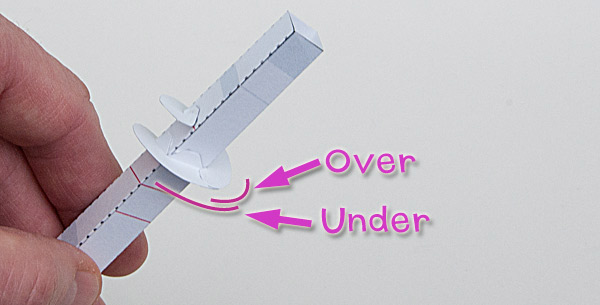
Apply a small blob of glue to the second worm part at the point shown, apply some glue to the tabs. Glue the worm part to the shaft as shown so that it overlaps the first worm part.
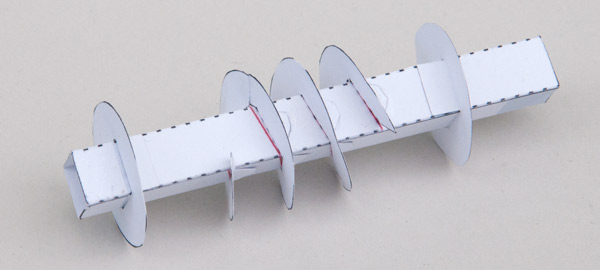
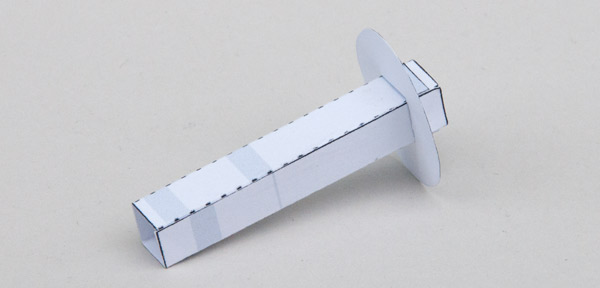
Repeat this process until the worm is complete. Glue the two washers to the shaft.
Glue together the gear shaft and glue on one washer on the back of the shaft.
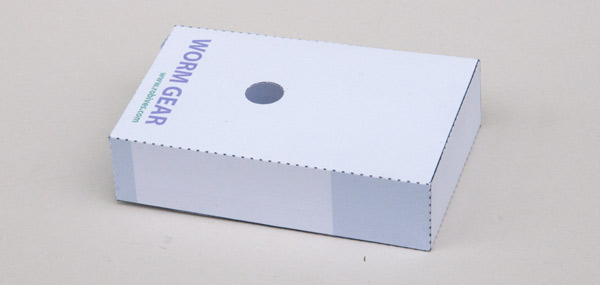
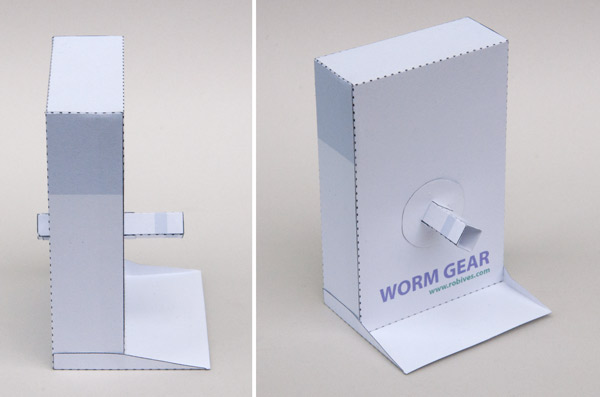
Glue together the two parts of the box. Make sure it is all square and accurate.
Glue the base onto the box.
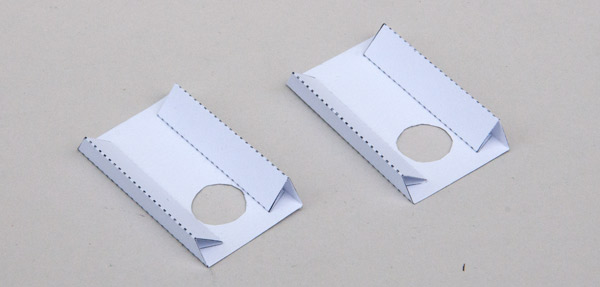
Glue together the two worm bearings.
Thread the gear shaft through the holes in the box. Fit the remaining washer.
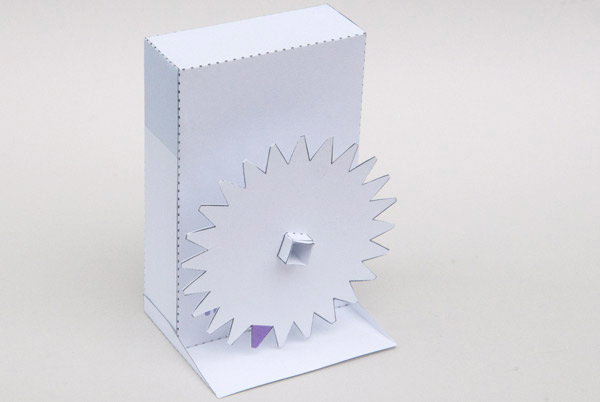
Glue the gear into place on the gear shaft using the grey areas and grey line for alignment. The gear must be free to turn.
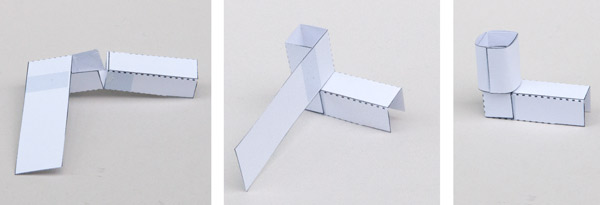
Assemble the handle in three steps. Fold the parts round to make two square section tubes. Fold the tubes one into another and glue. Roll round and glue down the long tab to complete the handle.
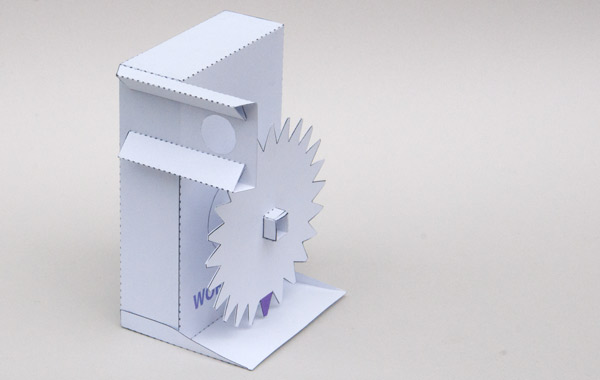
Glue one of the bearings into place as shown above, use the grey areas of alignment and make sure that the edges of the bearing are lined up with the edges of the box.
Fit the worm into place then glue on the second bearing, again making sure that parts are lined up accurately.
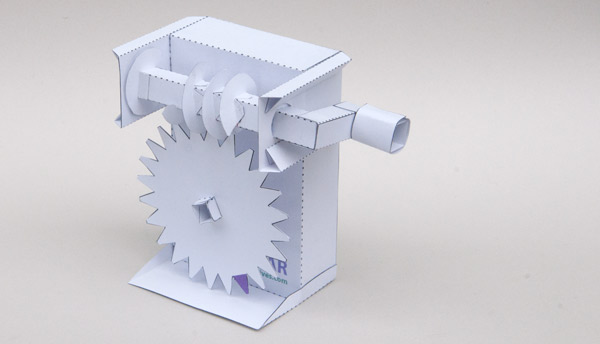
Complete the model by gluing on the handle. That’s it, a 24:1 reduction gear. Make it for some hands on experimentation or as the starting point for your own models!