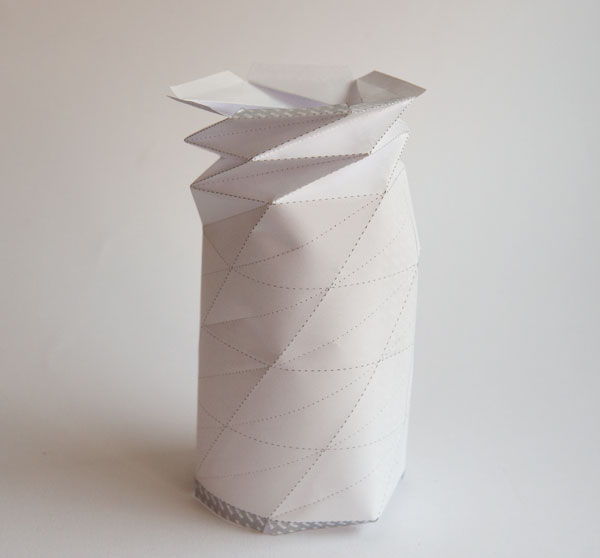
 The bellows part of the Bird Box Project have caused me some difficulties. The problem was that as the bellows are compressed they twist. This made it difficult to mount them inside a mechanism. I’ve come up with a solution to the problem which I outlined in my previous blog post.
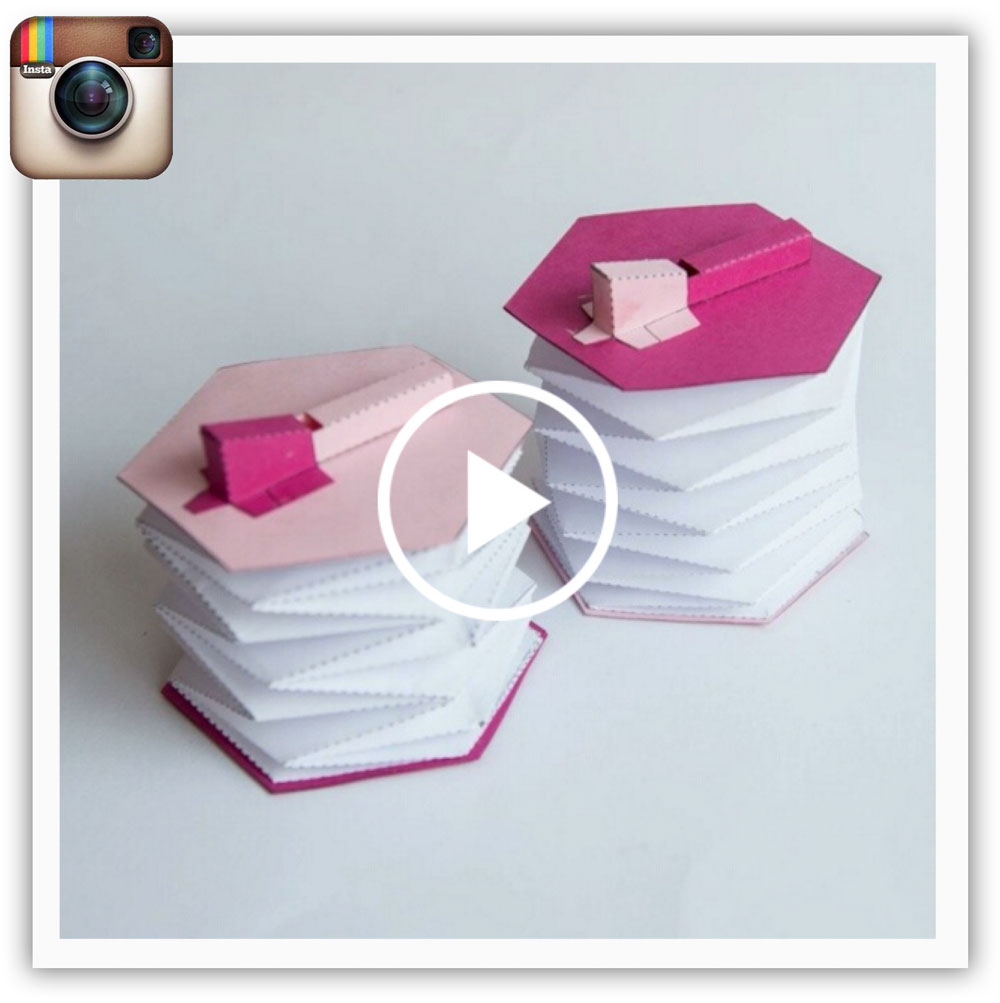
I’m now making both the new and the original designs available as a download so you can try them out first hand. Click on the image (left) to see and hear both types of bellows in action.
If you are a member or a patron you can download the parts for free. Thanks for your support! Non-members can also join in for a small fee.
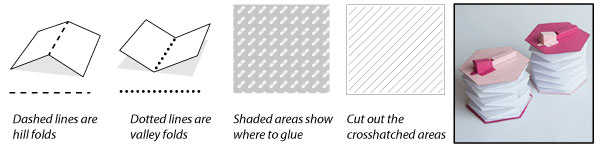
Print out the first two pages onto standard printer paper. The third page has the parts for the end plates and the pipes. These need to be printed onto thin card (230gsm 67lb) You will need to print this page out twice to make both models. I printed it onto two different colours of card then mixed and matched the parts to make colourful models. For both the paper and the card score along the dotted and dashed lines, cut out the holes then carefully cut out the parts.
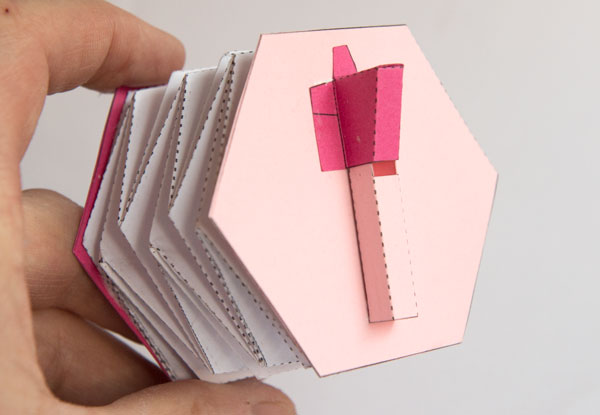
Making The Pipes
You need a pipe for each model. Fold round and glue the pipe body.
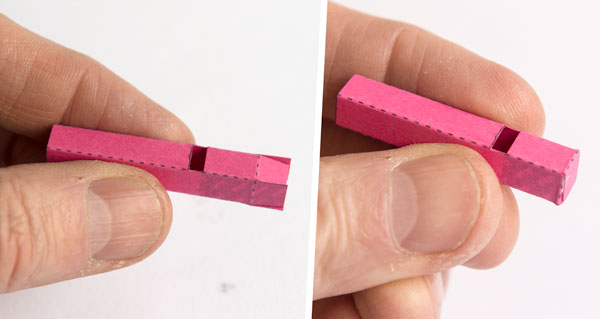
Fold and glue the pipe cover.
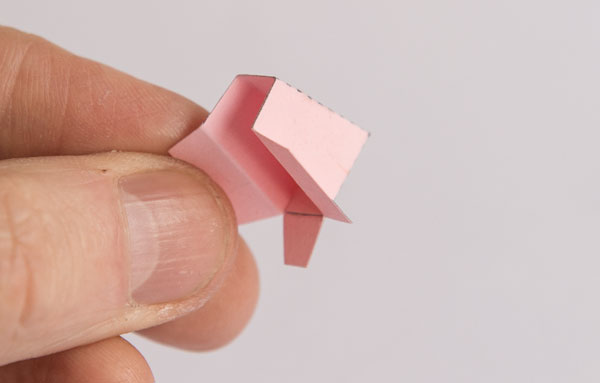
Glue the pipe cover to the pipe body lining it up with the grey areas.
Two pipes ready for action.
Bellows: Original Design
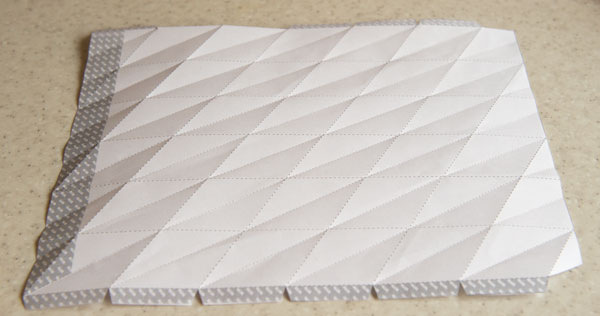
Before making the bellows pre crease along the fold lines.
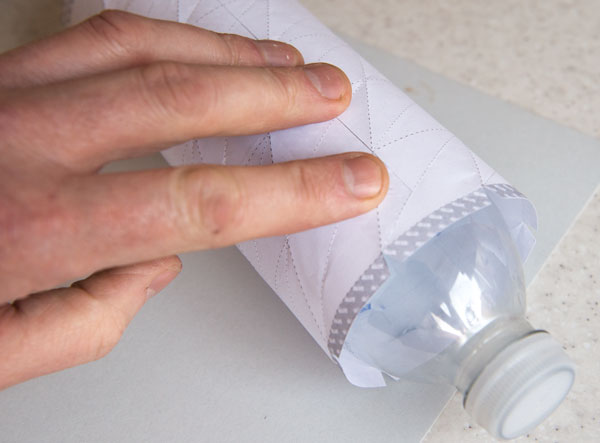
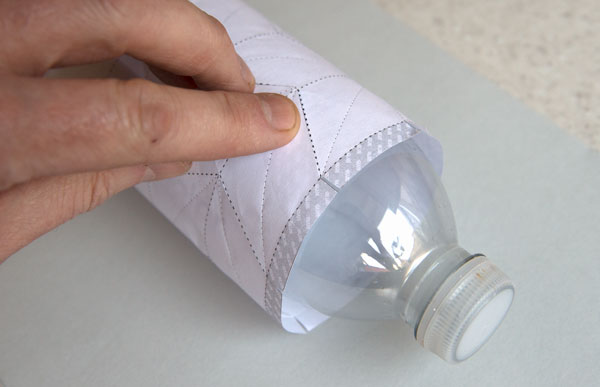
Form the bellows tube by rolling it round a suitable size bottle and glue down the end as accurately as possible.
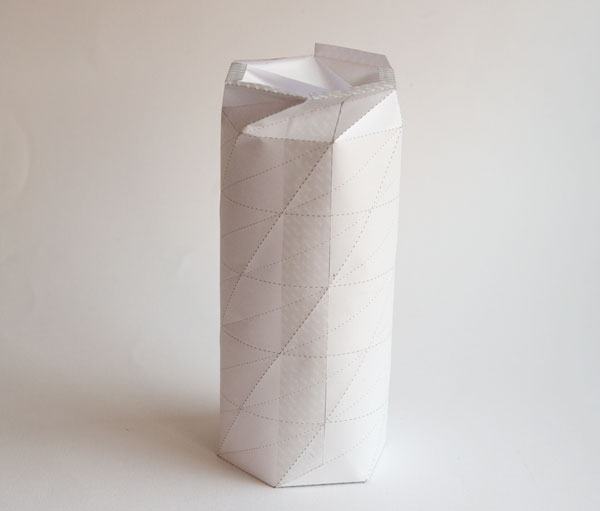
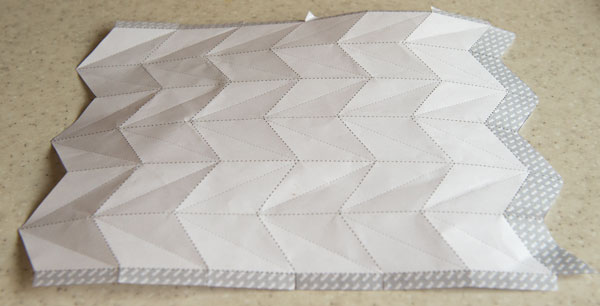
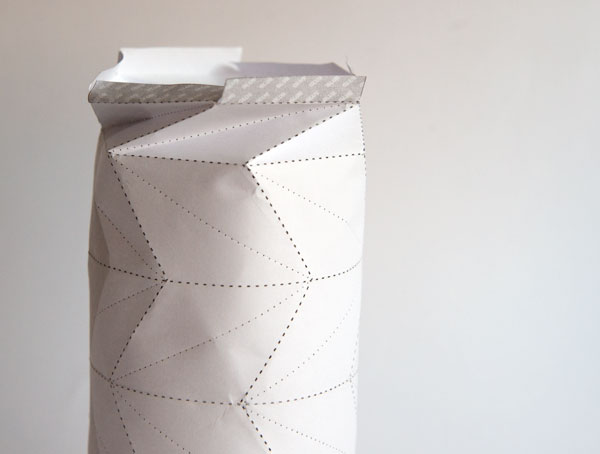
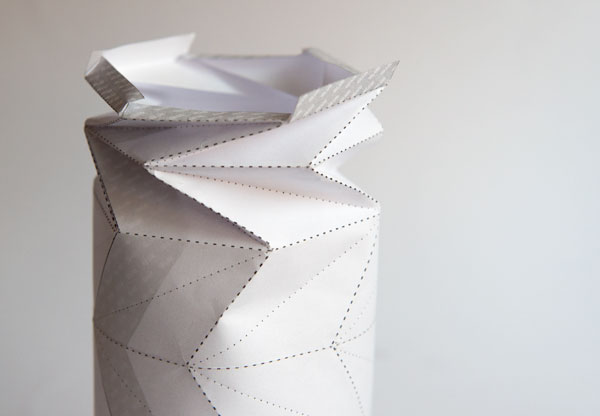
Start from one end. Working down a row at a time crease the bellows following the hill and valley folds marked on the paper.
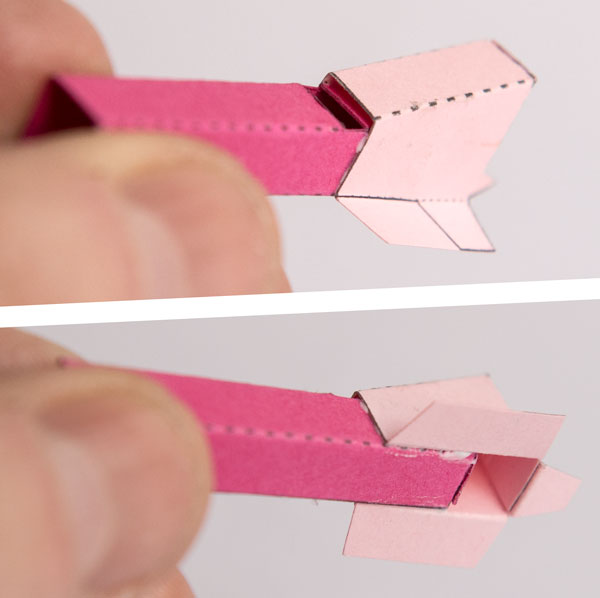
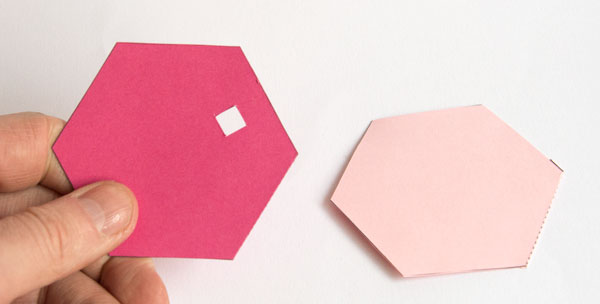
The end pieces are made from double thickness card. Fold them over and glue them down. Cut out the marked hole on the top piece.
Glue the ends into place on the tabs on the bellows.
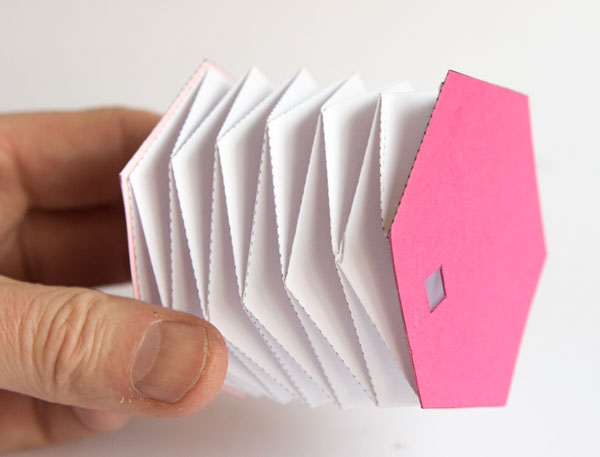
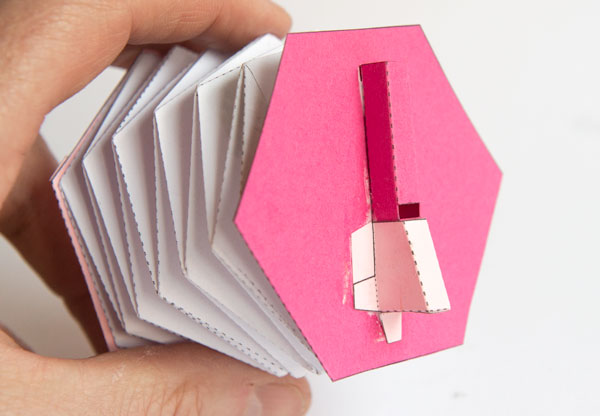
Glue the pipe into position over the hole. Let the glue dry completely before trying out your bellows.
Bellows: New Design
The design works in the same way as the original design but every other row of creases is flipped left to right. This cancels out the rotation and makes the bellow’s movement parallel. Try to pre-crease all the fold lines, it is harder than on the other design but worth the effort.
Form the bellows by rolling the paper round a suitable bottle and gluing the ends down as accurately as possible.
Start from one end. Work your way down one row at as time creasing the bellows by following the hill and valley folds marked on the paper.
Glue the end pieces into place.

Glue the pipe into place over the hole. Wait until the glue is completely dry before you try out your bellows, you don’t want to blow off the pipe!
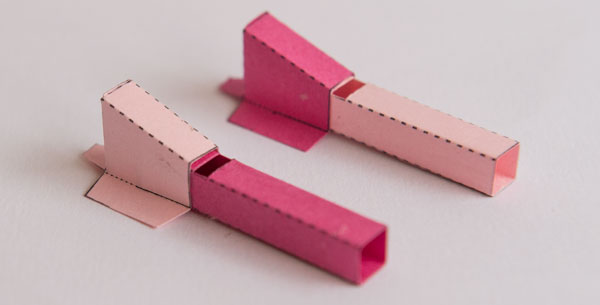
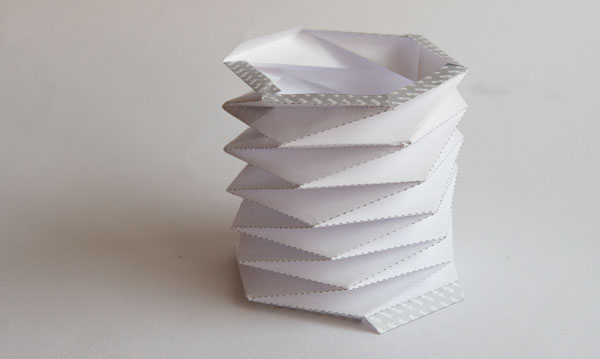
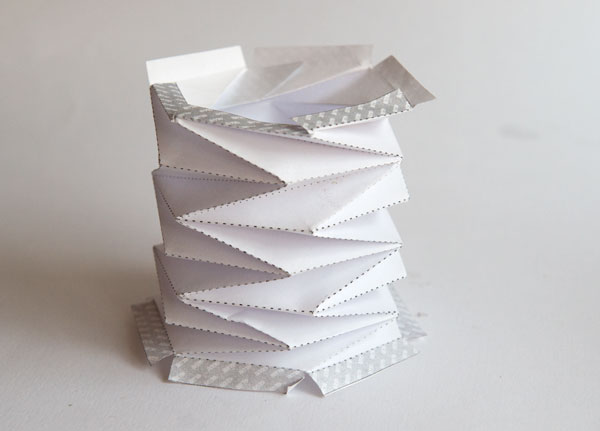
Seen below are both types of completed bellows.
My next step will be to mount the new design bellows into some type of crank mechanism. Should be fun!