Twitterer Type 3
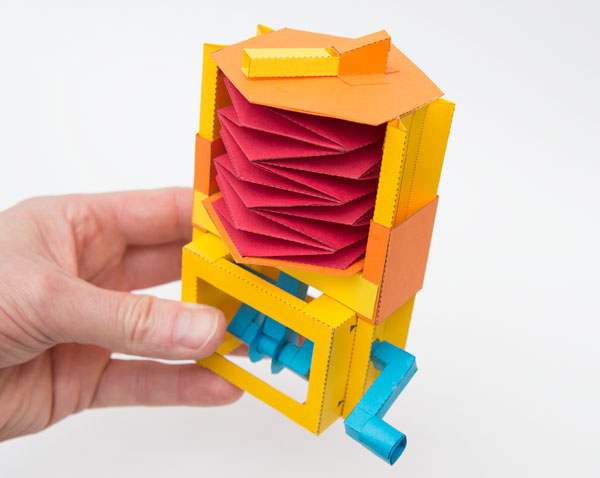
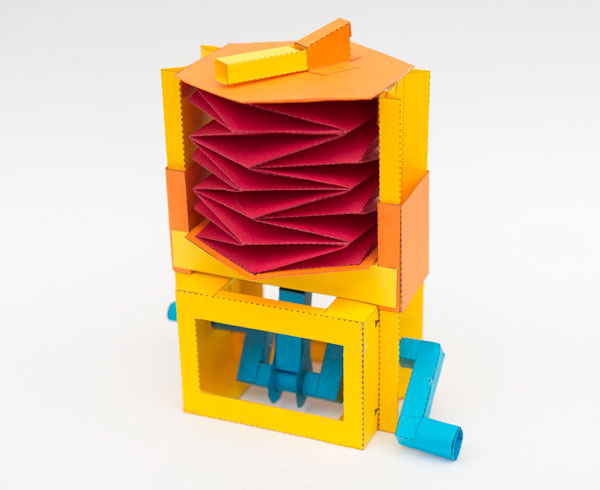
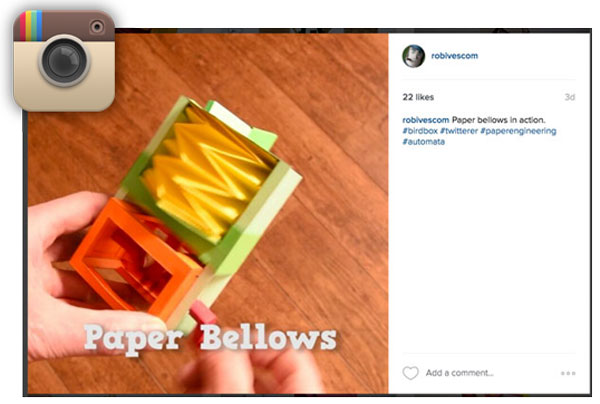 In the previous blog post I showed a design for a crank driven bellows to be used at the heart of a bird box project. I have taken that basic design and made it more sturdy. I liked the way the bellows in the previous model were completely visible so I’ve fitted the crank to the inside of a box but kept the bellows on a pair of slide rails outside the box. You can see the result in animated action on Instagram by clicking the picture to the left.
If you are a Member or a Patron you can download the parts for free, thanks for your support! Non members can join in the fun for a small fee.
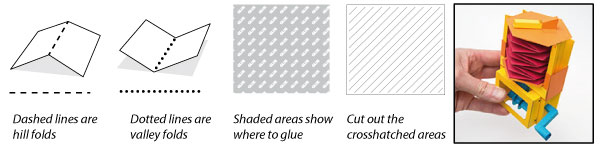
The first page of the file needs to be printed onto normal printer paper. The remaining pages need to be printed onto thin card (230gsm / 67lb) I used coloured paper and card for a colourful model. Score the dotted and dashed lines. Cut out the holes then carefully cut out the parts.
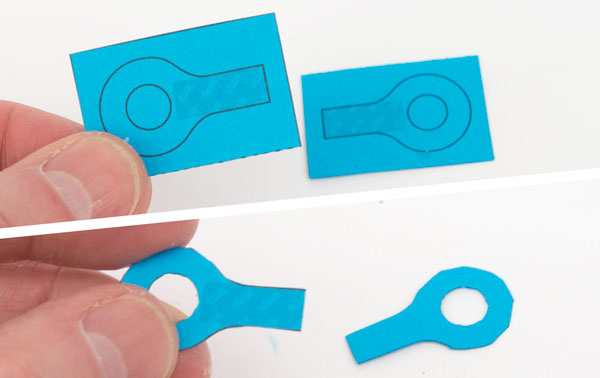
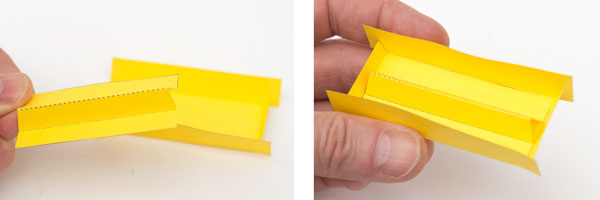
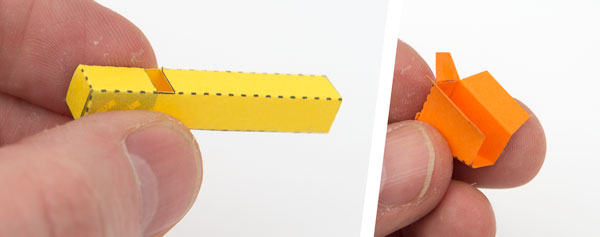
The push rod ends are made from double thickness card. Fold them over and glue them down. Once the glue is dry cut out the hole and cut out the parts,
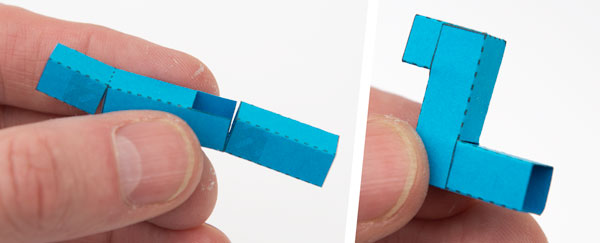
Assemble the push rod and glue the push rod ends into place.
Roll up and glue down the three axle tubes.

Fit the shortest axle tube into the push rod.
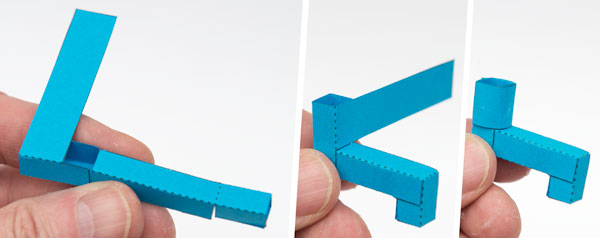
Make up the two crank pieces.
Glue the crank pieces to the axle. Leave a small gap between the crank pieces and the push rod so that it remains free to turn.
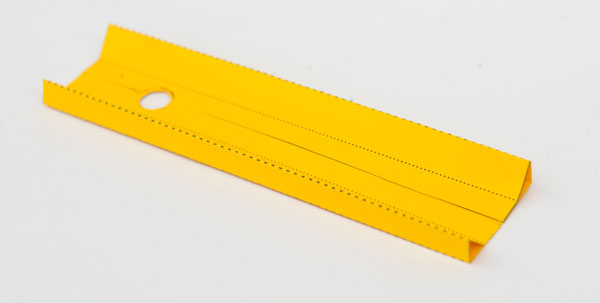
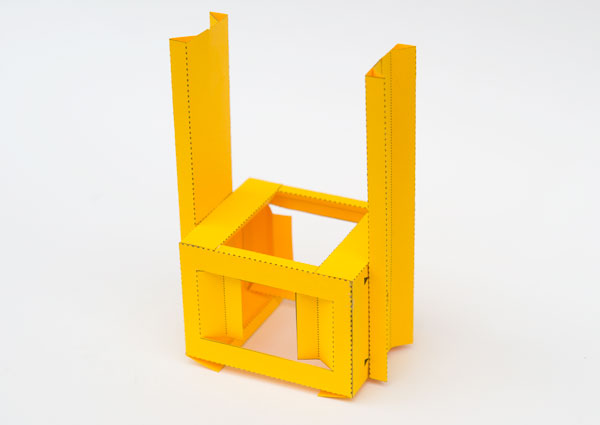
Fold up and glue the flaps on the box pieces making triangular tube sections.
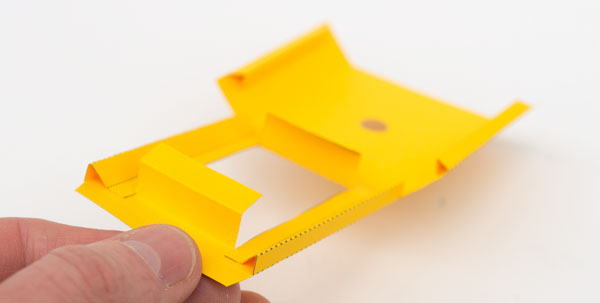
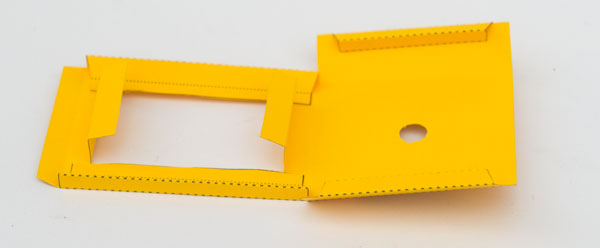
Assemble the sliders.
Glue the slider to the glue area on the box side making sure that the holes are lined up accurately. The large arrow in the glue area points up to the top of the slider.
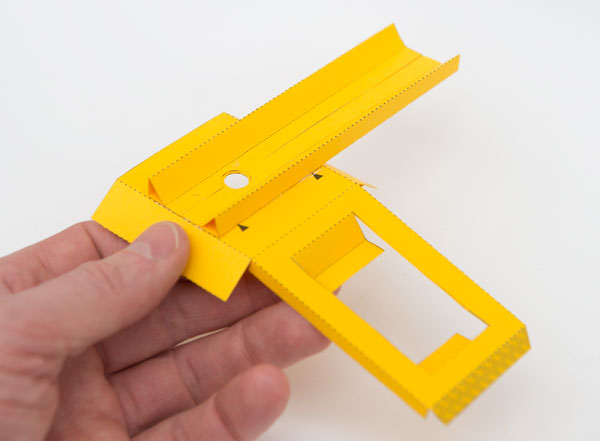
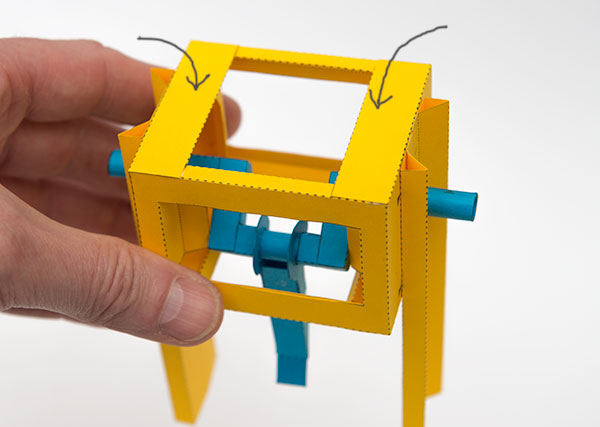
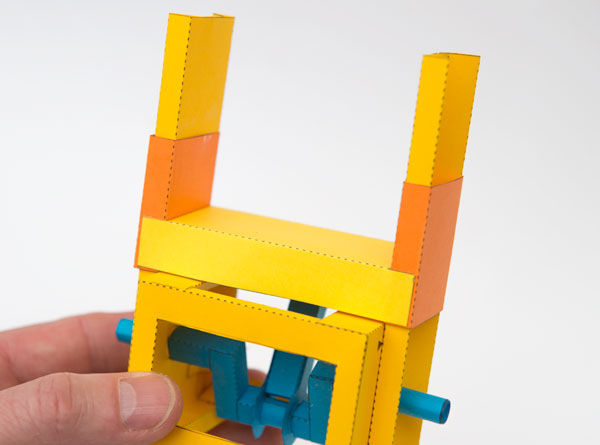
Glue together the two box sides. Glue down the top flaps on the box but not the base flaps.
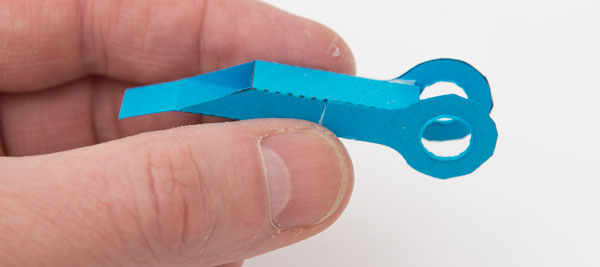
Assemble the handle as shown.
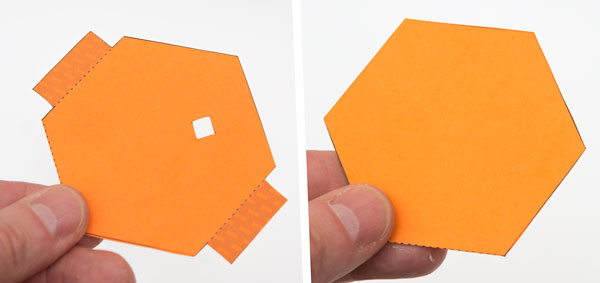
Make up the bellows top and base by gluing down the card to make double thickness.
Glue together the two parts of the cross piece.
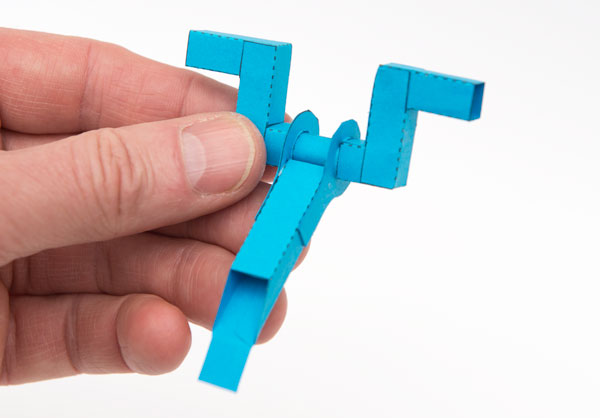
Thread the crank into position and glue in the two remaining axle pieces.
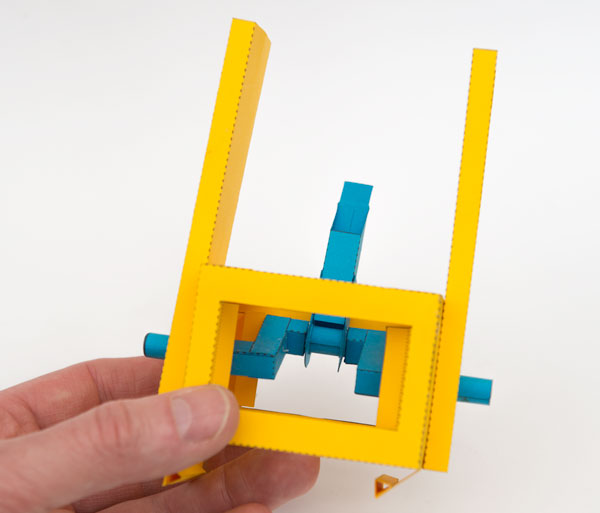
Glue down the base flaps then glue the side flaps to the inside of the box.
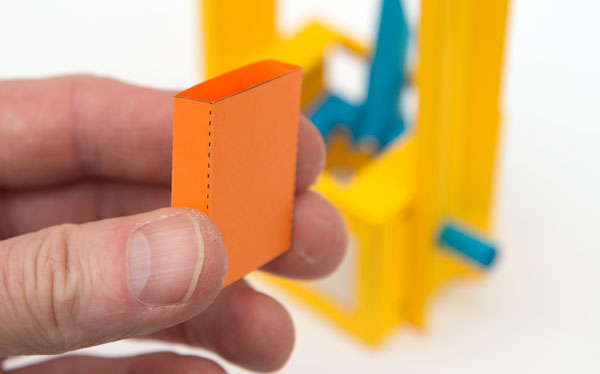
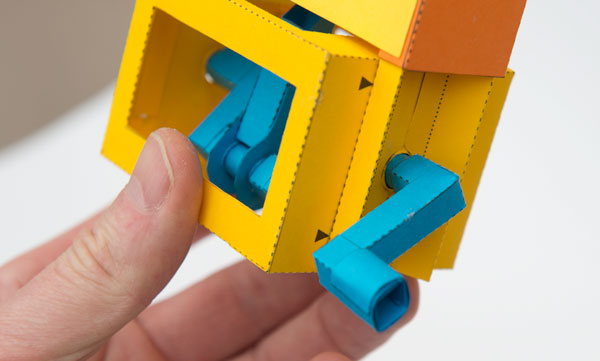
Make up the two sleeves.
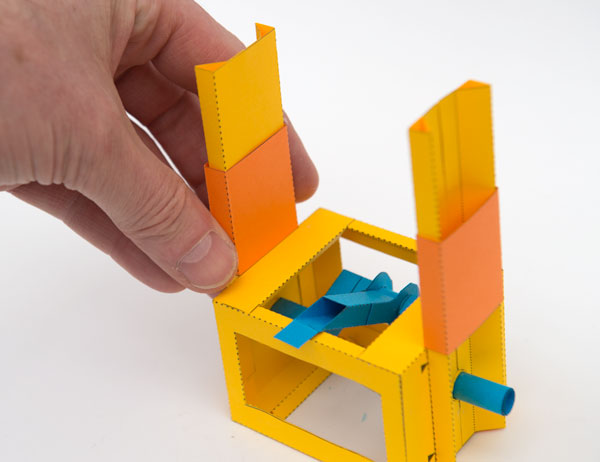
Thread the sleeves into position.
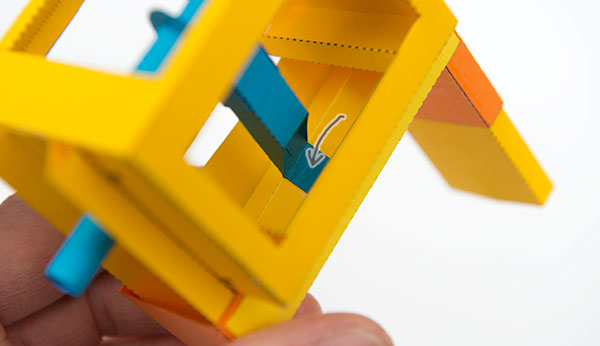
Glue in the cross piece keeping it as square as possible.
Turn the model over and glue the push rod tab to one side of the crosspiece inner.
Glue the handle into position.
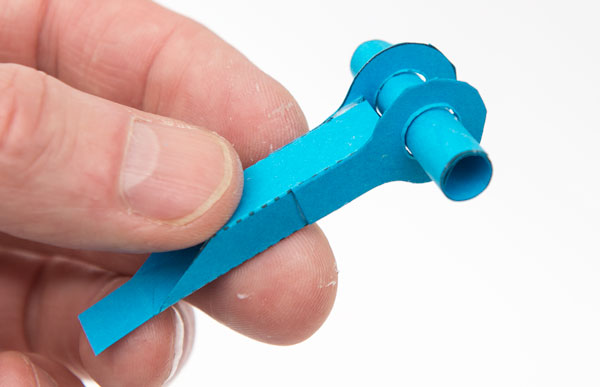
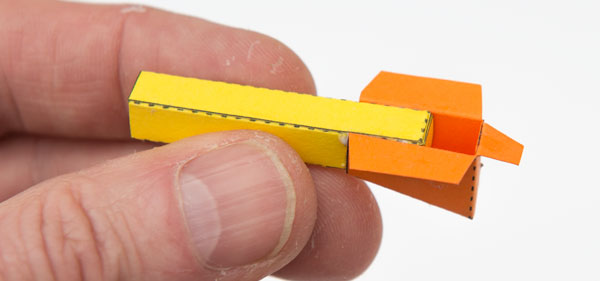
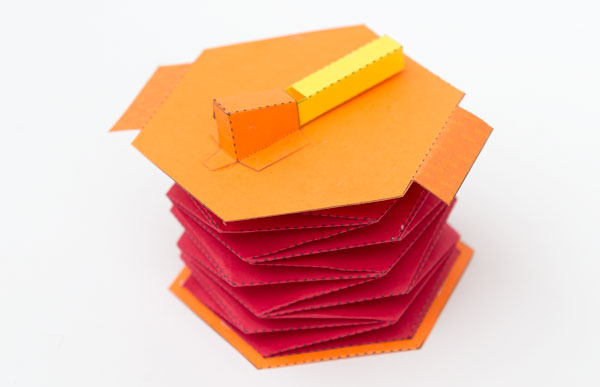
Make up the pipe body and pipe end.
Glue the two parts of the pipe together lining up the end with the glue area on the body. Blow through the pipe to make sure it works. Make small adjustments to the position of the pipe end if necessary before the glue dries.
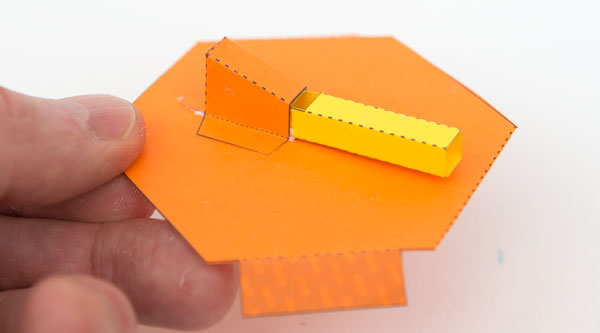
Glue the pipe to the bellows top plate lining it up over the hole.
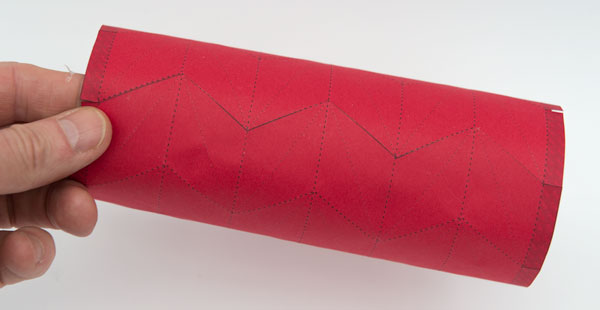
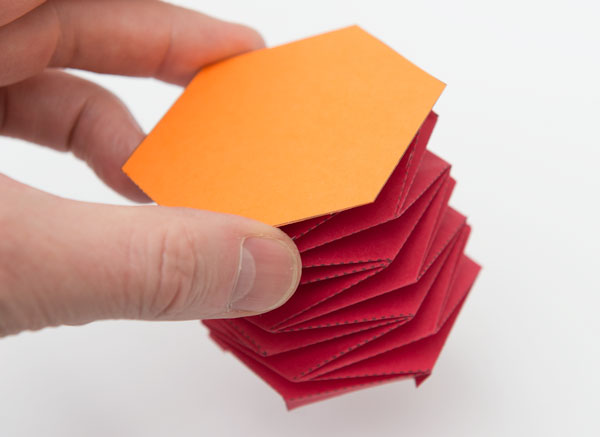
Before starting the bellows pre-crease as many of the folds as possible. Roll round and glue down the paper to make a tube.
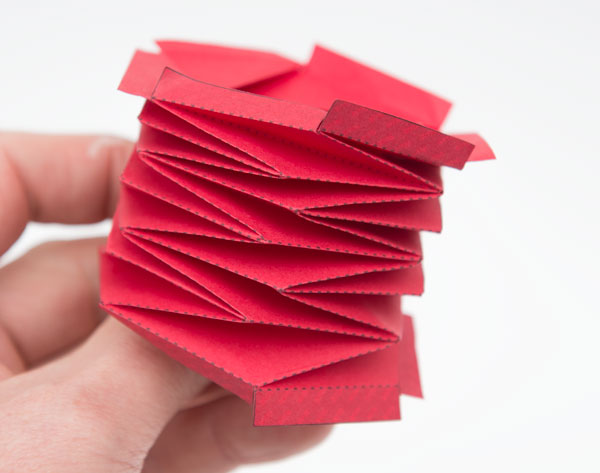
Starting from one end fold down one row at a time observing the hill and valley folds marked on the paper.


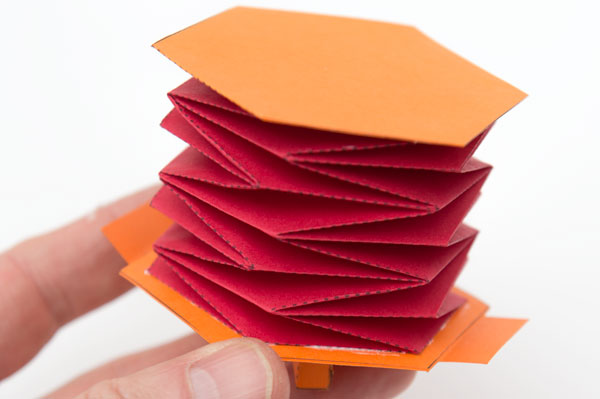
Glue the bellows end plate to the tabs on one end of the bellows.
Glue the other end of the bellows to the bellows end plate with the pipe.
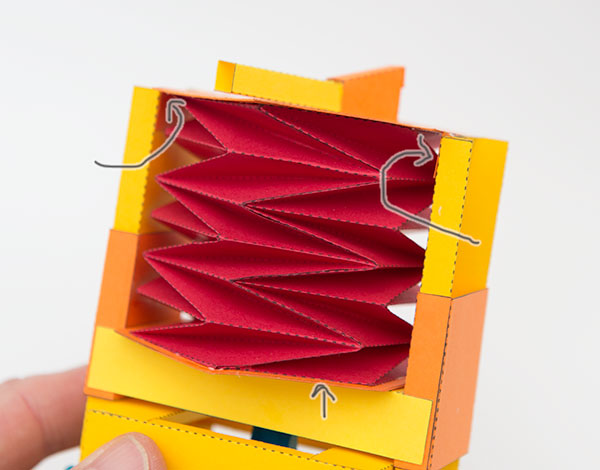
Once the glue is dry glue the tabs on the bellows end place to the inside top of the sliders.
Let the glue dry then glue the bottom of the bellows to cross piece to complete the model. Let the glue dry completely
Turn the handle and fill the room with a keening whistle!