 Triple crank slider mechanism. This mechanism will be at the heart of a forthcoming rowing machine, more details here.
I was delighted to see the Paper Ninjas out in force with ideas for how else the mechanism could be used so I have made it available as a free download for members. Thanks for signing up!
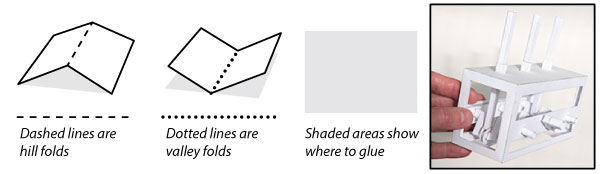
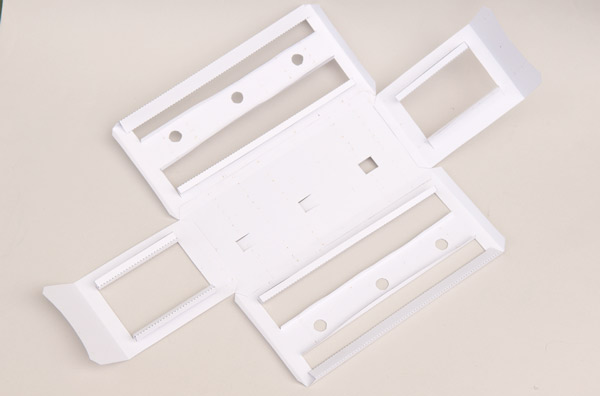
Print out the parts sheets onto thin card (210 gsm / 67lb) Note that the first page needs to be printed three times. Score along all the dotted/dashed lines and cut out the holes before carefully cutting out the parts.
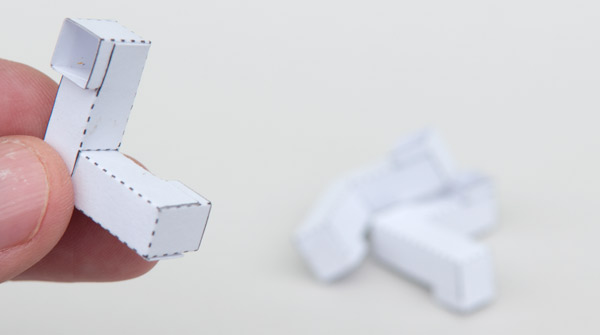
Assemble the six single crank parts.
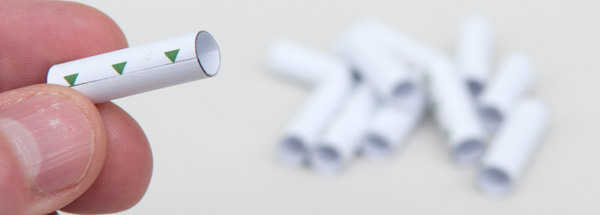
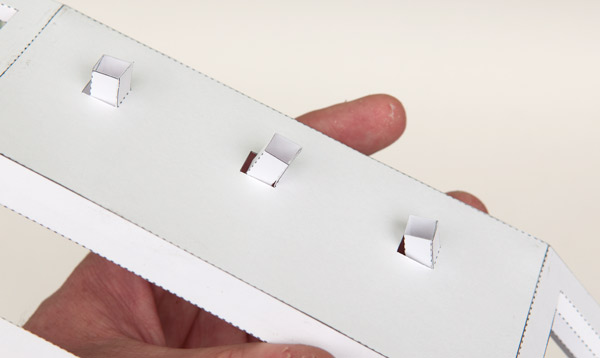
Roll up and glue the pins so that the edges line up exactly with the points of the triangles.
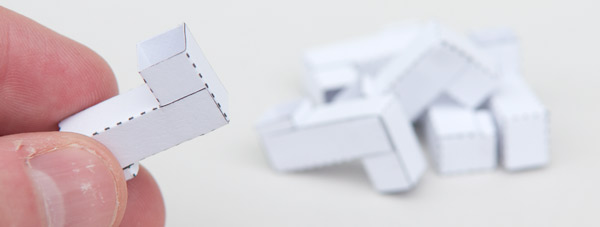
Assemble the three double crank parts.

Fold over and glue down the push rod ends to make double thickness card. Once the glue is dry, carefully cut them out. Smooth out the edges of the hole with the body of a pencil to ensure the mechanism runs smoothly.
Glue together the three push rods.
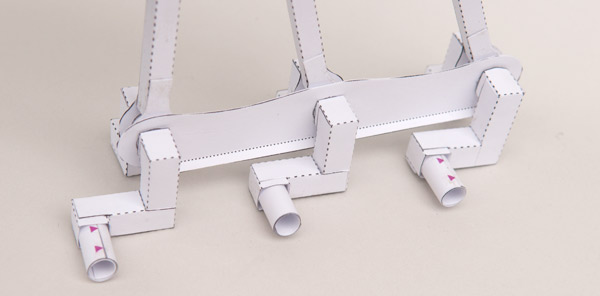
Glue the push rod ends to the push rods using the grey areas for alignment. Threading a pin through the holes provides a visual check that the parts are accurately aligned.

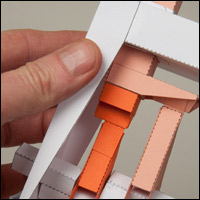
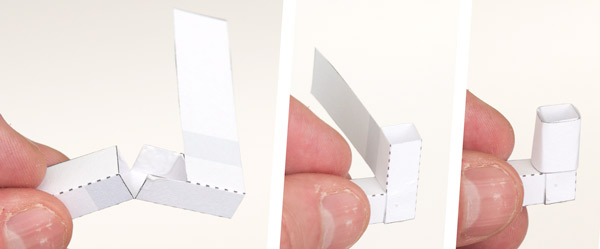
Fit one of the green arrowed pins into the short side of the single crank part and glue it into place. Repeat this with two other single crank pieces.
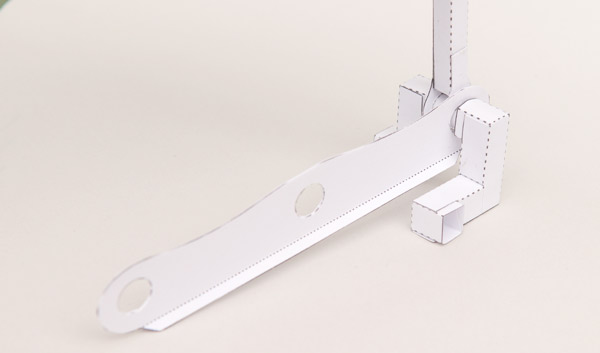
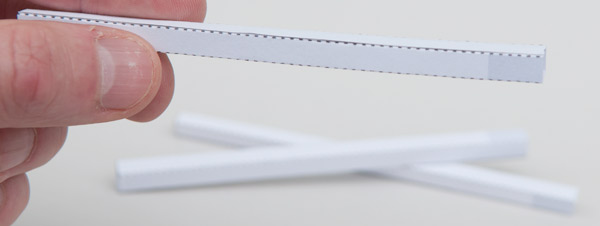
Make up the linkage bars by folding over the parts to make double thickness card then carefully cutting out the parts once the glue is dry. The tabs at the bottom fold in opposite directions to give the linkage bar rigidity.
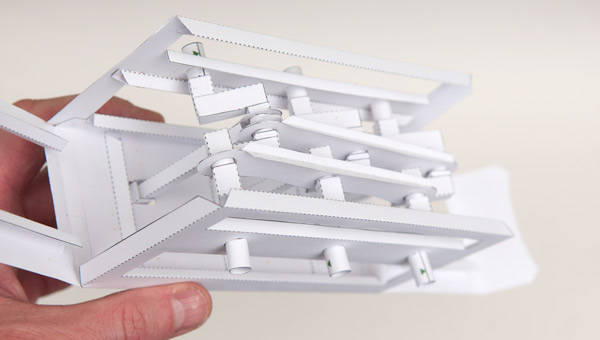
Thread the pin through one of the push rod ends. Slide one of the linkage bars into place. Glue a double crank to the pin. Make sure everything rotates freely on the pin.
Repeat with the other two pins.
Glue a red arrowed pin into each of the double crank parts.
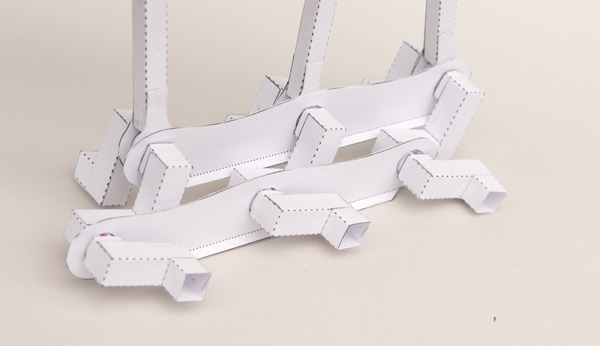
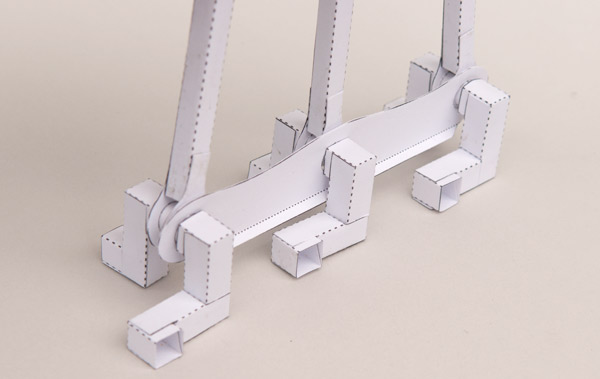
Thread the second link bar onto the red arrowed pins. Glue the short end of the remaining single crank pieces to the pins lining them up with the double crank pieces.
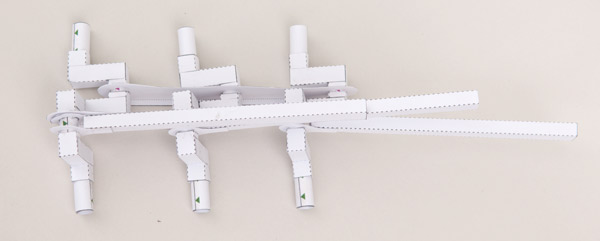
Glue the remaining pins into place on each side of the mechanism.
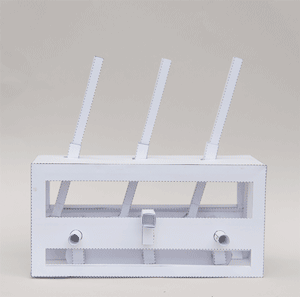
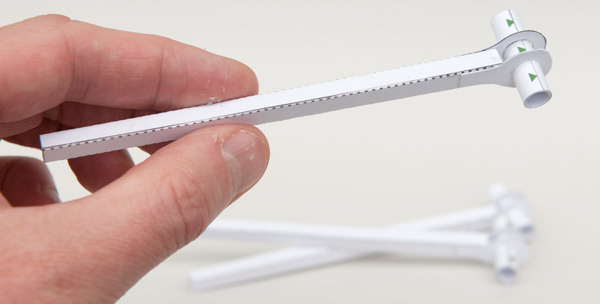
Assemble the handle as shown above.
Fold up the flap at the bottom of the box side to make a right-angled triangle tube section.
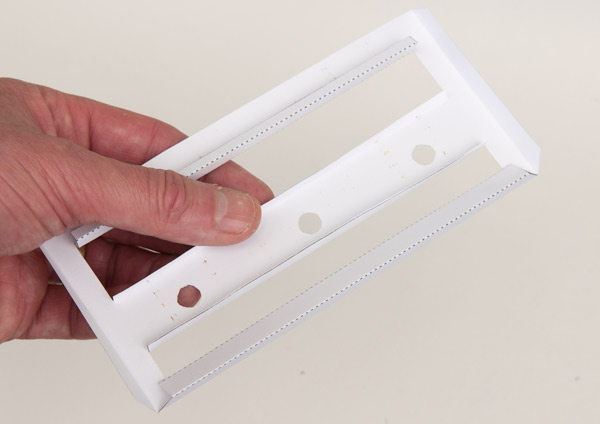
Glue the box sides and box ends to the lid as accurately as possible.
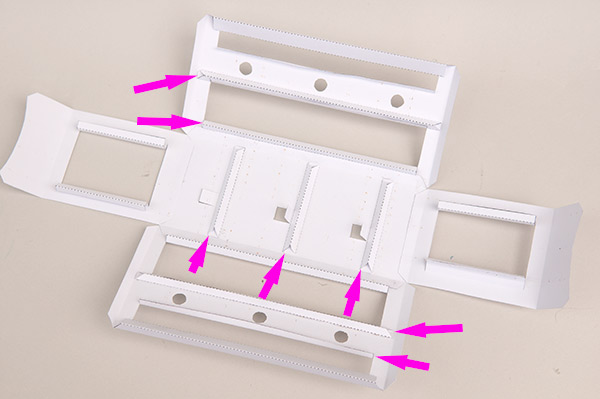
There are various parts used to make the box stiffer.
Glue the long triangle tube to the bottom edge of the top hole and glue the flap to the tube (top arrow) fold round the tabs on top of the top hole to make a triangle tube. (Second arrow down.)
Glue the three stiffeners across the box so that they nearly touch the hinges on the box lid.
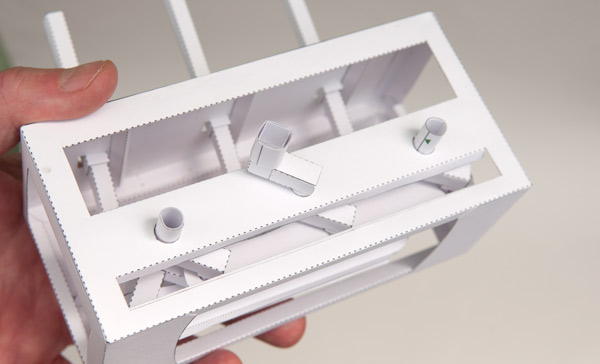
Glue the slider tubes to the hinges. Line up the edge of the hinge flap with the top of the tube.
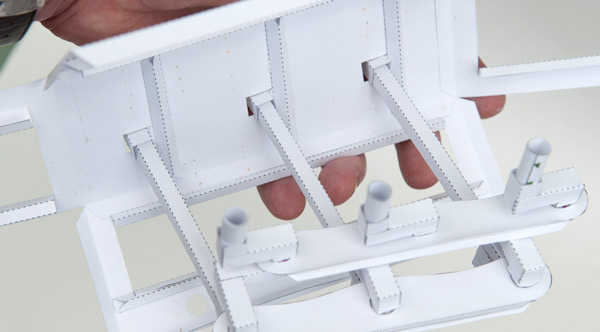
Thread the push rods up through the slider tubes. Note that the slider tubes are off centre. Make sure you get the main mechanism the right way round. (Check the picture)
Fold the sides up over the pins.
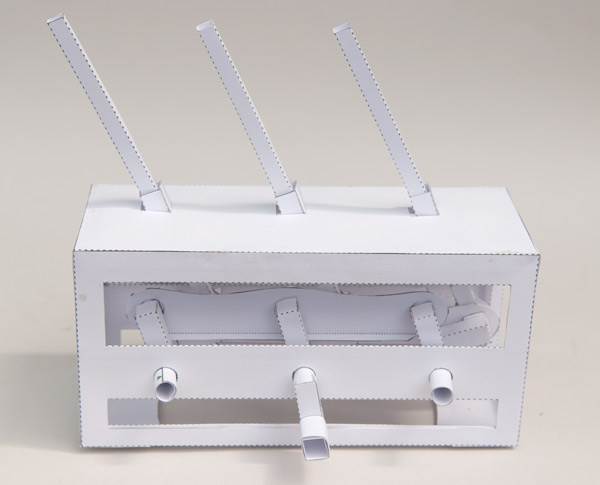
Glue the ends down, fold round and glue down the flaps on the box ends. Finish the model by gluing the handle into place.
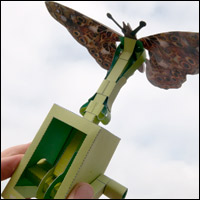
What characters will you add to yours?