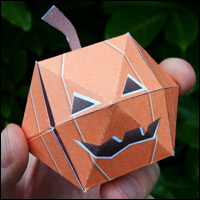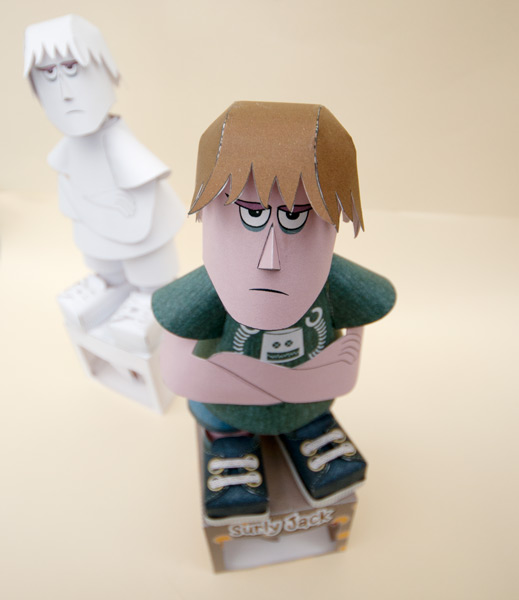
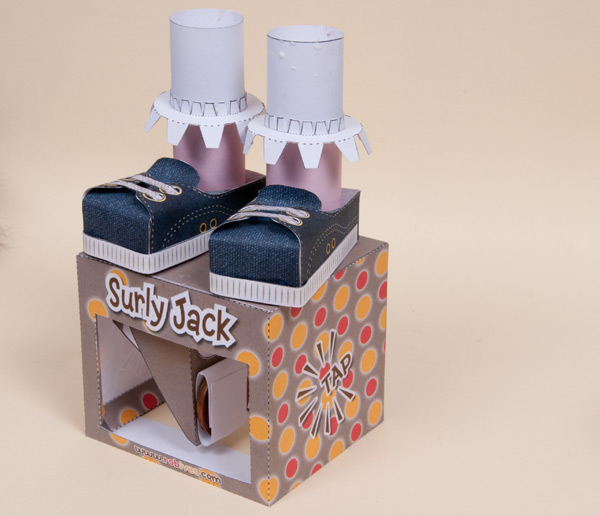
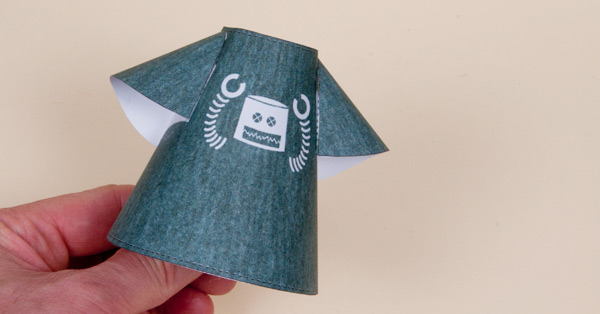
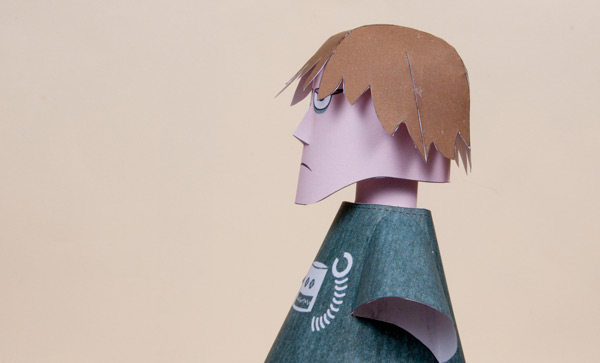
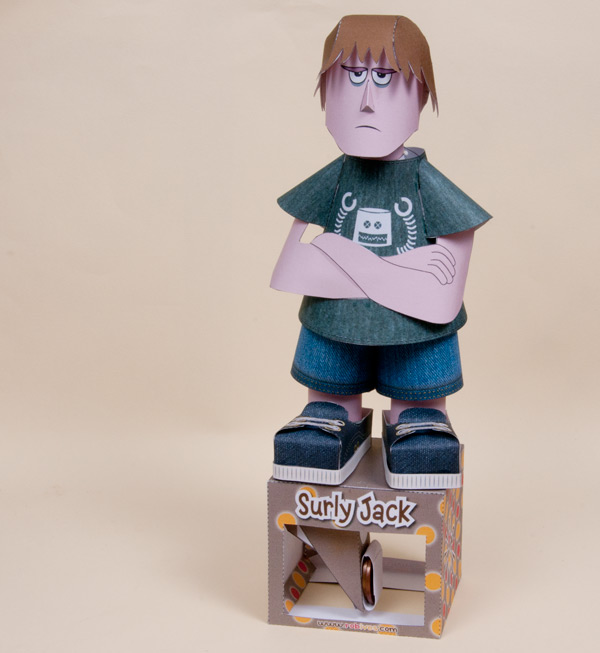
Surly Jack, impatience in paper form. Move the box, however slightly and the swinging pendulum causes Jack to tap his foot impatiently. Jack also comes with a two axis poseable head so you can make him scowl in any direction you like.
Members can download the parts for free at the link, thanks for subscribing! Non members can join in the fun for a nominal fee.
 |
 |
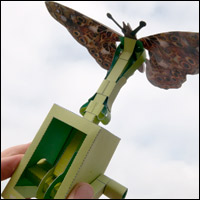
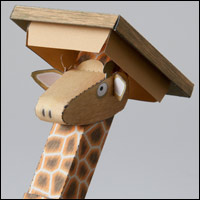
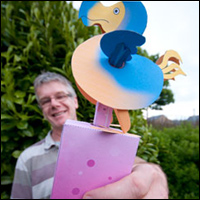
| Pendulum Drive Tapping Foot | Poseable Head |
The kit comes in both mono and colour version. Print out your choice onto thin card (230 micron / 230 gsm) and let the ink dry completely before proceeding.
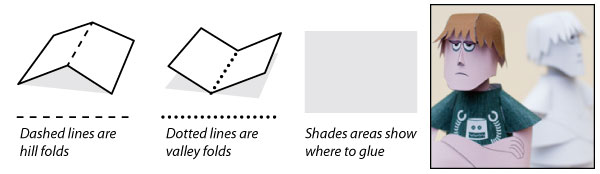
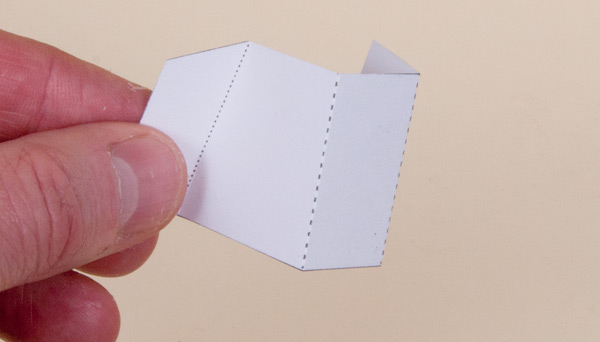
Score along the dotted and dashed lines and cut out the holes before carefully cutting out all the parts. There is a paper craft tutorial to help you here.

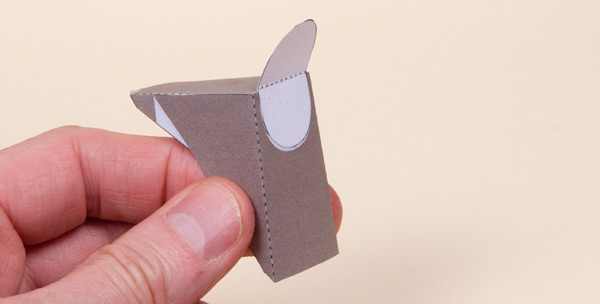
Fold up the tabs on the both box parts to make a right angled triangle tube.
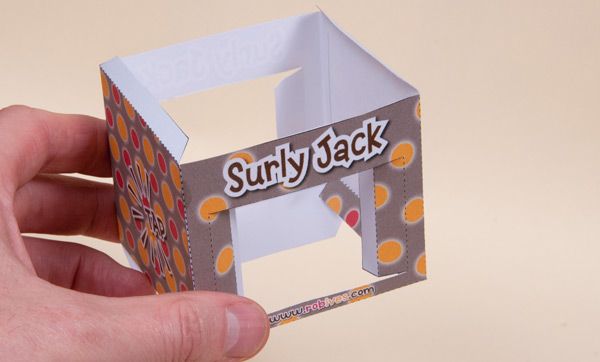
Join the two box halves together. Don’t glue down the base tabs yet.
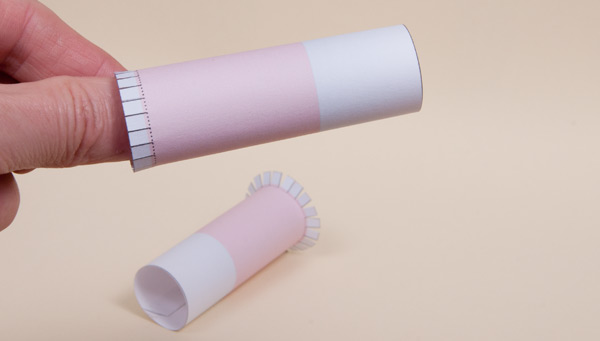
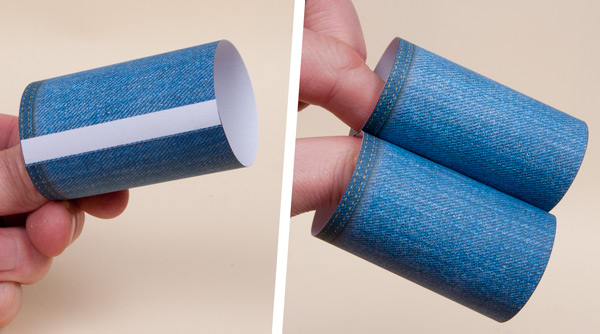
Carefully roll up the two leg tubes and glue them down using the grey areas for alignment.
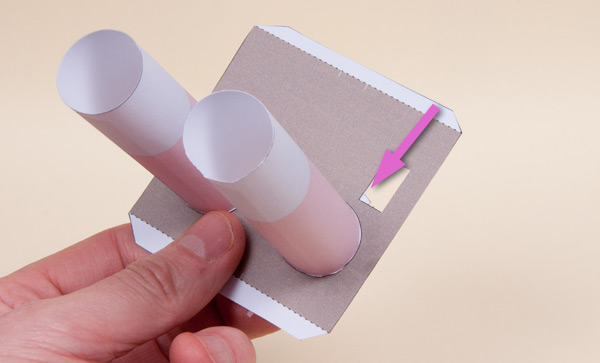
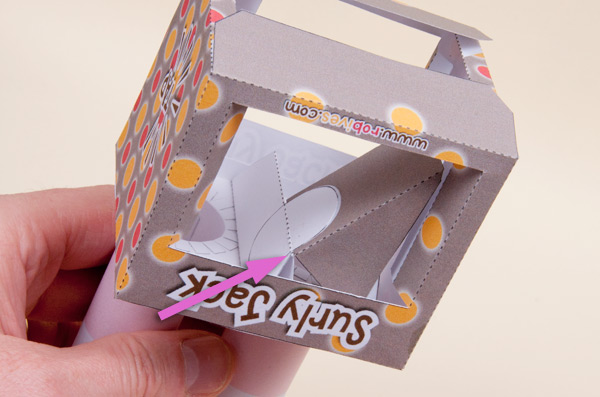
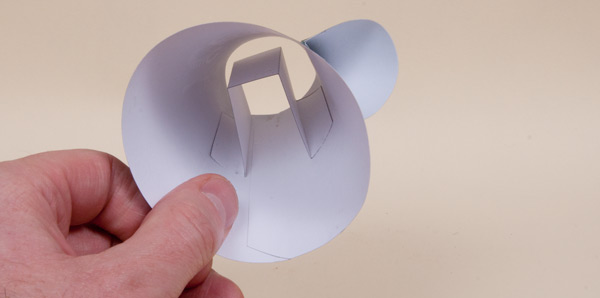
Thread the two legs up through the hole in the base and glue the tabs down. Use your sharp knife to cut away the arrowed tab piece from the hole.
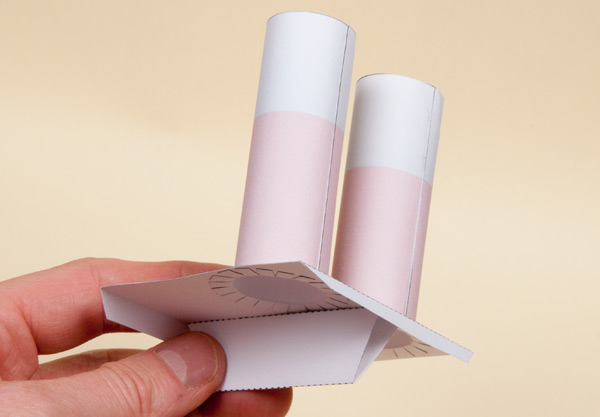
Fold up and glue into place the box top stiffener using the faint grey lines on the box top for alignment.
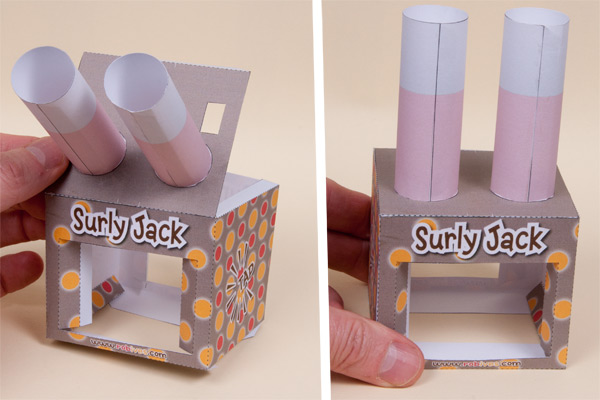
Glue the box top into place.
Assemble the pendulum and glue on the hinge. Don’t get glue on the joint as it will stop it swinging freely.
Glue the pendulum to the box top stiffener. The longer side hangs down. The shorter side needs to be under the rectangular hole. The pendulum lines up with the edge of the box stiffener arrowed.
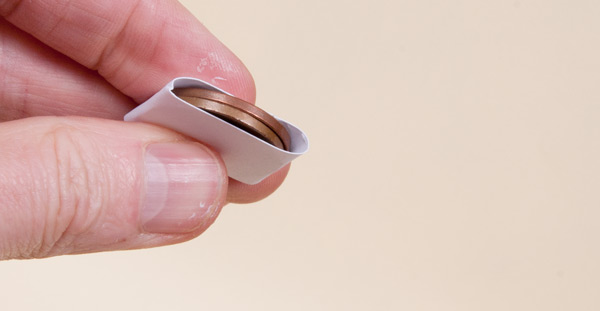
Take four coins 25mm in diameter and approx seven grams each. I used UK 2p pieces. Wrap them in pairs tightly in an off-cut of card.
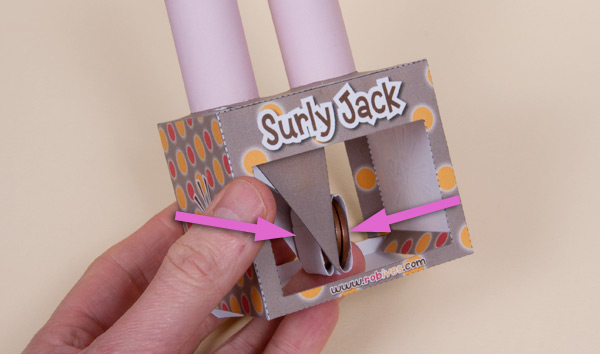
Glue the two weights to the front and back of the pendulum.
Complete the box by folding back and gluing the side tabs to make strong triangular tubes. Glue down the two base tabs. Hold the box on a flat surface as the glue dries to ensure correct alignment.
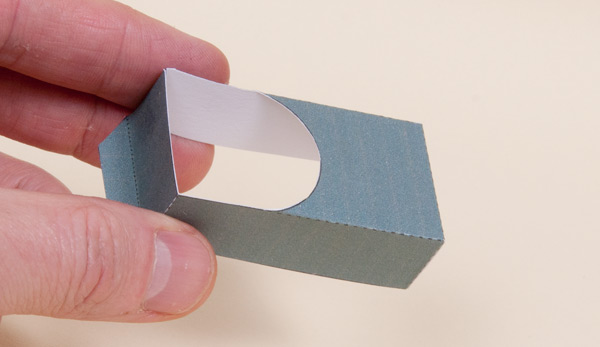
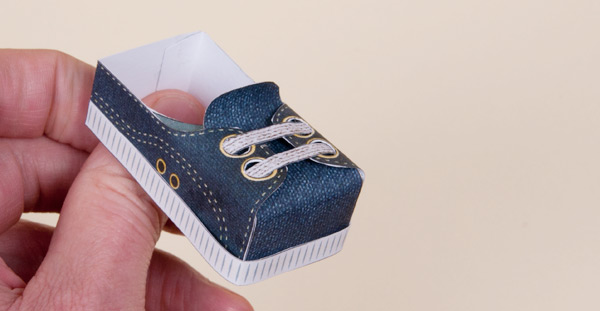
Assemble the foot as shown.
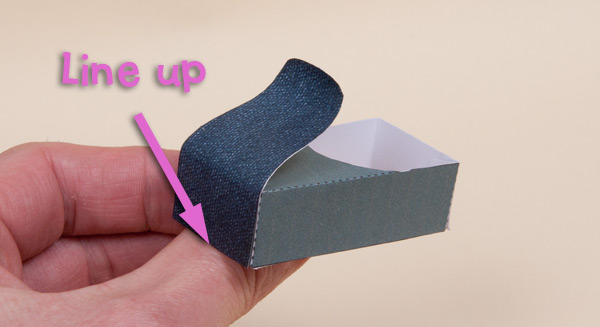
Gently curve the tongue round a pen or pencil then glue it to the front of the shoe.
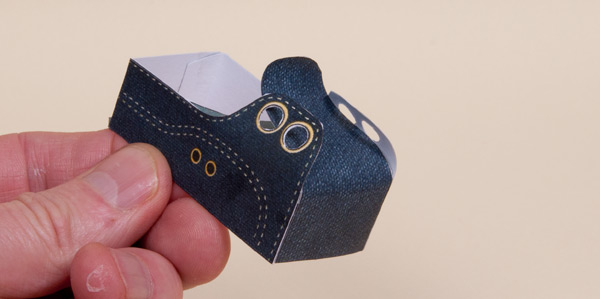
Curve the two sides and glue them into place.
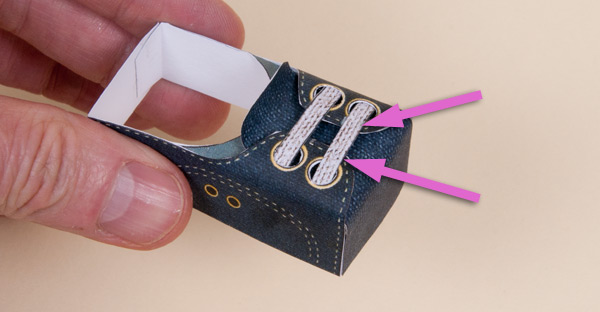
Fit the laces into the holes. Glue them only at the arrowed points so that the shoe isn’t squashed down.
Fit the rand round the shoe.
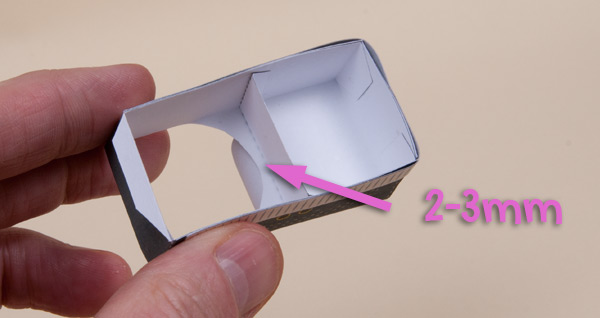
In one shoe fit the shoe inner just slightly away from the hole.
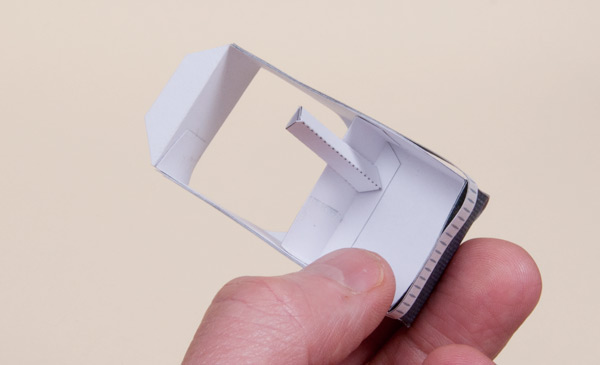
Assemble the push rod and glue it to the shoe inner between the two short lines.
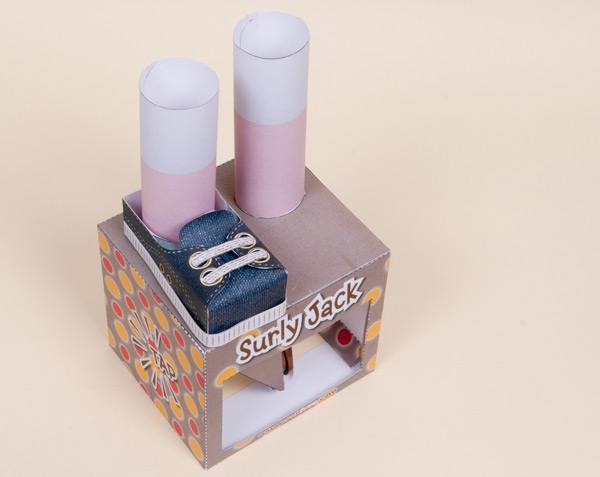
Drop the shoe into place over the right-hand leg. Before gluing find the best place for it to sit. The back of the shoe need to be as close to the leg as possible and the push rod should be centred in the rectangular hole. Once you have the location sorted, glue the tab at the back of the shoe down to the box.
Fit the other shoe into place. It only needs fastening at the back.
Thread the leg collars into place and glue them down with the black line at the back of the leg and the collar lined up where the grey meets the pink.
Roll up and glue together the two shorts legs…
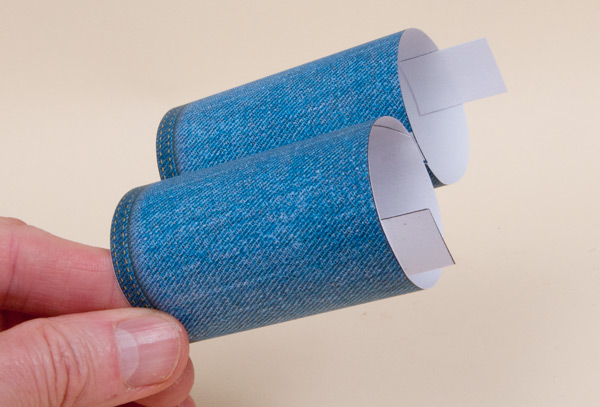
…and glue the two tabs so that they are opposite each other.
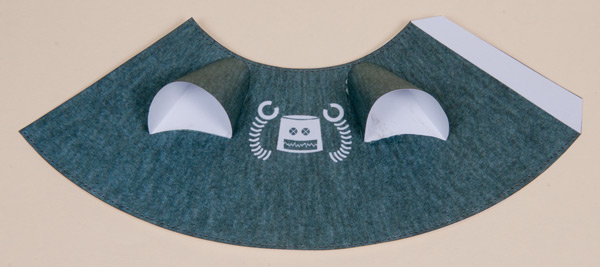
Assemble the shoulders and glue them to the matching grey areas on the body. Let the glue dry completely.
Roll round the body and glue it down.
Fold up the neck support as shown.
Glue the neck support into the back of the body.
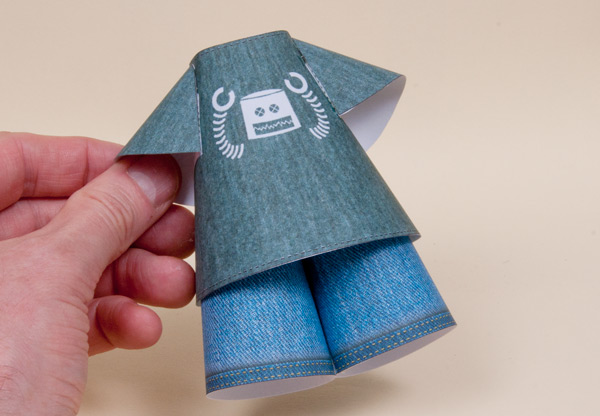
Apply a little glue to the two leg tabs. Push the legs right up into the body and glue the tabs to the inside of the body. I had roughly 30mm of shorts showing from below the body.
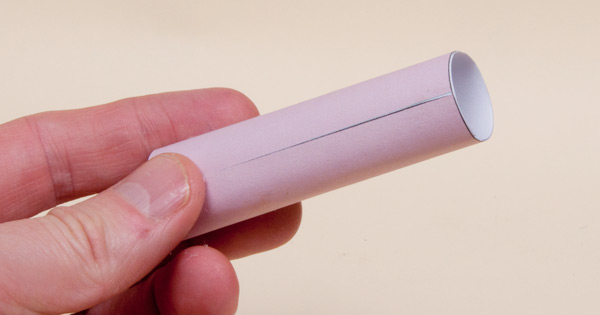
Roll up and glue the neck tube. Notice that it rolls round itself a couple of times to make double thickness card.
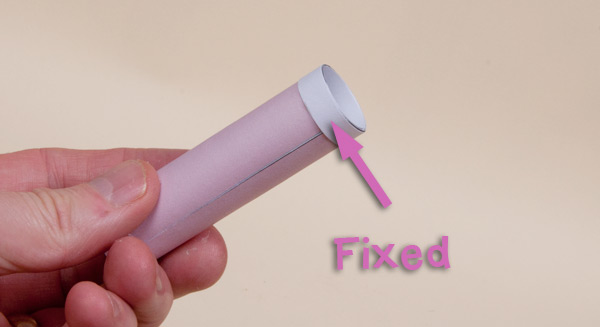
Glue one of the thinner rings to the grey area on the top of the neck.
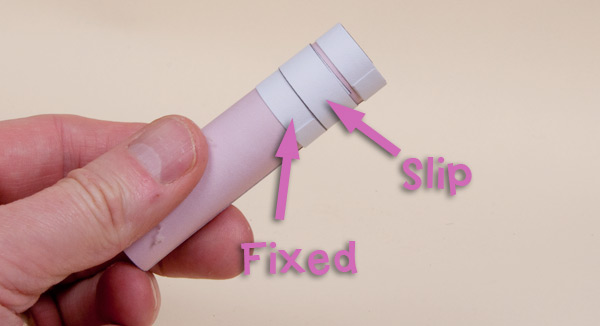
Roll the wider ring round the neck and glue it to itself. If must be free to rotate round the neck so don’t get any glue on the neck itself. Leave a small gap and glue the second fixed ring. This will hold the slip ring whilst still letting it rotate.
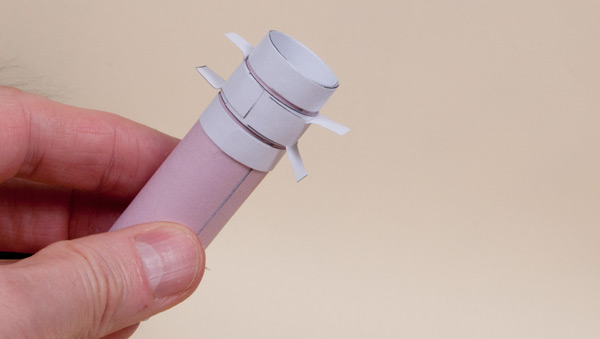
Glue the tabs to the slip ring.
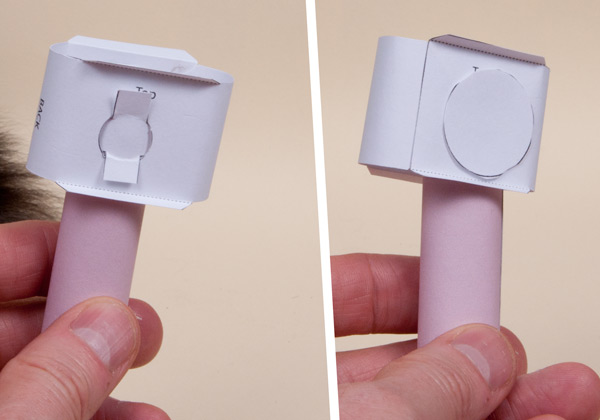
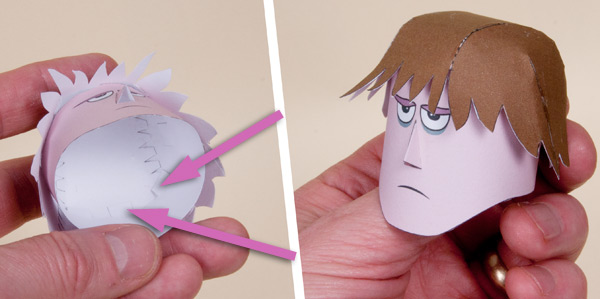
Fold round and glue together the head inner and thread it over the tabs. Notice the folded section top and bottom. These give the head inner a little strength.
Glue the disks over the tab.
That fluffy thing in the background is Ruby the cat – sorry about that.
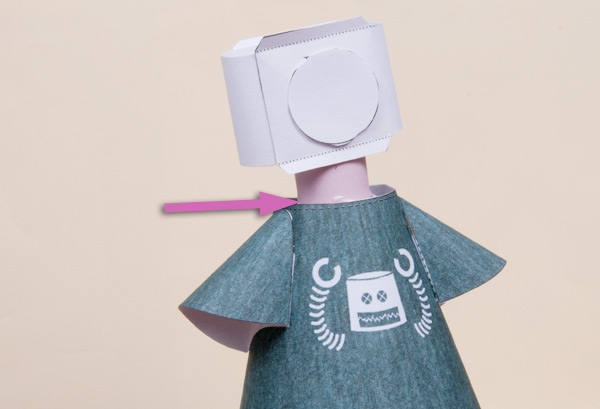
Fit the neck to the neck holder lining up the grey line with the top of the body arrowed.

Glue the hair parts together. There is a very small black line on the side hair piece that lines up with the end of the tabs on the hair centre, this should help you with alignment.
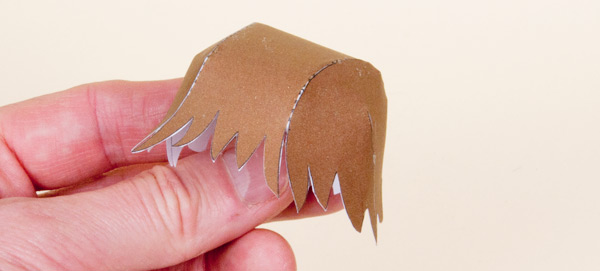
Complete the hair and curve the strands – because they’re worth it.
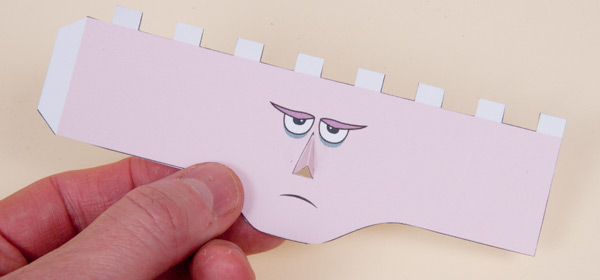
Glue the nose in through the back of the head.
Roll round and glue the head together. Fit the hair into place using the tabs arrowed.
Fit the head to the head inner lining it up as shown above.
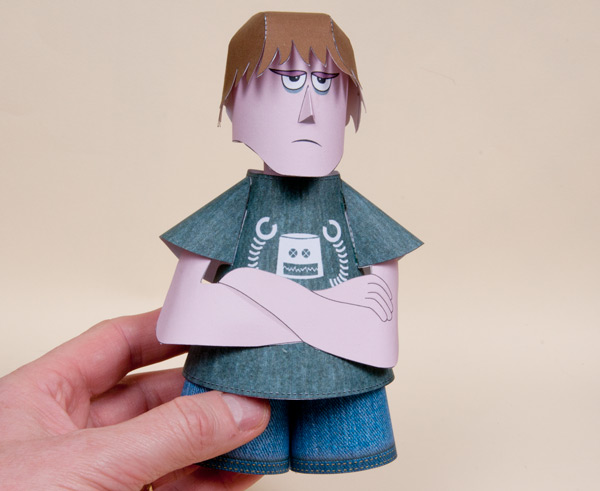
Fit the arms. You just need a small dot of glue in the centre to hold the arms into place.
Complete the model by fitting the legs to the leg collar – a pair of tweezers is useful at this point. Make sure everything is straight as you pinch the tabs into place.
That’s it, tap the box and Surly Jack taps his foot.
What are you waiting for? Get on with it!