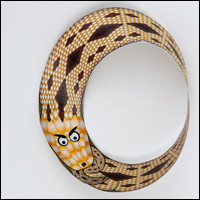
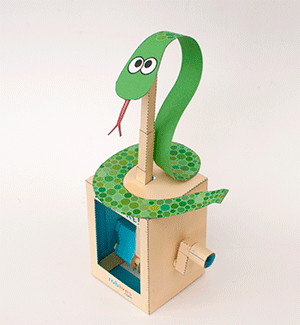
 A crank slider driven snake. Turn the handle and the snake rocks back and forth. Is it charmed or is it about to strike!? Build your own and find out.
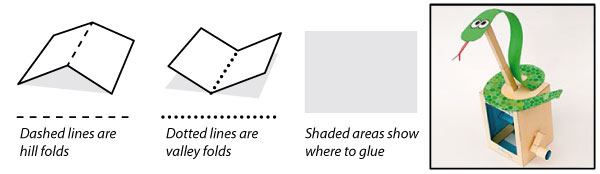
This project is free for members to download – thanks for signing up! Non-members can download the project for £2.50
Print out the parts onto thin card. Note that the three sheets come as a colour version and a line version. the colour version is printed on both sides. Print out one side, flip the card over and return it to the printer then print the other side. Score along all the dotted and dashed lines and cut out the holes before carefully cutting out the pieces.
Fold over the crank shaft ends and glue them down to make double thickness card. Once the glue is dry cut out the centre holes then cut out the pieces. Set them to one side.
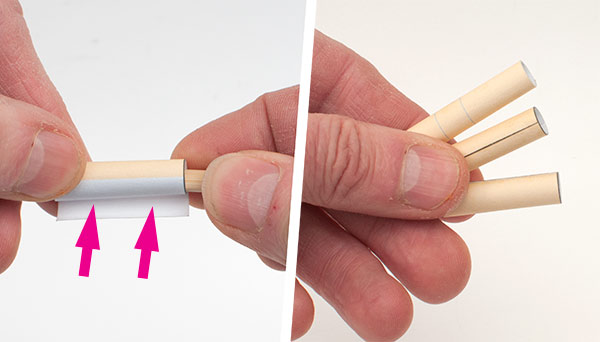
There are three paper tubes to make. Each is made from tightly rolled paper. I roll the paper round a chopstick to make a smooth curve. Roll the tube so that the end lines up exactly with the edge of the grey area then glue down the end. Assemble all three tubes like this.
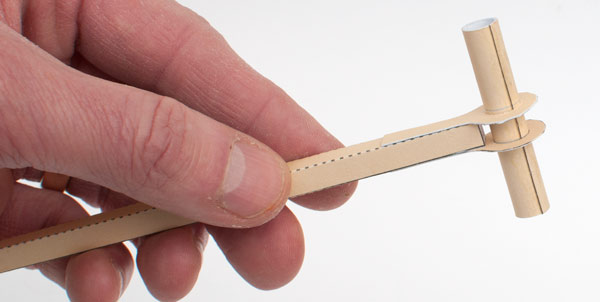
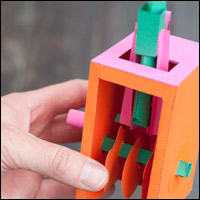
Glue the long push rod together the make a square section tube. Glue the two push rod ends into place using the grey areas for alignment. Fit the longer round tube into the push rod ends and make sure that it is running square to the main push rod before the glue on the push rod ends dries.
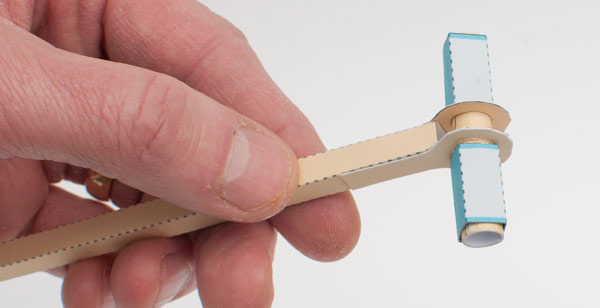
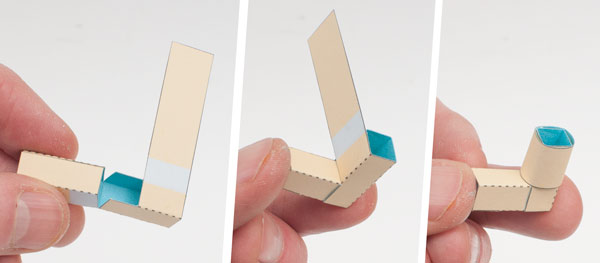
Make up the two shorter square tubes and glue one to each end of the round pin as shown. Make sure that they are lined up with each other and the pin remains free to turn.
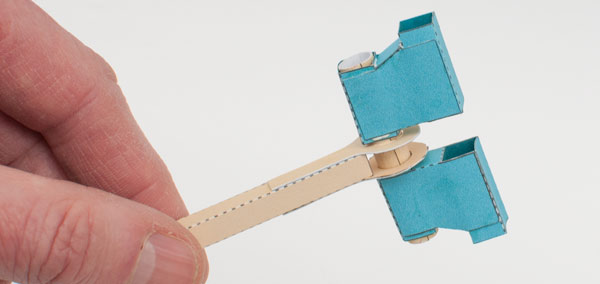
Glue on the two spacers and the two longer square tubes as shown above. Make sure everything stays lined up!
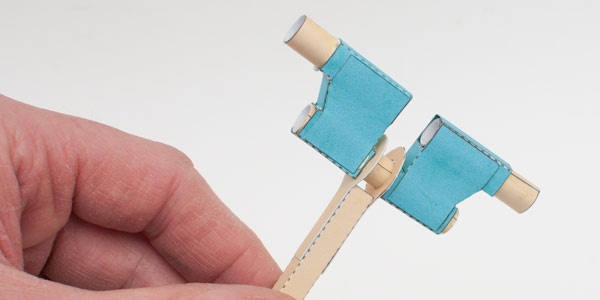
Glue the two remaining pins into place as shown.
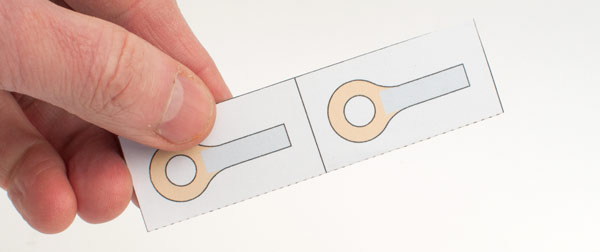
Assemble the handle in three steps. Fold the two square sections and glue them down. Fold and glue one square section into the other. Roll round the long tab and glue it down.
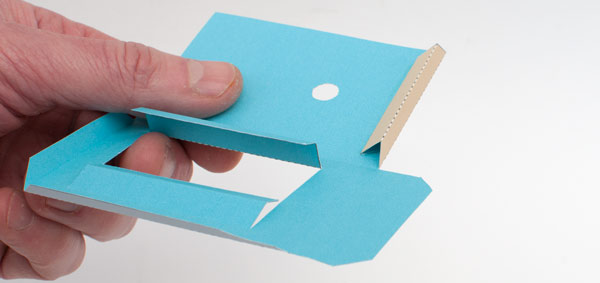
On the two box sides, fold up and glue the triangular section tubes to make right angled triangles.

Glue the two box sides together.

Fold the box round and fit the crank shaft pins into the circular holes in the box.
Glue the box together.
Thread the lid and slider tube down over the main push rod. Glue the lid to the box and then glue the bottom flaps of the box down making sure to keep everything square.
Fold in the four flaps and glue them to the inside walls of the box.
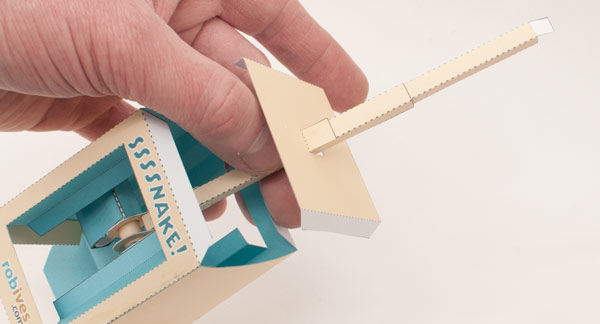
Glue the handle to the drive pin.
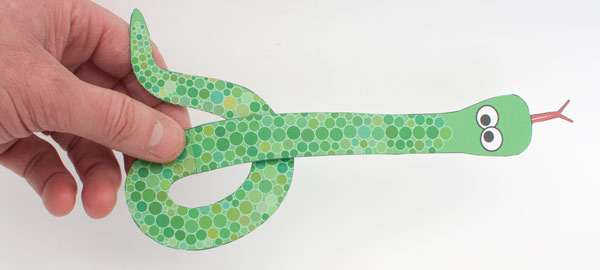
Glue the two parts of the snake together.
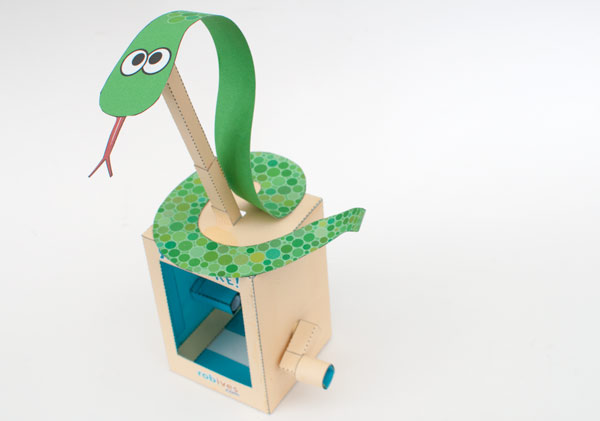
Complete the model by gluing the small tab on the top of the main push rod to the back of the snake’s head and the snake’s body to the top of the box.
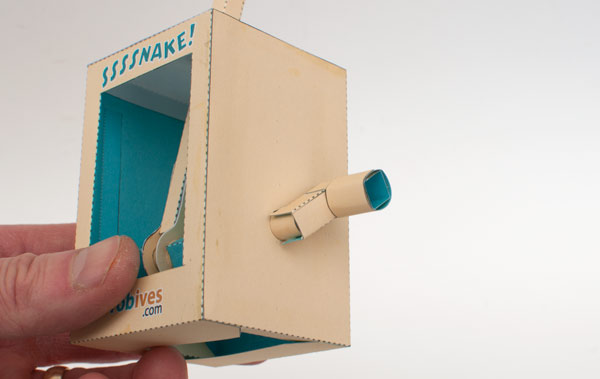
That’s it. I hope your ssssnake looks sssssuper!