This Simple STEM project uses a slide mechanism and a lever to make intermittent motion.
Members of robives.com can download the template files for free at the link. Use the project as a starting point for STEM learning!
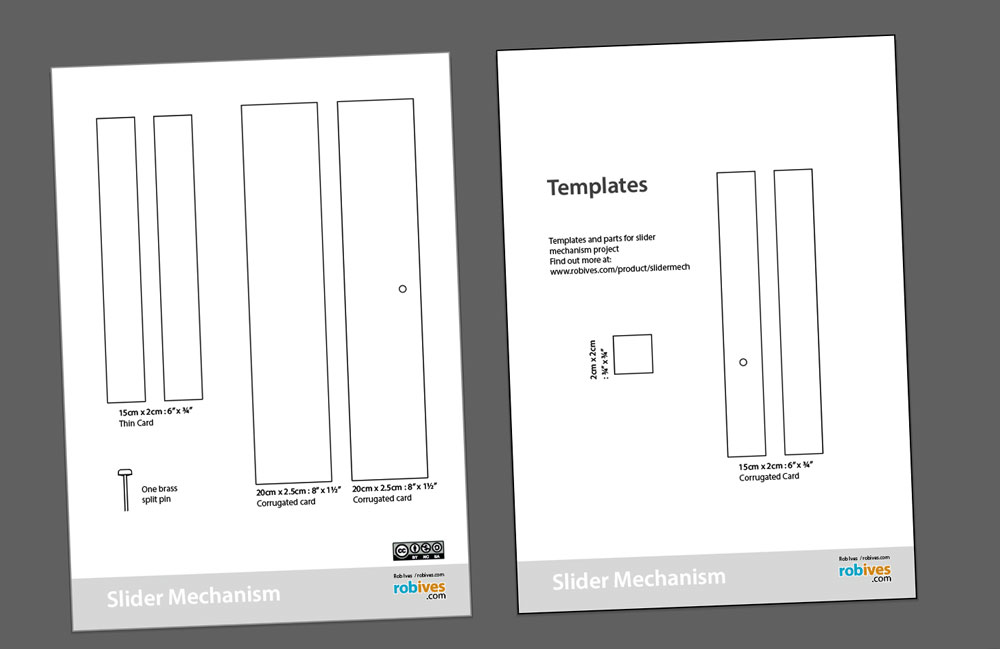
You will need corrugated card, thin card, a split pin and some simple tools.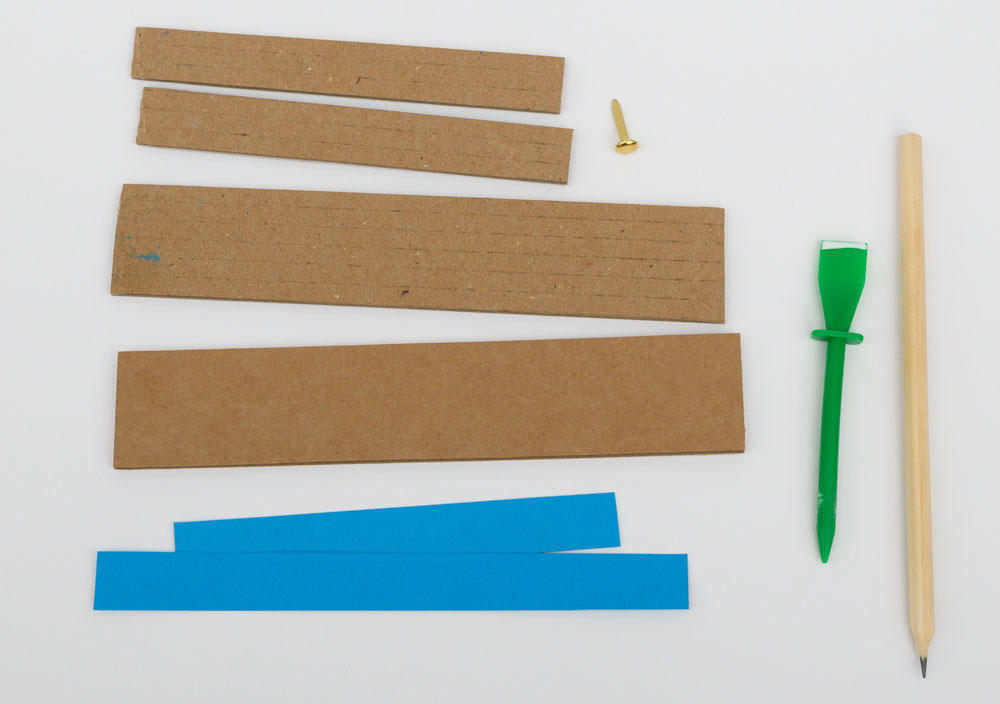
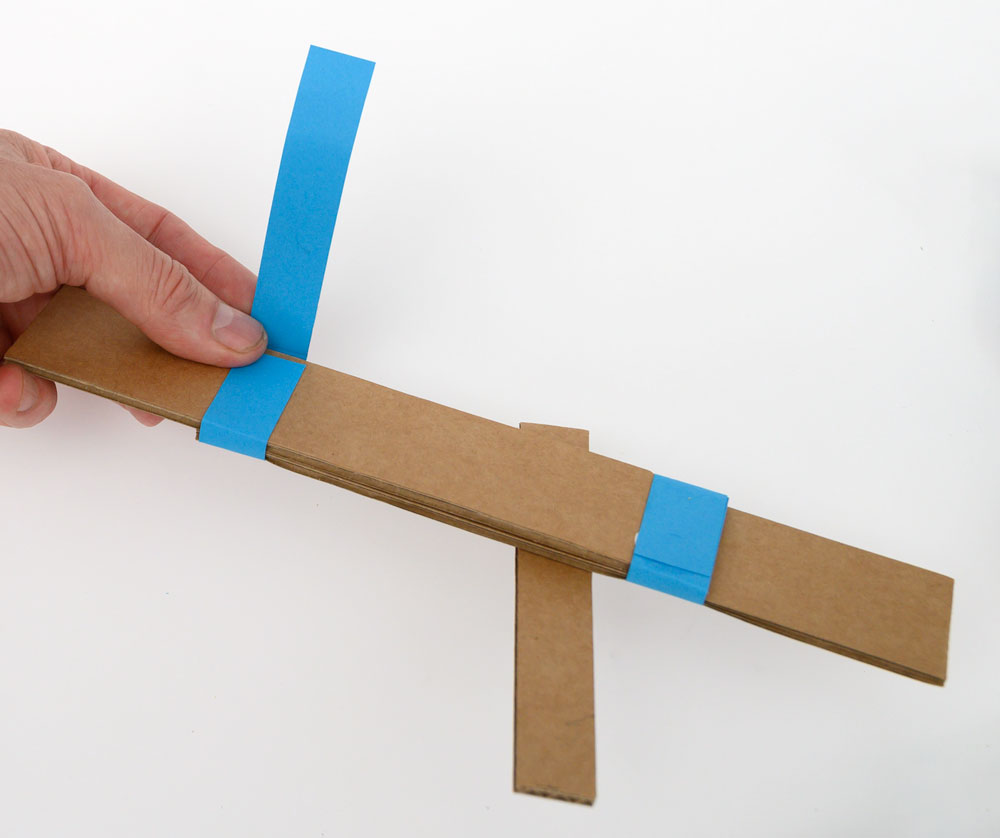
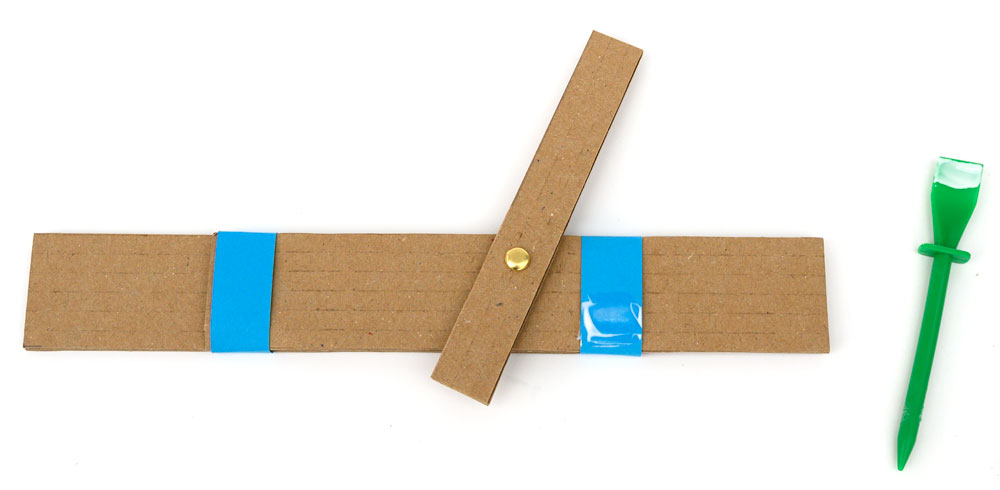
Make a hole in the upper centre of the Slider Back using a pencil. Take care!
Make a hole in the vertical shaft in the same way and join the two parts together using a split pin.
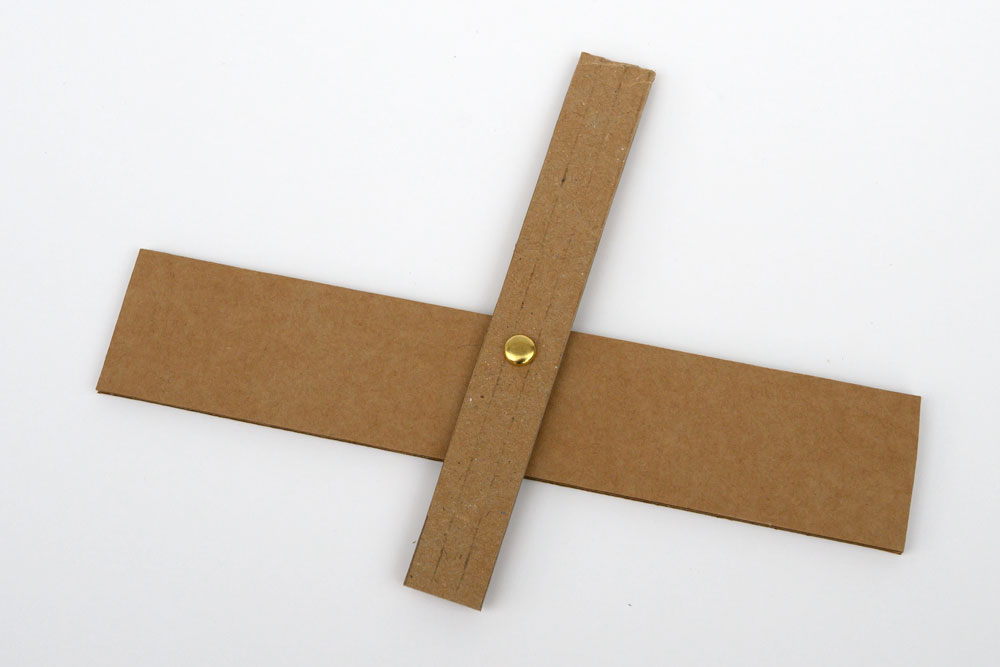
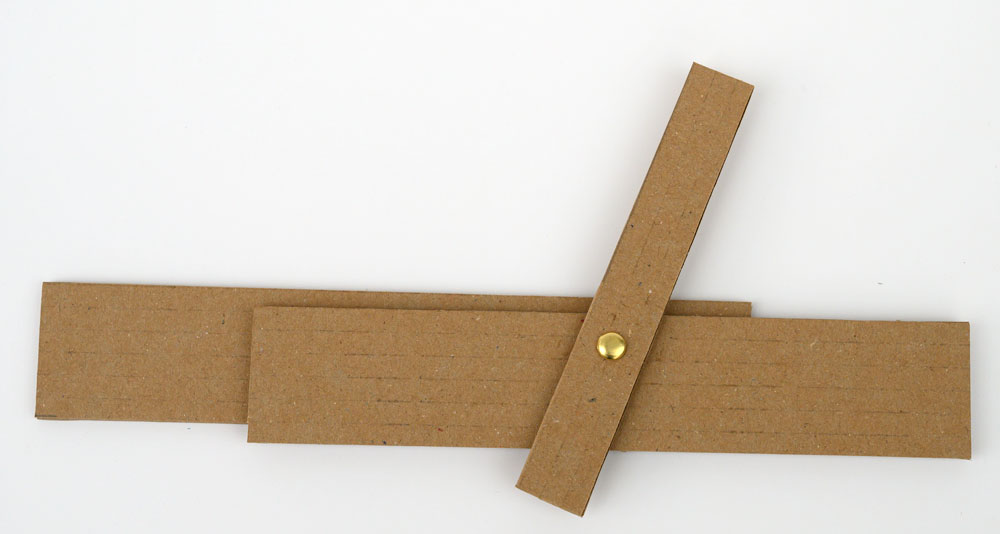
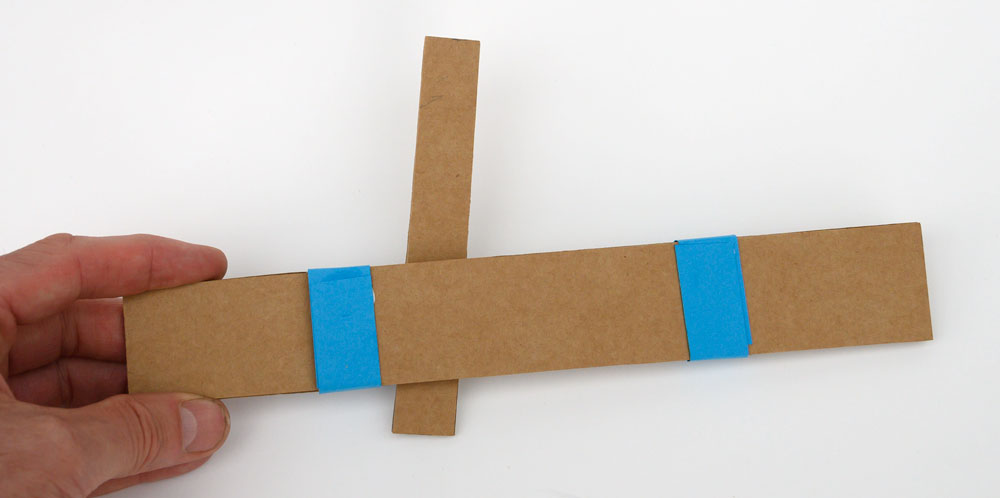
The slider front goes on the opposite side to the vertical shaft.
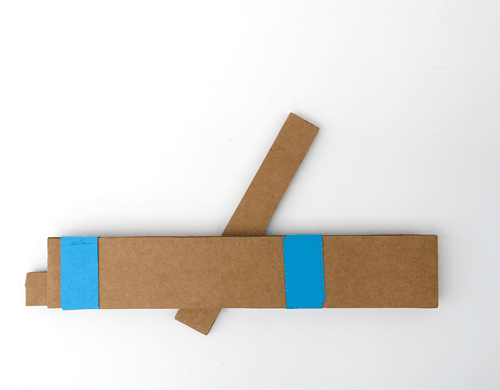
Glue one of the Slider Covers to the end of the Slider Front.

Wrap the Slider Cover around the Slider Back – no glue!

Wrap it all the way around then glue it to the front.
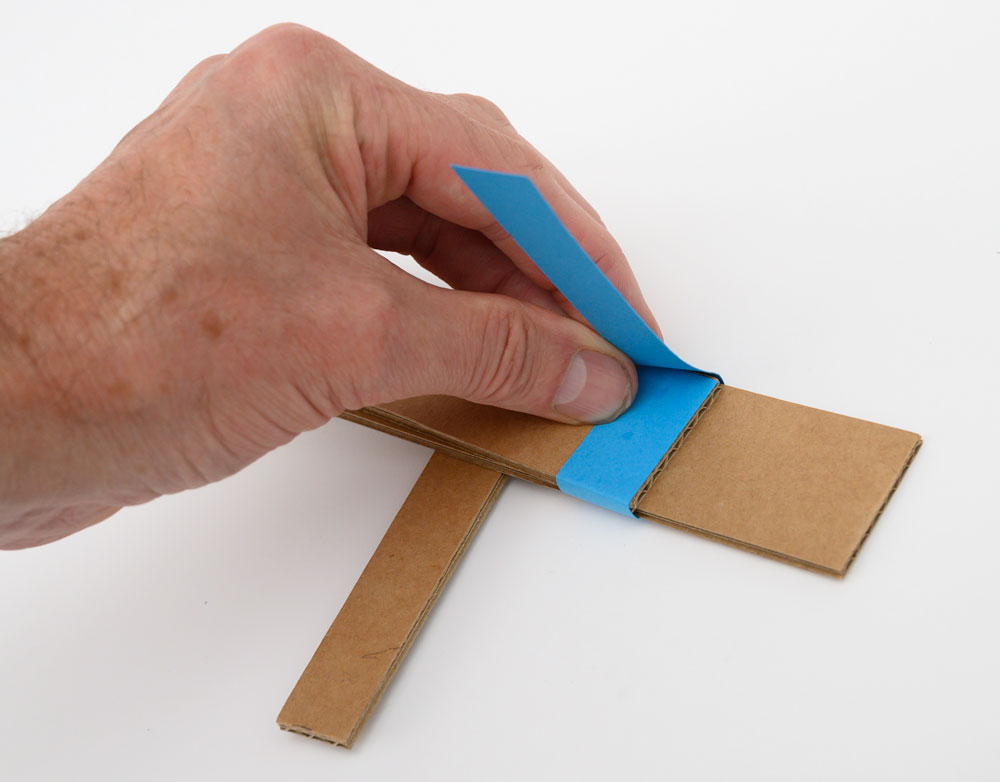
Repeat the with the other slider cover roughly 2/3 of the way along the Slider Back
Wrap around and glue. Trim off any spare card.
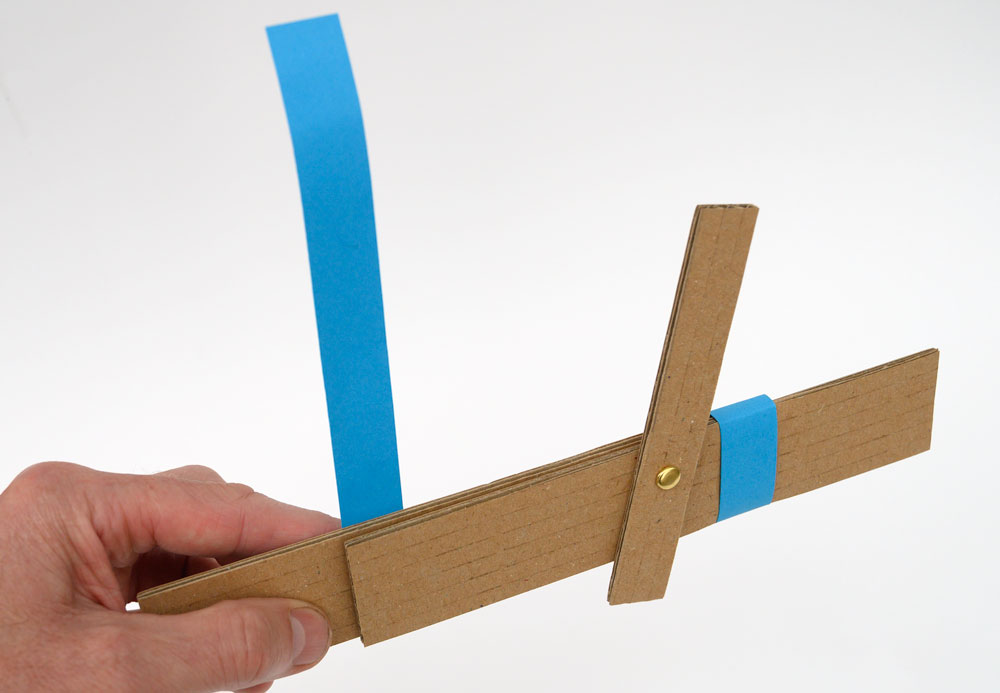
The Slider Back should be free to slide back and forth in the Slider Covers.
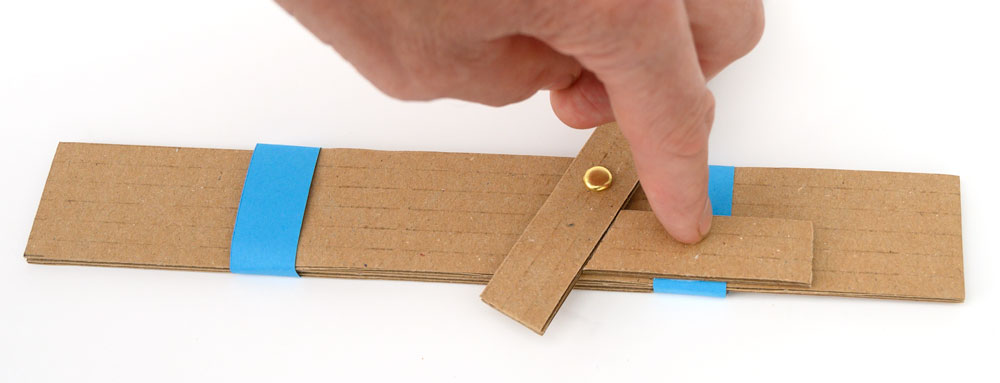
Lean the vertical shaft over. Line up the Stop with the bottom of the Slider Back. Draw a pencil line across the Stop as shown.
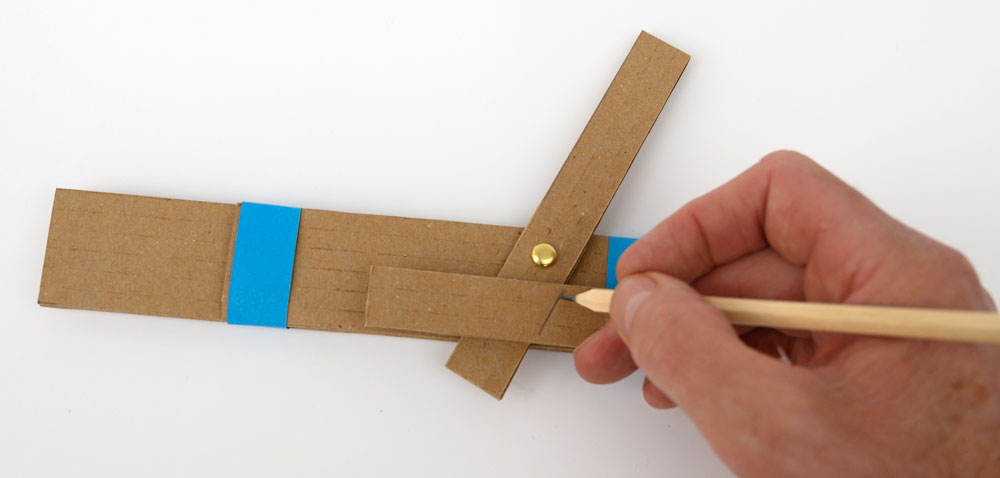
Cut the Stop along he pencil line as shown below.
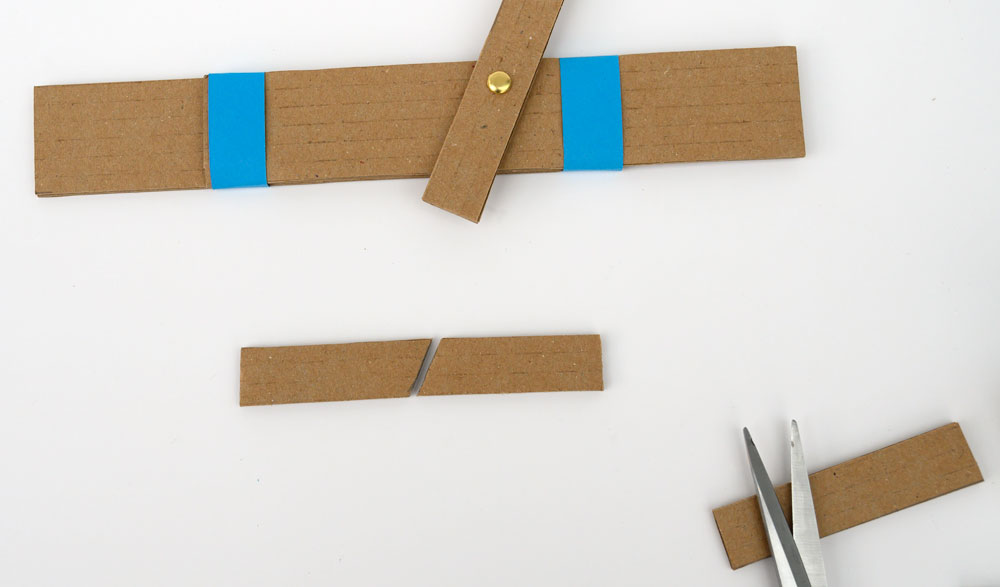
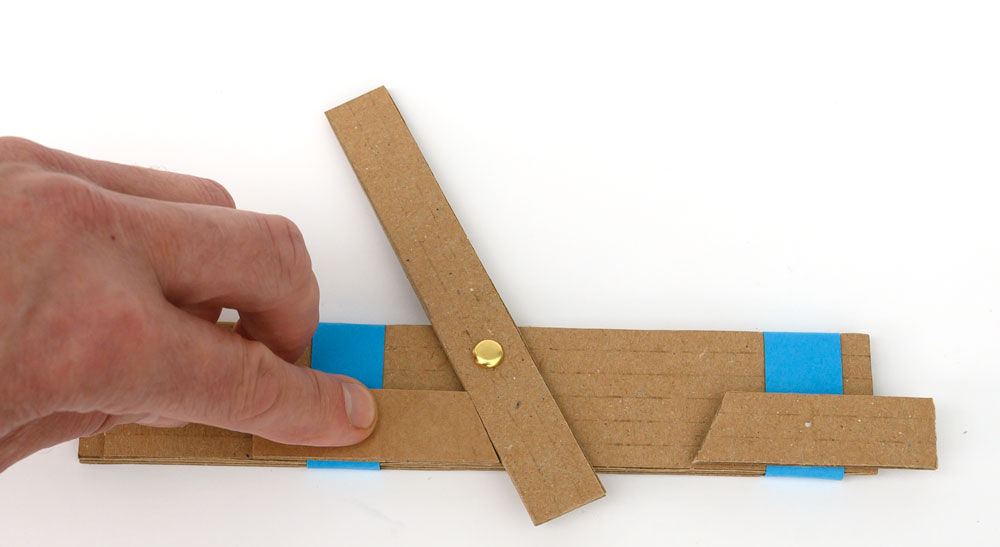
Apply glue to the card Slide Cover as shown.
Glue one of the Stops into place.
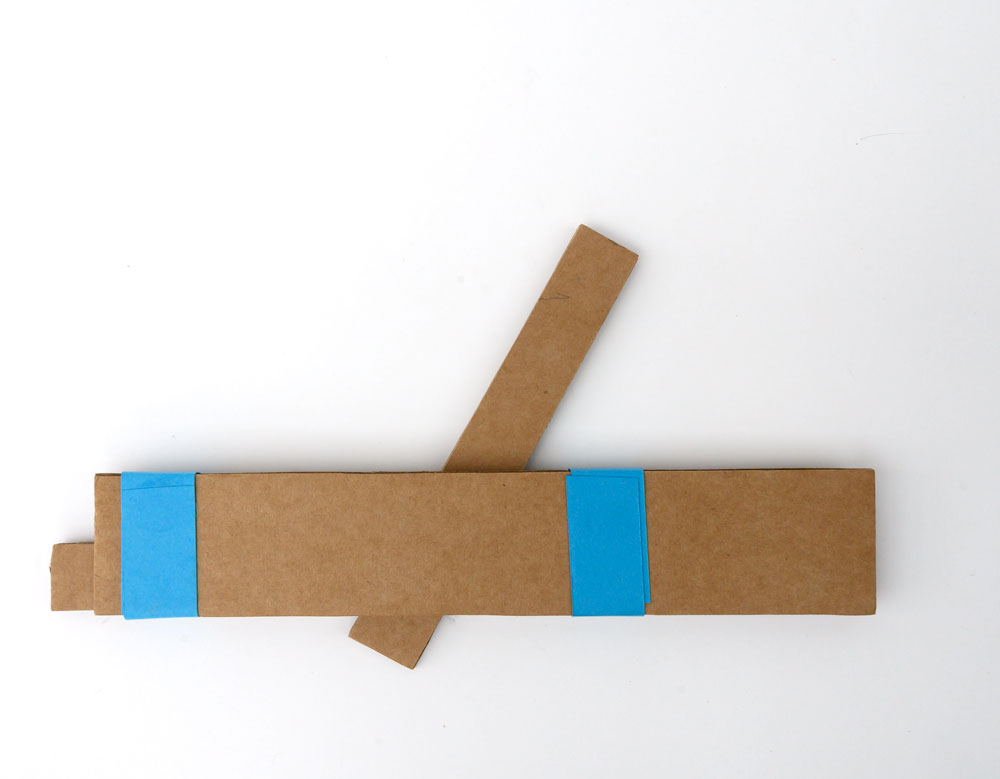
Repeat the process at the other end to complete the project..
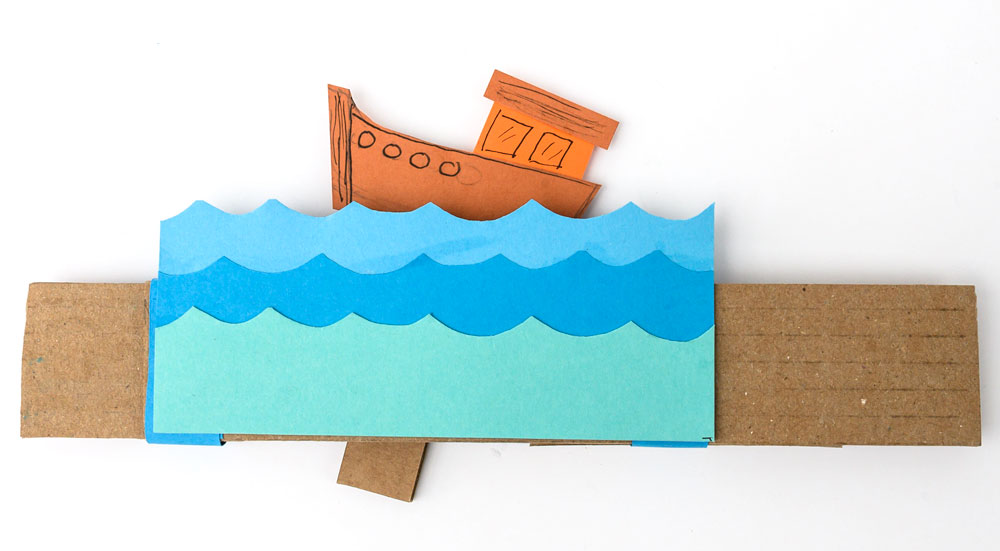
The finished project.
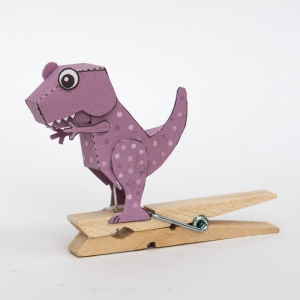
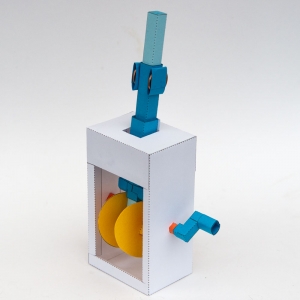
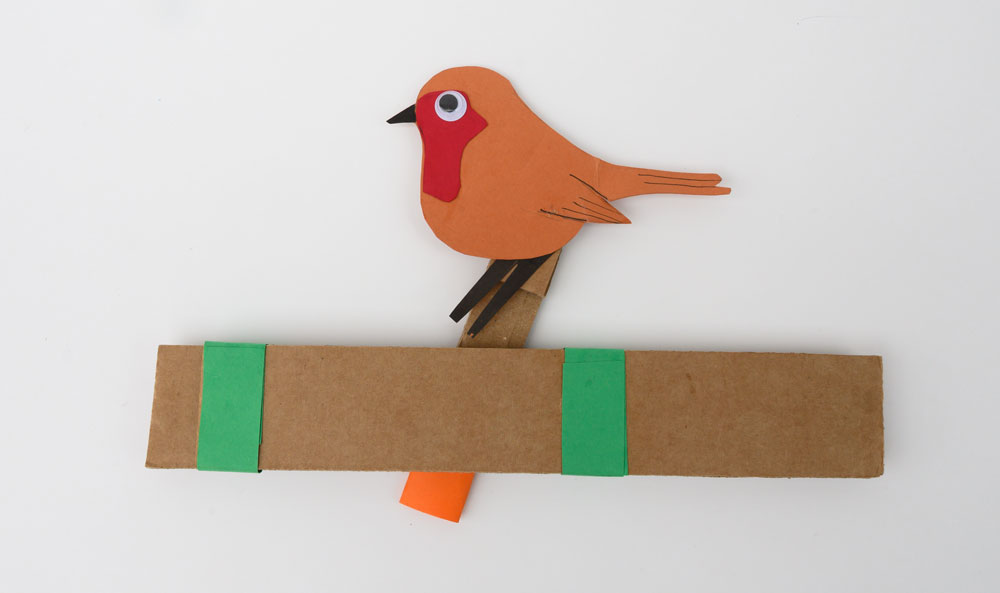
Add your own characters to bring the project to life!
You can fix scenery to the front slide.
Rockin Robin!
Is it a dancer or a goalie?