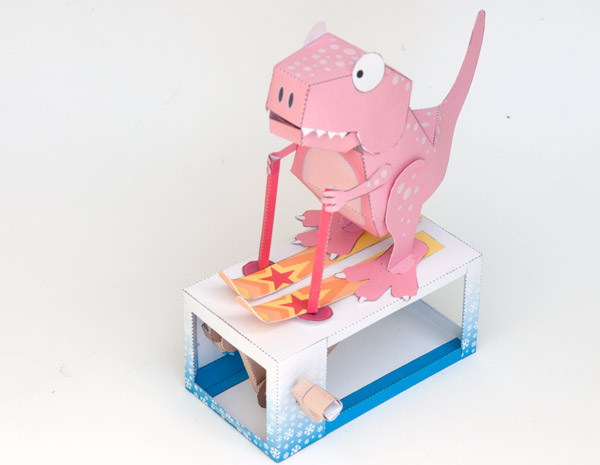
 Turn the handle on the Ski Rex and watch our prehistoric friend indulge in a bit of cross country skiing!
This model is actually a mash-up of the double crank box model and the pose-able T. Rex with added skis poles and a bit of colour! I’ve put all the parts into one file in both coloured and uncoloured form. If you are a member you can download the parts for free at the link. Non-members can download the parts for £2.50
Let’s get started!
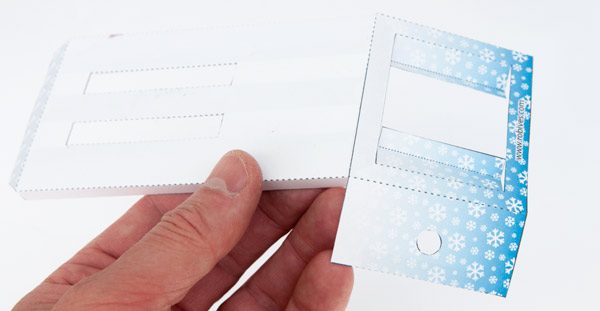
Print out the pages onto thin card. (230 micron / 67lb) Score along the dotted and dashed lines then cut out the holes before carefully cutting out the parts. There are six sheets in this model.

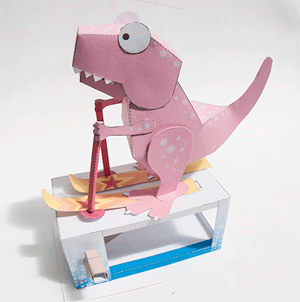
Start by making the T. Rex
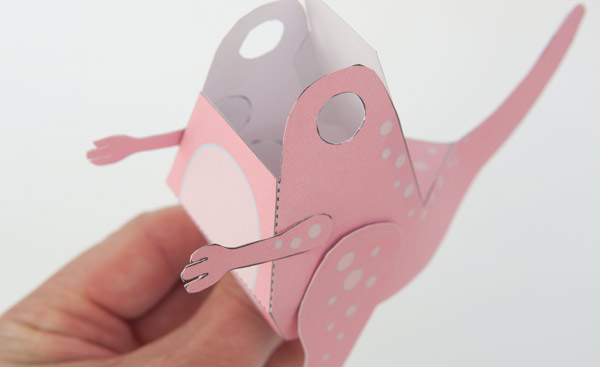
Glue together the four parts that make the body.
Assemble the head upper, gluing the head inners into place (Deep red in the picture) make sure the tabs on the head inners are folded inwards as shown.
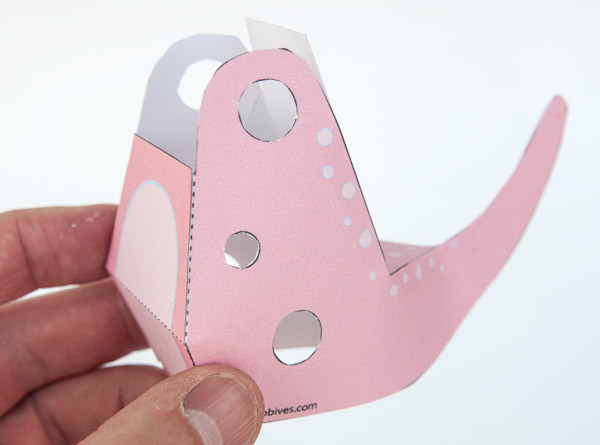
Glue together the tongue support.
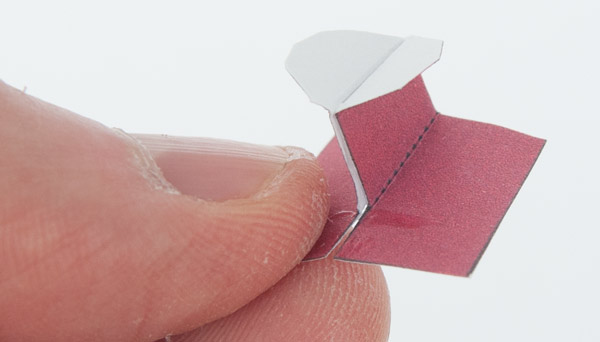
Glue the tongue support into the assembled lower jaw.
Curve the tongue round and glue it to the tongue support.
The arms and legs are double thickness card. Fold them over and glue them down leaving the tabs unglued. Once the glue is dry, cut out the parts.
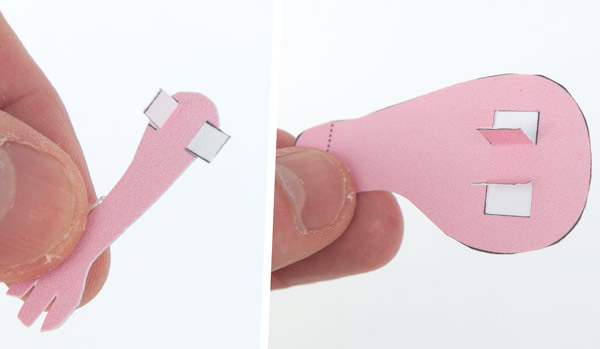
Fit the legs into the body. Glue one of the large disks to the leg tabs. Make sure that the leg is free to move as the glue dries.
Repeat this process with the arms. Use the small disks to secure them.
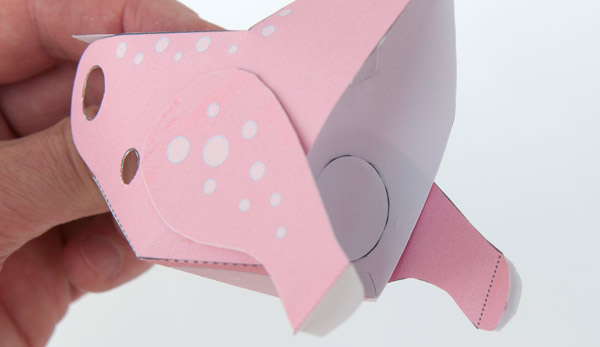
Thread the tabs from the head inner through the holes in the lower jaw and then into the body. Glue the remaining disks over the tabs making sure that the head and jaw can move.
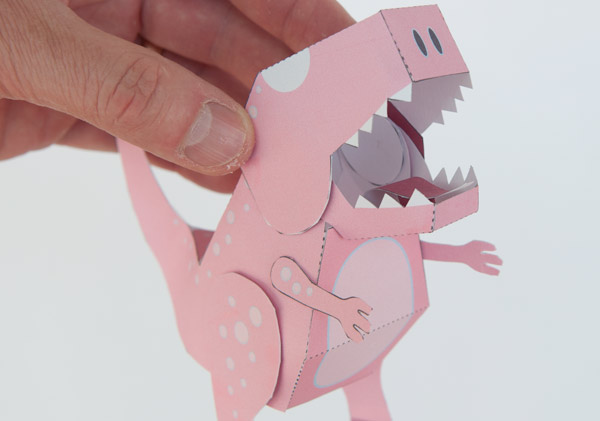
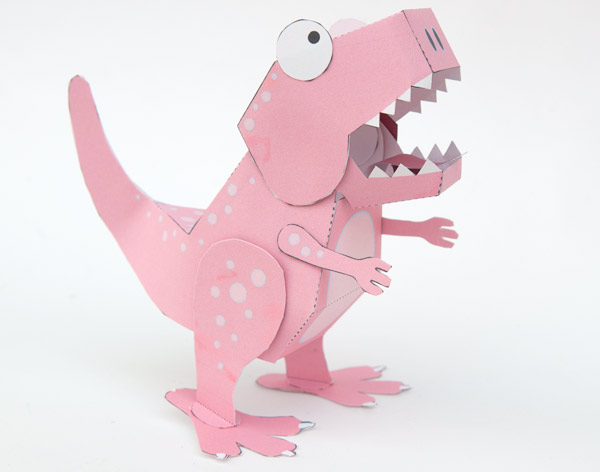
Glue on the eyes and the feet to complete the T. Rex. Set her to one side as you start on the box.
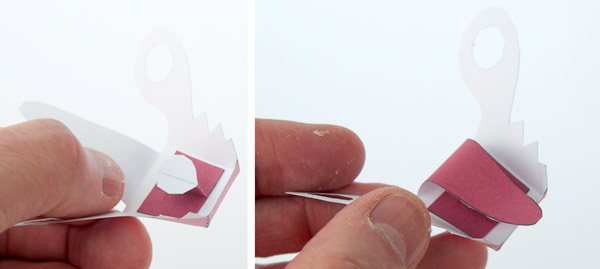
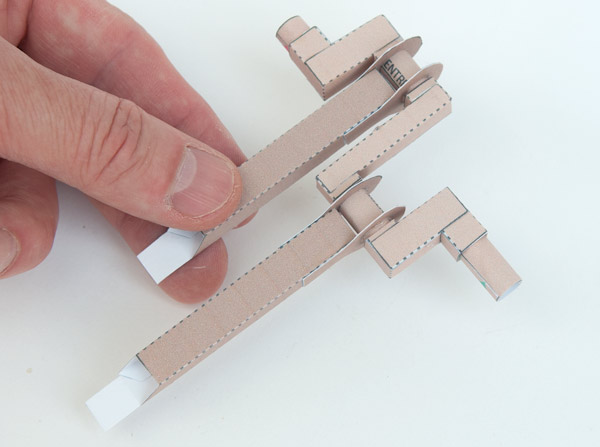
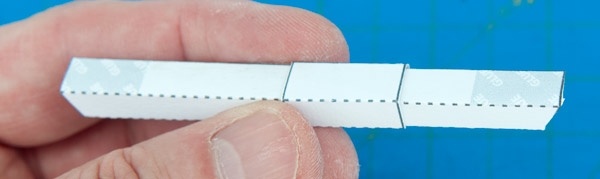
Assemble the two short crank pieces.
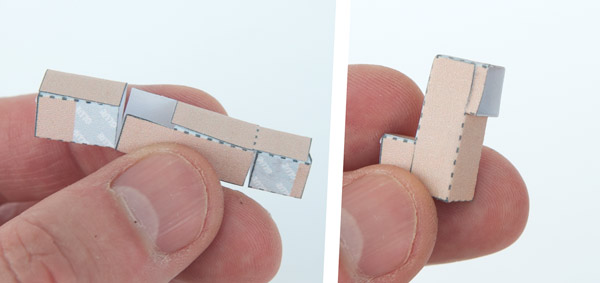
Assemble the long centre crank piece.
Fold up and glue down the four push rod ends to make double thickness card. Once the glue is dry cut out the hole and then cut out the pieces.
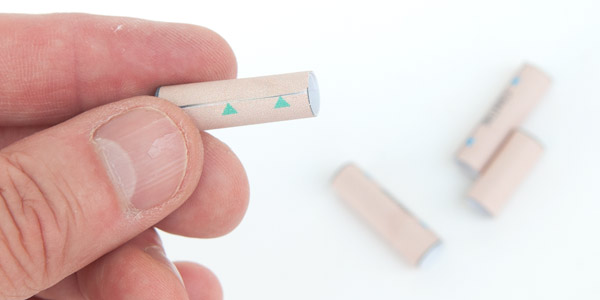
Roll round and glue down the four pins lining up the edges with the end of the grey area.
Assemble the push rods. Glue the two push rod ends into place and thread the ‘Centre’ pin through them. Make sure the pin is free to turn.
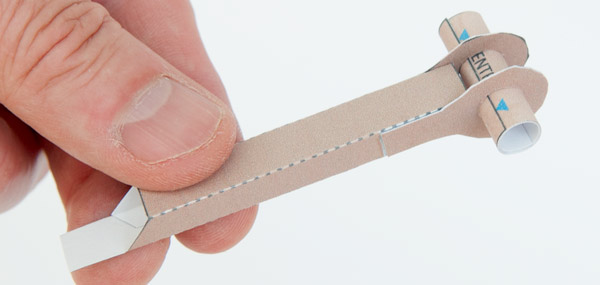
Glue the long centre crank piece between the two pins. Make sure both push rods are the same way up.
Complete the crank assembly by adding the two shorter crank pieces and the two pins. Make sure everything is as square and lined up as possible.
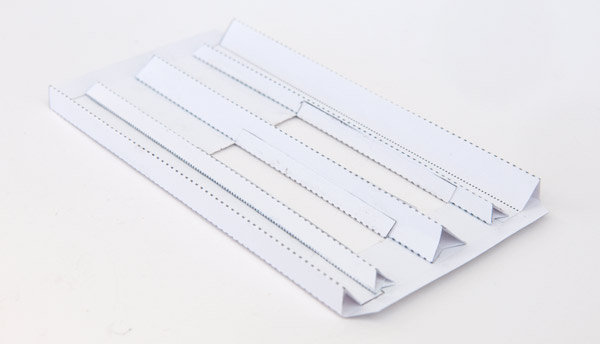
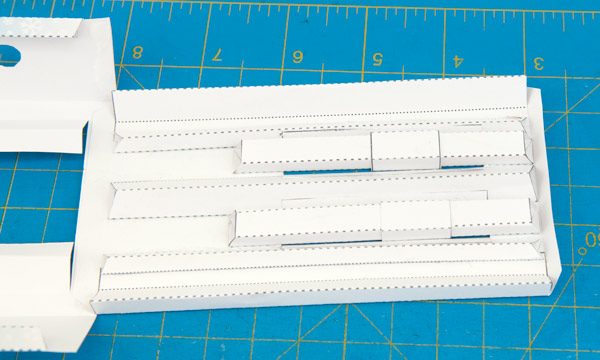
Fold up and glue down the tabs at the side of the box-top and box-bottom to make a right angled triangle section.
Fit the box-top stiffeners into place next to the slots in the box-top.
Fold round and glue the flaps on the box end to make equilateral triangle tubes.
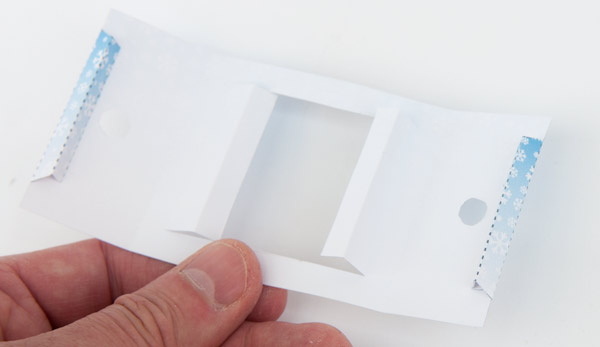
Glue the top of the box end to the box-top. Glue it to the end opposite the long slots.
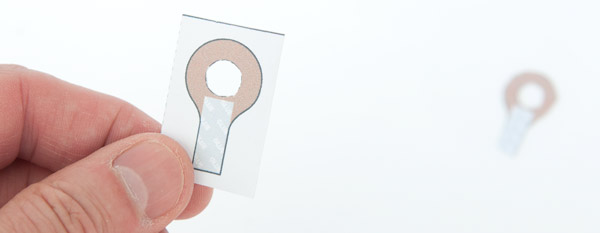
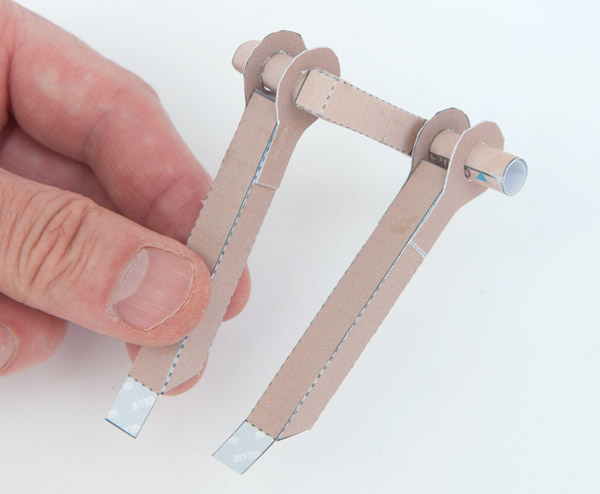
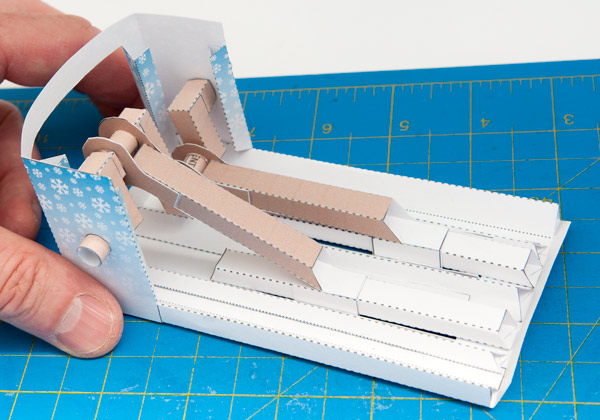
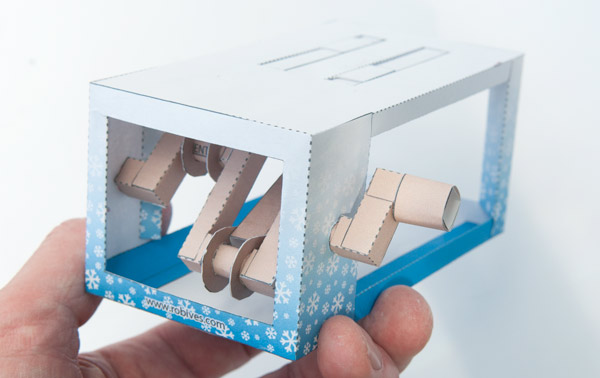
Assemble the two slider bars and slider tubes.
Glue the two slider bars as centrally as possible in the two slots.
They should look like this from the top. The slider tubes should be free to move back and forth.
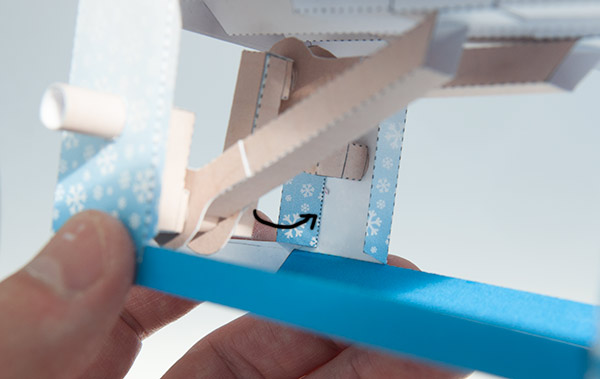
Fit the crank assembly into the box end with the tabs on the push rods facing downwards.
Glue the tabs to the slider tubes. The crease on the tabs should line up with the centre of the slider tubes.
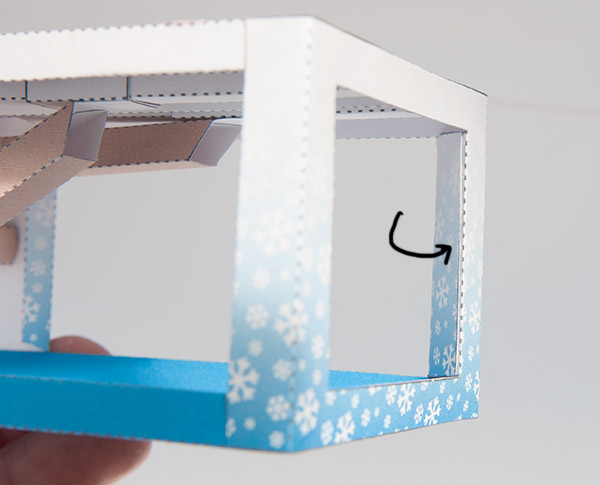
Fit the other box end and the box base into place to close the box.
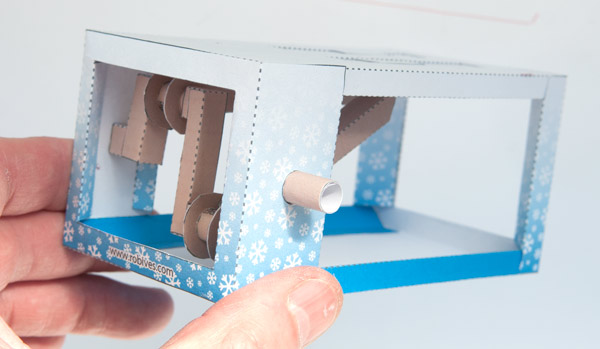
Fold in and glue down the end flaps to make triangular tubes.
Fold in and glue down the flaps at the other end of the box onto the inside walls of the box.
Assemble the handle in three steps.

Glue the handle into place to complete the box. Once the glue is dry you can check that it is working properly by turning the handle. The slider tubes should move back and forth in oppoite directions to each other.
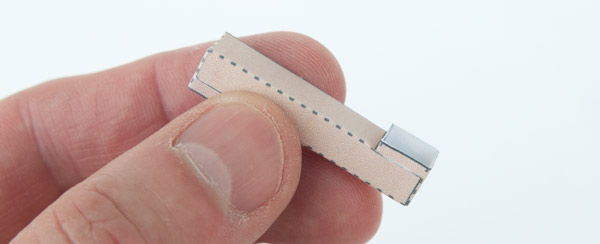
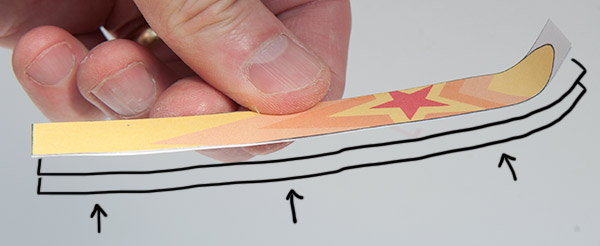
The skis are made from three layers laminated card.
Glue the three layer of card together. Curve the ends upwards before the glue dries. Once the glue is dry they will maintain its shape.
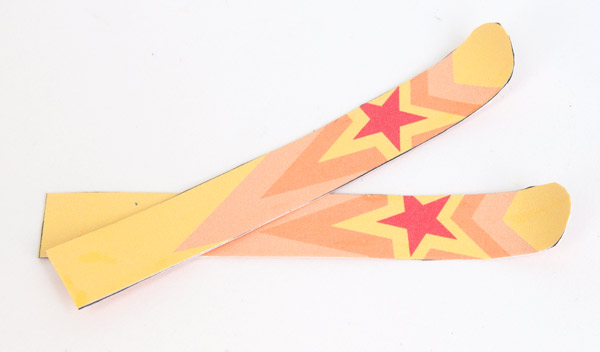
Let the glue dry then carefully cut out the curved end of the ski and cut off any excess card.
Two skis ready to go!
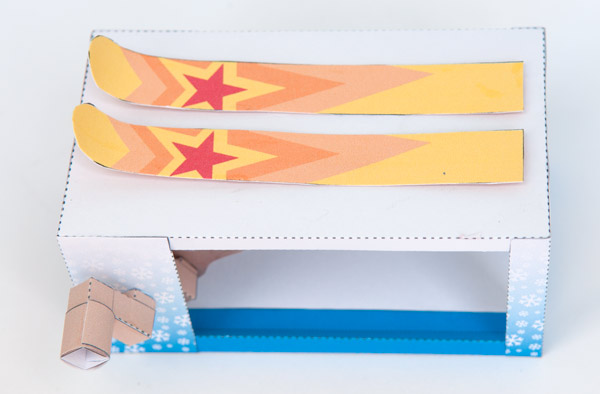
The skis glue onto the tops of the slider tubes. Turn the handle so that the two slider tubes are lined up with each other in the centre of the slider bars. Glue the two skis carefully into place so that they are centred on the box top. Make sure that the skis don’t get stuck onto the box top. Rock the handle back and forth a little as the glue is drying to make sure everything is moving freely. Let the glue dry completely before moving on to the next stage.
The T Rex is glued to the ski by the front of the inside toe only. This allows her to lift her ankle as she skis. With the heel roughly five millimetres from the end of the ski glue the toe down onto the ski.
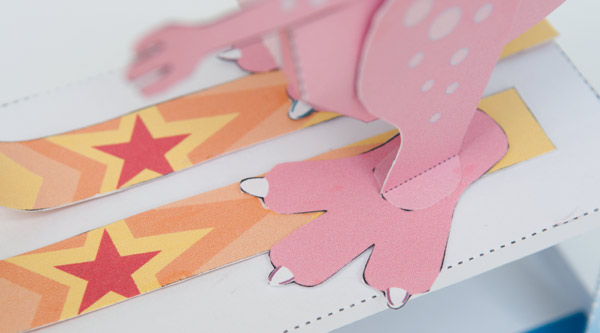
The poles are glued to the underside of the ski. They must not be glued to the box top. Assemble the two poles. Glue the tab on the end of the pole to the underside of the ski next to the star. Glue the circle onto the underside of the ski so that it is centred under the pole.
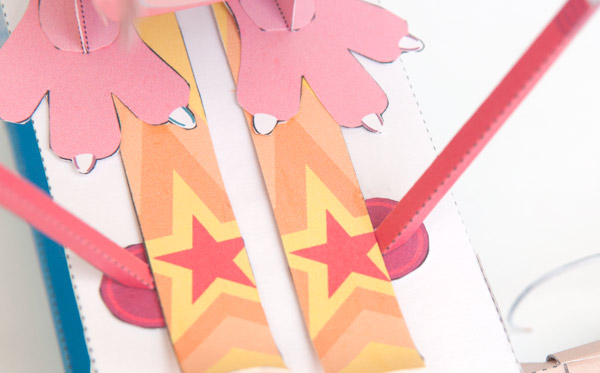
Glue the dinosaur hands to the top of the poles
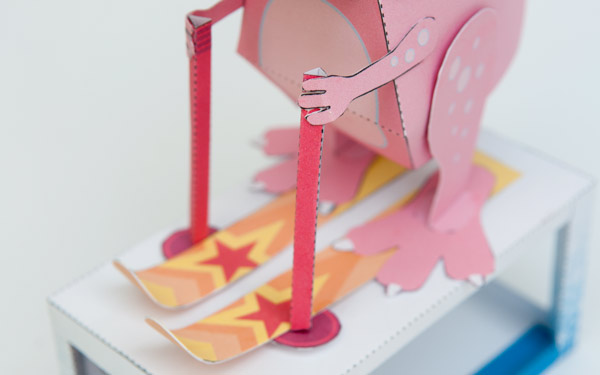
Let the glue dry then turn the handle to see your T. Rex ski. Ski Rex indeed!