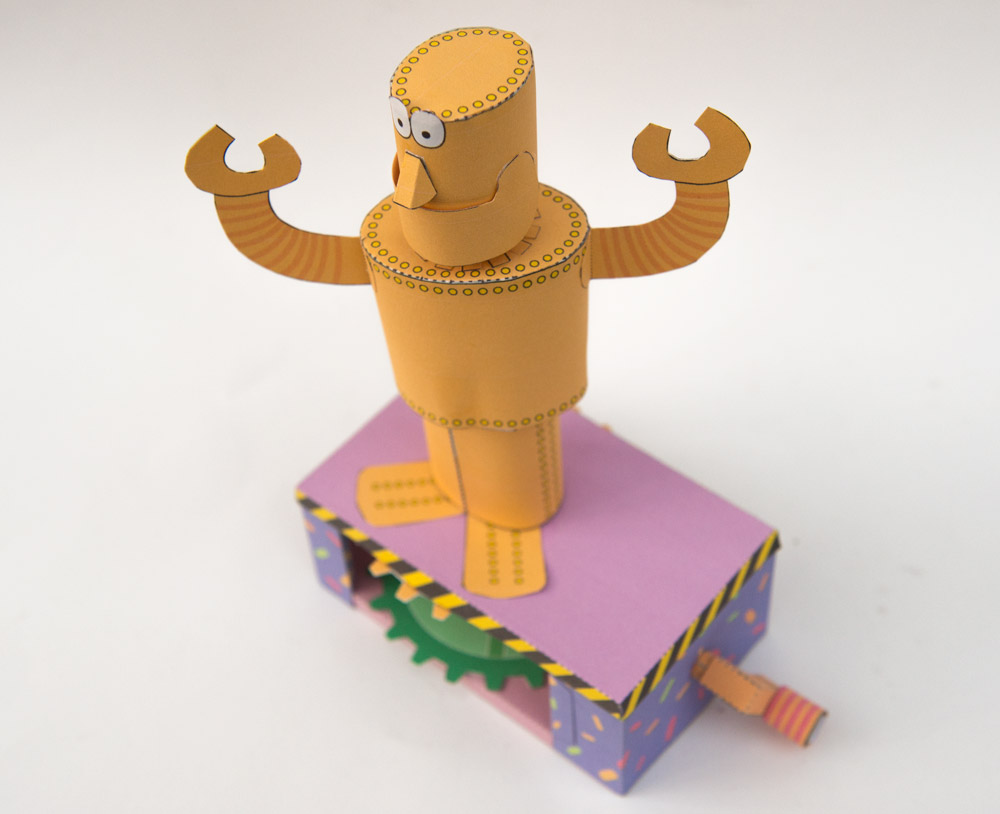
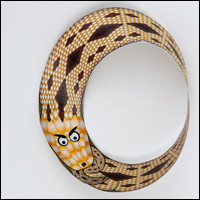
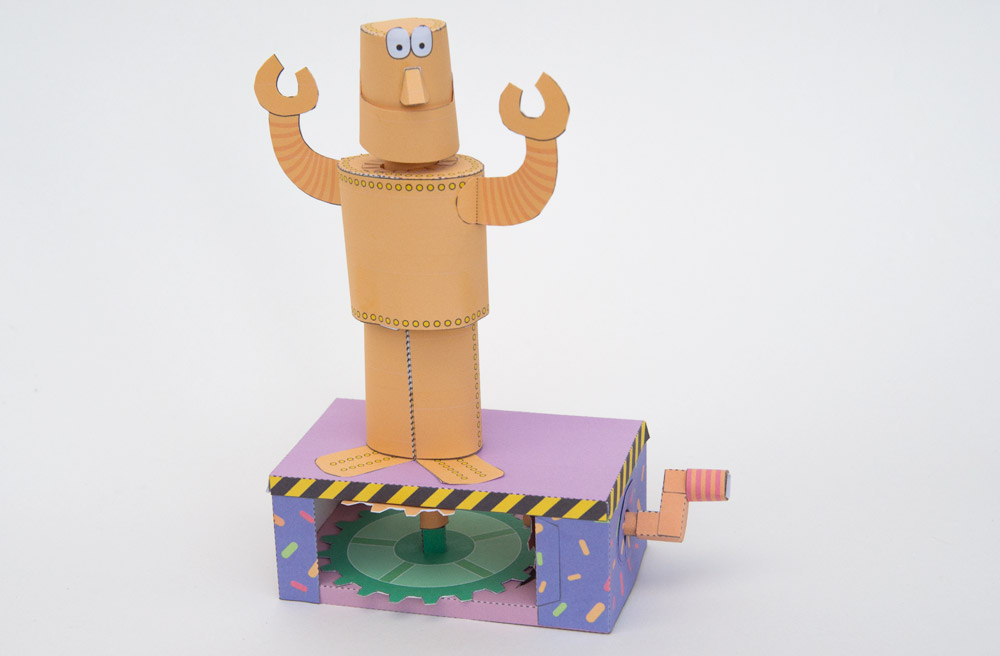
Rotobot – the Counter-Rotating Robot!
A paper animation kit to download, print out and make.
Turn the handle on the Rotobot and the head rotates one way whilst the body rotates the other.
This model is based around the co-axial drive model featured here. Members can download the model for free, thank you for signing up! Non-members can join in the fun for $3.75/£2.50
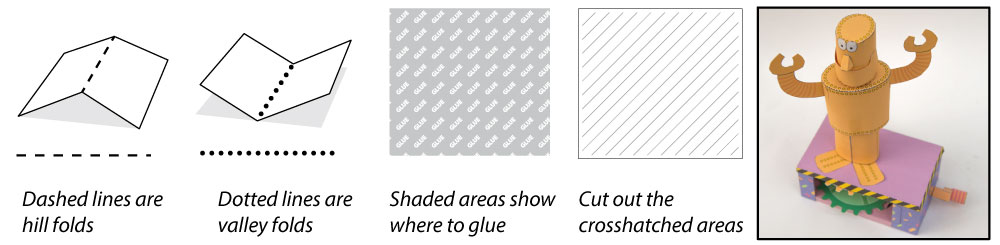
Download and print out the five pages onto thin card (230 micron / 67lb) Score along the dotted and dashed lines and cut out the holes before carefully cutting out the parts.
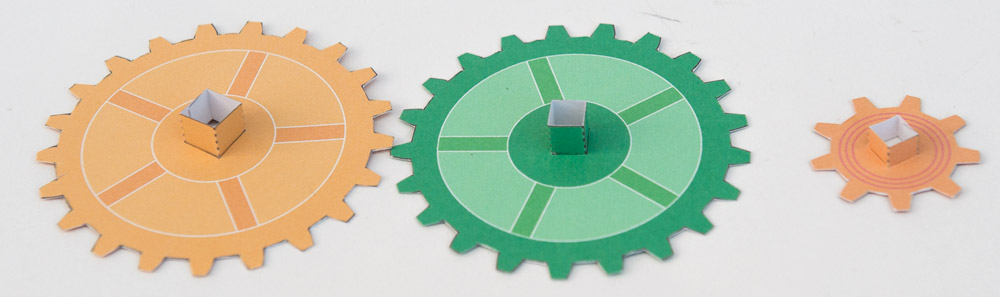
The gears are made from double thickness card for extra strength. Fold them in half and glue them down then when the glue is completely dry carefully cut them out.
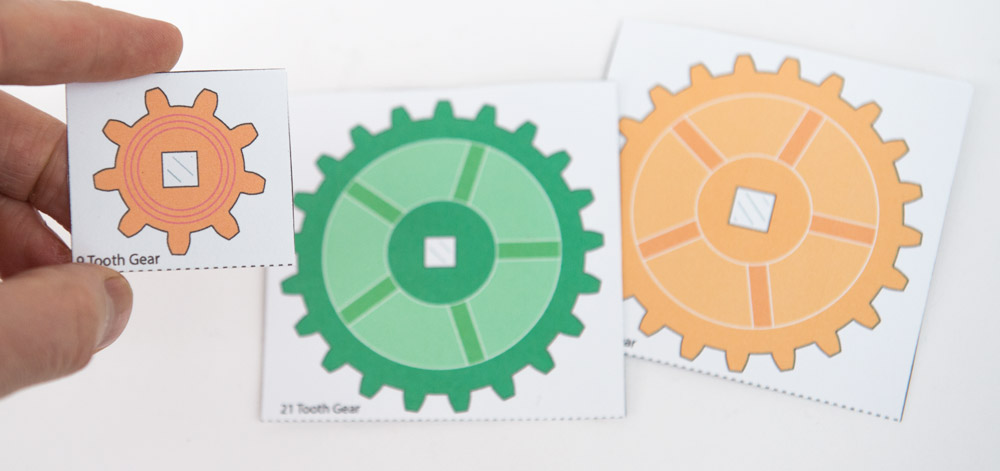
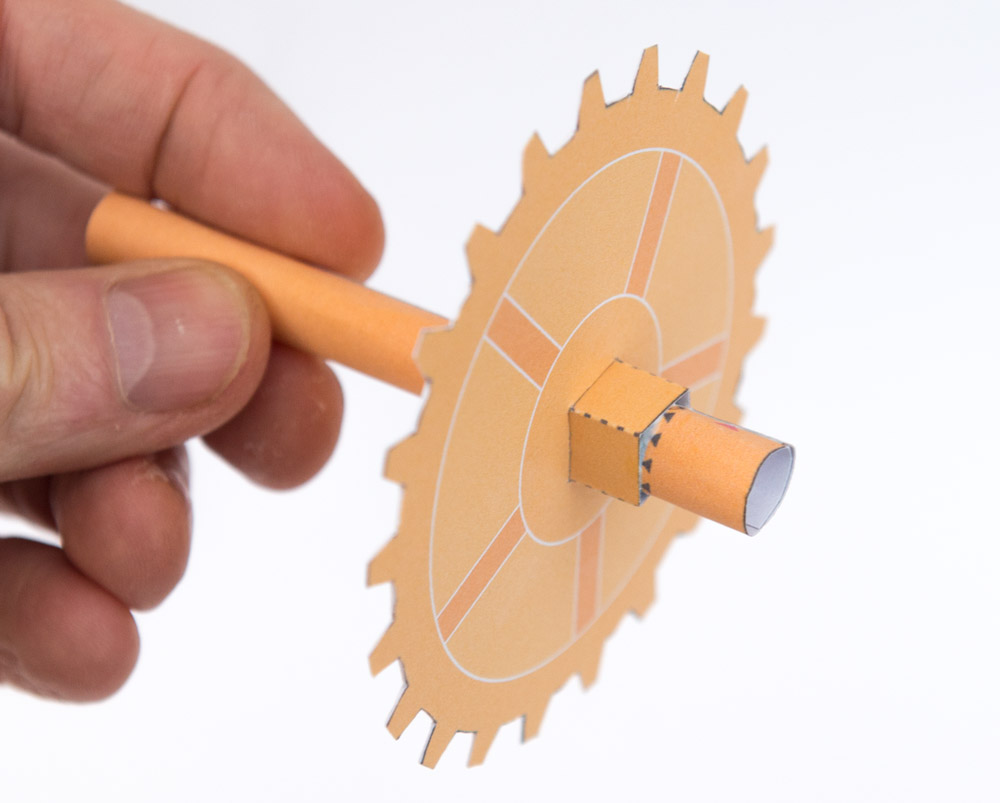
Fit the matching axle stub into each of the gears.
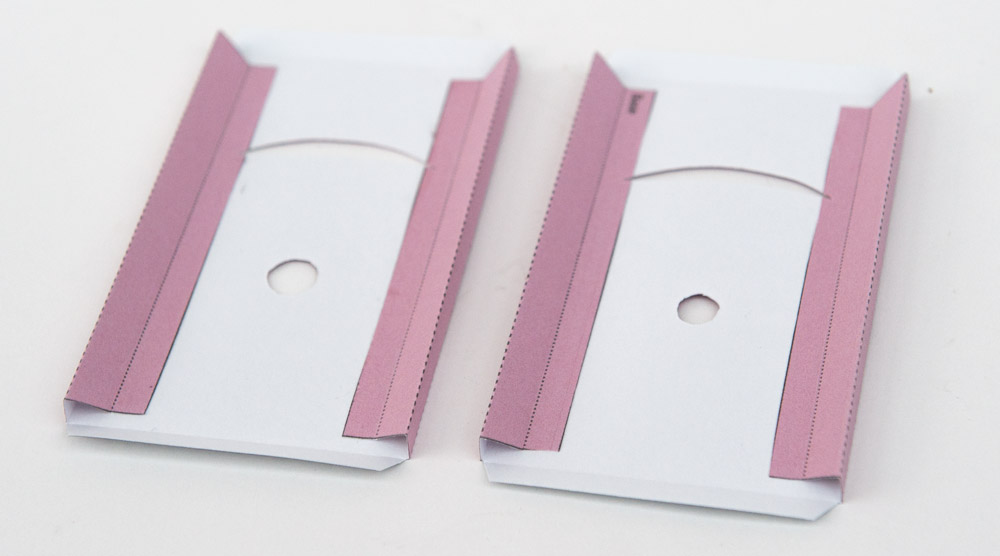
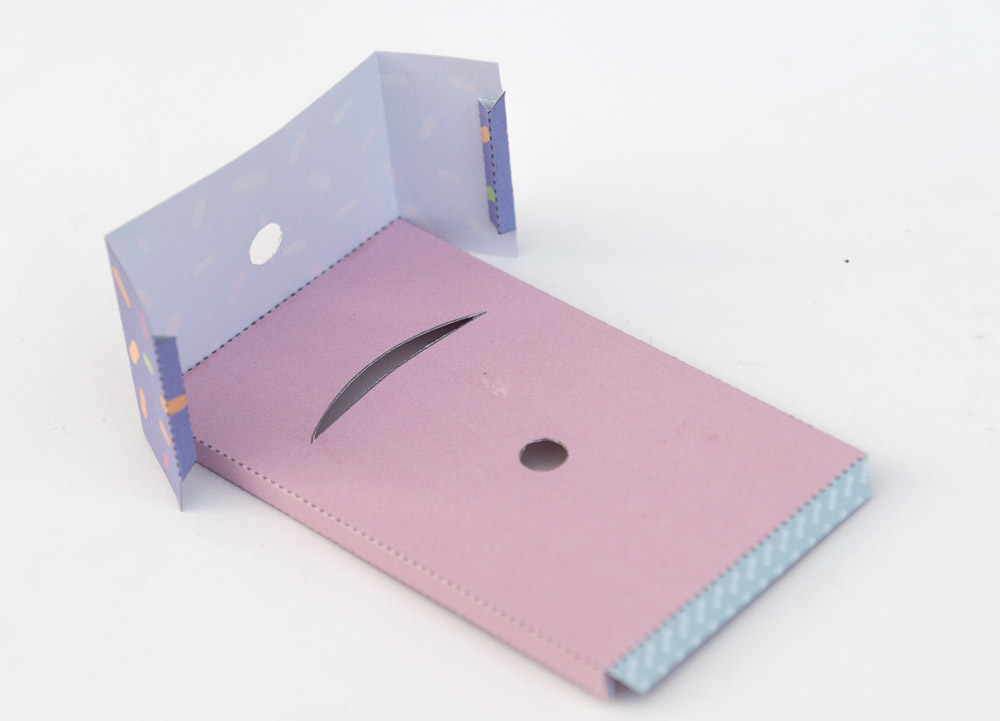
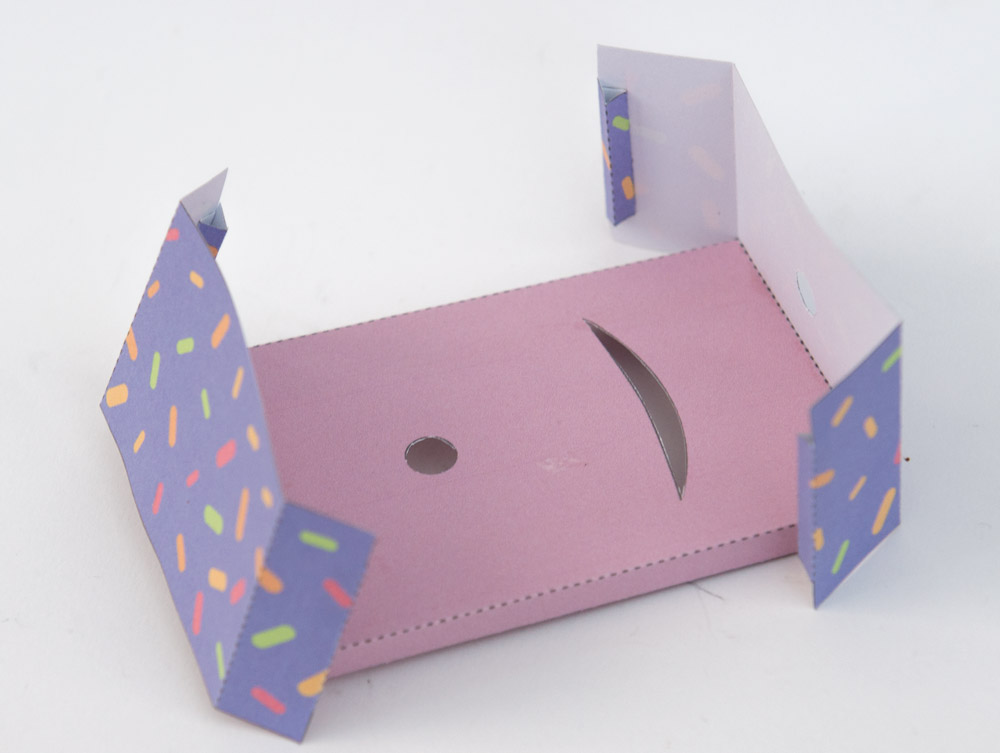
Fold up and glue the top and base making right angle triangle tubes.
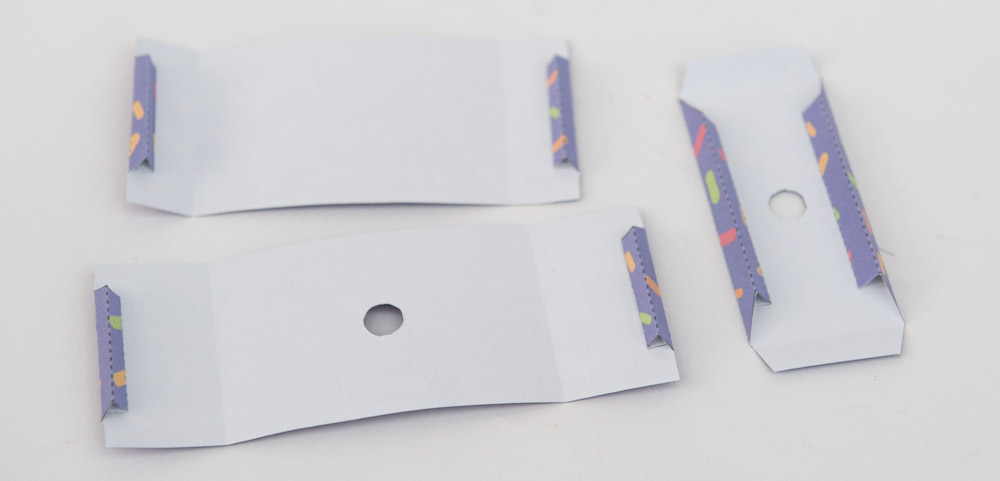
Fold over and glue the flaps on the box ends and the cross piece making equilateral triangle tubes.
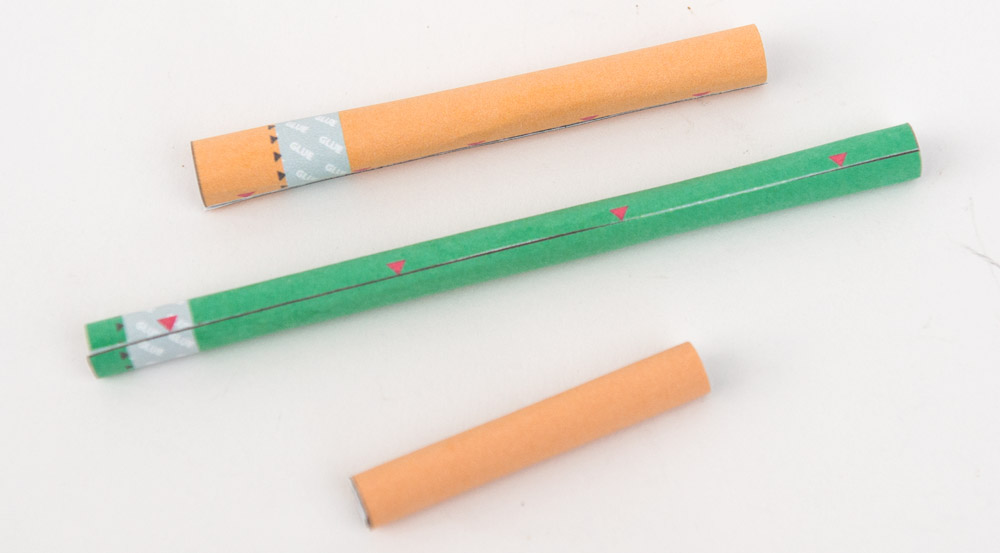
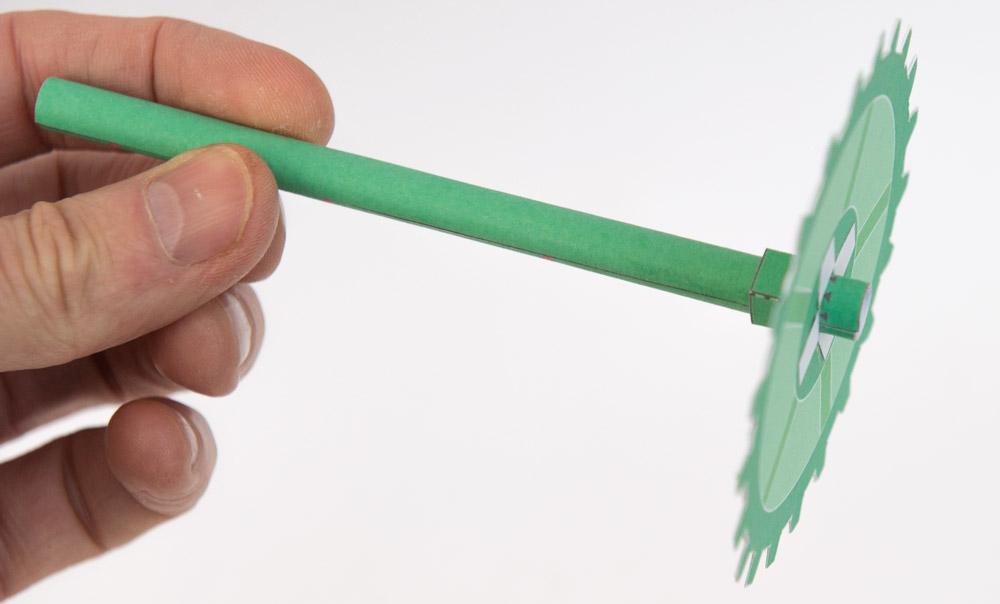
Roll up and glue the three axle tubes as accurately as possible.
Glue the box end to the base as shown.
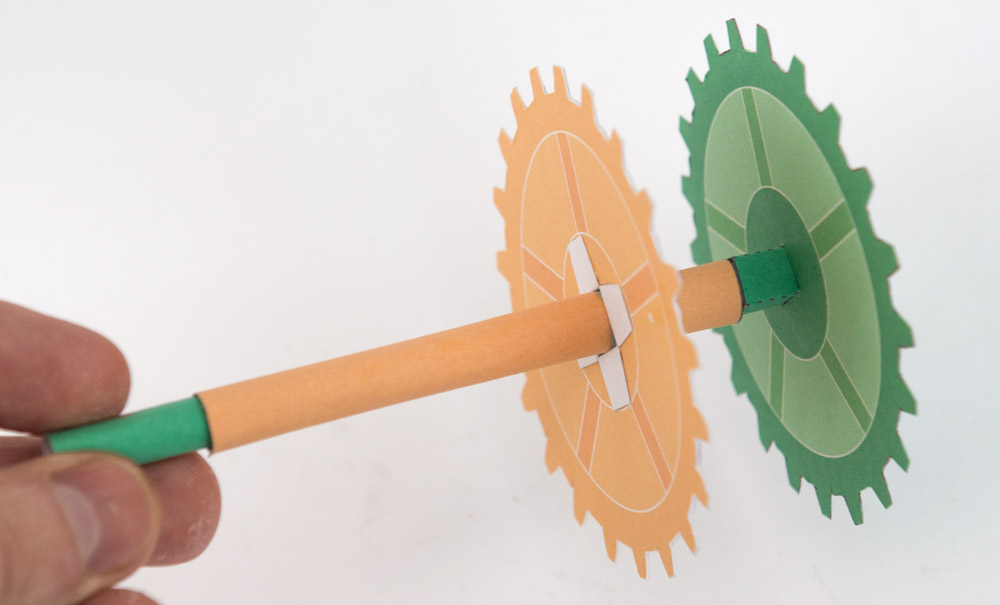
Glue the 8mm axle to the gear with the smaller hole as shown. Make sure it is the right way up.
Glue the 10mm axle to the gear with the larger hole as shown. Make sure it is the right way up.
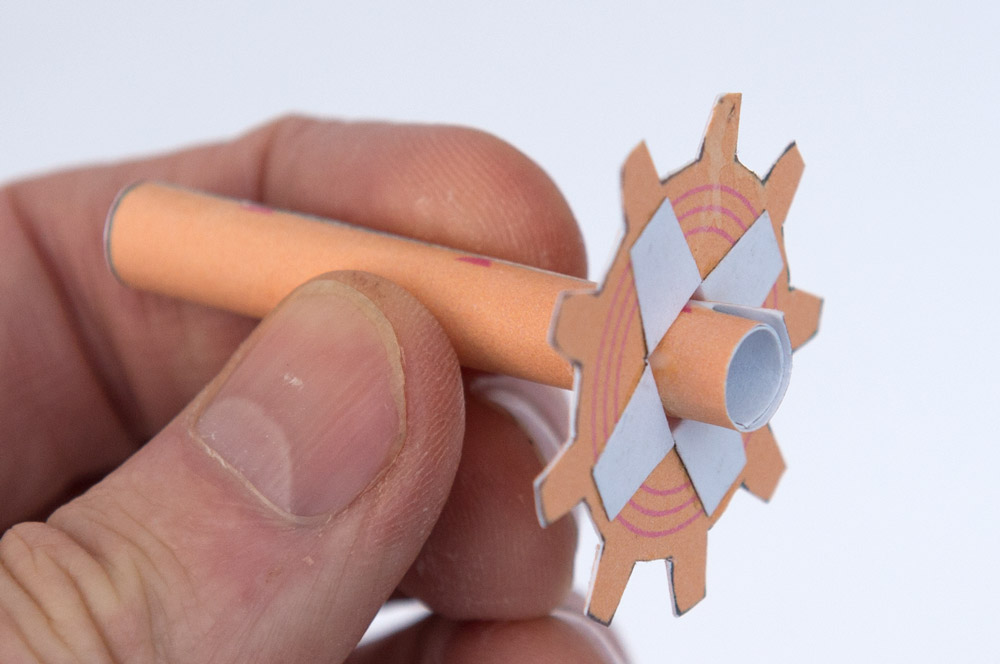
Glue the short axle to the pinion gear.
Thread the wider axle over the narrower one. They should be free to rotate.
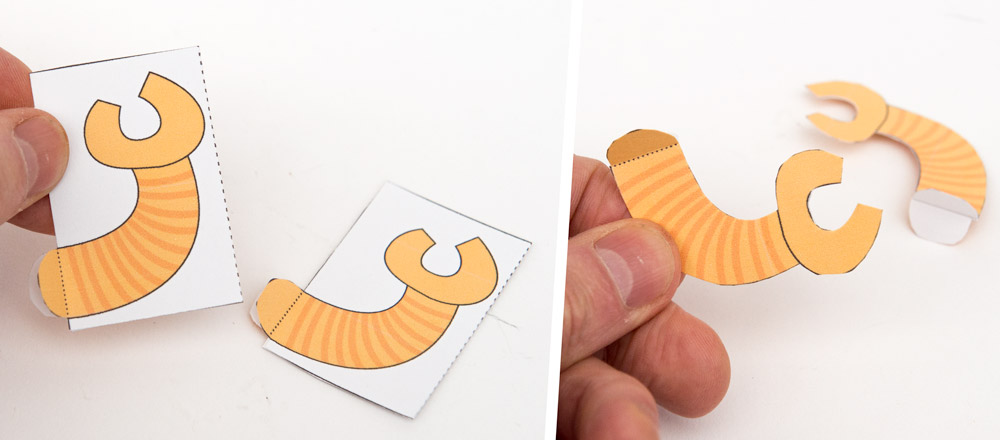
Assemble the handle in three steps.

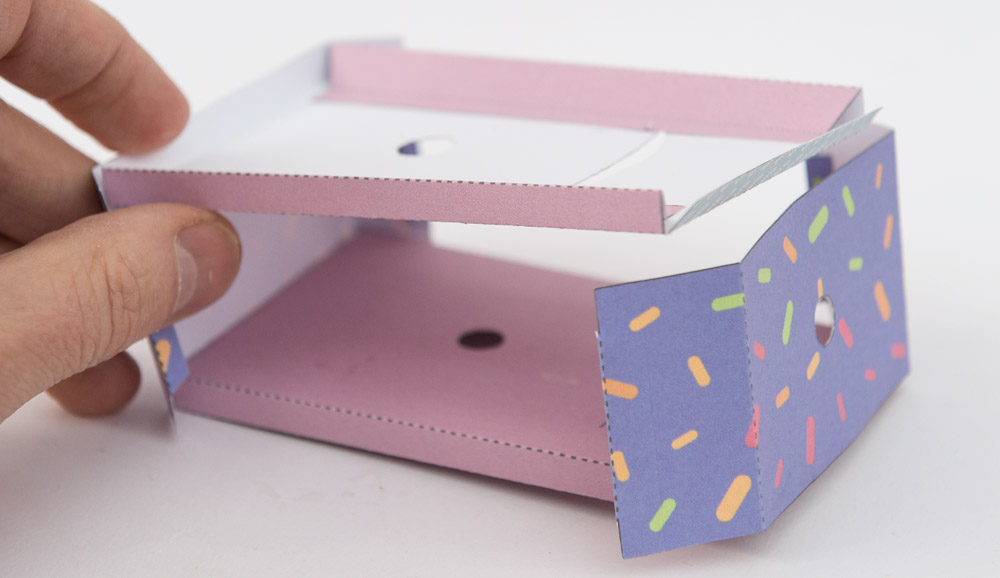
Glue the other end of the box into place.
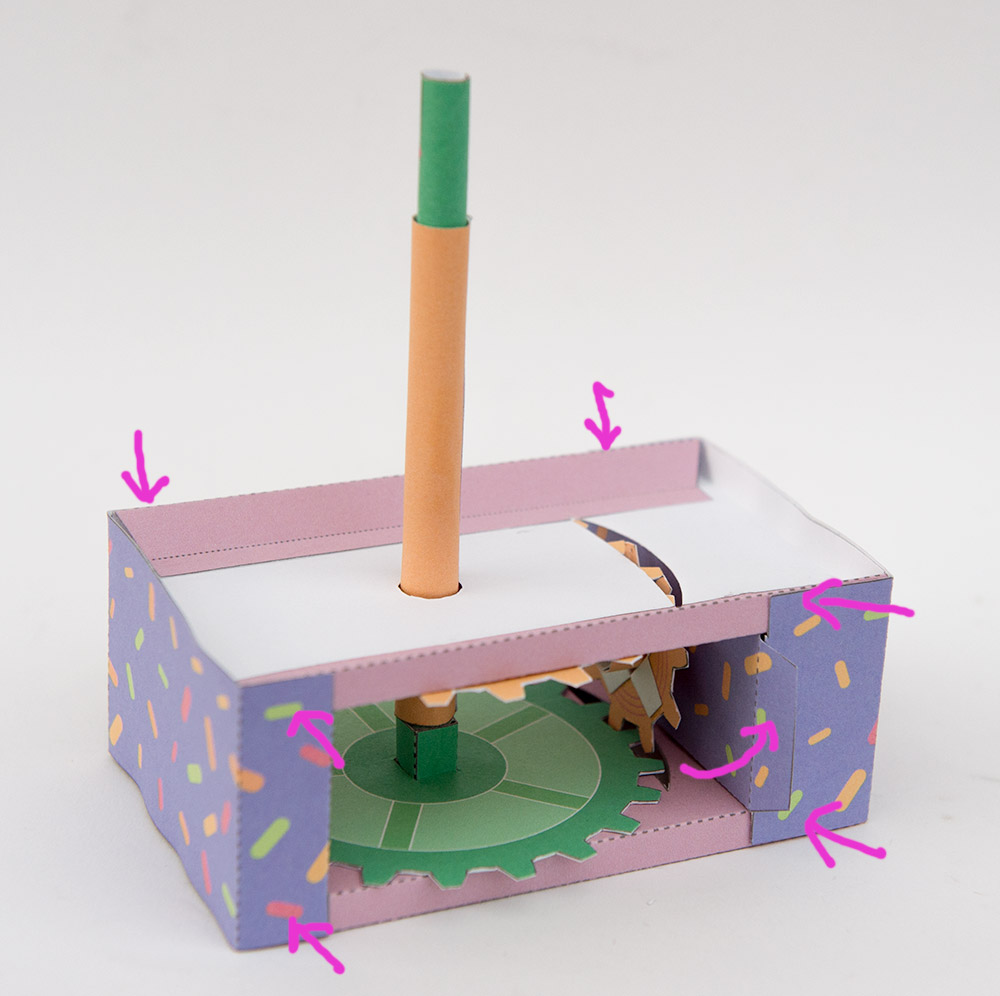
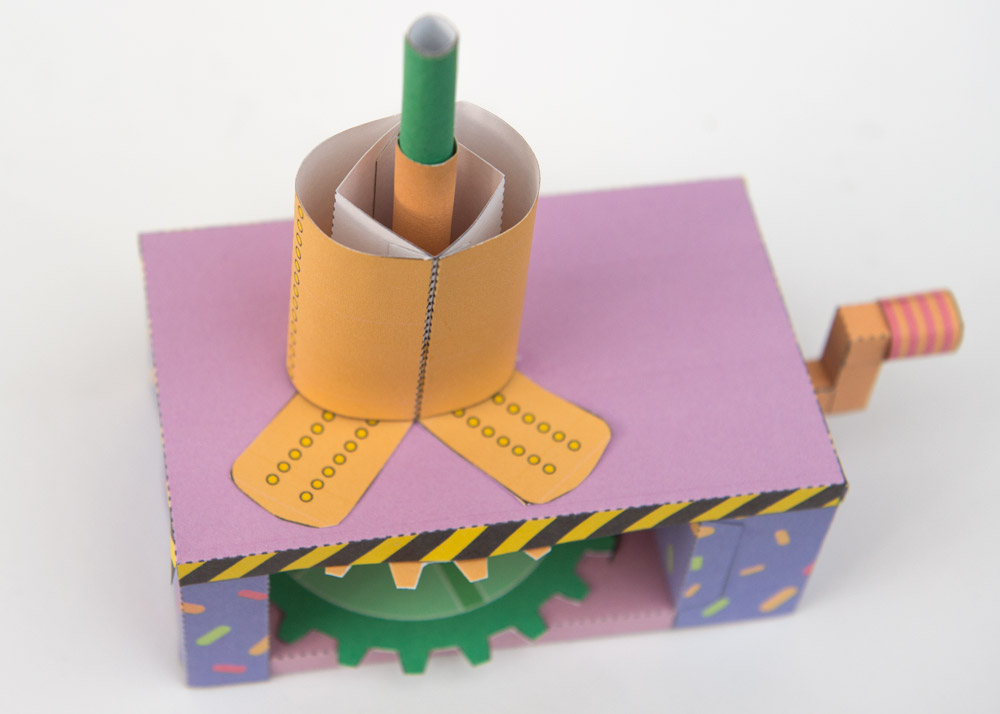
Glue the box top into position leaving one end opened as shown.
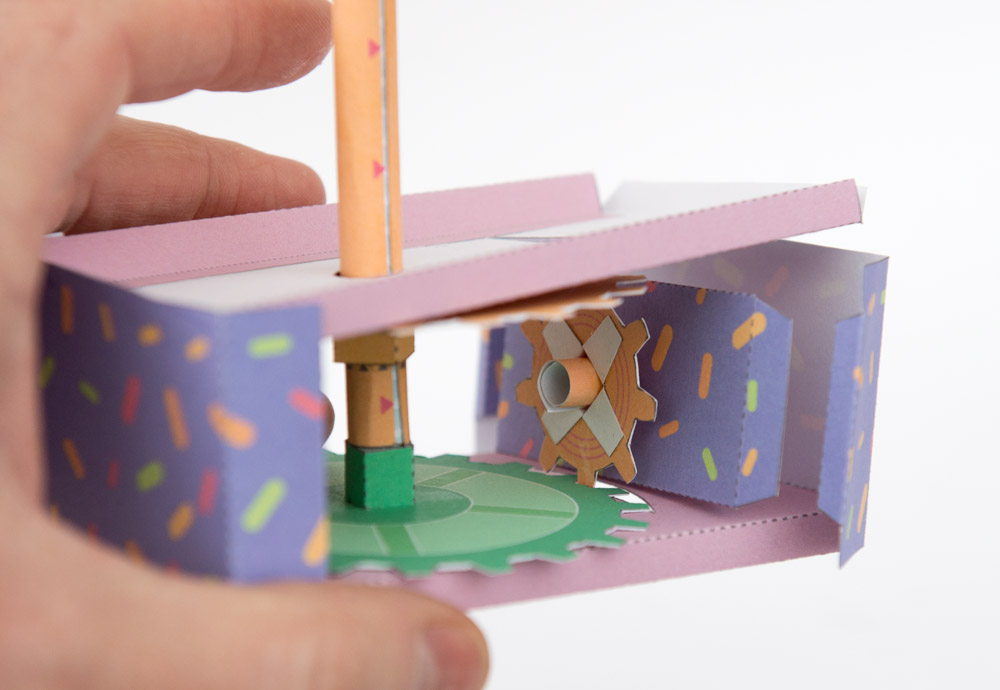
Thread the gears up through the box top and fit them into place.
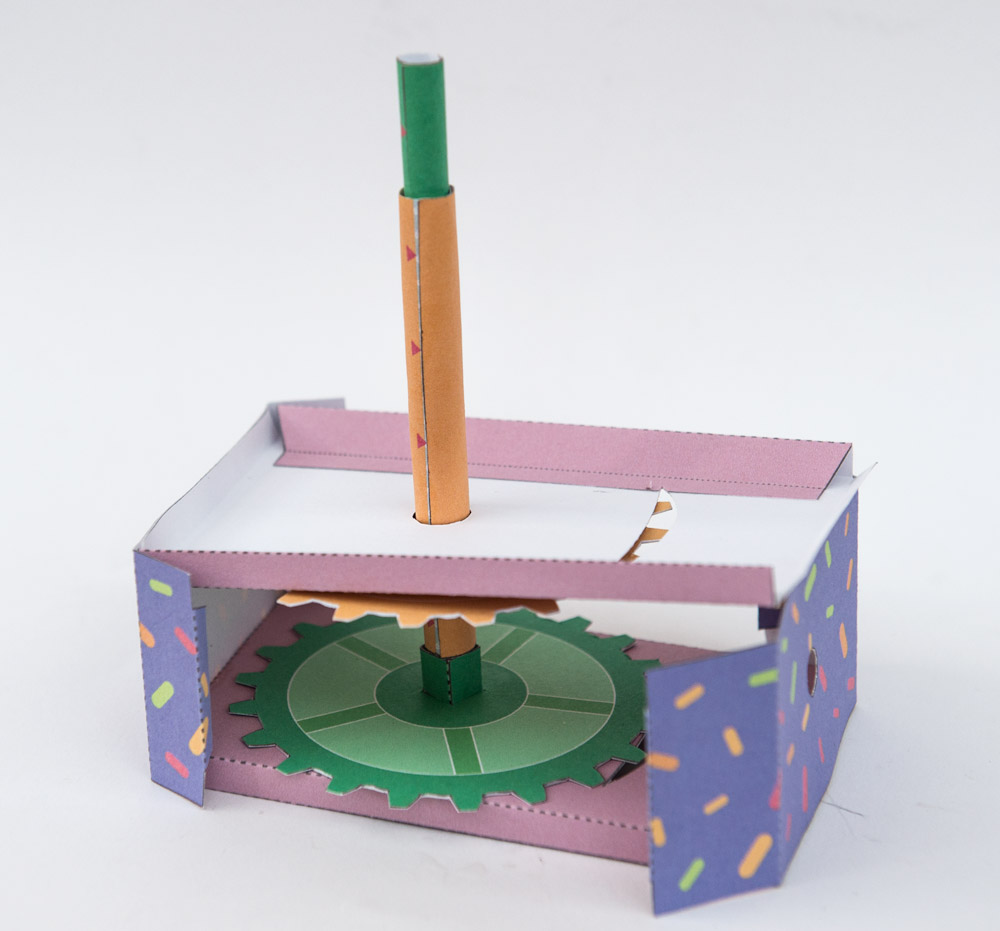
Fit the pinion gear into the cross piece.

Thread the pinion axle out through the box end.
Glue down the box top. Fold in and glue the side flaps then glue the cross piece into position.
Thread the box top down over the axle.
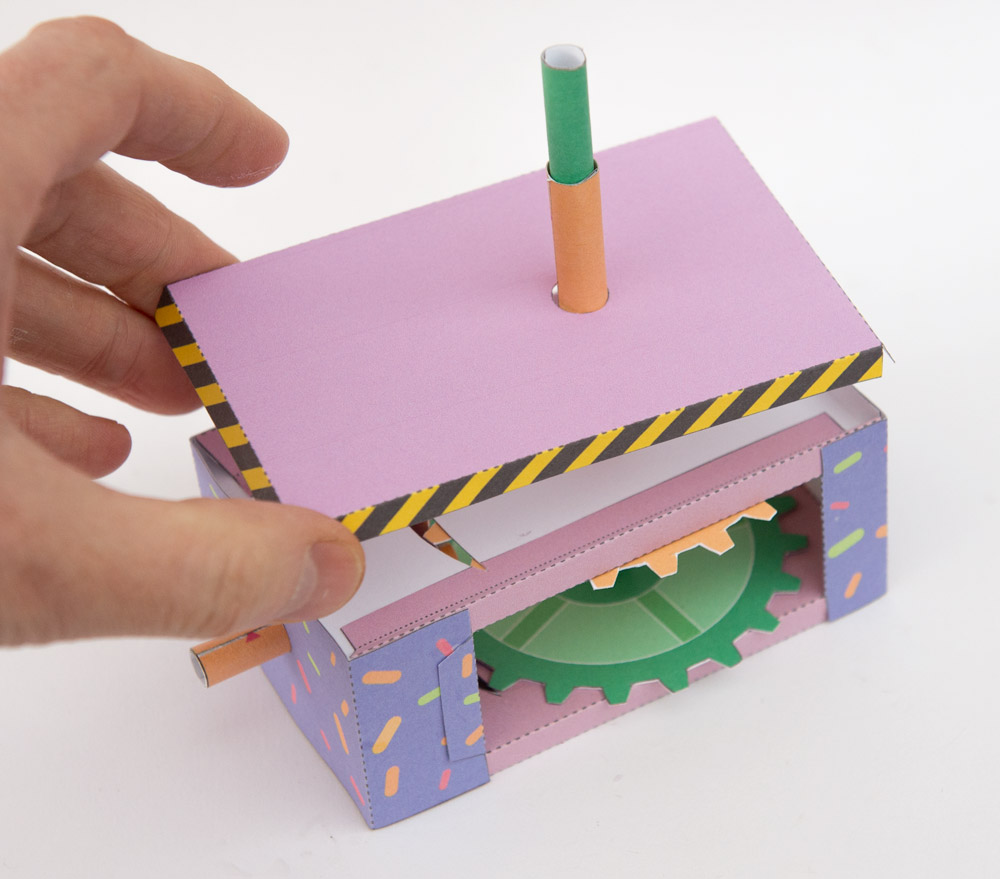
Glue the box top to the box and glue on the handle to complete the base.

Making the Robot
The arms are made from double thickness card. Fold them over and glue them down making sure not to glue the tabs together. Once the glue is dry carefully cut them out.
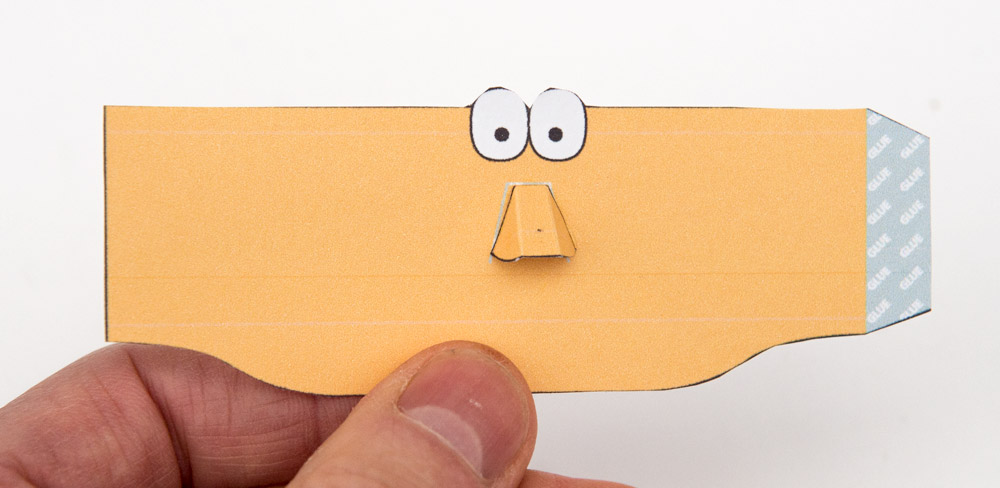
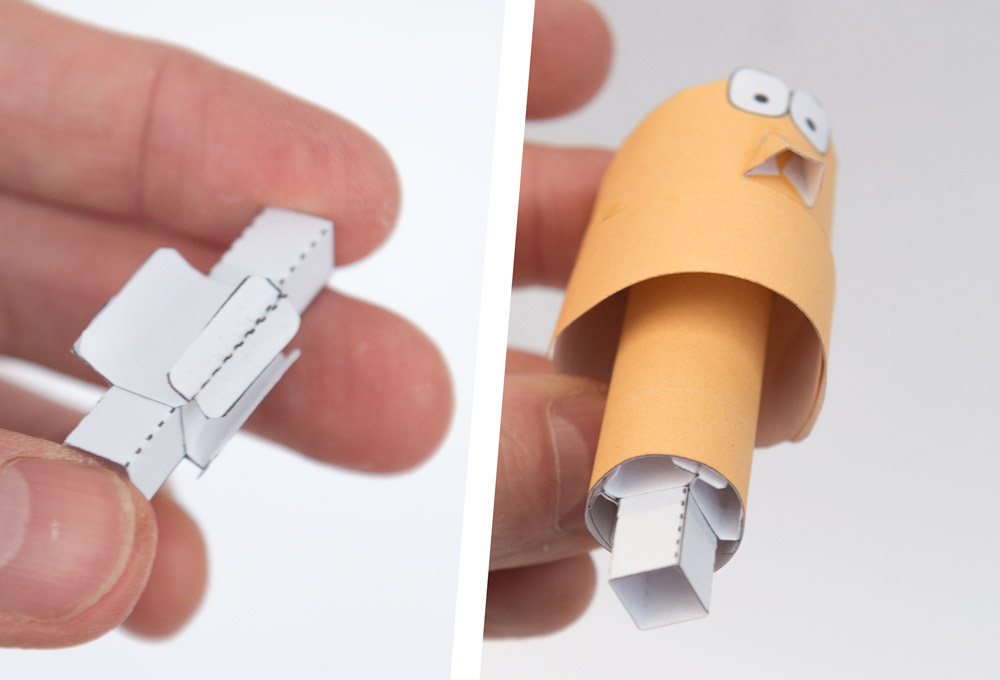
Glue the nose to the head.
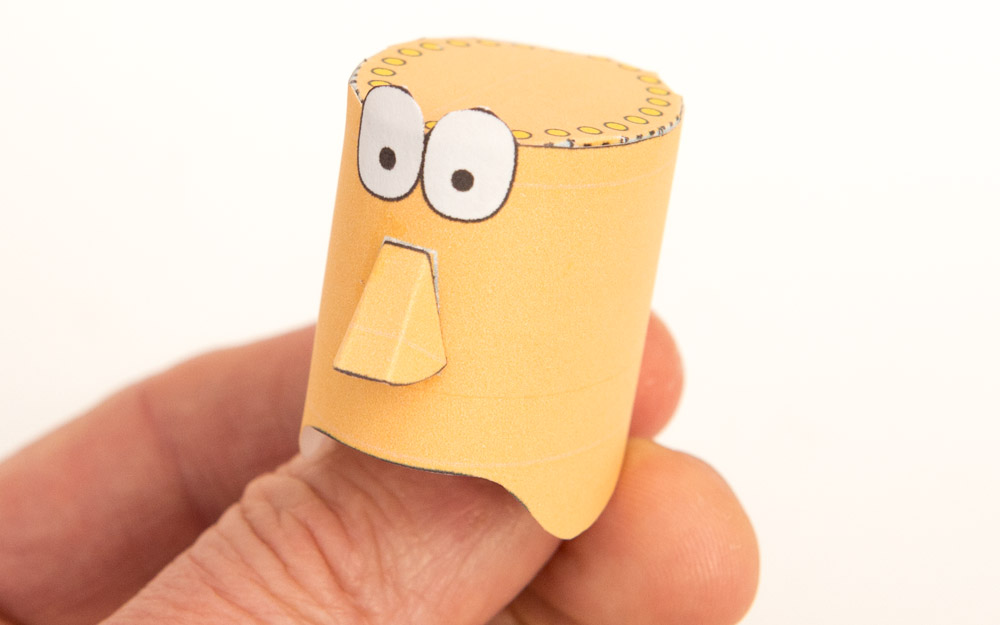
Roll the head round and glue it to the head top.
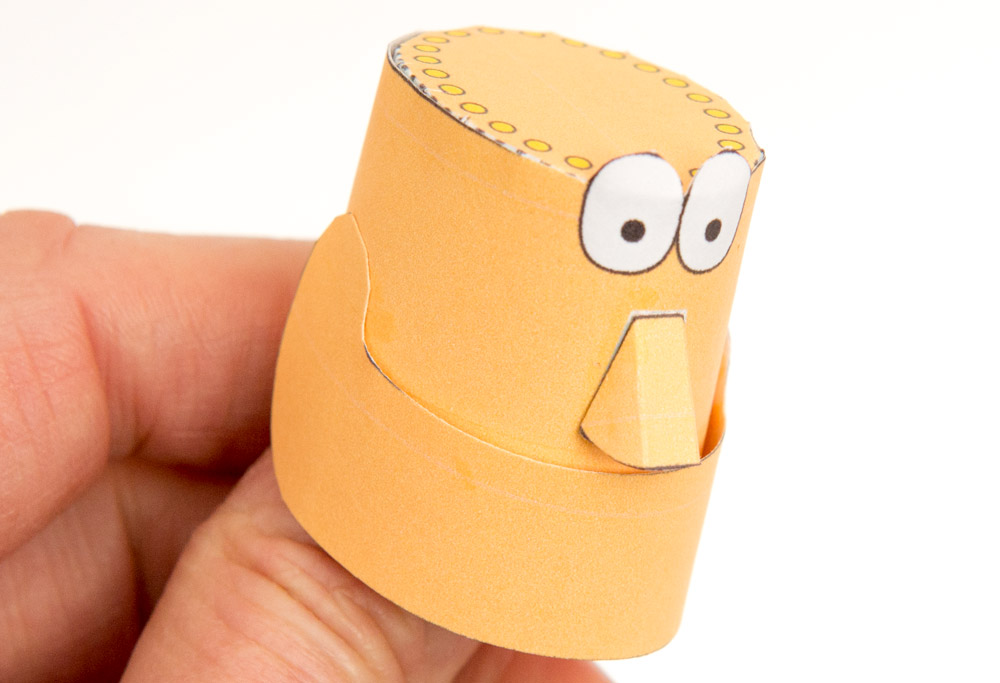
Glue the jaw into position.
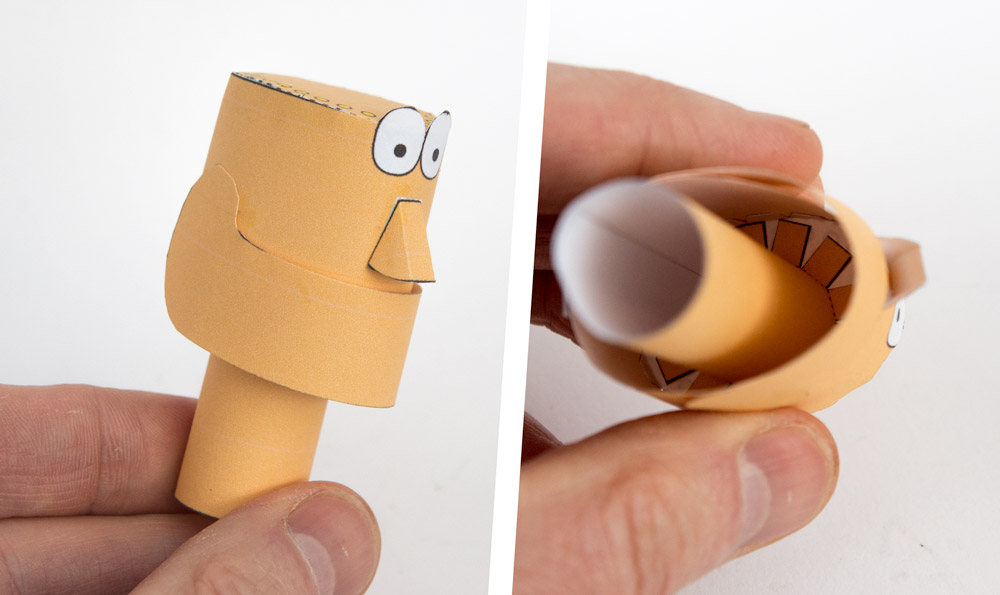
Roll up the neck tube and glue it to the inside top of the head.
Glue the body to the body top as shown.

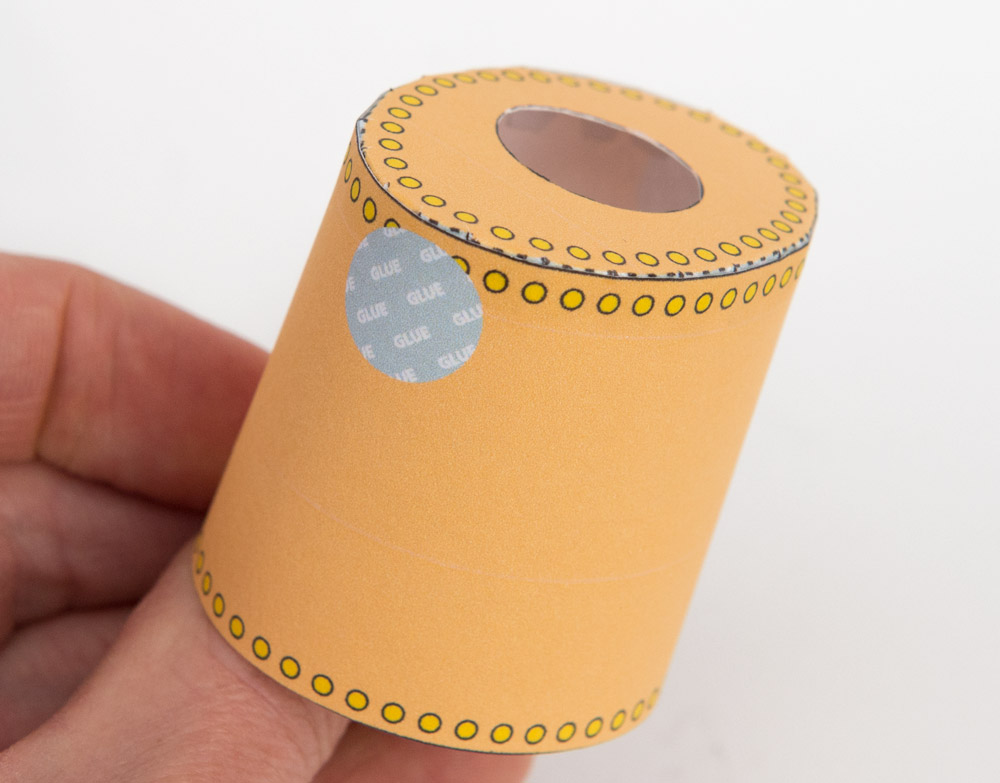
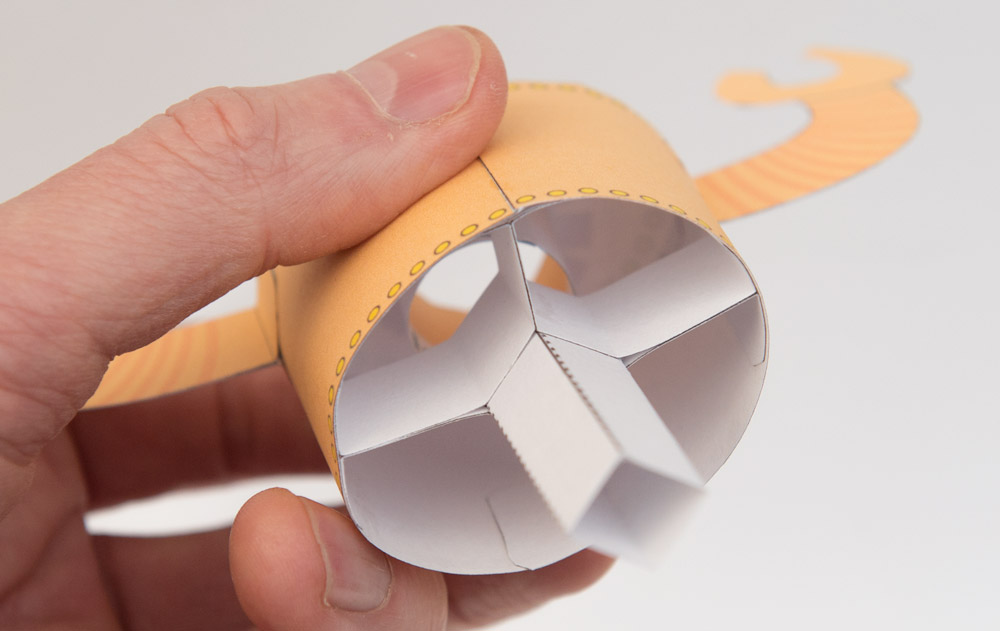
Roll the body tube so that the colour is on the inside. Fit it into the body top and glue it down.

Join together matching pairs for body spiders as shown.
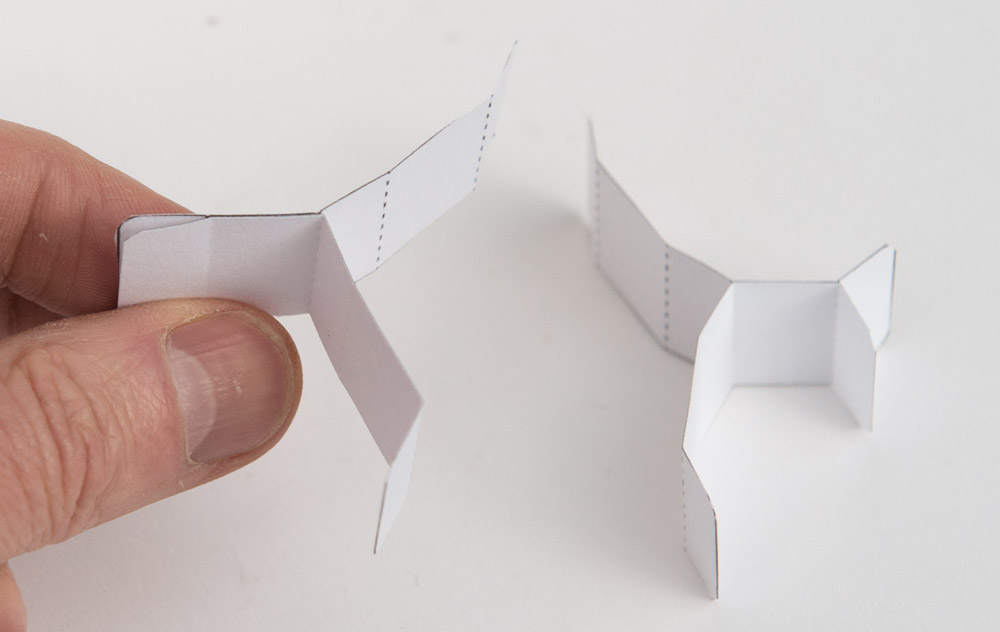
Glue the spiders to the spider inner making this support structure.
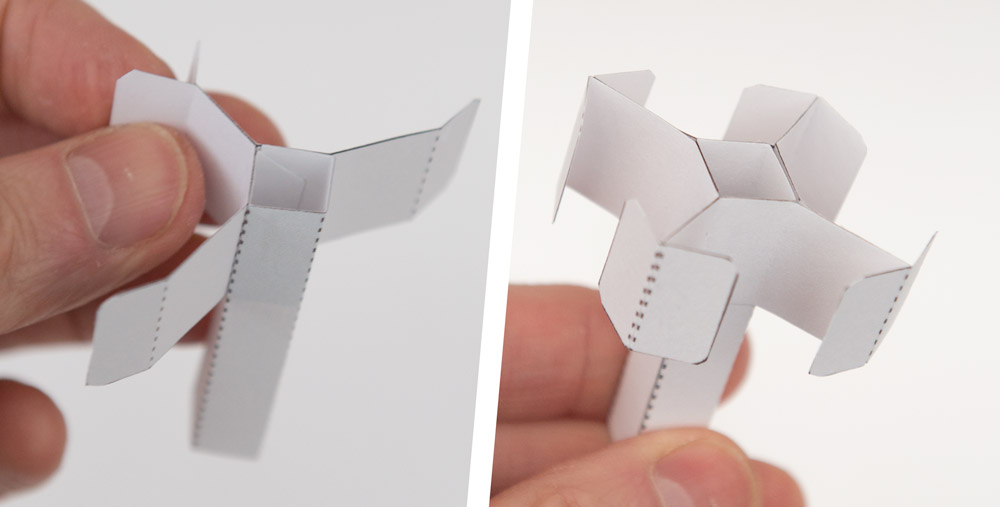
Fit the spider into the body and glue it down.
Make the legs inner then glue on the legs outers.
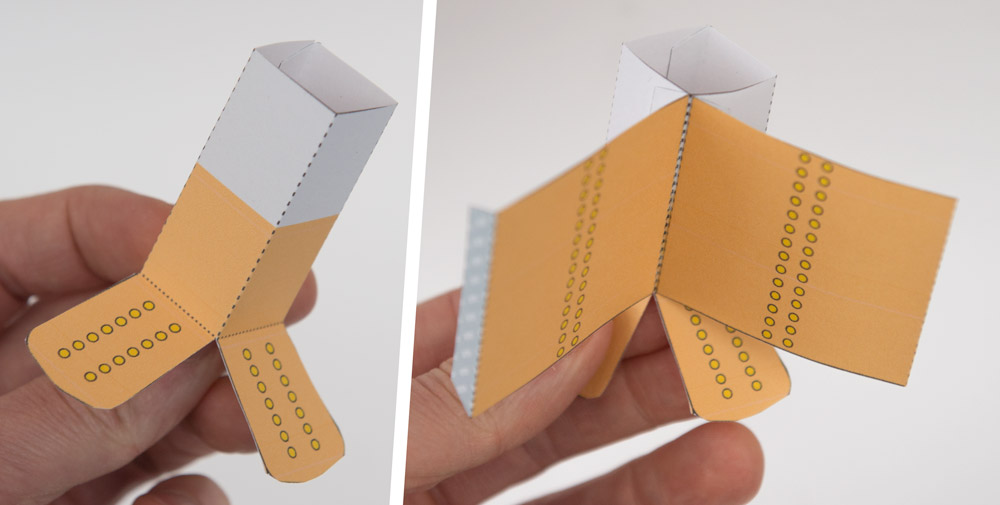
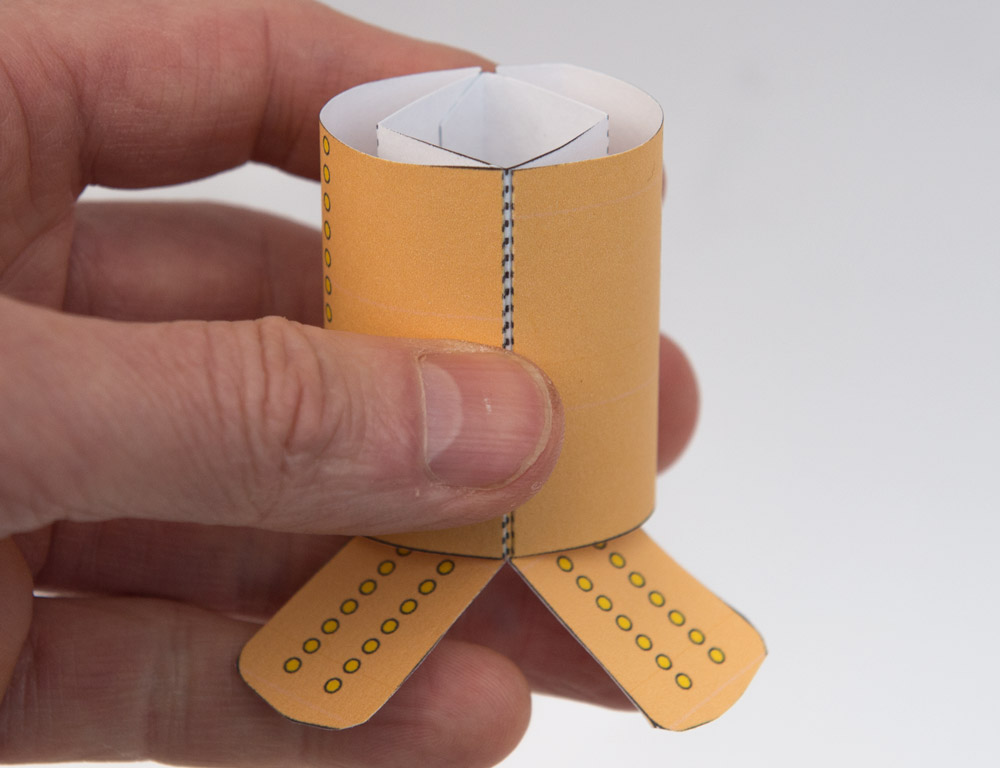
Roll round the legs outer and glue them down.
Make up the neck spider in the same way as the body spider. Glue it to the grey areas on the head spider inner. Glue the head spider into place.
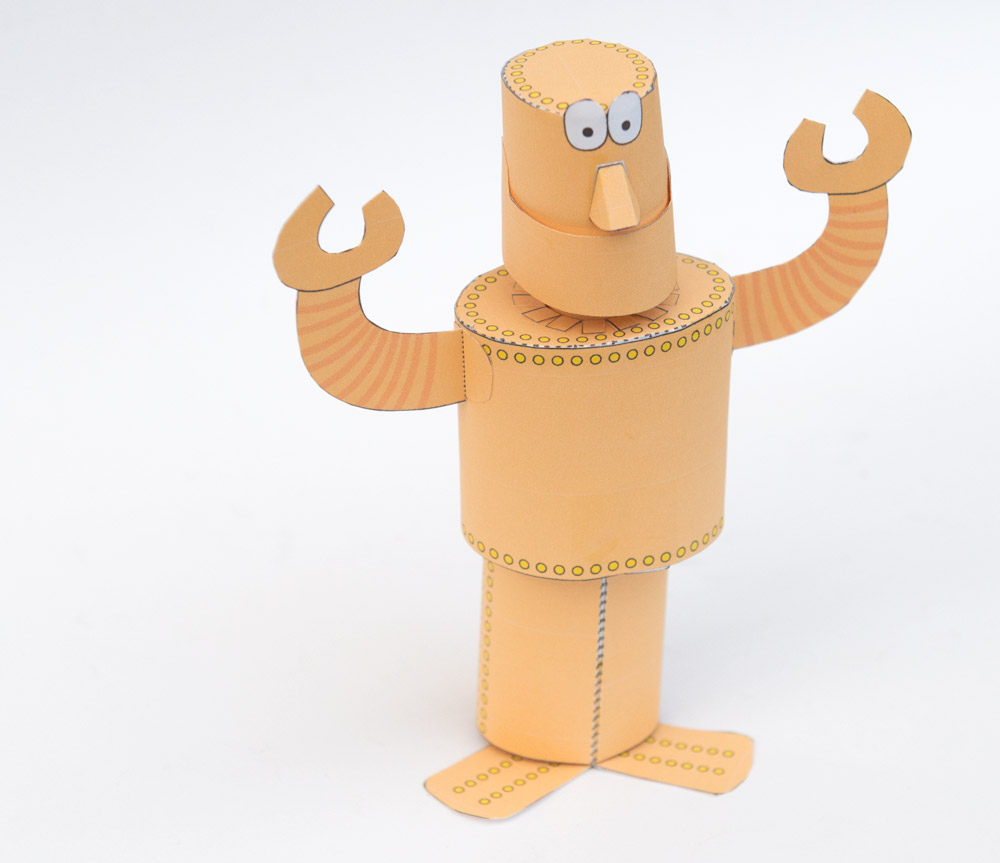
This completes the robot. The three parts should loosely fit together as shown.
Final Assembly
Glue the legs to the box top so that the axle is centred in the square tube.
Apply a small amount of glue to the outer axle tube and fit the body into place.
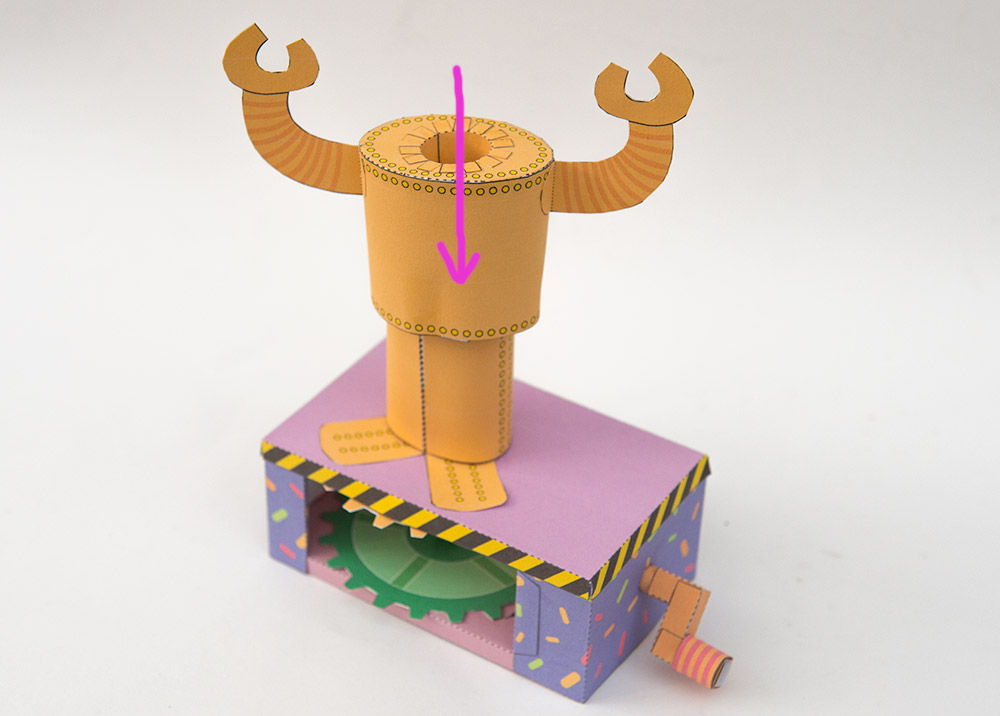
Apply a small amount of glue to the inside of the neck spider and glue it into place to complete the model.

Turn the handle to rotate your counter-rotating Rotobot!