 Check out the updated Mk II model!
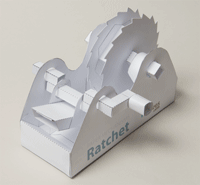
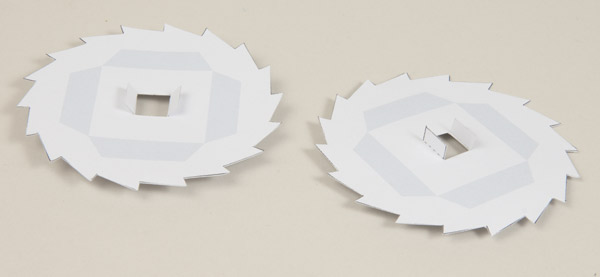
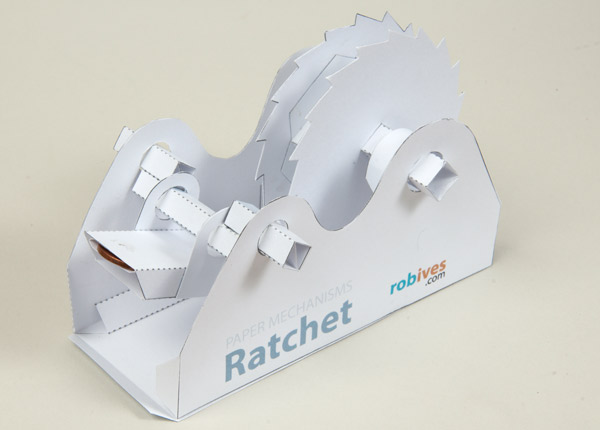
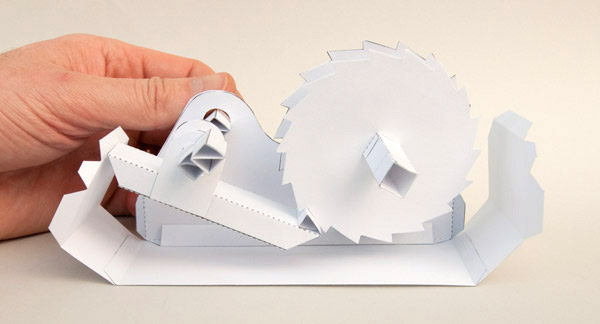
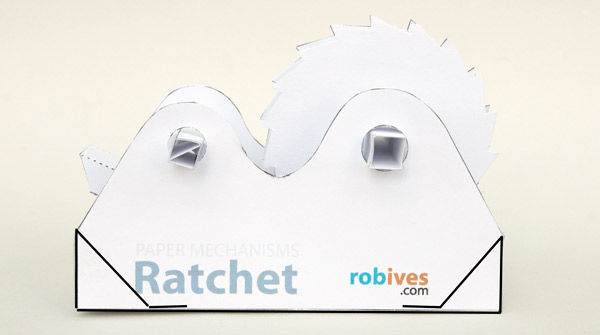
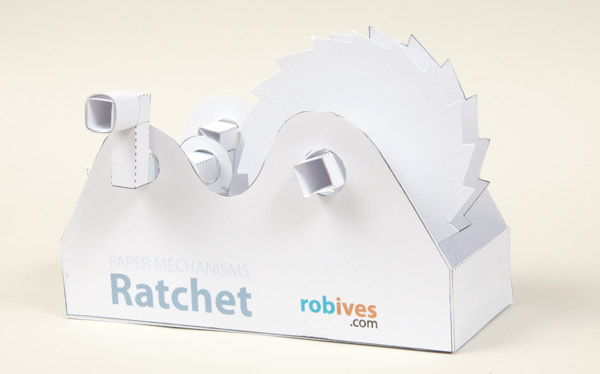
The completed ratchet model. Turn the handle and the main wheel advances on tooth at a time.
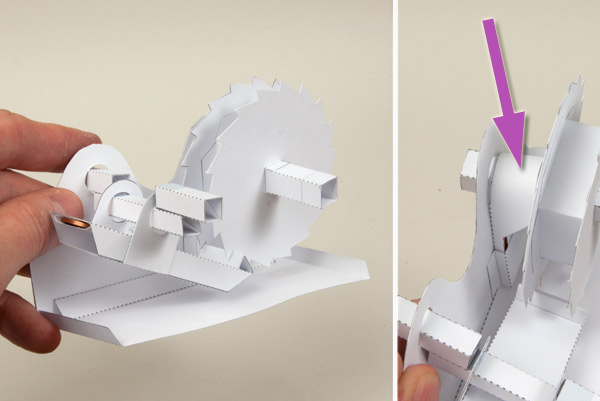
Which ever way the handle is turned, the wheel always advances in the same direction. Weird!
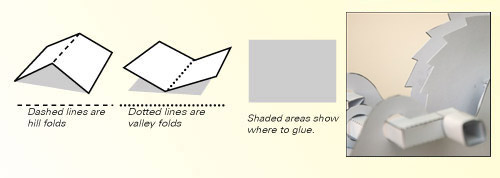
A working paper mechanism for you to download, print out and make. Members can download the parts for free at the end of this post, non-members can download the parts for a modest fee. Print out the parts onto thin card. (230 micron / 230 gsm) Score along the dotted lines and cut out the solid black lines. Don’t cut out the circular holes yet.
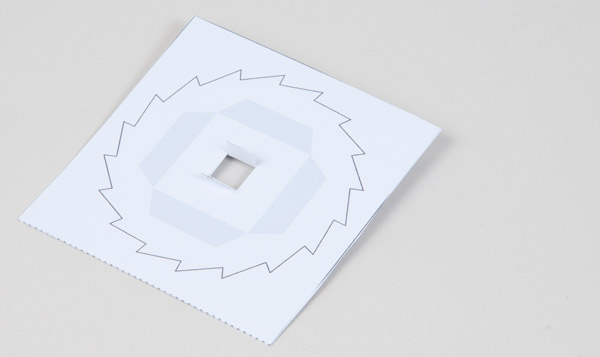
Fold the wheel pieces in half and glue them together to make double thickness card. Make sure that you don’t get glue on the tabs.
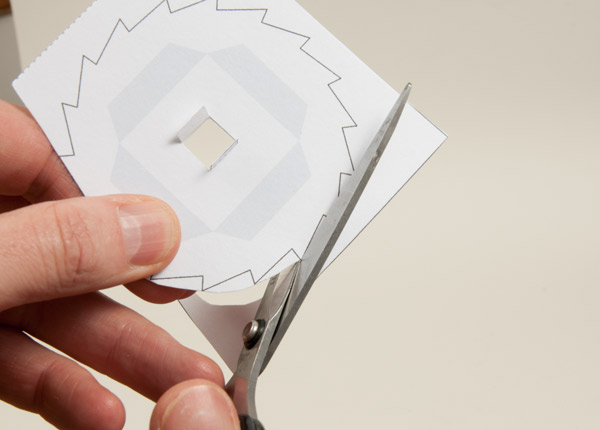
Carefully cut out the wheels.
Set them aside for the glue to dry.
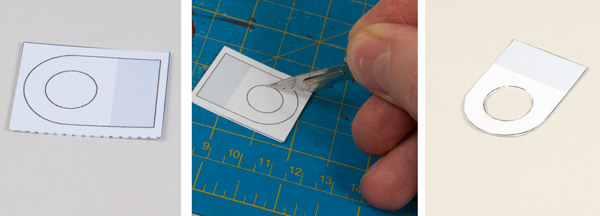
Fold the pawl bearings in half and glue them together to make double thickness card. Let the glue dry completely then cut out the hole with a sharp knife. Complete the piece by cutting round the outside.

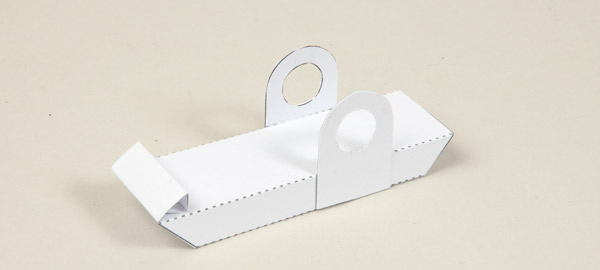
Fold up the box inner as shown above left, note that the creases are valley folds. Flip the piece over and glue the box outer to it to make a double thickness of card. Line up the parts as accurately as possible.
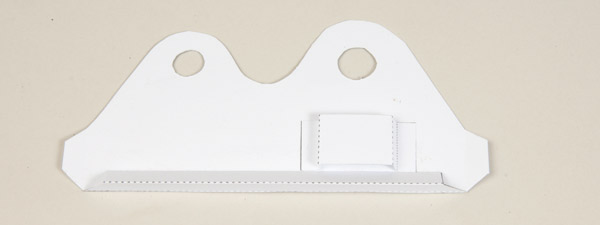
Cut out the two holes. Glue the friction loop holders to the grey areas on the inside of the box.
The friction loops add a little resistance to the wheel to that it is not turned as the pawl moves across the wheels surface.
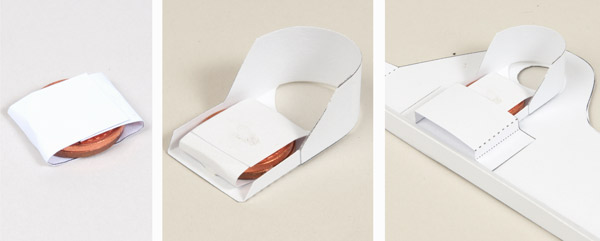
Fold a coin holder strip round two 20mm diameter coins (pennies) and glue it tightly into place.
Fold up and glue together the friction loop, glue the coin pack into place. The coins add weight pulling the friction loop onto the axle and so increasing the friction.
Slip the friction loop into the friction loop holder. It should be free to move. Repeat on the second side of the box.
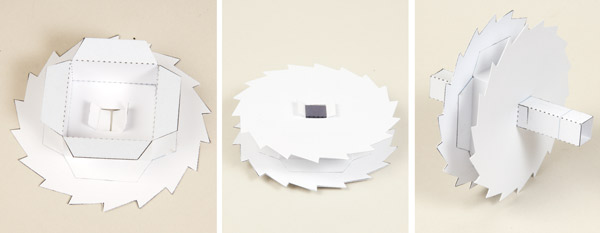
Fold round and glue together the wheel inner.
Glue the wheel inner to one side of the wheel carefully lining up the tabs with the grey areas on the wheel.
Fit the second wheel into place on the other side of the wheel inner rotating it so that the tabs on the wheel centre are running in the same direction.
Fold round and glue together the axle. Thread the axle through the wheel centre and line it up with the grey lines on the axle then glue it into place to complete the wheel.
Fold round and glue together the pawl as shown above. Glue the pawl bearings onto the pawl using the grey areas for alignment.
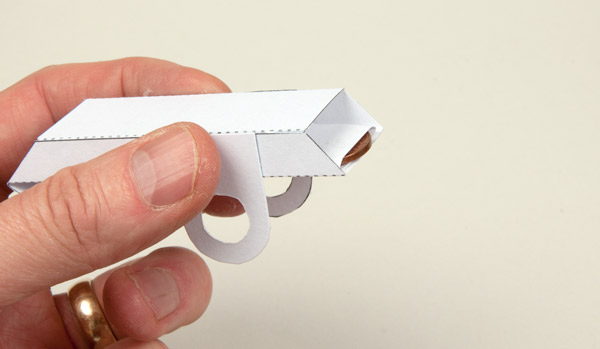
Fold a coin holder round a single 20mm coin (penny) and glue it into place in the end of the pawl as shown.

Assemble the three crank pieces as shown above. The diagonal piece adds strength and rigidity.
Glue one of the short crank pieces to the longer piece using the grey areas for alignment.
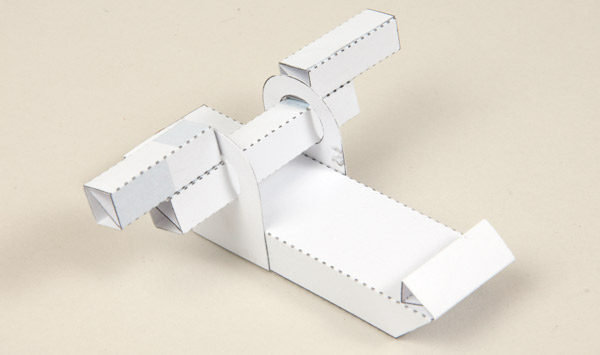
Thread the crank through the bearings and glue the third crank piece into place again using the grey areas for alignment. The crank should be freed to turn in the bearings.
Glue the base to one of the sides being careful to line up the edges and corners accurately.
Thread the axle through friction loop and into the larger hole in the box side. It is important that the wheel is the correct way round. Make sure that the flats of the top teeth are facing toward the pawl, use the picture to help.
Thread the crank through the second, smaller hole in the box side.
Thread the second box side over the crank and axle and glue it into place on the box base, again being careful that the parts are lined up accurately.
Glue the box ends into place on the box base. (Box side not shown for clarity)
Fold over and glue in the box ends to the inside of the base. Try twisting the box a little before you glue in the ends the again after the ends are glued into place. Notice how much more rigid they make the box!

Assemble the handle in three steps. Fold round and glue the two square sections. Fold one section into the other and glue. Roll round and glue down the long tab.
Complete the model by gluing on the handle.
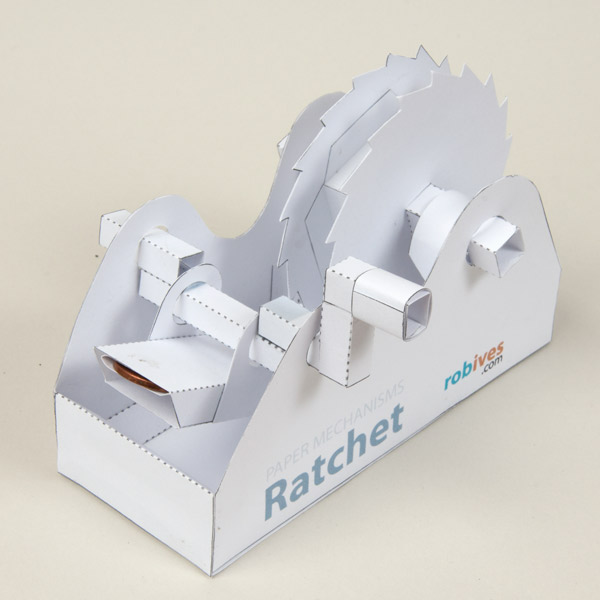 That’s it! Once the glue is dry, turn the handle. the main wheel will advance one tooth at a time always in the same direction no matter which way the handle is turned. Use this model to find out about mechanism and how they work or as a starting point for your own models.