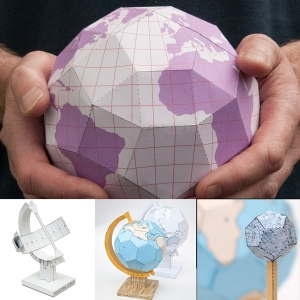
As promised , here is a quick tutorial showing how to to project planets onto 3D shapes. Lets get going!
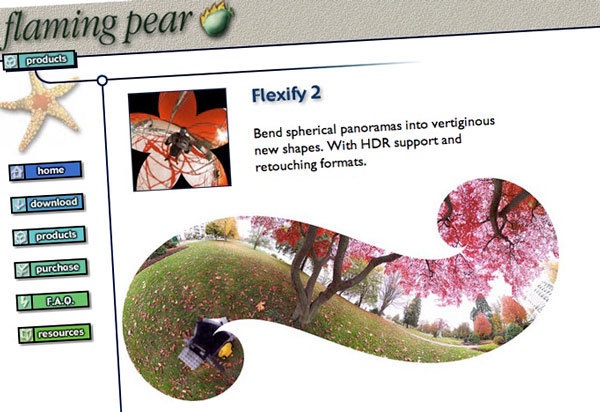
The plug-in that does the hard work is called Flexify. A thirty day trial version is available from the Flaming Pear website here. I’m also using Photoshop. Again, a 30 day trial is available here. I understand, but I’m not certain, that flexify will work with the free open source graphics program, Gimp.
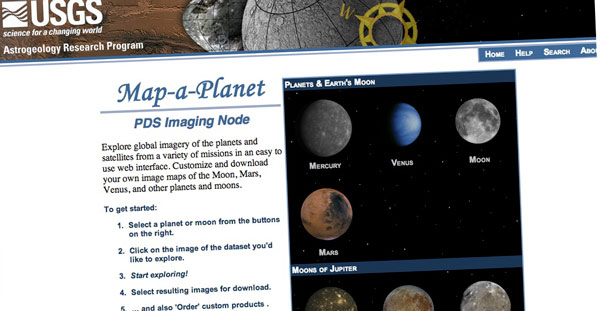
The planet maps I found on the USGS website Map-A-Planet. It is a fantastic resource with all sorts of maps for many of our Solar System’s planets and moons. Click on ‘the Moon’ and let’s get started.
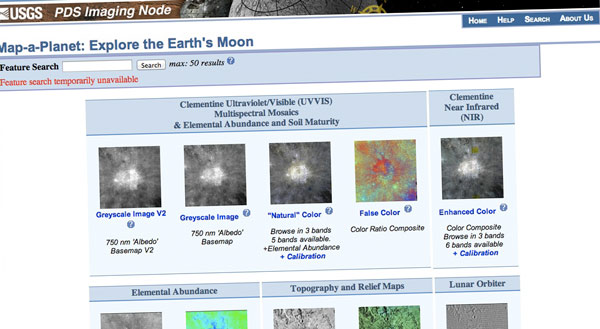
Each solar system body comes with a variety of different images. For the moon I’ve picked the Shaded Relief map which is nice and contrasty showing the craters and moon features to their best advantage. Click on that.
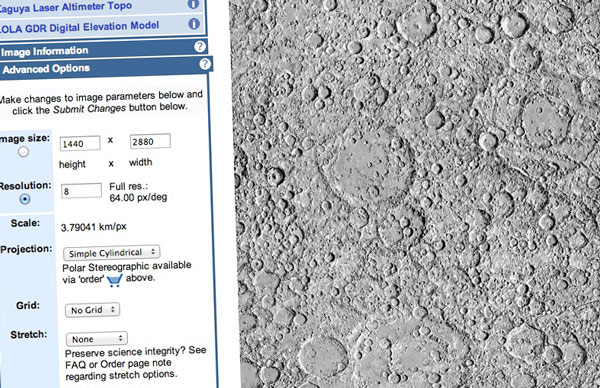
You will see an image of the entire moon surface stretched out into a single rectangle. We need a large image for best results so go to the advanced tab on the left hand side and set the resolution to 8 then click on the re-calculate button. This will create an image 1440 x 2880 pixels, probably bigger than your screen. No matter. Right click on the image and click on Copy Image to save it to your computer’s clipboard.
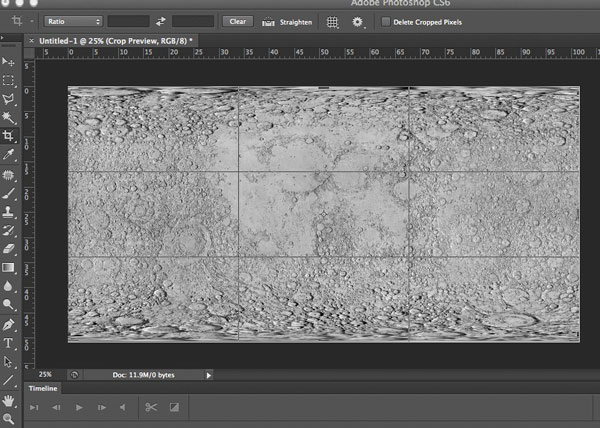
Create a new image 1440 x 2880 pixels in PhotoShop and Paste the image into it.
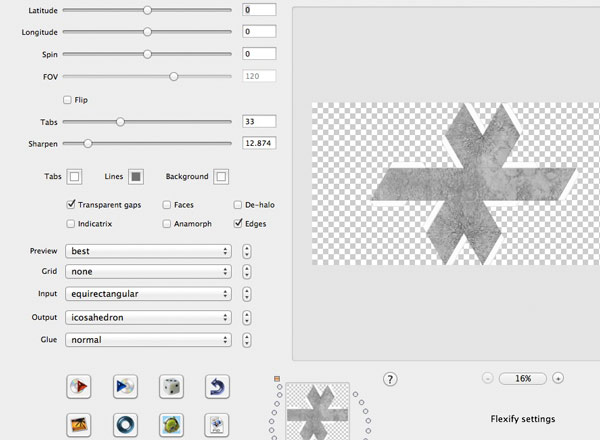
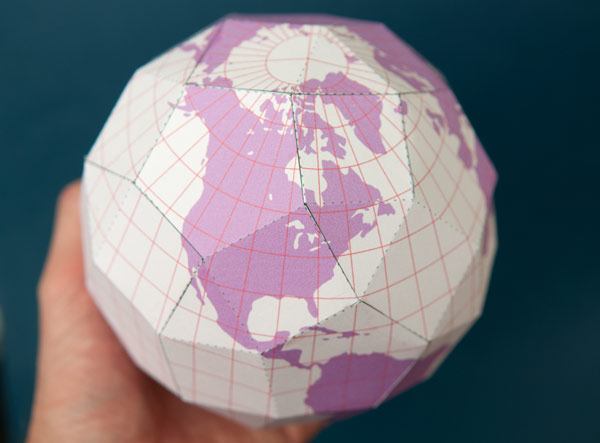
Here is where the magic occurs. Click on Filters > Flaming Pear > Flexify to bring up the flexify window. There are lots of options and it is worth spending a bit of time experimenting with the various things this plug-in can do. I’m going for an icosahedron with this model. The shape used for the earth, at the top of this post, is listed in the drop down as “62 faces” There are loads and loads and loads of shapes to choose from!
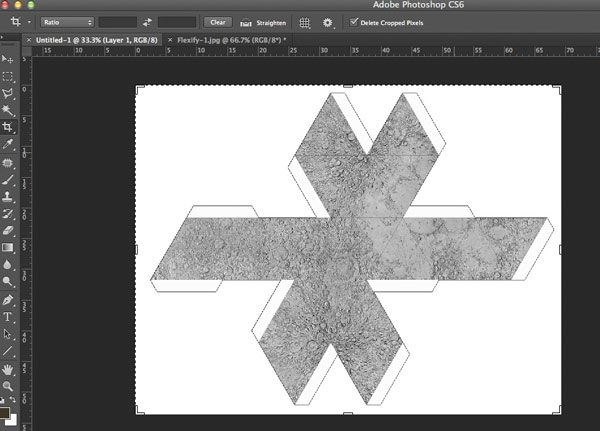
Click on the Go button to complete the projection process and save the completed file.
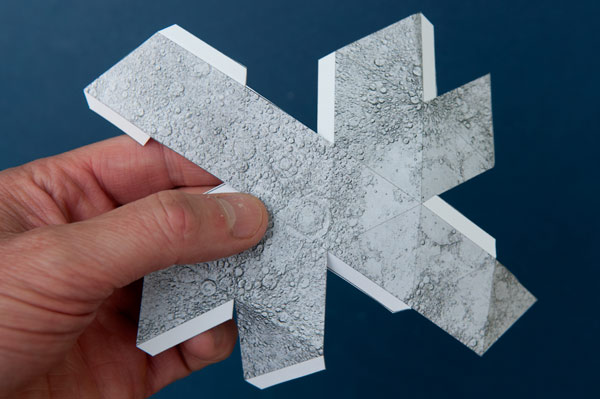
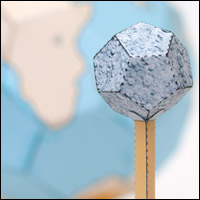
Print it onto card…
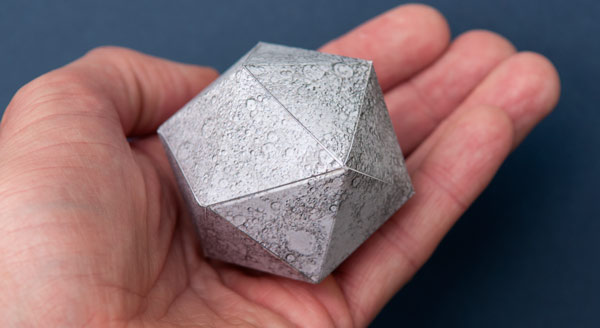
…and make your own moon!
If you are a member you can download the moon file at the usual link.