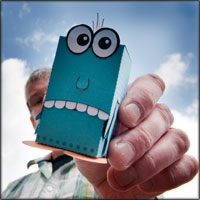
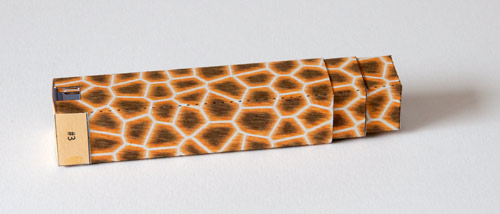
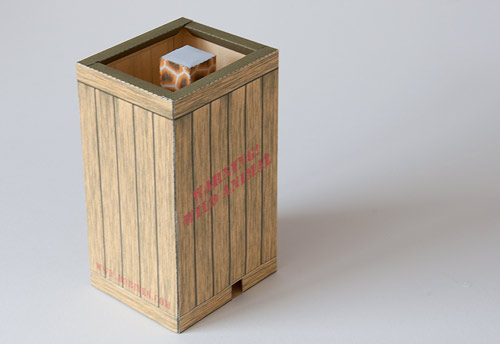
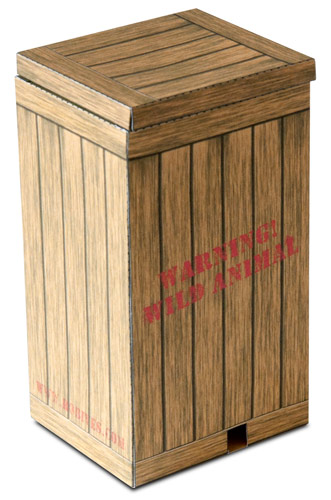
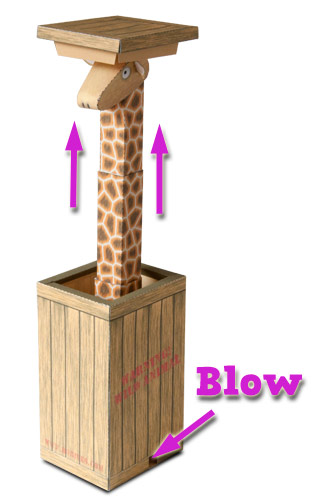
(YouTube!) The Pneumatic Giraffe! An air powered model to download, print out and make. The finished model is a simple wooden crate marked with the words. “Warning! Wild Animal”
All looks perfectly normal until you blow in the airhole on the side of the great when, Woooshhh! A Giraffe flies up out of the crate to see what on earth is going on!
As a member you can download the model for free at the end of this blog post. None members can download the file for a small fee.
The Pneumatic Giraffe comes in two versions, mono and colour, both of which are in the same file. Choose the version you prefer then print the parts out onto this card. 230 micron white photocopier card is perfect for the job.
Notice that the parts pages for the first three sheets of the colour version are marked front and back. Print out the front, flip the card over and return it to the printer then print out the back. Let the ink dry completely before moving on.
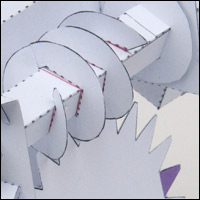
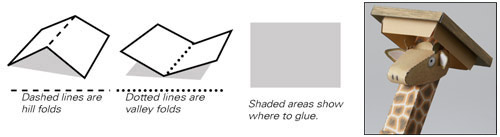
Solid black lines show where to cut. Dotted and dashed lines are score lines. Score the parts and cut out any holes with a sharp knife before cutting out the parts.

Fold round and glue together the neck piece marked #1.
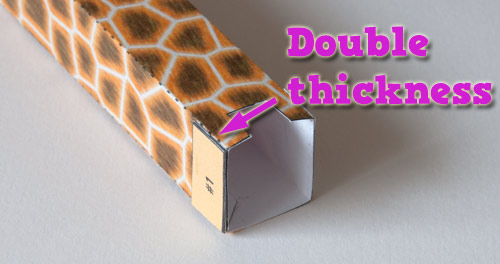
Glue two tube stops into place on the grey areas. Two on each side to make a double thickness stop. This parts will stop the neck flying out of the giraffe when you blow into it.
Fold round and glue together the neck piece marked with #2.
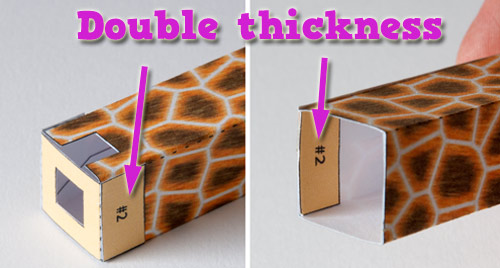
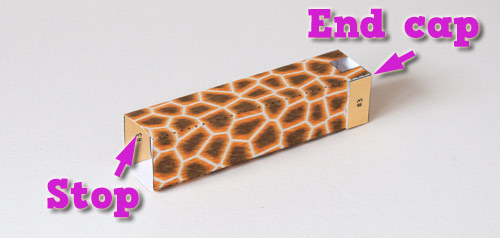
Glue on the the #2 end cap then glue the second #2 tube stop on top of it to make it double thickness.
Glue together two #2 tube stops to make a double thickness. Glue them into place on the same side as the other tube stops but at the other end and inside – as shown above. Repeat on the other side.
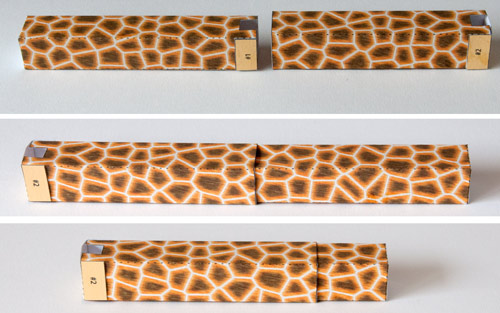
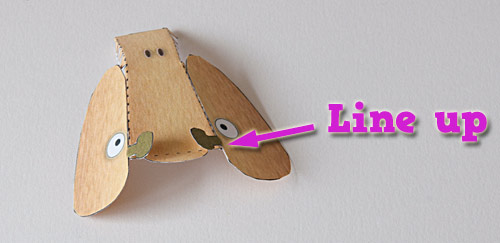
Line up the two neck parts so that the small cut out is uppermost.
Carefully fit the #1 tube into the #2 tube.
Push it down to the bottom of the neck tube. Pull the neck in and out a few times to ensure that it moves freely.
Assemble the #3 tube in the same way with end cap and double thickness stop.
Fit the first two neck pieces into the third neck keeping the cut out . Move them back and forth to ensure everything is working smoothly.
Assemble the forth and final neck piece. This piece has internal tube stops but no end cap.
Fit the pieces together. Extend them and compress them a few times to make sure all is working well.
Glue the air tube into place on the #4 neck piece. Be careful to line up the crease lines with the end of the neck piece.
Glue the neck support into place.
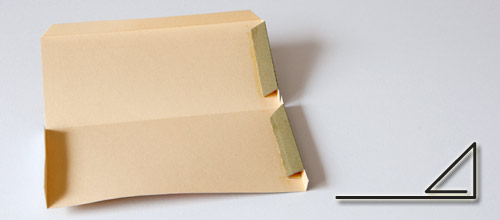
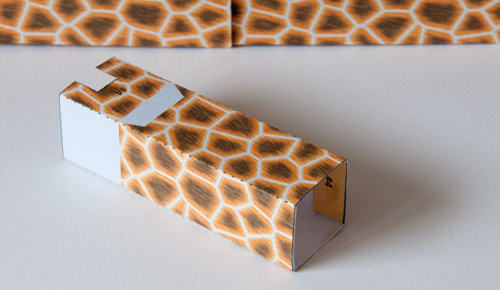
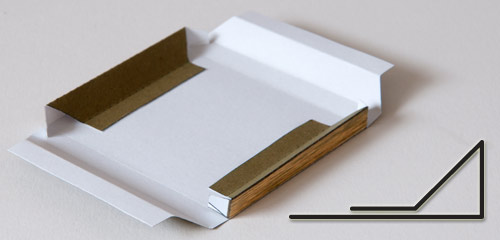
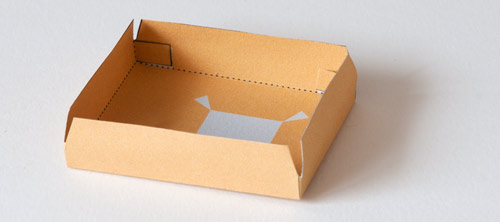
Fold round and glue the two top tabs of the back sides to make triangular sections as shown. This will make the make the box strong and give it depth.
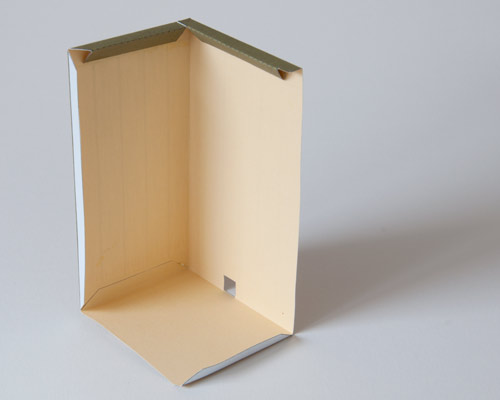
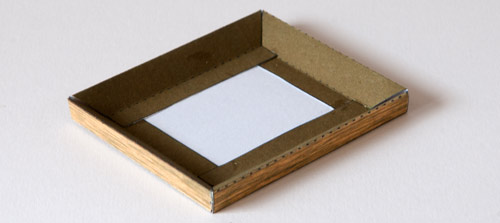
Fold round and glue together the box sides with the base piece as shown. Be as accurate as possible with your alignment.
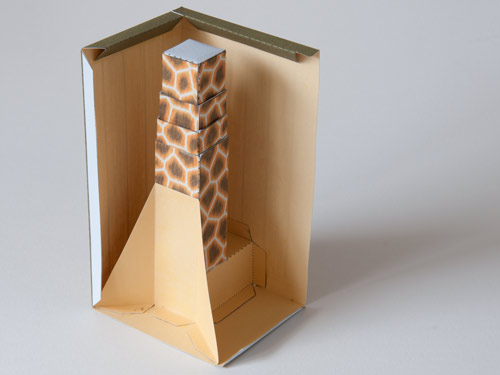
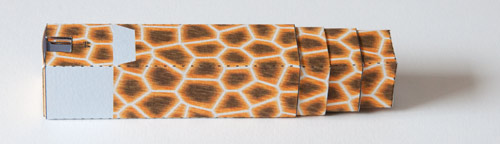
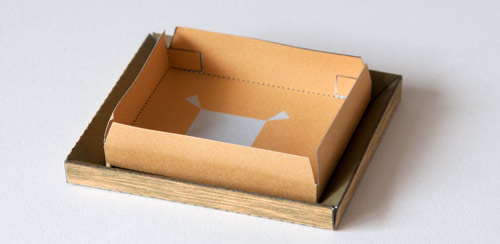
Glue the neck and air tube assembly into place in the bottom of the box.
Glue the other side piece into place as shown.
Glue the long tabs of the two head sides into place on the head top lining up the end of the tab with the back of the giraffe horns.
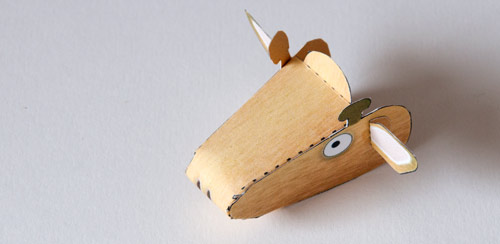
Curve round and glue the rest of the head into place. Glue on the ears.
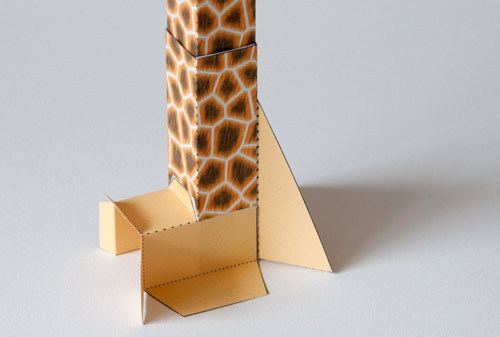
Fold round the tabs on the box lid and glue them down.
Fold round and glue the other sides to finish off the lid
Glue together the lid inner as shown.
Glue the lid inner into the box lid.
Extend the neck for easy access. Glue the head into place using the grey square for alignment.
That’s it!
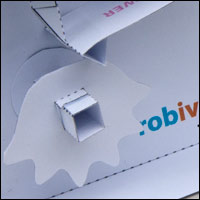
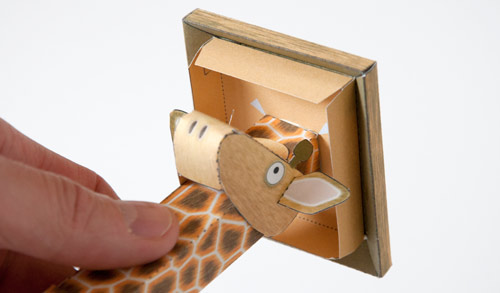
Once the glue is dry, blow through the hole in the base of the box and the giraffe will pop out of her crate.
Keep it on your desk at work and amaze your colleagues!