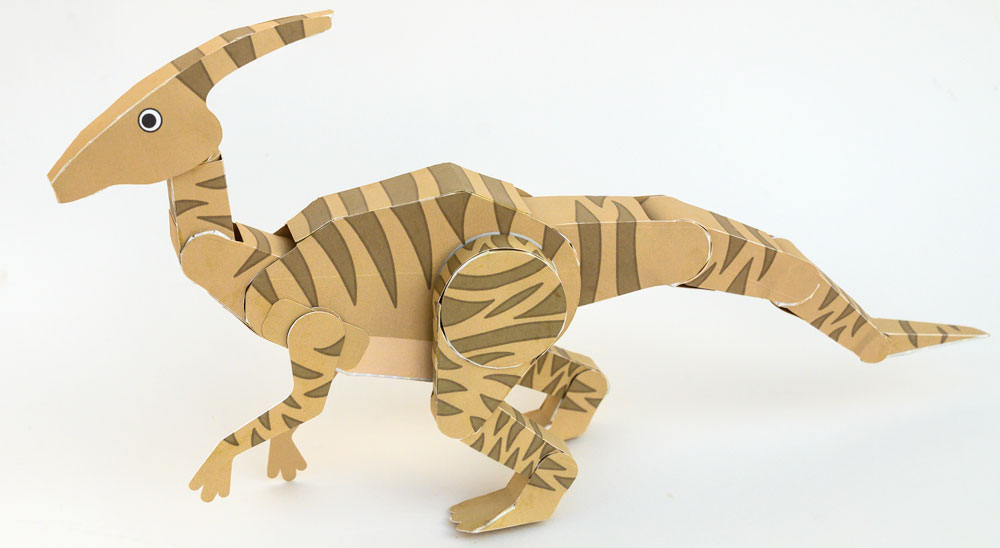
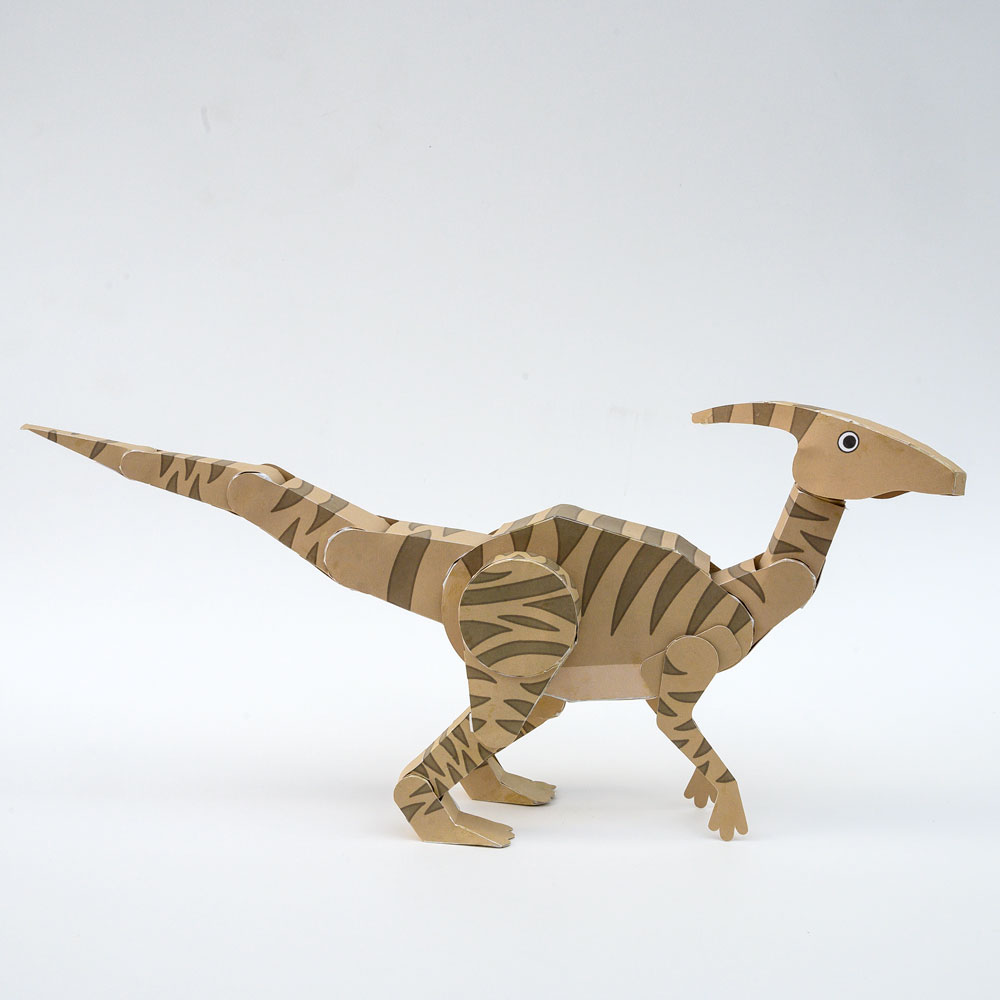
Poseable Parasaurolophus to print out and make. The Parasaurolophus was an iconic hadrosaur from the Late Cretaceous, This Wikipedia is a good starting point if you want to find out.
This project comes in two versions. The print version contains a pdf for you to print out onto thin card then cut out with scissors. The cutting machine version comes with the same pdf but also includes files ready for Silhouette Cameo 3 as well as svg and jpg files. This project is suitable to print and cut on most popular paper cutting machines.
Members can download the projects for free, thanks for signing up!
Print out the seven parts pages onto thin card then cut out either with your trusty scissors or with a cutting machine.
Roll round the glue the upper core.
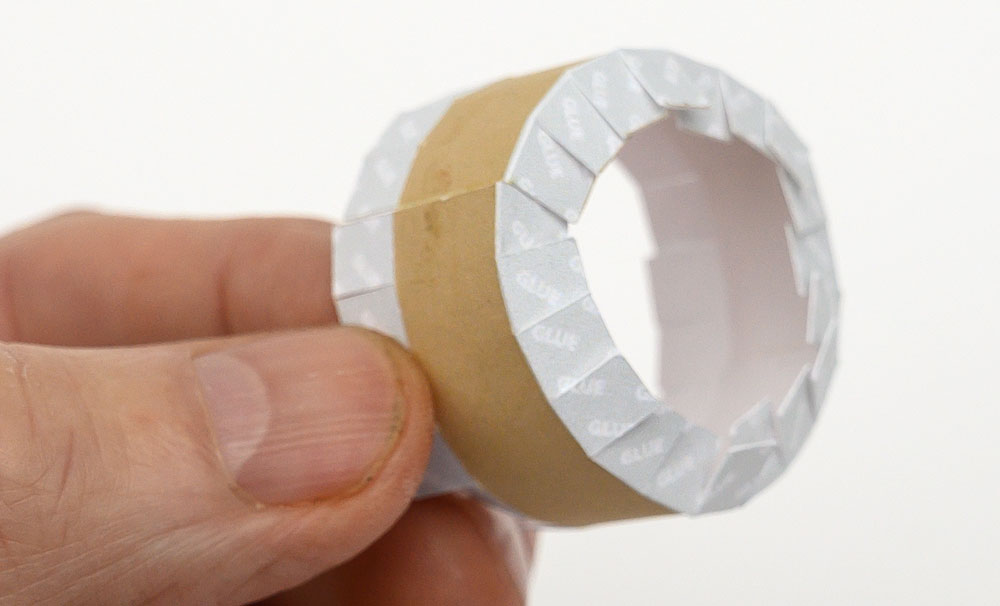
Glue on the upper core cover making sure the core is circular.
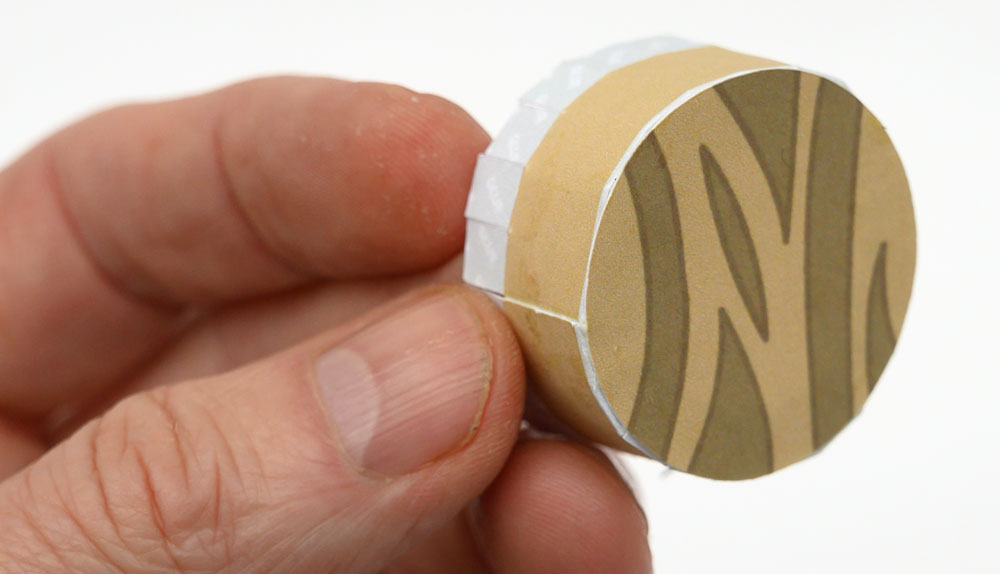
Flip over and glue the core cover back. Fold and glue the upper leg.
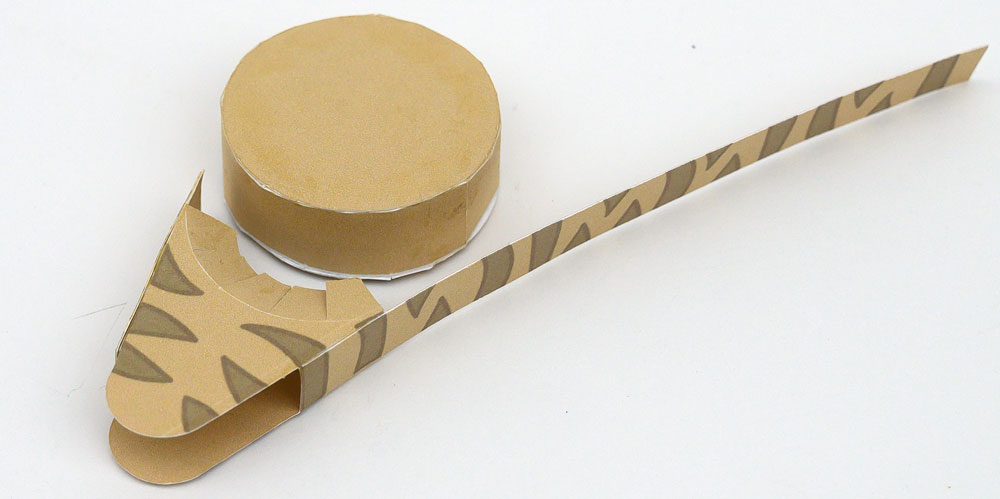
Wrap the long tab round the upper core and glue it to the other side of the leg so that the core is a tight fit but still able to rotate. This mechanism will be the essence of the poseability of all the joints.
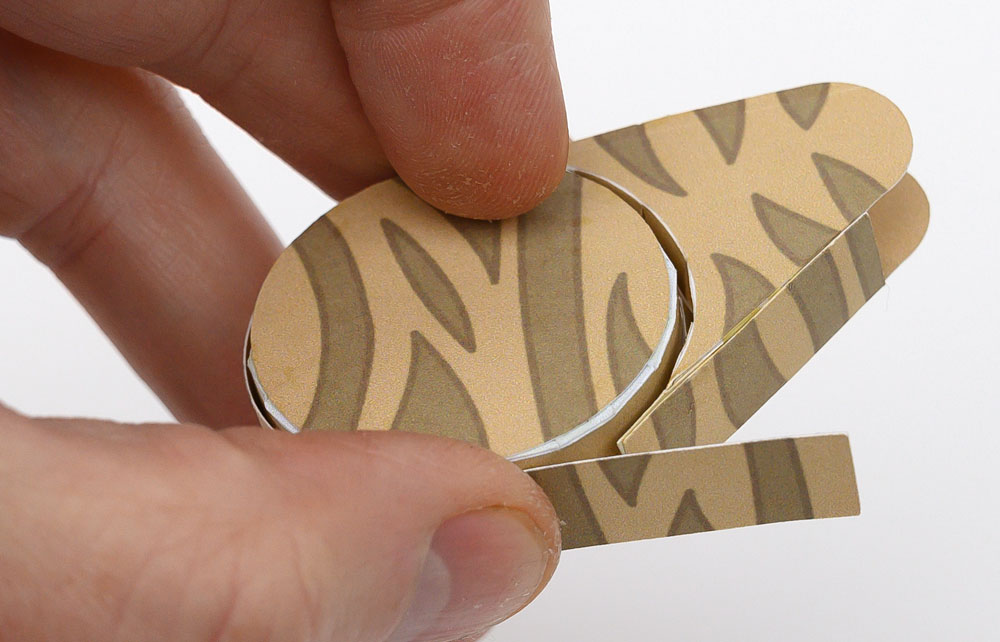
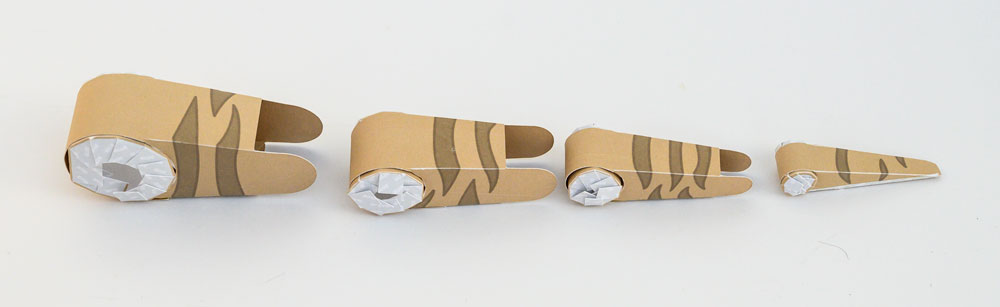
Make up the mid and lower cores as well as the lower leg.
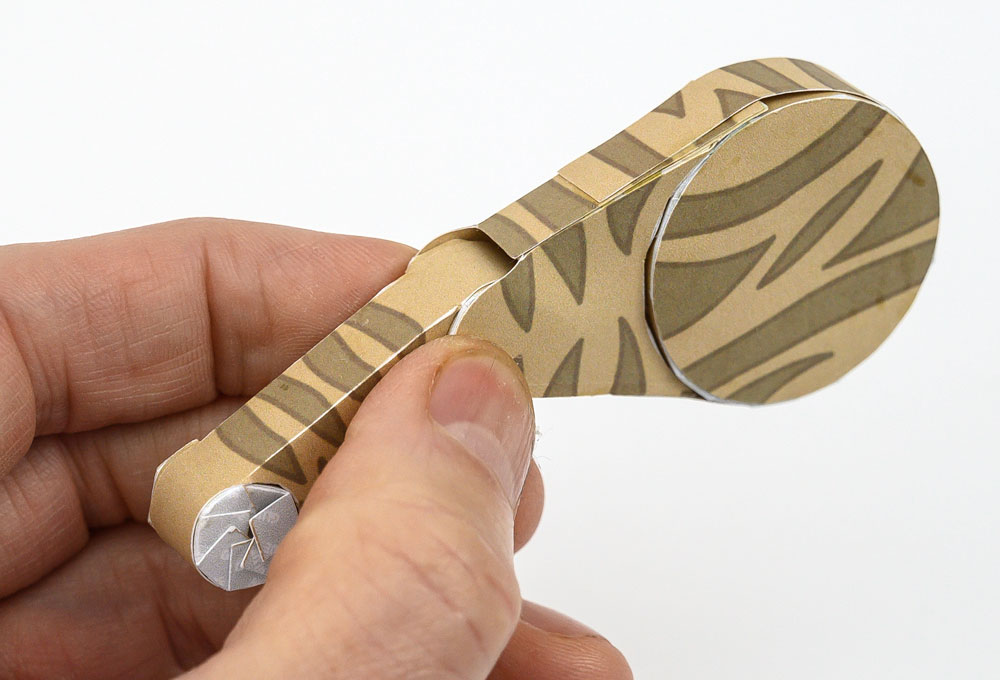
Fit them together so that the cores are a tight fit but free to rotate.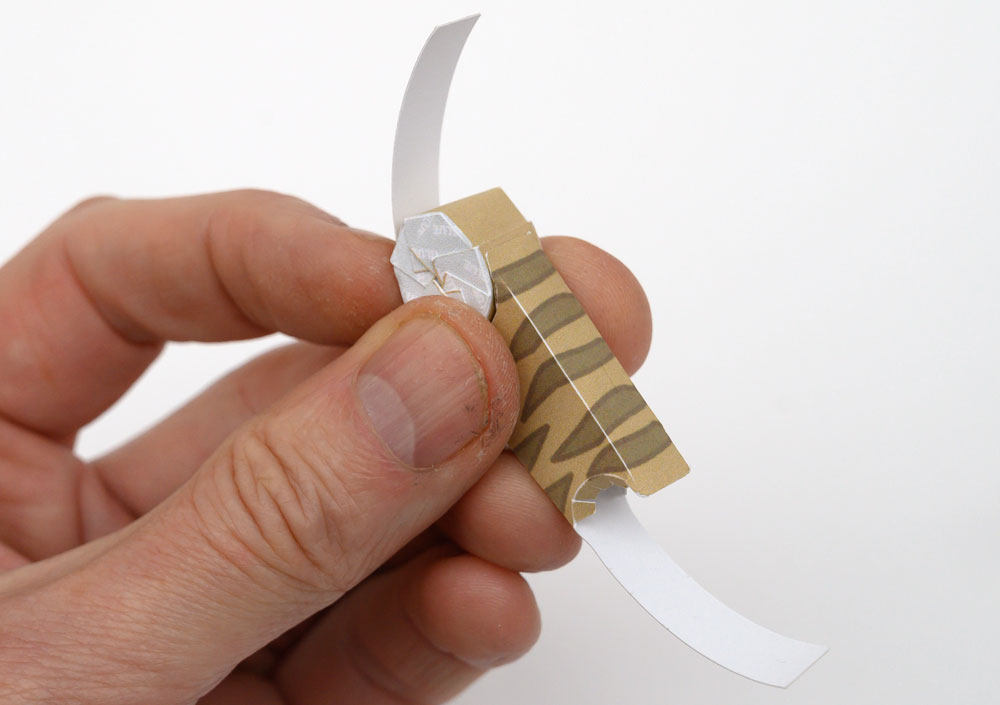
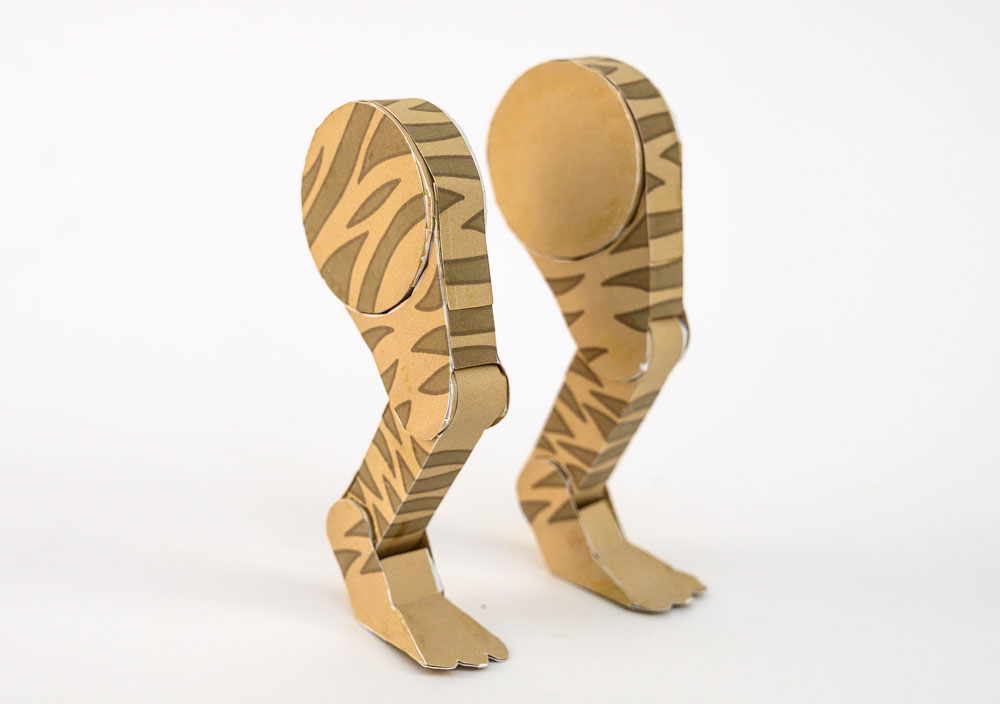
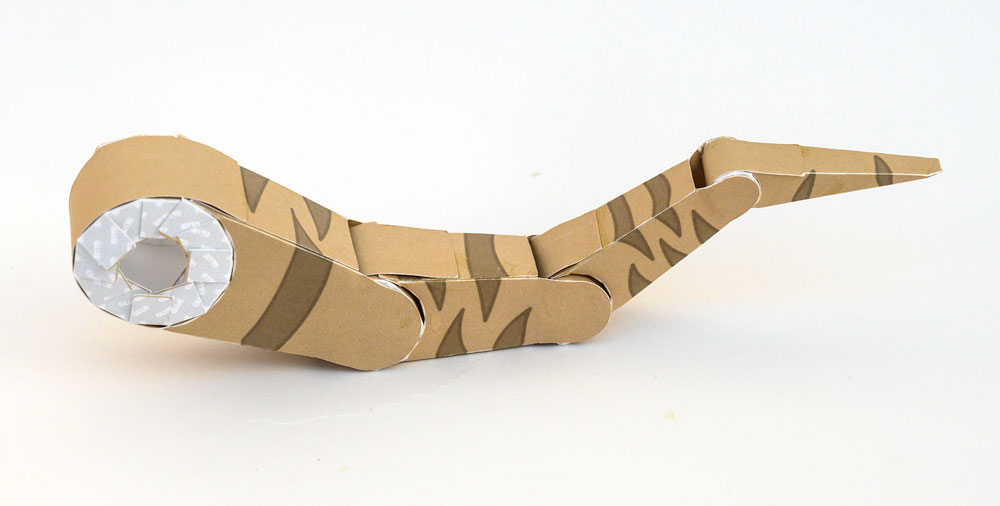
The complete upper and lower leg parts ready to join together.
Glue the mid core to the inside of the upper leg.
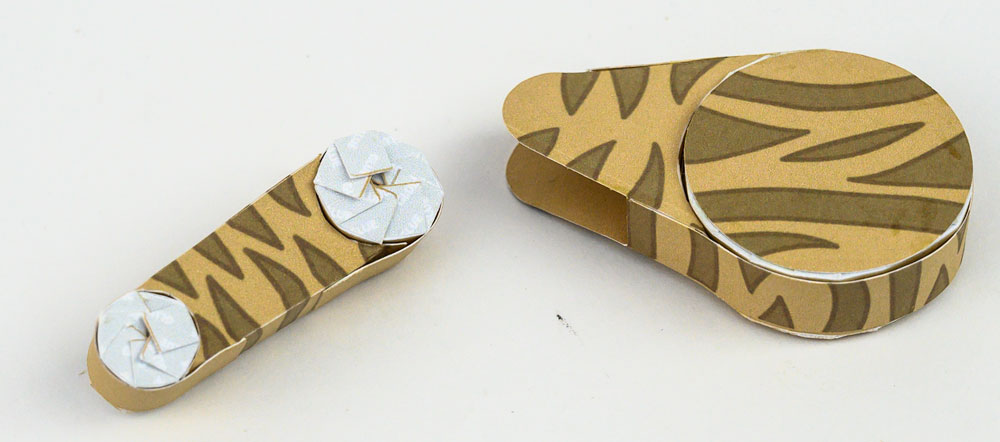
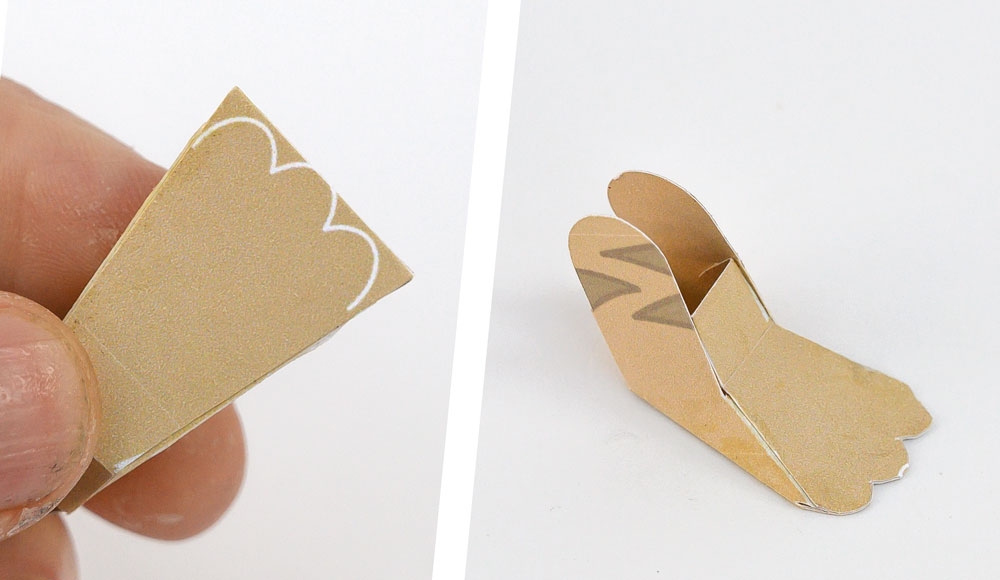
Fold round and glue the foot.
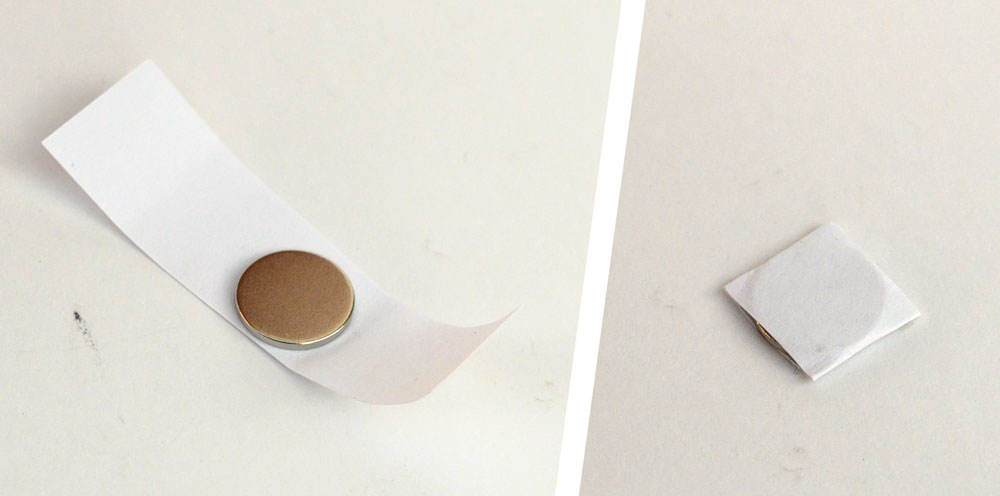
I added 10mm diameter magnets into the feet to help with posing the model. I purchased 10mm x 1mm diameter neodymium magnets from eBay. I wrapped them in a strip of paper as shown, one for each foot.
Glue the magnets into the feet of you are using them, finish the foot assembly.
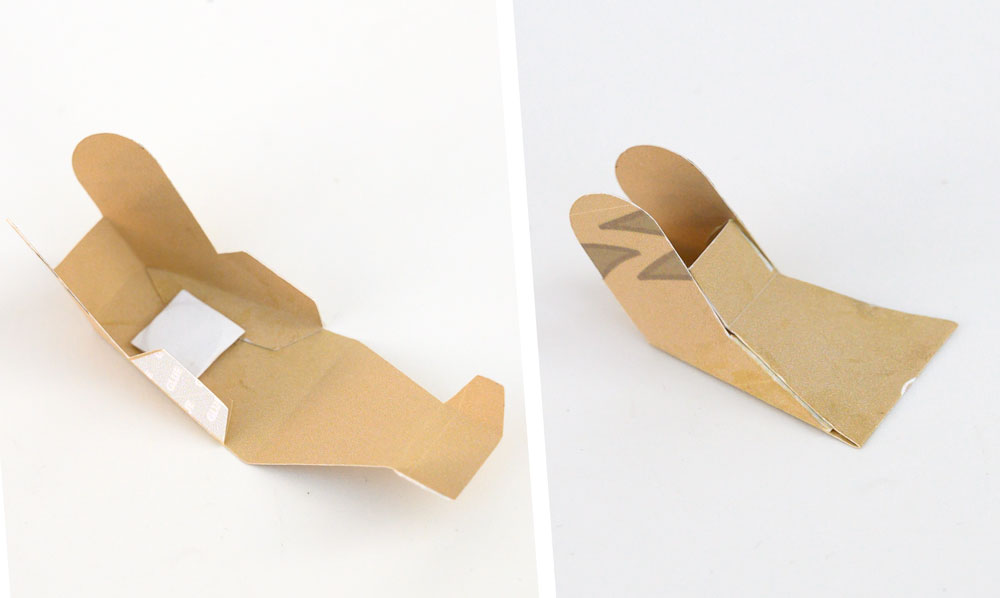
Flip over and cut along the toe lines.
Assemble the other leg in the same way but mirror image.
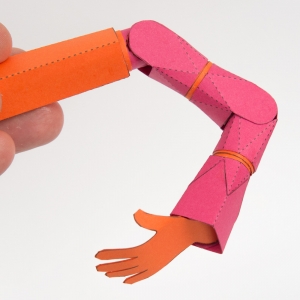
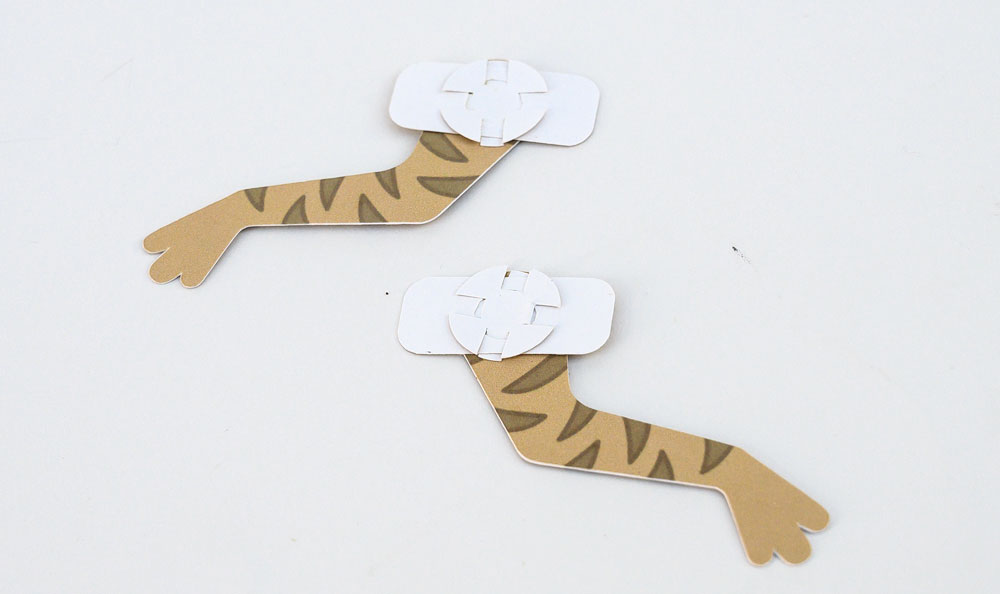
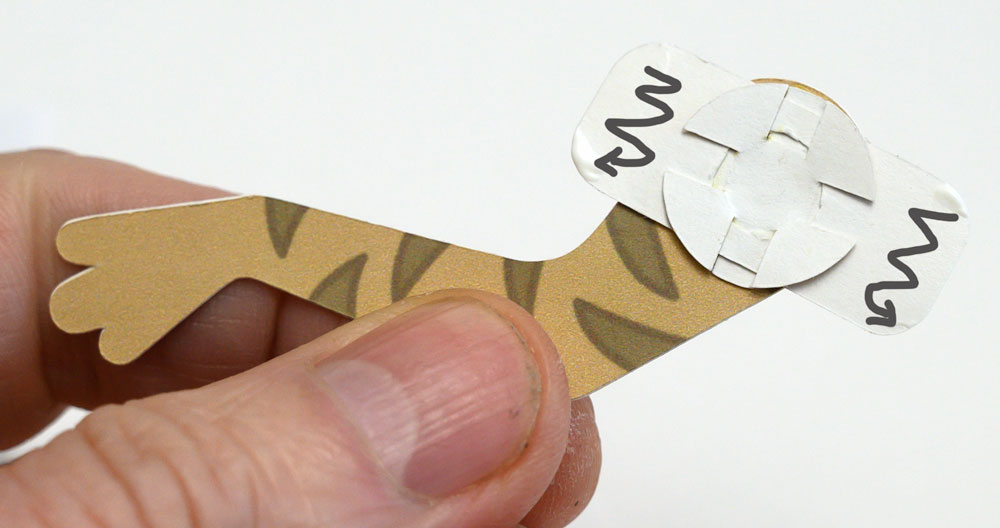
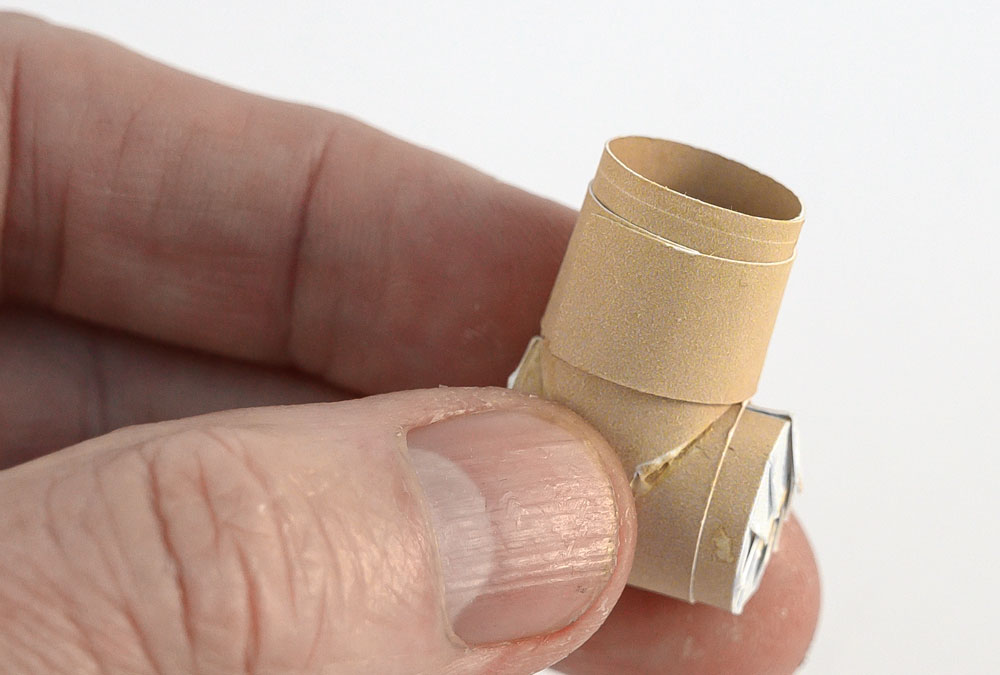
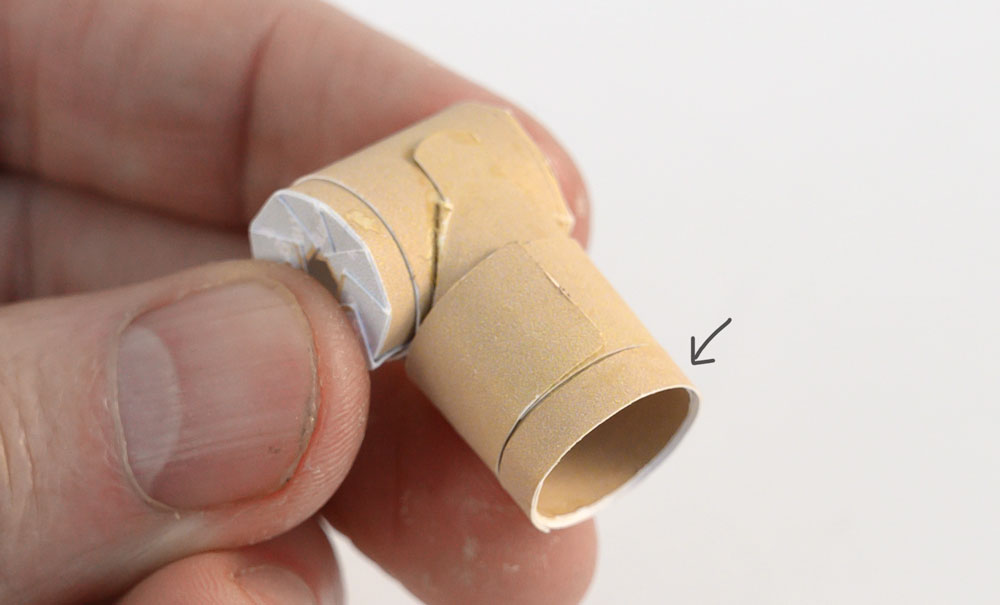
Thread the slip ring through the hole in the arm holder. No glue!
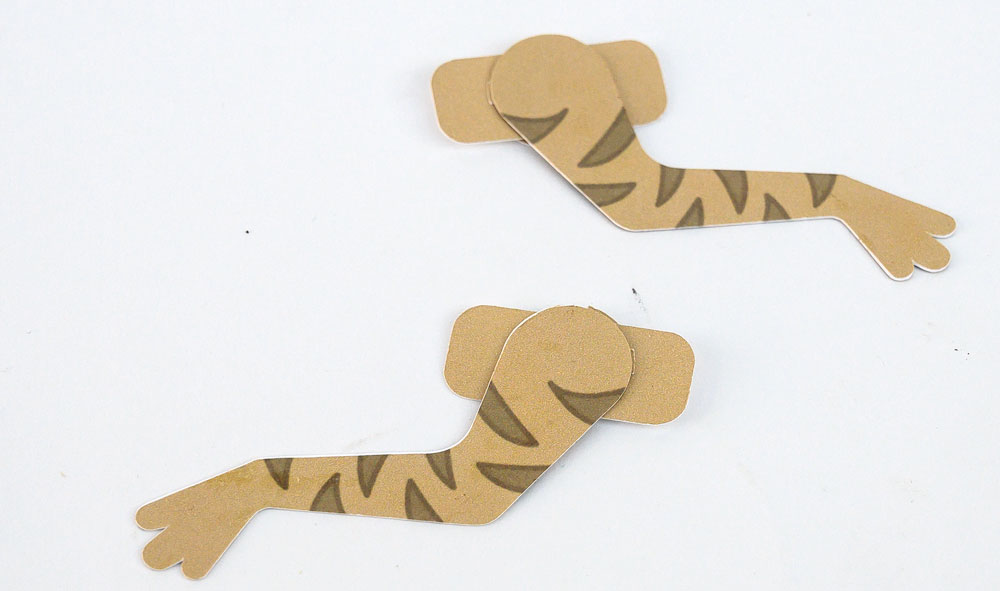
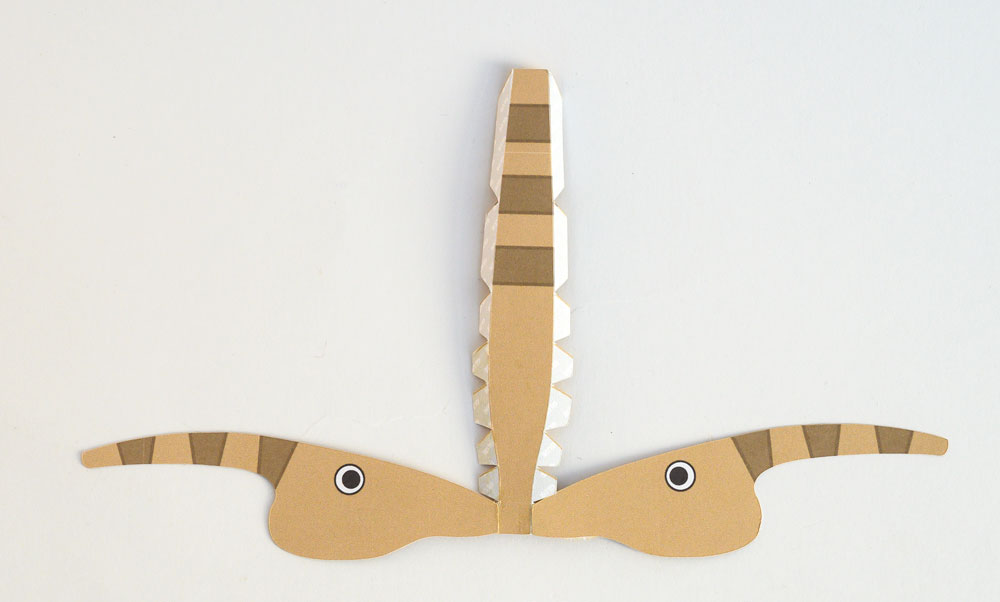
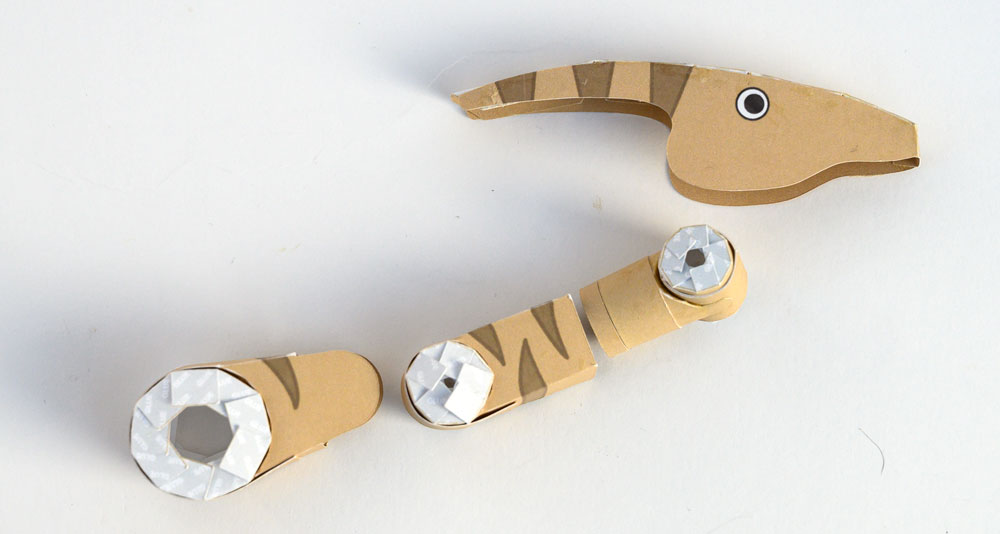
Make the arms from double thickness card.
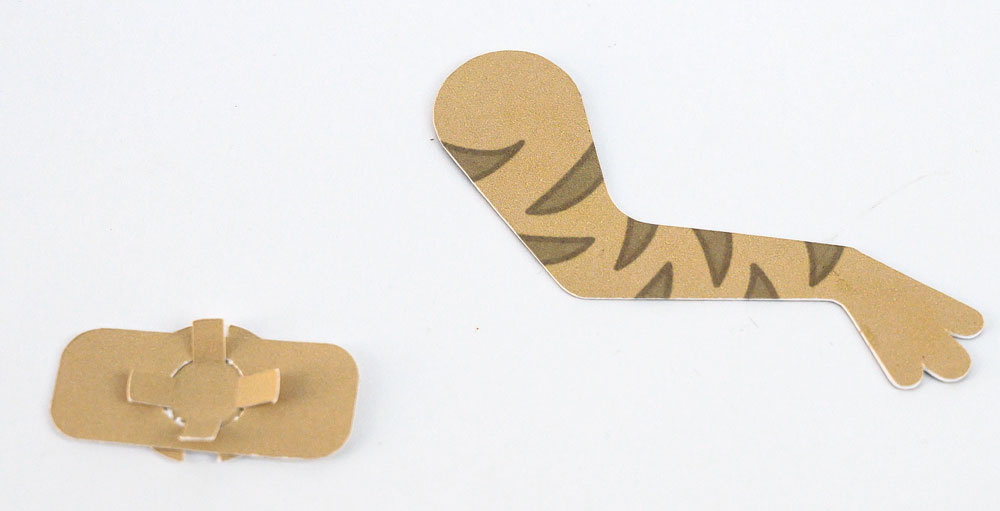
Glue the arm to the four small tabs of the slip ring. The arm needs to be able to move.
Back view.
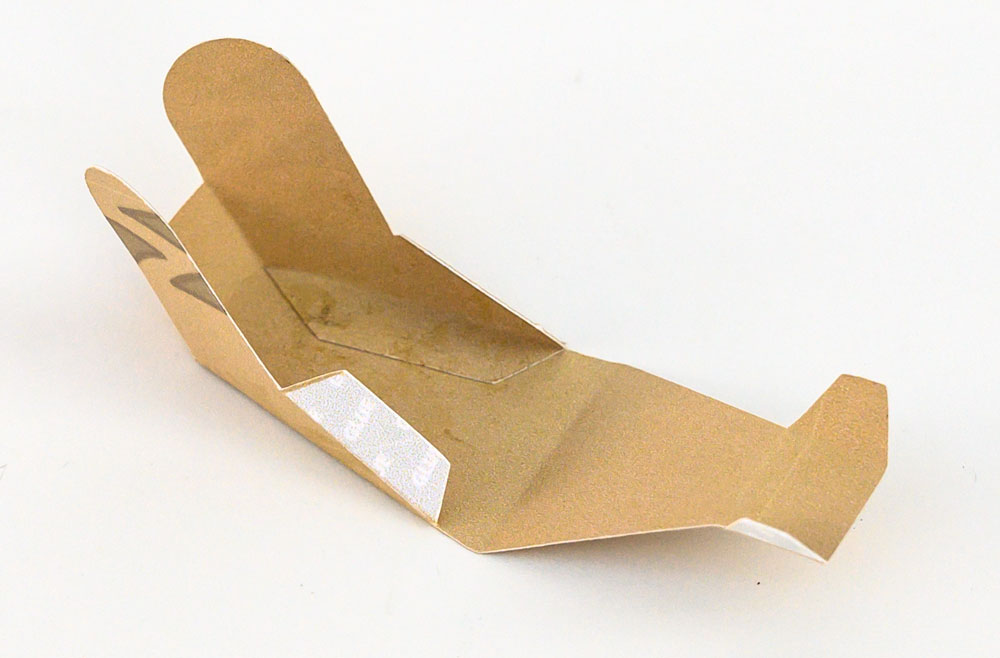
Glue together the body side, top and bottom and the two body inners.
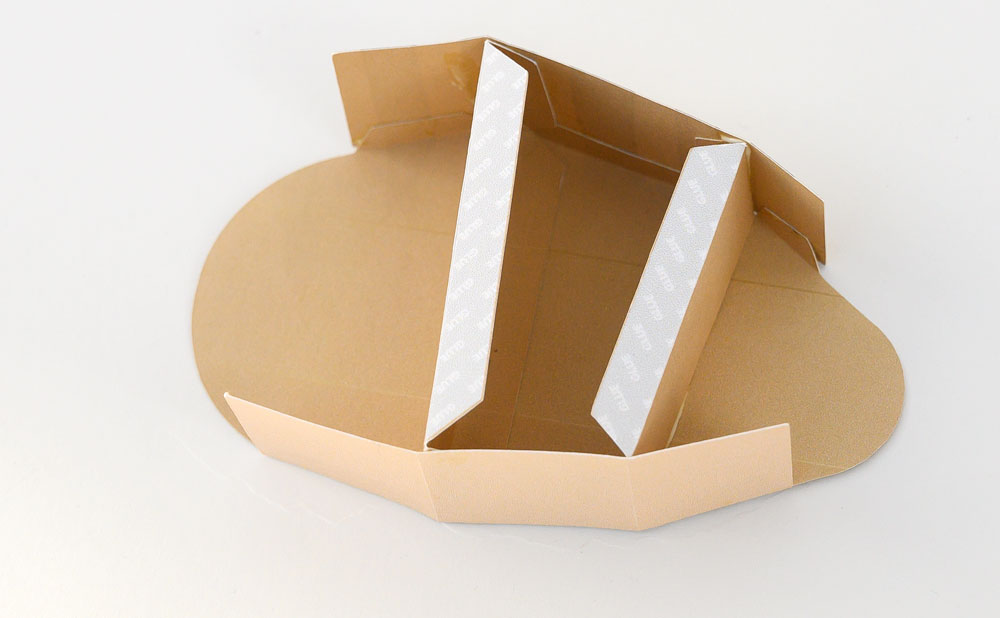
Glue on the other body side.
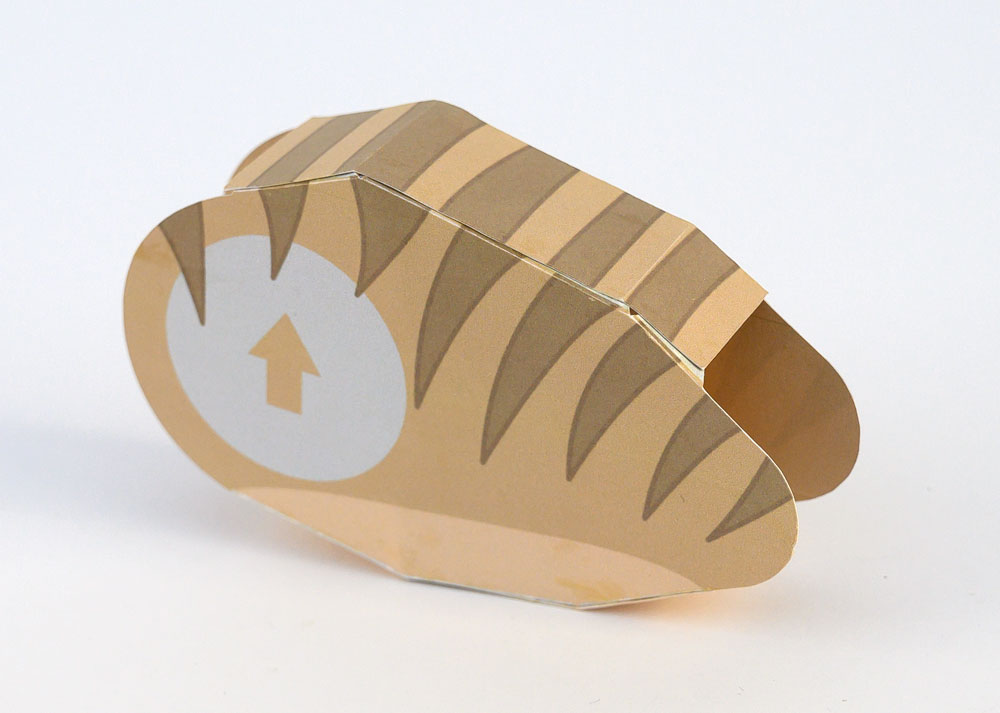
Glue the arm holders only in the marked areas
…then glue them to the side of the body as shown. Make sure the arms can move up and down.
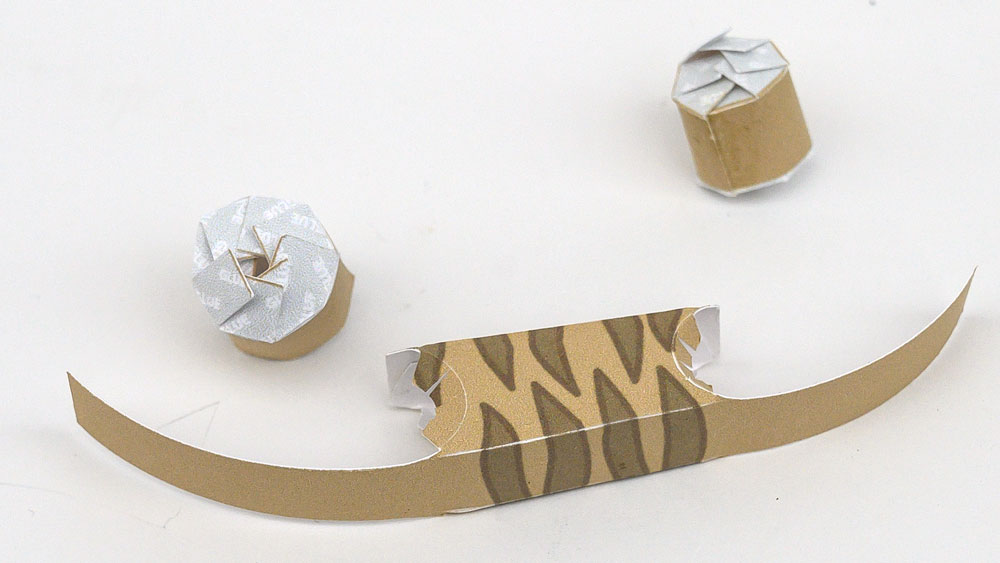
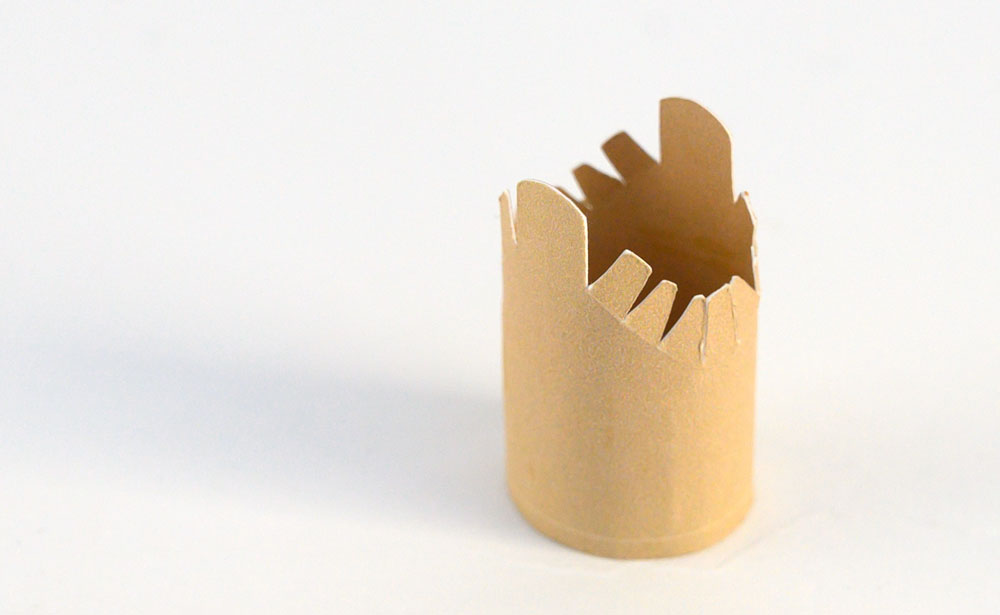
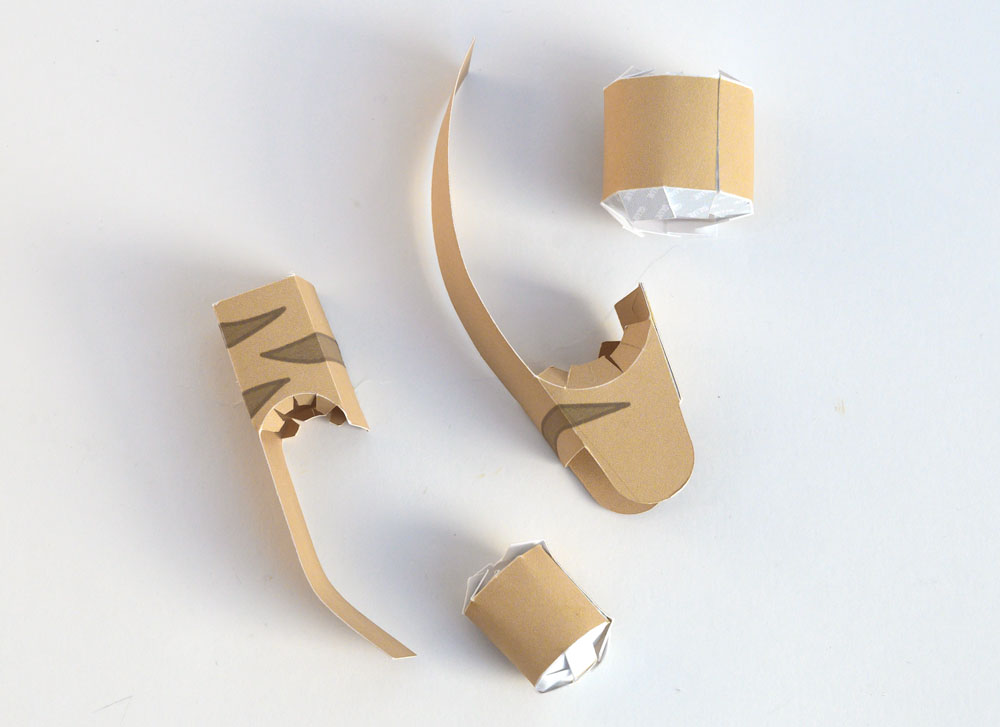
Roll round and glue the neck tube.
Roll round and glue the head core. Roll the slip ring round the core and glue it down so that it can slide round the core.
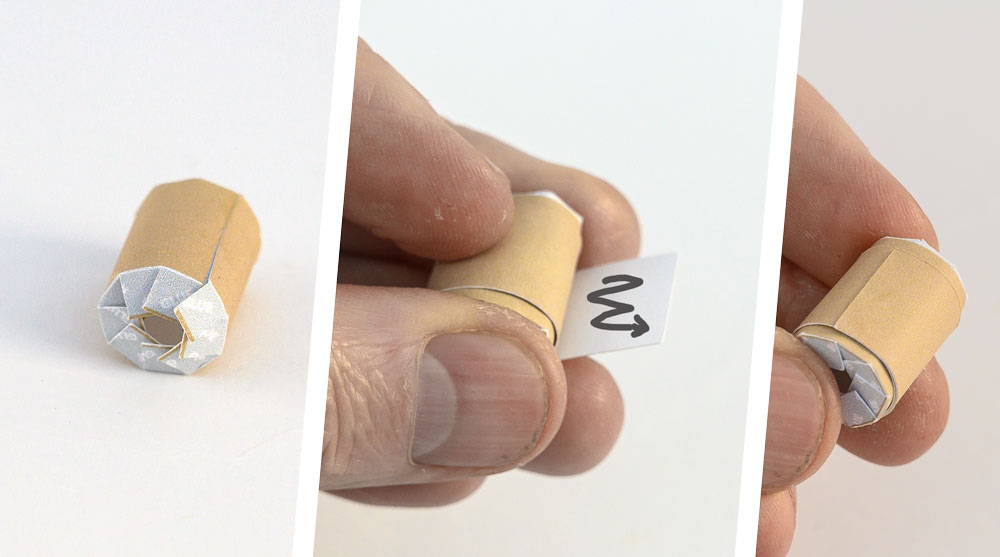
Glue the slip ring to the neck tube.
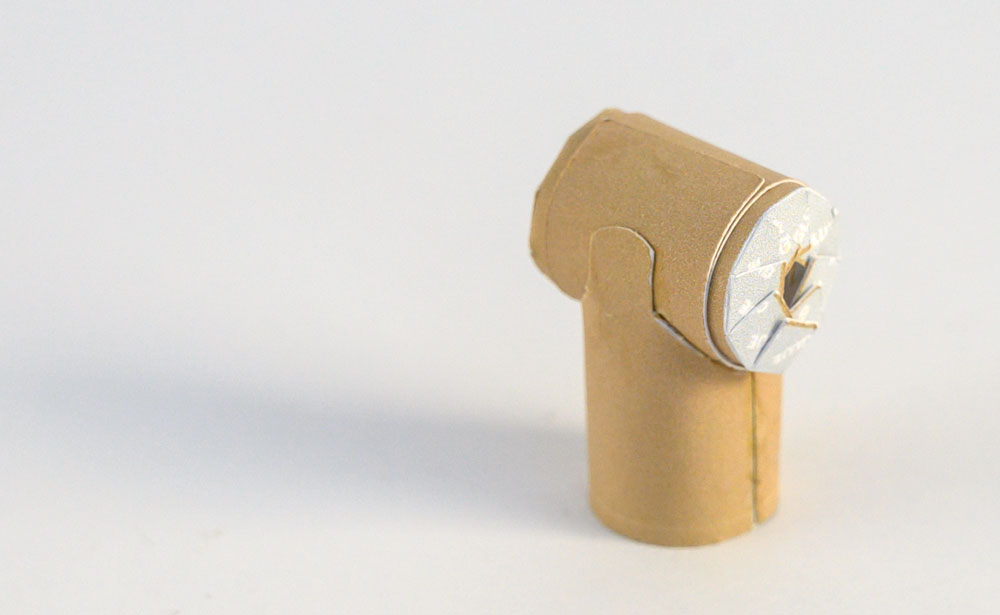
Glue the neck slip ring to itself so that it is free to rotate around the neck tube.
Glue the end stop strip into the neck tube. This will stop the slip ring sliding off.
Glue the head parts together starting at the nose.
Assemble the neck parts.
Glue together the various head and neck parts.
Glue the neck into the body.
Glue together the sections of the tail.
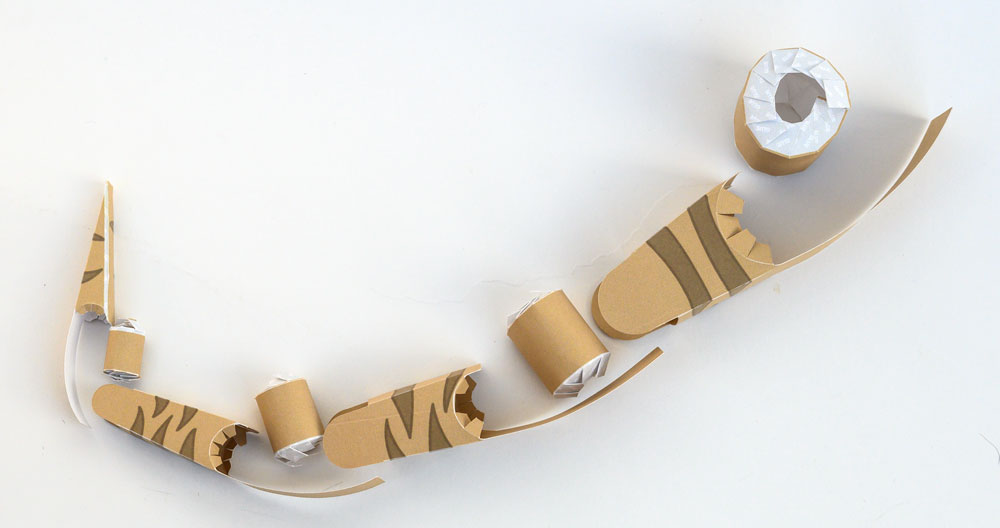
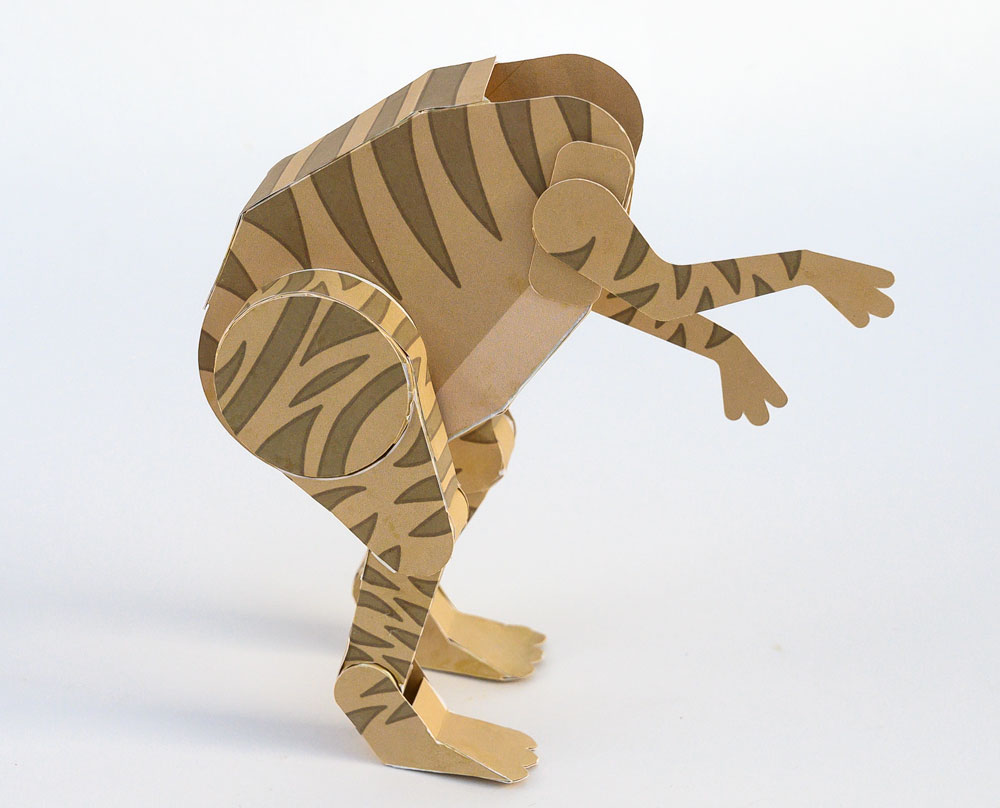
Ready to assemble.
Tail ready for fitting.
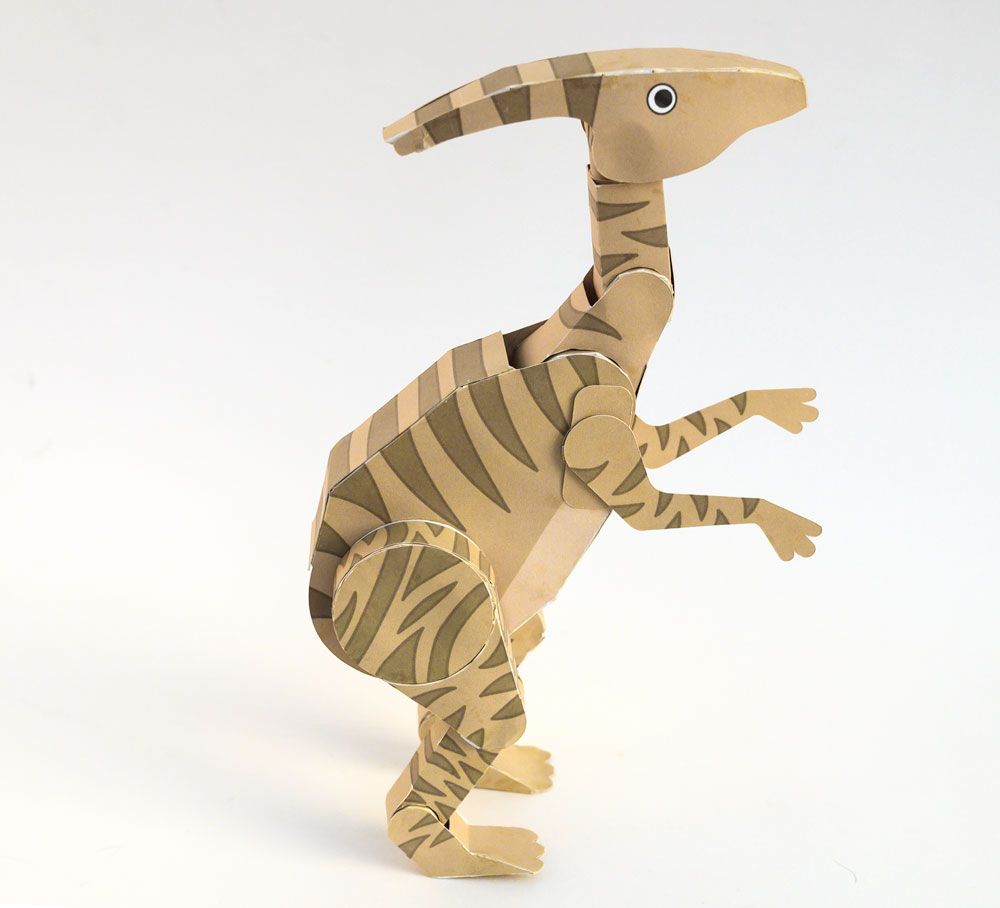
Fit the tail into the body to complete the dinosaur!