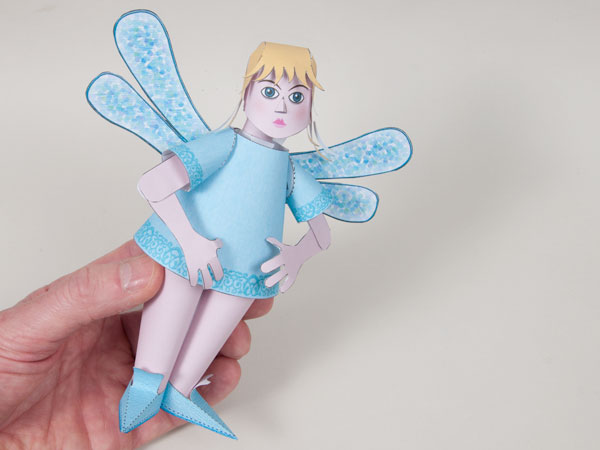
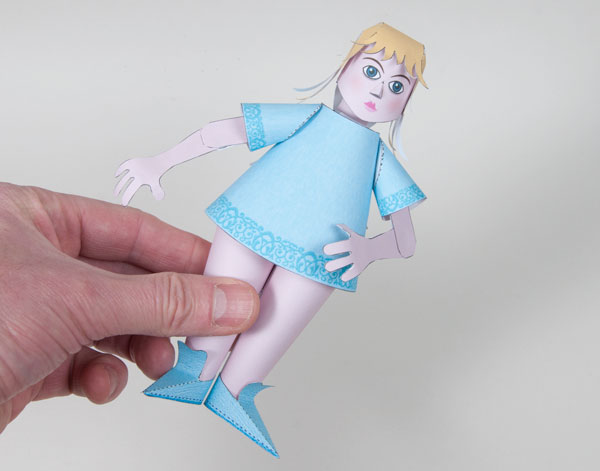
A poseable paper faerie to download and make. This project has arms that can rotate at the shoulder and bend at the elbow as well as a poseable head. Members can download the project for free, non-members can download it for a small fee.
 |
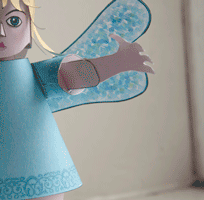 |
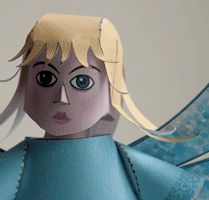
| Poseable Head | Poseable Arms |

Print out the parts onto thin card (230gsm / 230 micron) Score along the dotted lines and cut out the holes before carefully cutting out the parts.
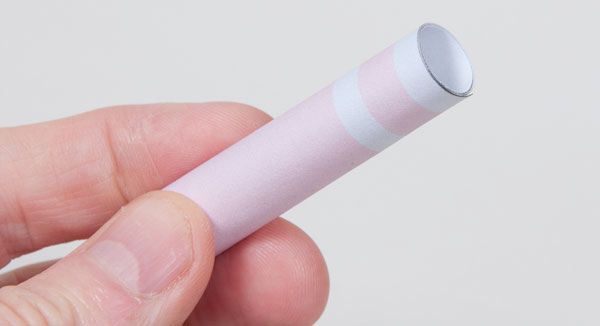
Roll up and glue down the neck tube. Note that it rolls round itself twice.
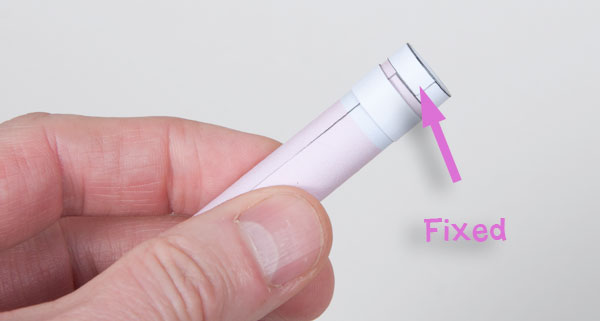
Glue one of the thin slip rings onto the grey area at the top of the neck. Wrap the wider ring round the neck and glue it to itself. The wider ring should be free to rotate round the neck.
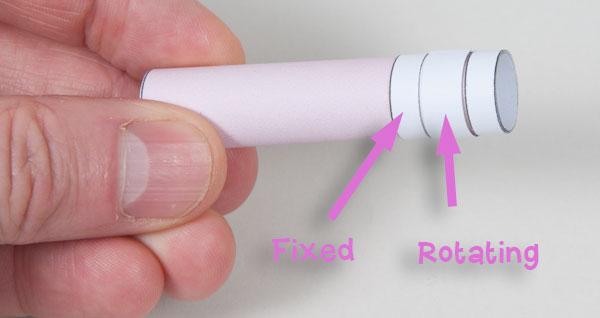
Glue the second narrow ring into place to trap the rotating ring on the neck.
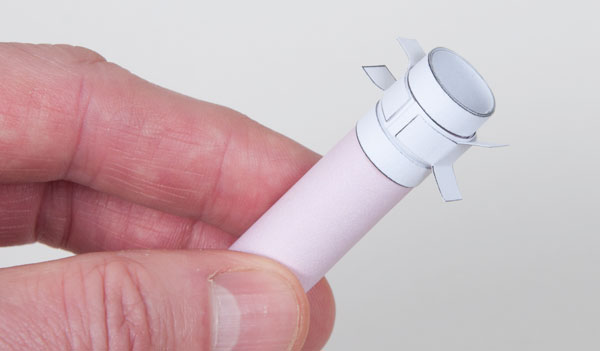
Roll round the tabs and glue them to the neck.
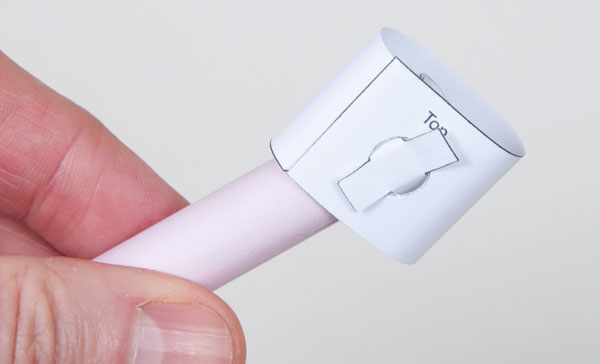
Roll round the head inner and glue it together. Fit it over the tabs on the top of the neck.
Glue the covers into place being sure that the head inner can still rock back and forth.
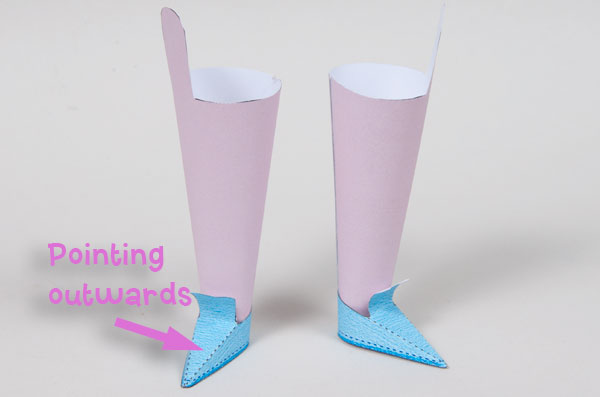
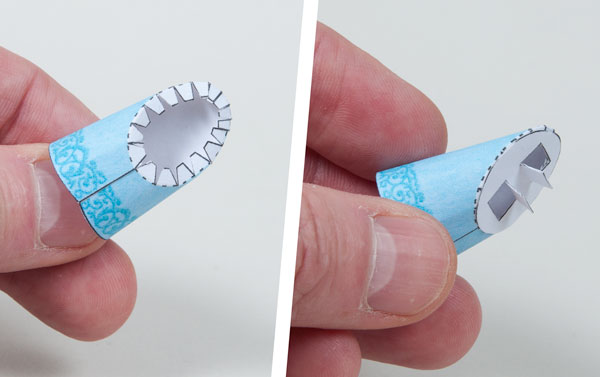
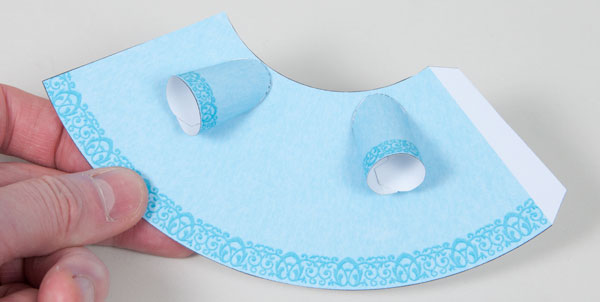
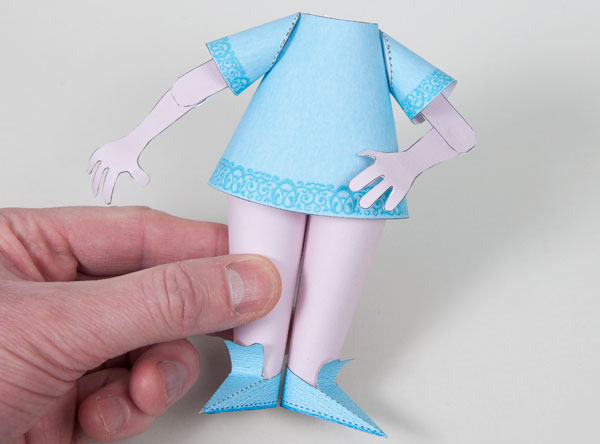
Roll round and glue together the two legs as shown. Glue the shoes into place so that they are pointing slightly outwards.
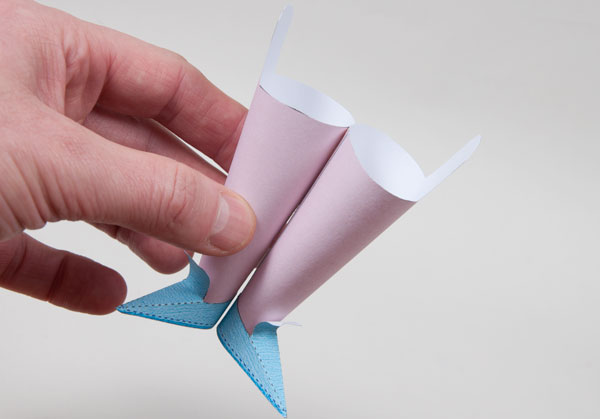
Glue the two legs together with the two long tabs at the top of the legs opposite each other.
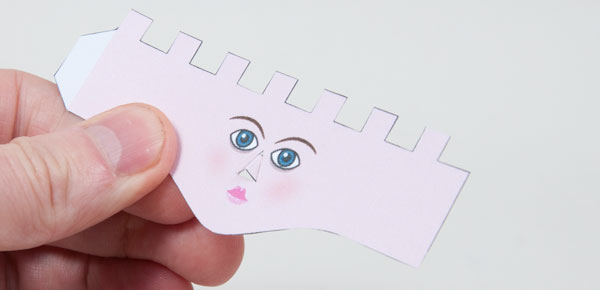
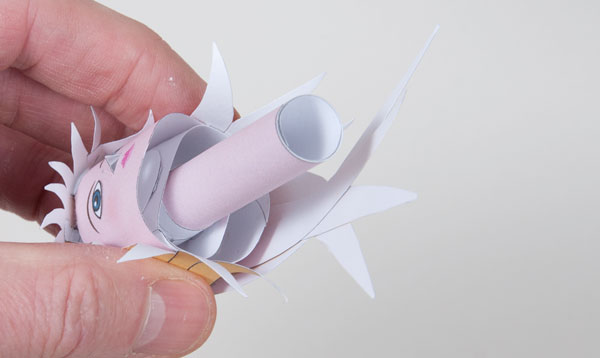
Fit the nose into the back of the head.
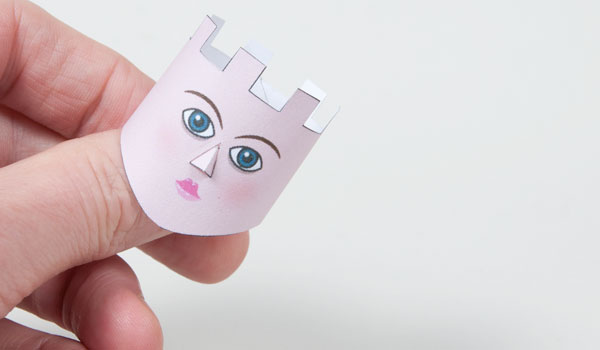
Roll the head round and glue it together.

Glue together the three parts of the hair.
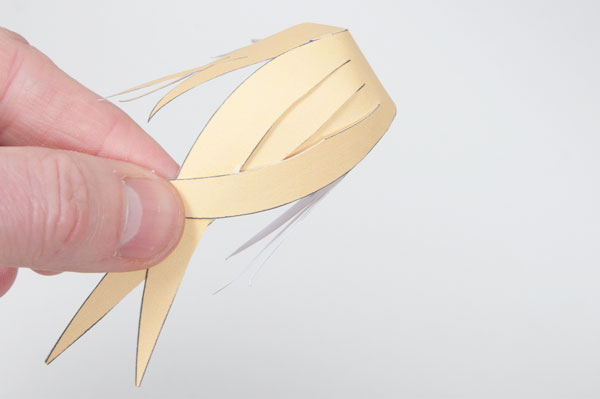
Weave the long hair stands over each other and glue them together approximately halfway along their length.
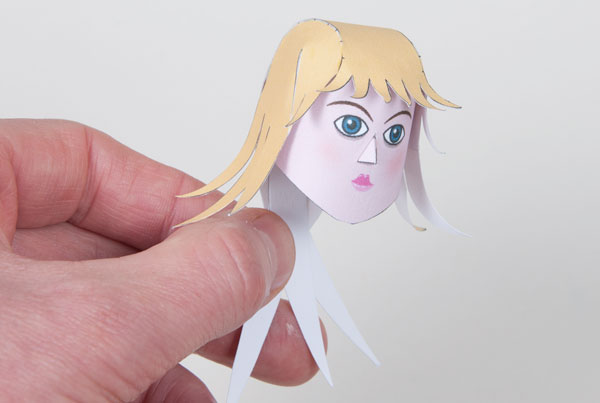
Glue the hair to the head using the tabs along the top of the head. Note that the top of the head fits just behind the start of the fringe.
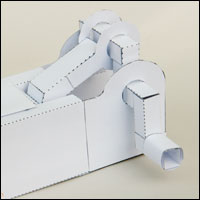
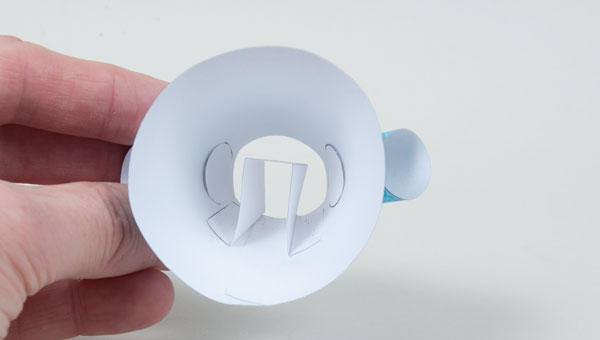
Assemble the shoulders as shown above.
Fit the shoulder tabs into the holes in the body. Fit the covers into place on the tabs making sure that the shoulders are free to rotate.

Roll round the body and glue it together.
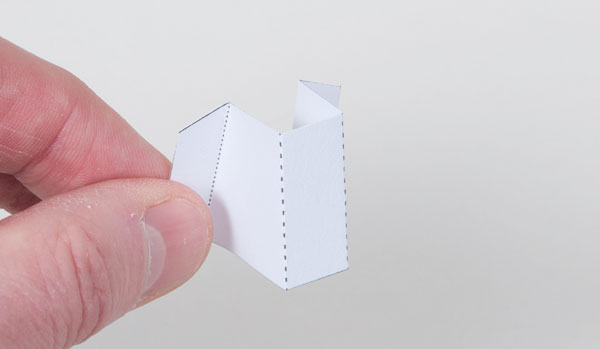
Fold up the neck support as shown.
Glue the neck support into the top inside of the body.
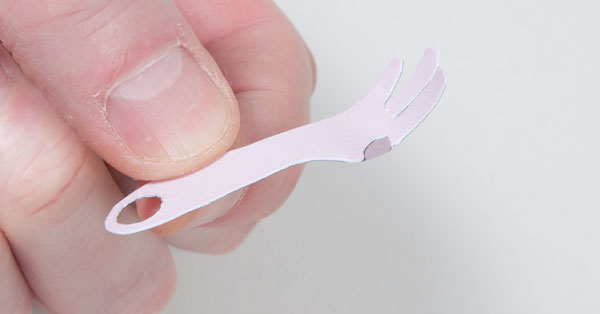
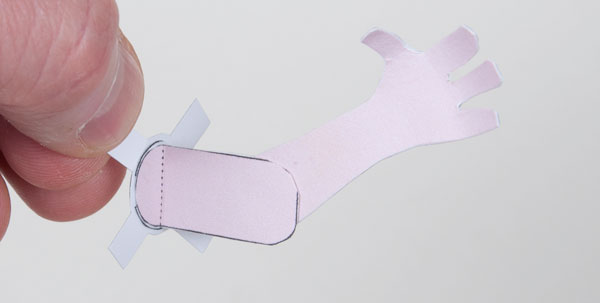
Glue together the hand to make it double thickness then carefully cut it out. Shape it slightly for a more realistic appearance.
Glue the elbow tabs to the inside of the arm.
Fit the hand into place.
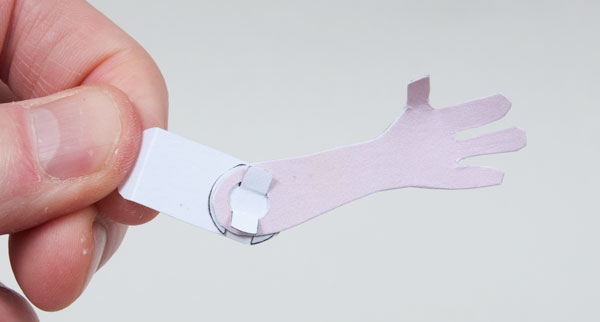
Fit the second arm cover into place making sure that the elbow joint moves freely.
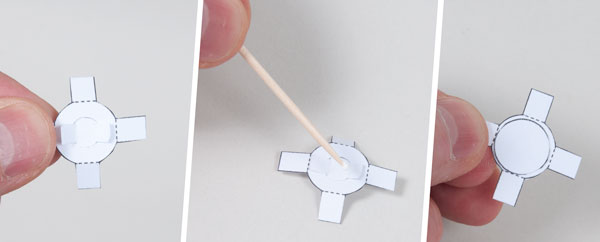
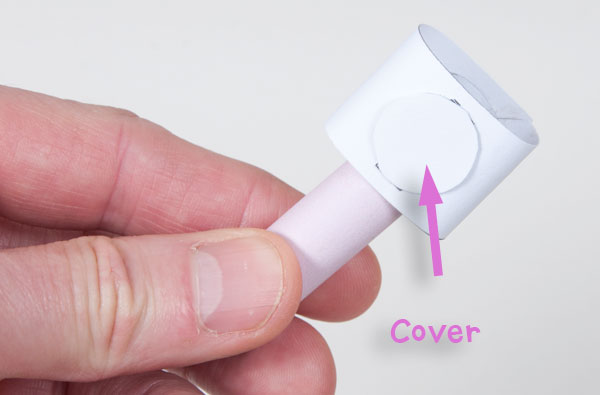
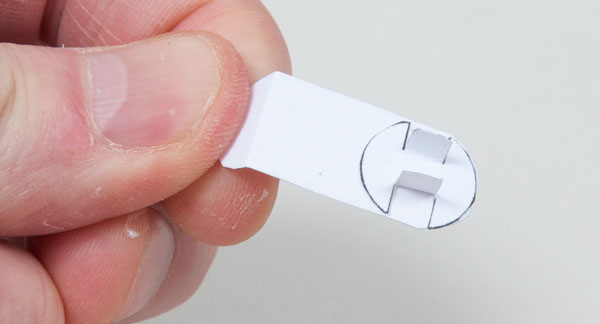
Tricky bit. Fit the tabs into the arm holder. With a cocktail stick apply a tiny dot of glue to the two tabs and to the centre of the tab piece. Press the circular cover into place. You must make sure that no glue squeezes out from the tabs as this part need to be free to rotate.
Glue the arm tabs to the rotating centre.
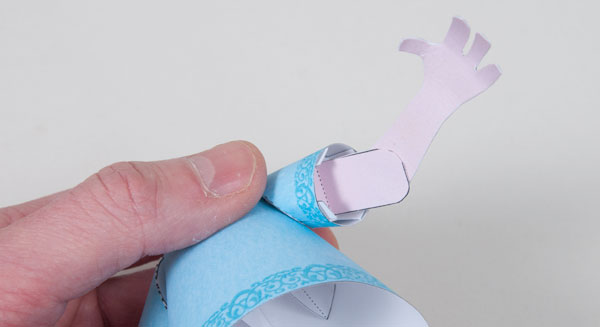
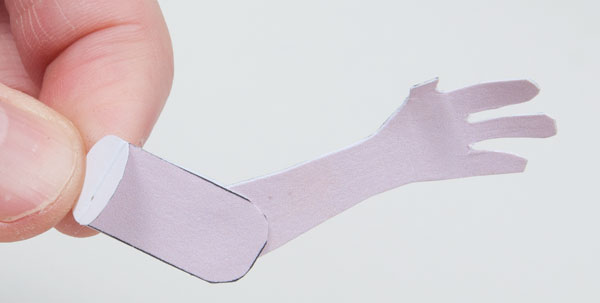
Fit the completed arm into the shoulder. A pair of tweezers is useful to nip the tabs into place.
Repeat the process with the other arm.
Fit the head inner into the head so that it runs side to side. Line it up so that the chin is lifted slightly.
Fit the neck into the neck holder.

Done! Pose your faerie and send in pictures!
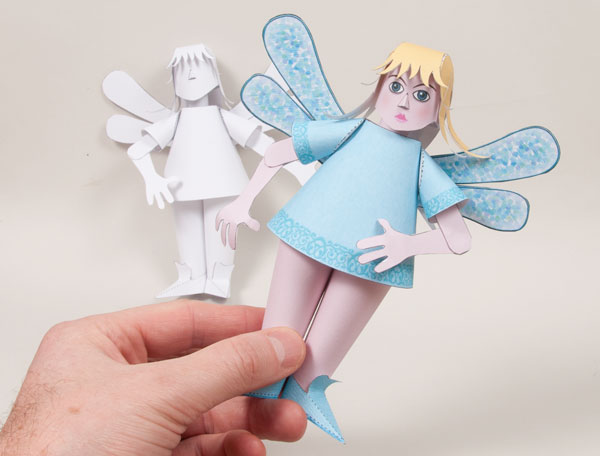
There is a choice of colour or mono version.