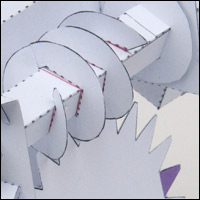
 Version two (actually probably version four or five but who’s counting?) of the flexible arm mechanism.
Again, the single sheet that makes up the parts of this project can be downloaded at the link by members. Thanks for signing up!
This version uses spacers to lift the tendon off the centre line. This has the effect of adding extra leverage to each joint making the motion more even over the length of the arm. This project only needs a single tendon for the full range of movement.
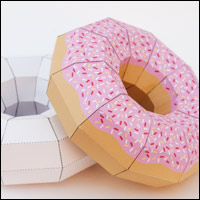
I printed out the single page twice on two colours of card so that I could use different colour pieces.
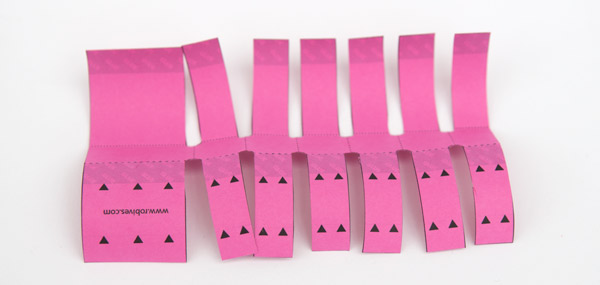
Score along all the dotted lines.
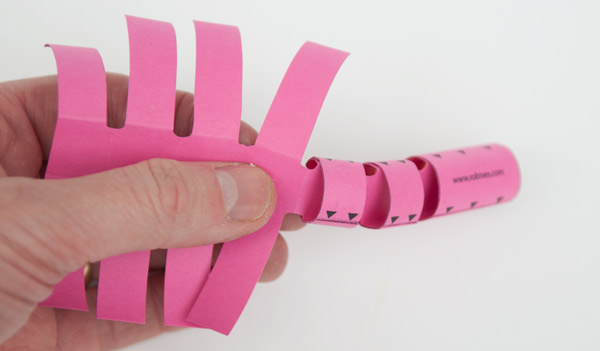
Cut out the rib shaped pieces that make up the body of the arm.

Fold up and assemble the six spacers.
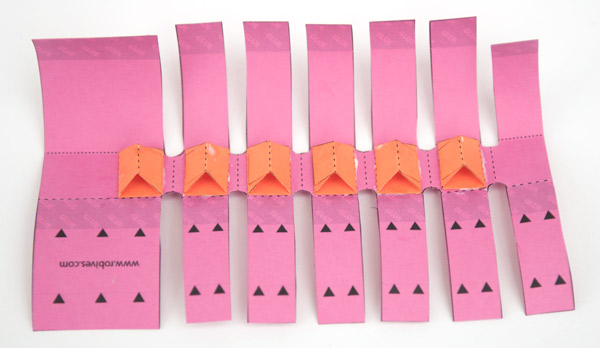
Glue the spacers into position as shown. Notice that the last section doesn’t need a spacer.
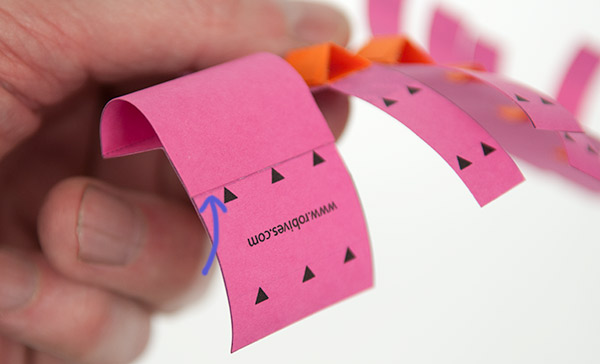
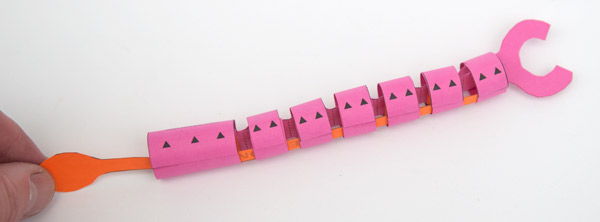
Working from one end, roll round the piece with a grey end and glue it down over the matching grey area. Use the black triangles to help with alignment.
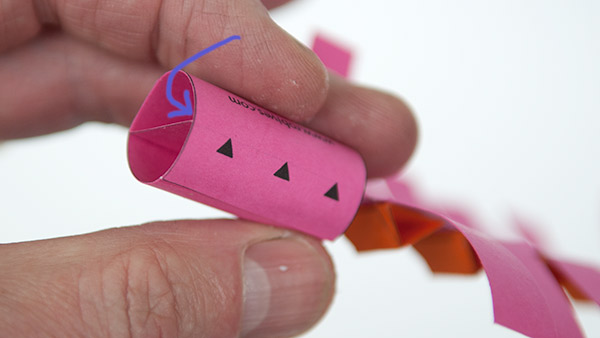
Roll the other side round and glue it down so that the fine grey line is running along the top of the cross piece.
Work your way along the arm making up each section in the same way.
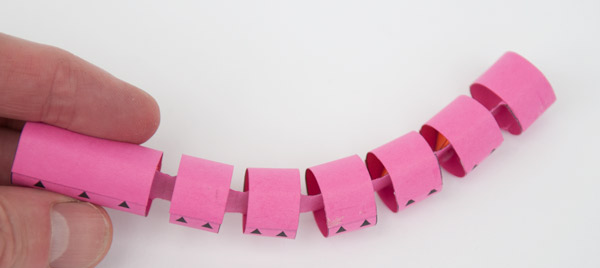
Work your way along to the end of the arm.
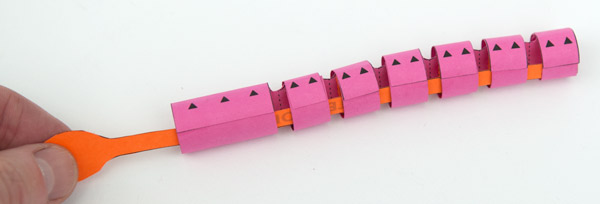
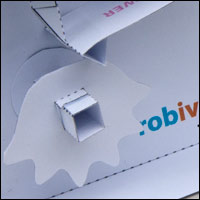
Thread the tendon along the side of the arm with the six spacers right up to the end. Glue the end of the tendon to the inside end of the arm.
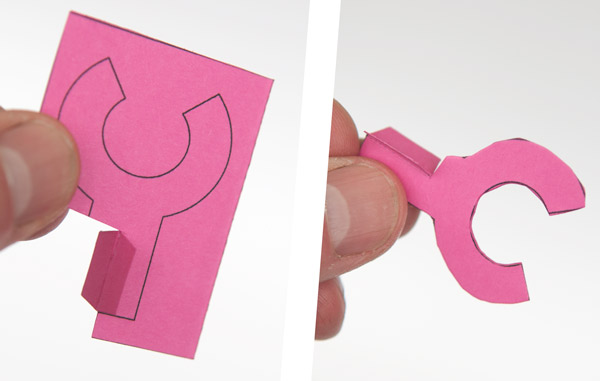
Fold over and glue down the claw to make double thickness card then carefully cut out the piece.
Fit the claw into the end of the arm.
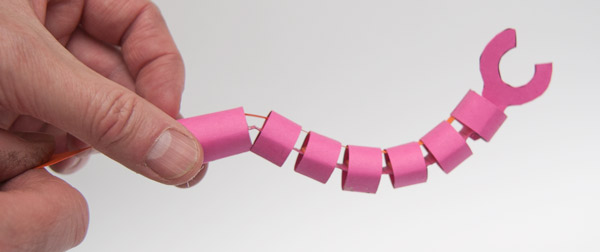
Pull the tendon to move the arm!