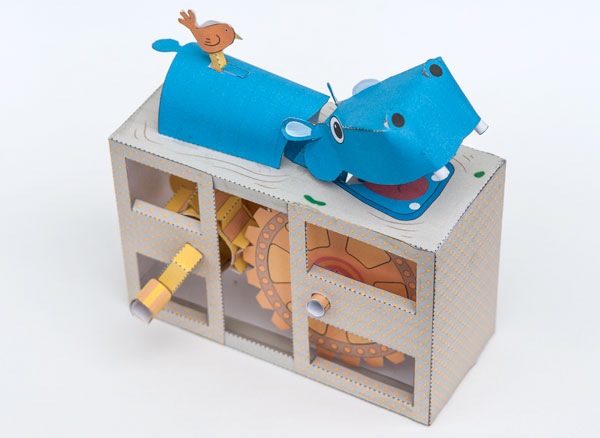
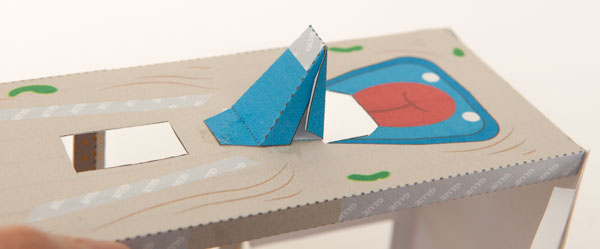
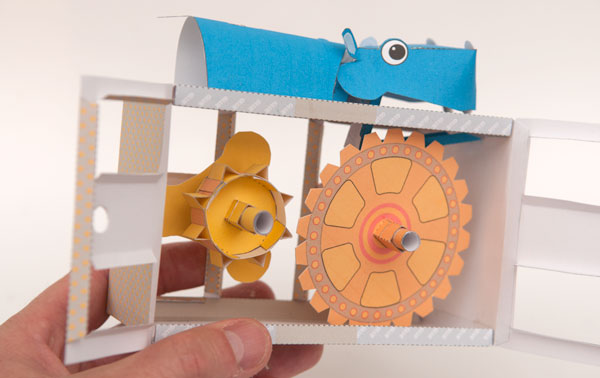
Turn the handle, the gears mesh and the cams turn. On top of the box the hippo slowly opens her mouth wide in a leisurely yawn whilst the bird flits back and forth looking for insects to peck.
Paid members can download and make this model for free from the link. Non-members can download the parts for £2.50UKP
Once you have downloaded the file, print out the parts onto six sheets of thin card. 230gsm or 67lb is about the right weight.
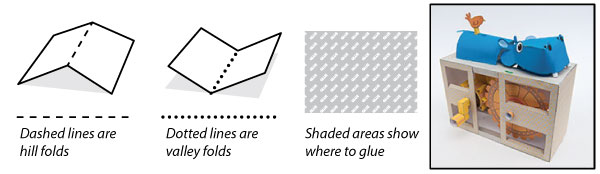
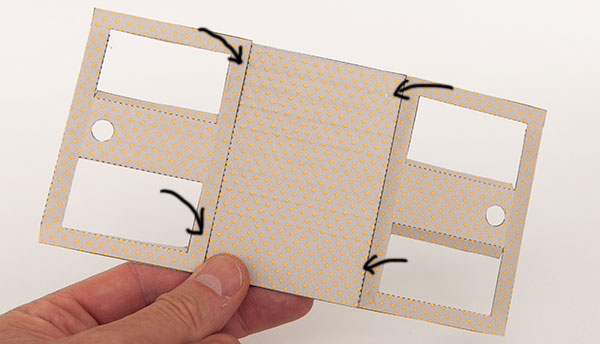
Score along the dotted and dashed lines before carefully cutting out the parts.
Fold round and glue the side of the box top and base to make right angled triangles.
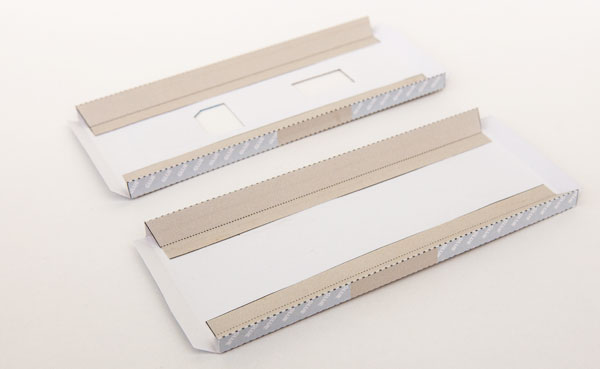
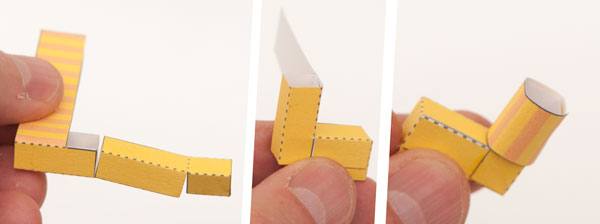
Fold of the end of the box end to make triangular tubes.
Repeat the process with the other two box ends.
Join the three parts together to make the other box end.
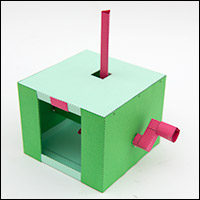
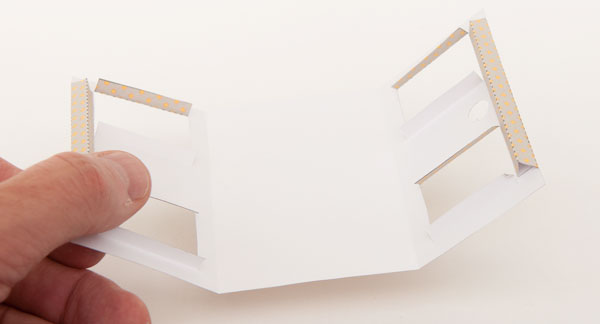
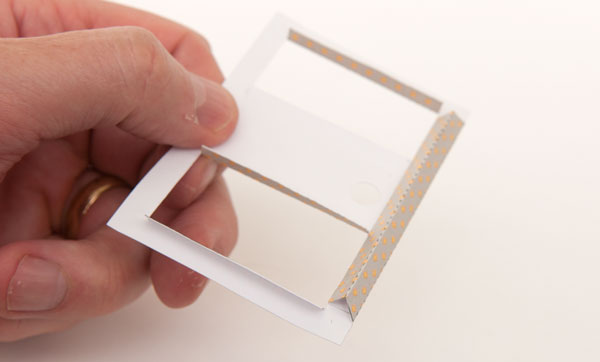
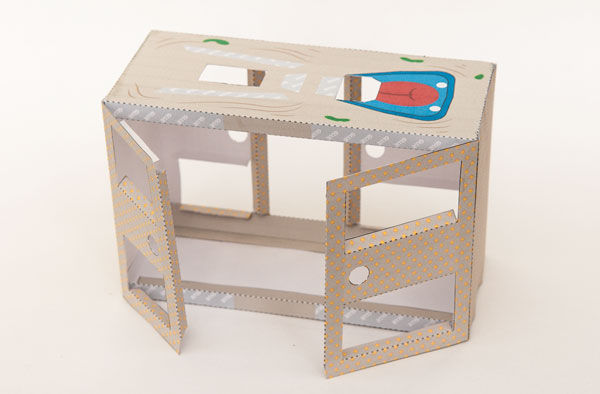
The two box ends are different lengths. Use the grey glue areas on the sides of the top and base to work out which end goes where then glue together the four parts as shown. Leave one side open as in the picture.
Glue the head support into place.
Fold over and glue down the ear ends to make double thickness card. Once the glue is dry cut out the ears.
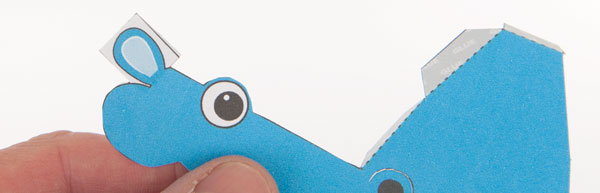
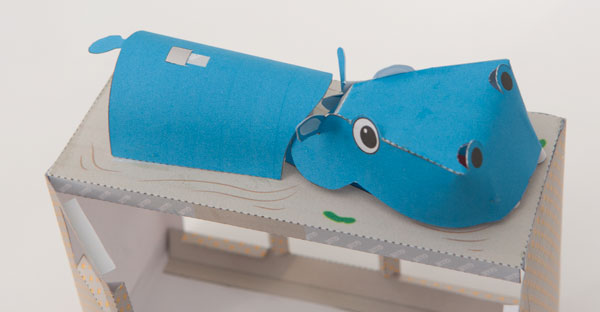
Curve round and glue together the head. Notice how the nostrils stick up. You did cut them out didn’t you?
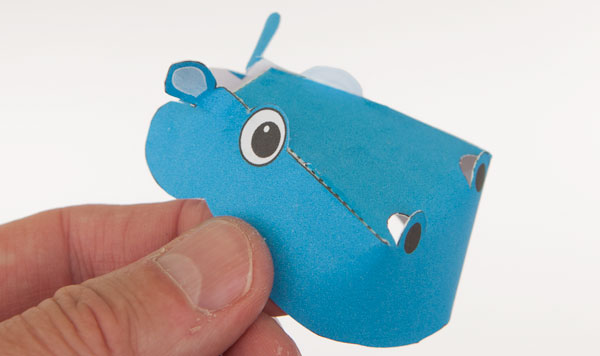
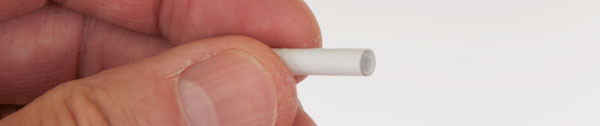
Roll round the two small rectangles to make toothy pegs.
Glue the teeth into the head with approximately three millimetres protruding.

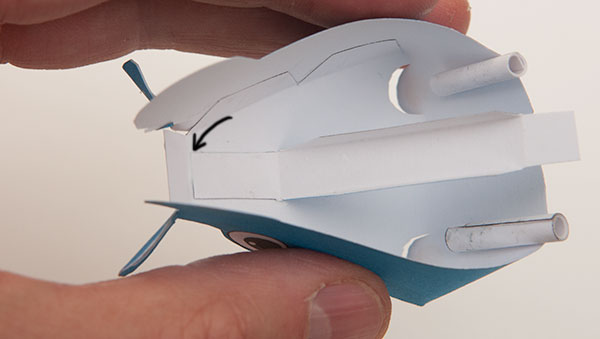
Glue the head push rod to the inside of the head. Line up the end of the long tab with the crease arrowed in the picture.
Assemble the cam follower and glue the tab to the inside front of the box.
Glue the head to the head stand.
Thread the push rod down through the hole and glue the end to the cam follower.
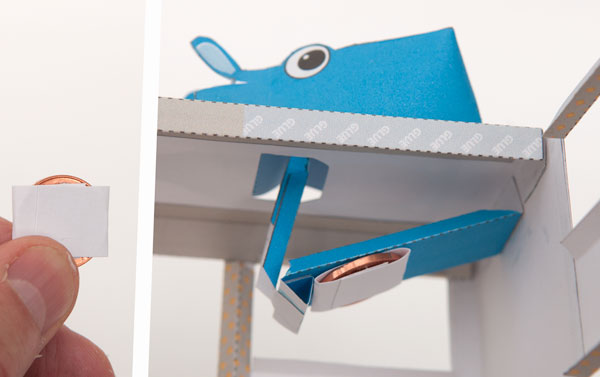
Wrap a coin in a off-cut of card. (I used a UK penny. One Euro cent or Dollar cent is also ideal)
Glue it to the underside of the cam follower. The extra weight will ensure good contact between the cam follower and the cam.
Glue the body to the grey areas on the box top.
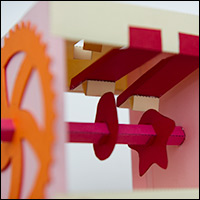
Fold over and glue down the big gear and the two cams to make double thickness card. Let the glue dry completely.
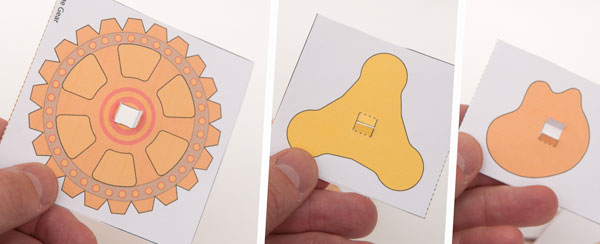
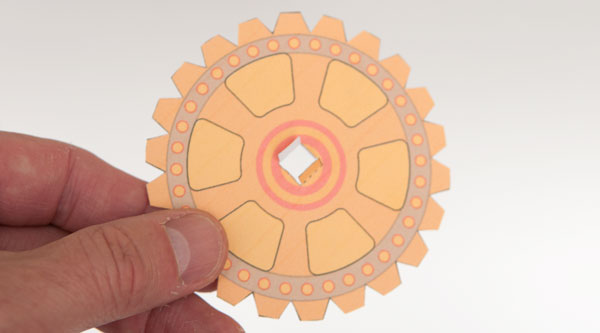
Cut out the gear and cams. If you choose to you can cut out the six holes in the big gear to make spokes. It looks nice but is not necessary, you decide!
Glue the teeth of the small gear into place on the grey areas of the gear back sheet. Leave the ends unglued as shown in the picture.
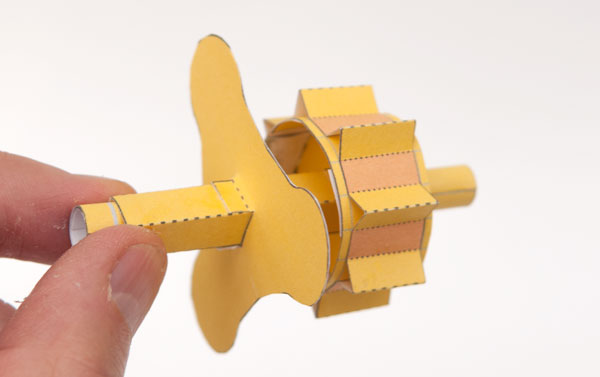
Glue the two gear inners back to back then glue them to the yellow axle lining them up with the grey line nearest the end of the square tube.
Roll round and glue down the teeth round the gear inner.
Glue the ends closed then glue in the tooth ends to complete the gear.
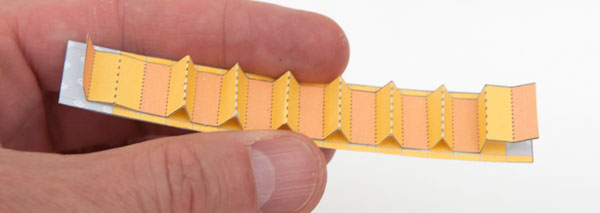
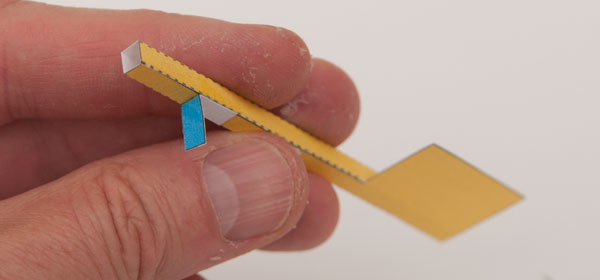
Roll up the two axle tubes lining up the ends with the arrows along their length.
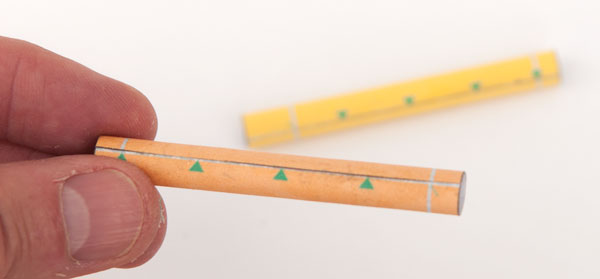
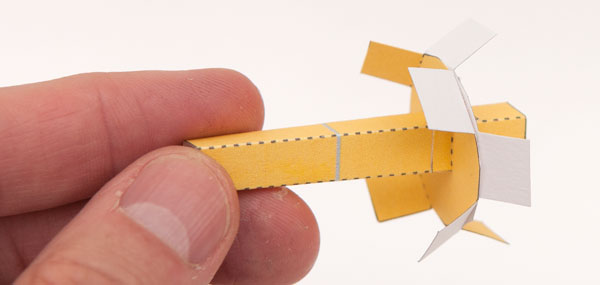
Push the yellow round axle into place in the tube
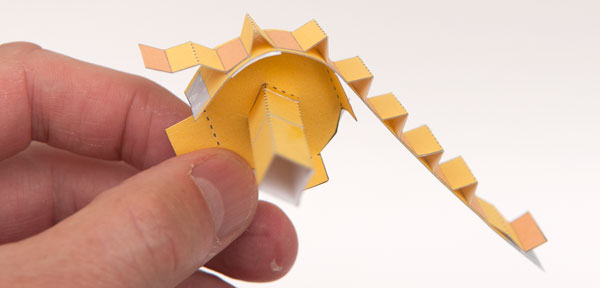
Thread the three lobed cam into place and glue it into place lining it up with the central grey line for alignment.
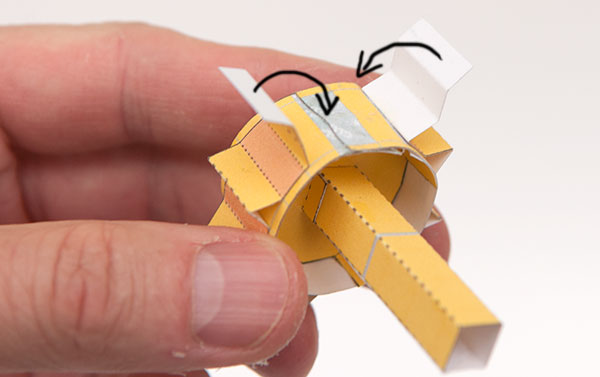
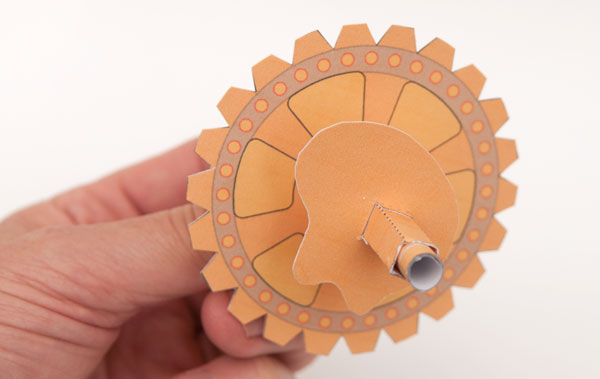
Assemble the large gear wheel in the same way. The gear lines up with the line closest to the side of the square tube, the cam lines up with the more central grey line.
Make sure that you put the cam on the correct way round, use the picture as a reference.
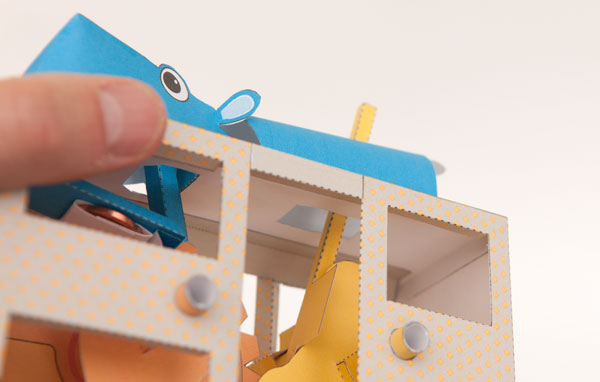
Fit the two gears into the box. Fold round and glue closed the box fronts to locate the gears into position.
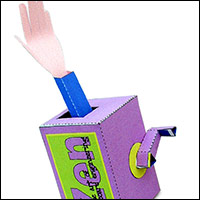
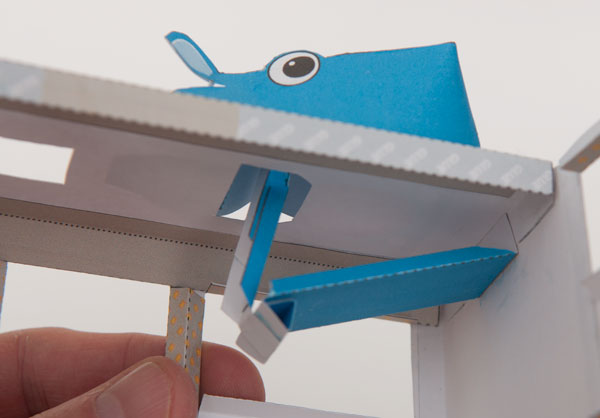
Assemble the bird stand. Glue the tab into place on the grey area.
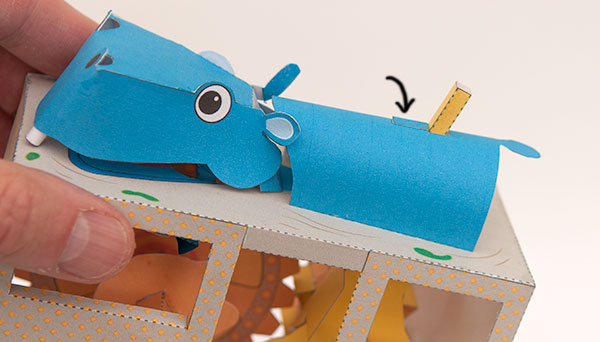
Thread the bird stand up through the box top and the hippo body.
Glue the tab onto the grey area on top of the hippo.
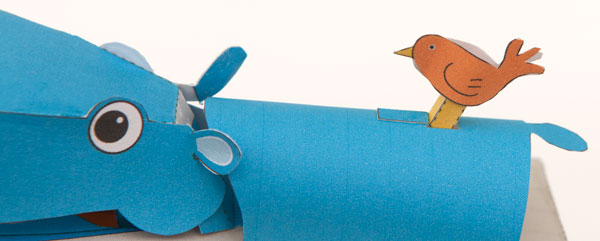
Glue the bird to the end of the bird stand as shown.
Assemble the handle in three steps.
Complete the model by gluing handle into place.

Turn the handle and bring your model life!
You can see the model in animated action in this Instagram video: