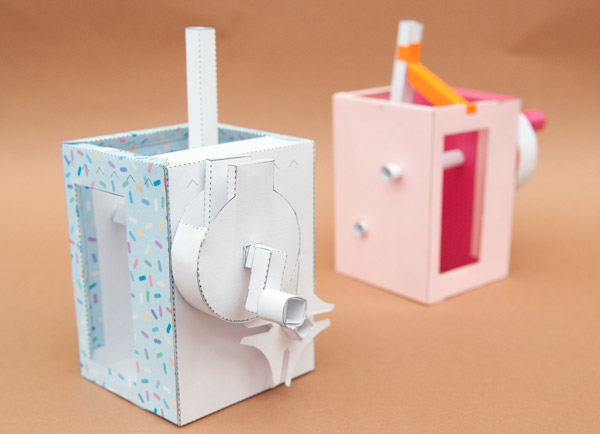
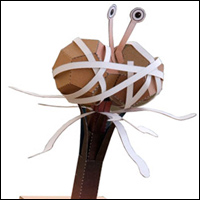
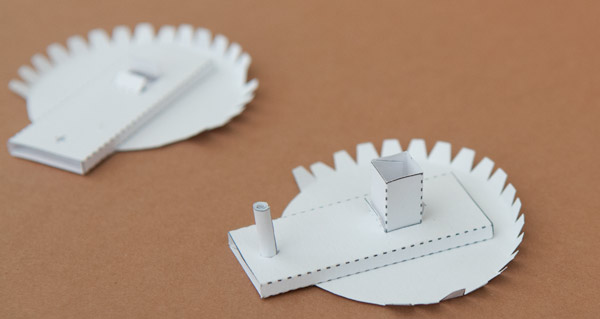
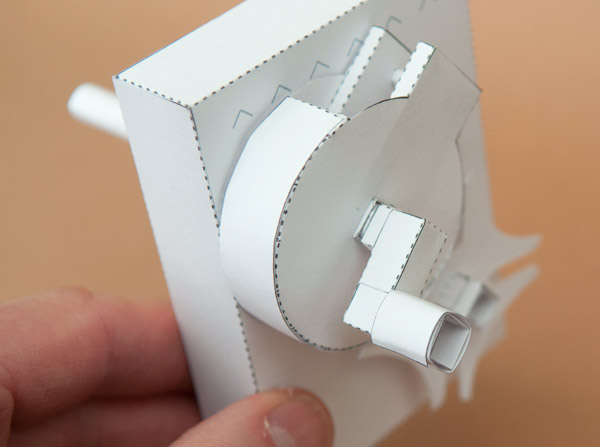
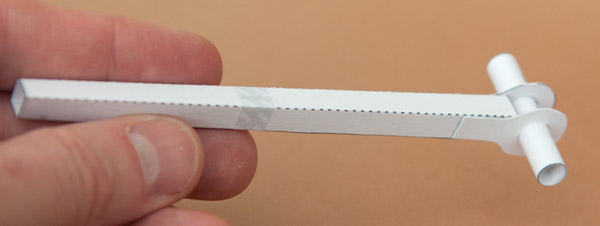
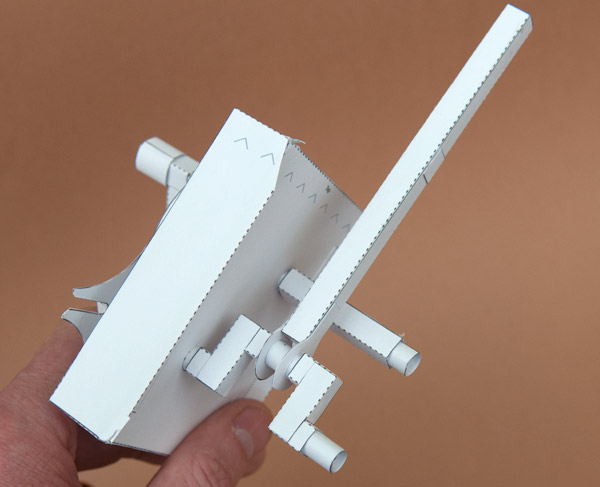
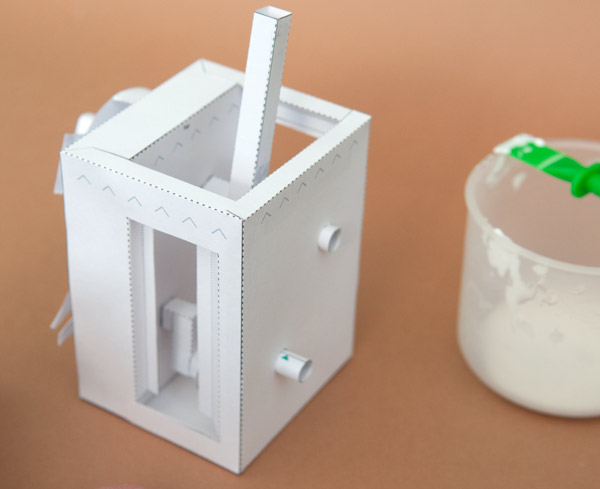
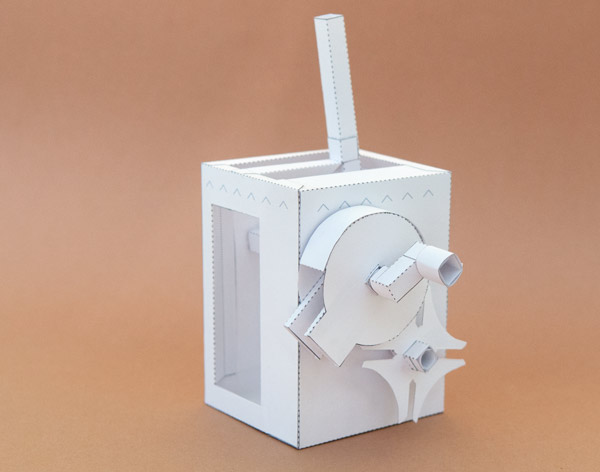
 Here’s an interesting mechanism for you to download and make. The main handle links to a four-step geneva drive. The movement from this is an intermittent quarter turn rotation which is connected directly to a crank.
The result is this curious motion which can be used as the starting point for your own character based paper animations or made simply as a mechanical curiosity.
Members can download the project for free. Click here to sign up! If you are not a member you can download the parts for this project for £2.50 at the link on the top of this post.
Let’s get started.
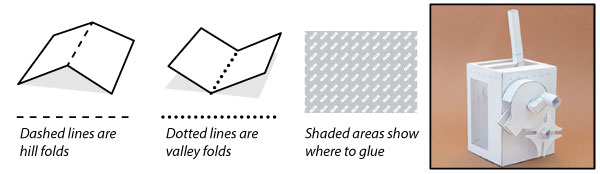
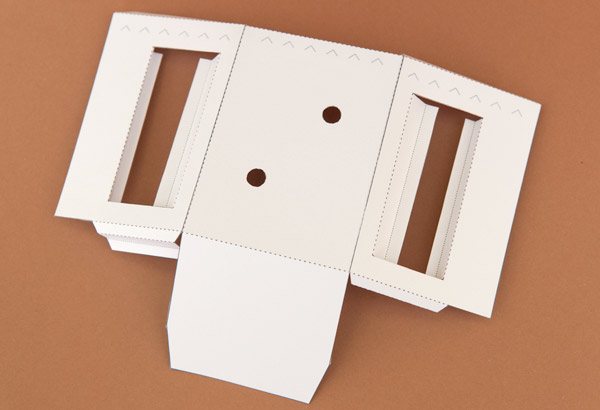
Print out the pages onto thin card (230 micron / 67lb) Score along all the dotted and dashed lines, cut out all the holes then carefully cut out the parts.

Roll up and glue down each of the four paper tubes. Note that each one has a different number of small triangles. You’ll need this to identify the correct tube as the model is assembled.

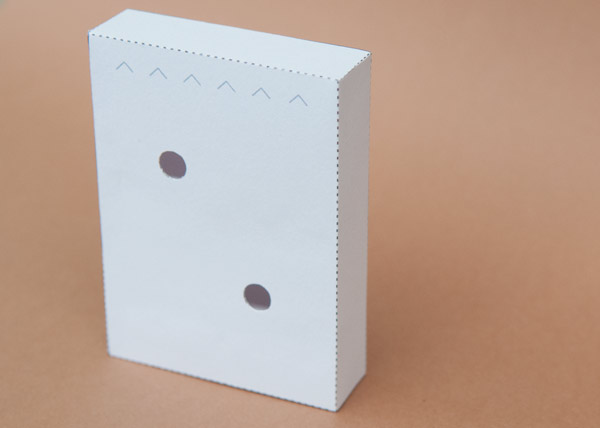
Join the two parts of the box together.
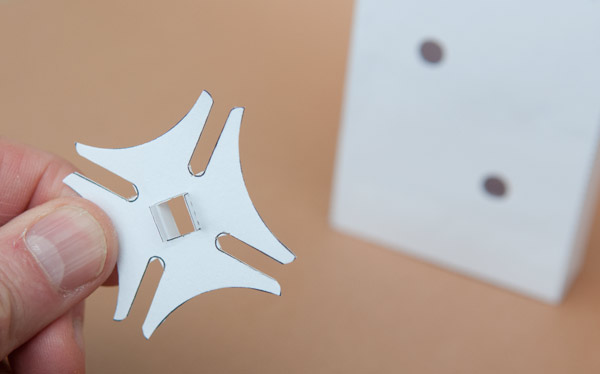
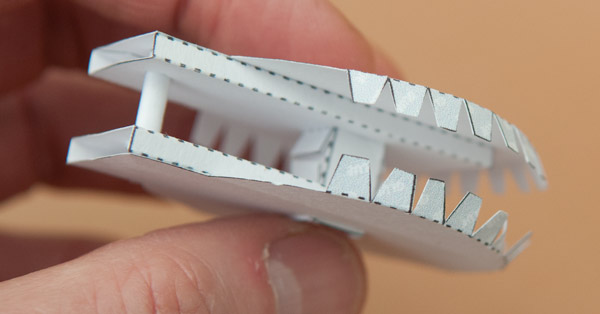
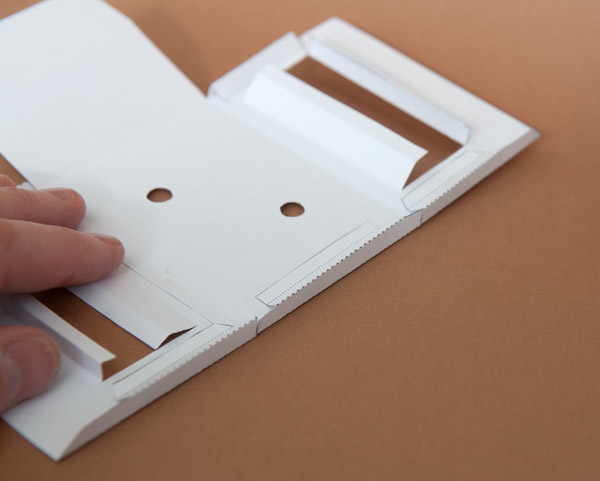
Inside the box, glue in the two box stiffeners. Glue them as close as possible to the holes with one of the flaps tucked under as shown in the picture above.
Fold round and glue together the box.
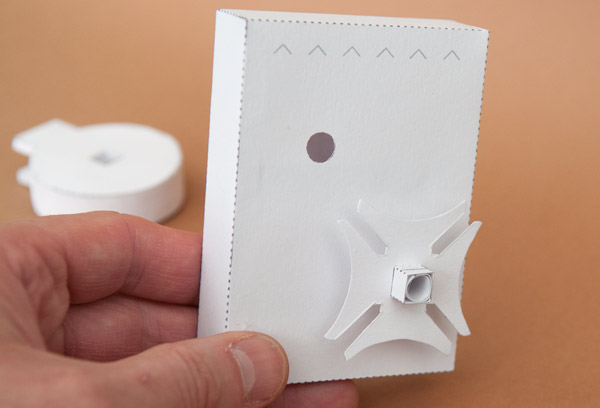
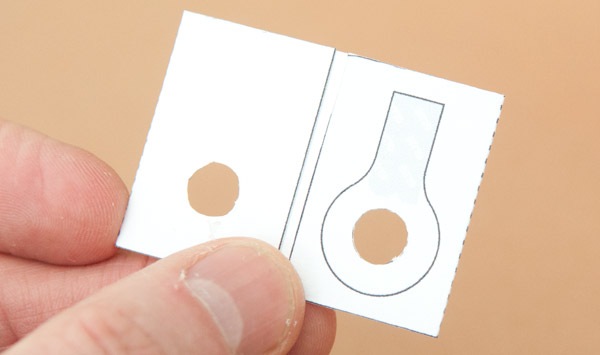
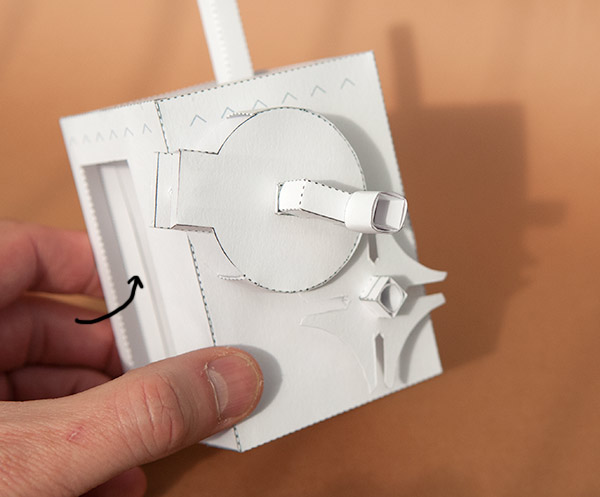
Make the Geneva stop from double thickness card leaving the centre tabs unglued.
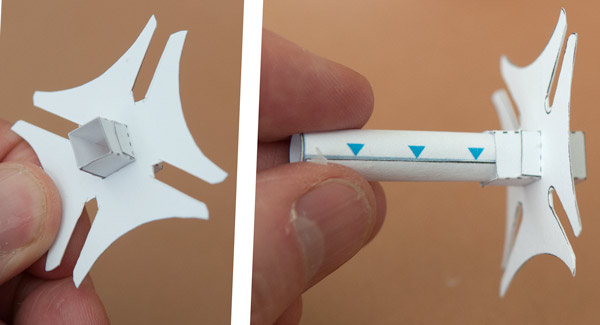
Fold up one of the two short square tubes and fit it into the Geneva cross. Thread the tube with four triangles into the square tube, lining it up with the end of the square tube. A small dab of glue will hold it into place.
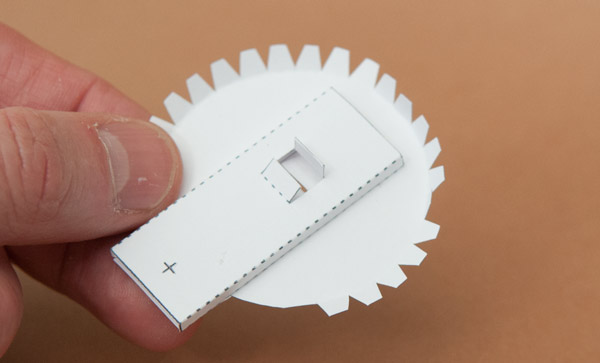
Glue the side piece onto the inside of the drive wheel. Make sure that the square holes are lined up with each other. Repeat the process with the other side.
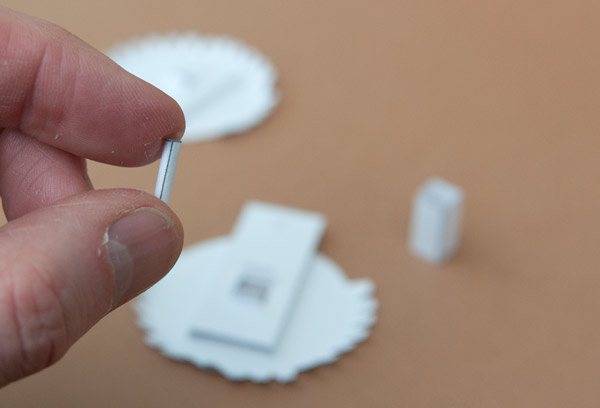
Roll the drive pin up tightly and glue it down.
Fit the drive pin and short square tube into one side of the drive wheel.
Fit the other side of the drive wheel into place.
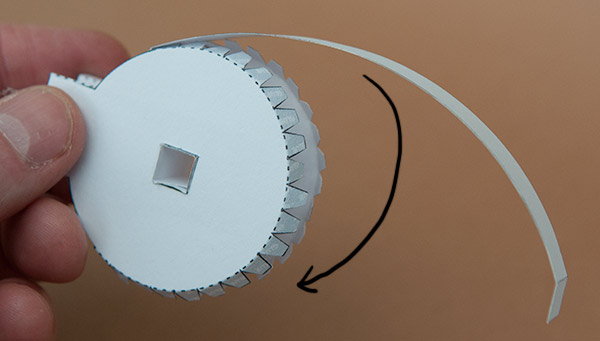
Glue the drive wheel side to the tabs at one end of the drive wheel.
Work you way round gluing it down onto the rest of the tabs to complete the drive wheel.
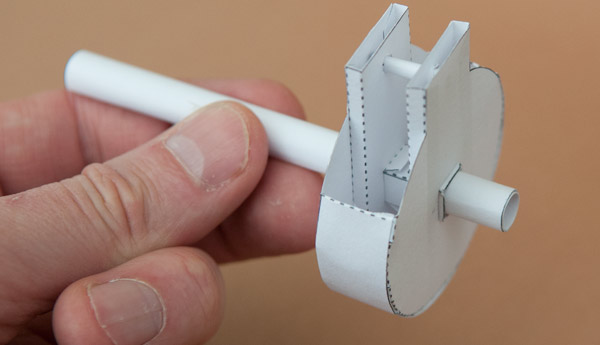
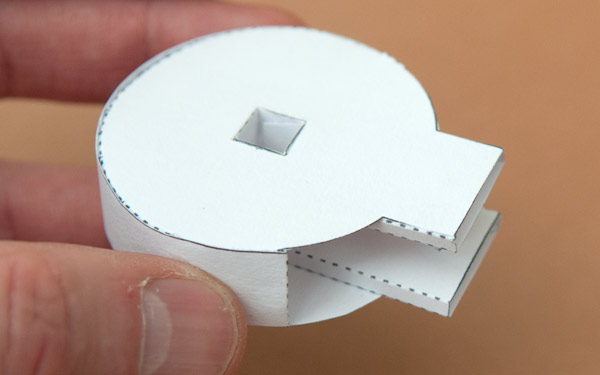
Thread the longest tube (five triangles) onto the drive wheel so that it is lined up with the two grey lines.
Fit the Geneva shaft into the lower hole of the box from the side with the small ‘x’
Fit the drive wheel into place next to the Geneva cross pushing it fully home.
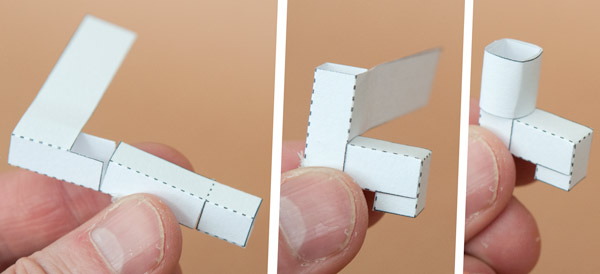
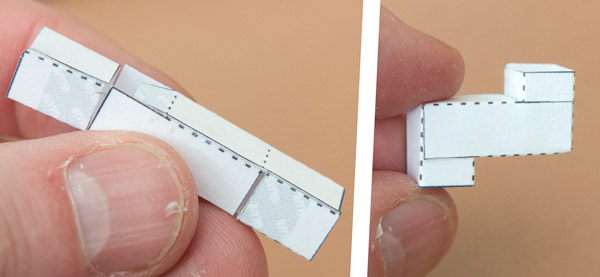
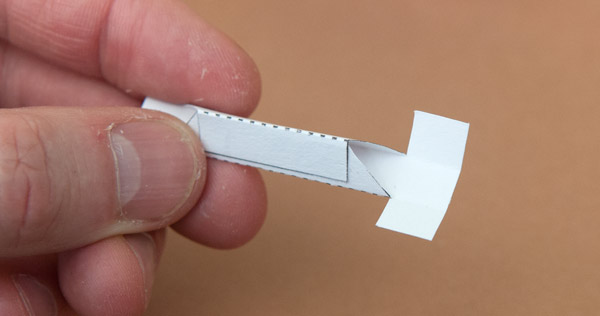
Assemble the handle in three steps as shown above.
Glue the handle to the drive wheel.
Assemble the two crank sections as shown.
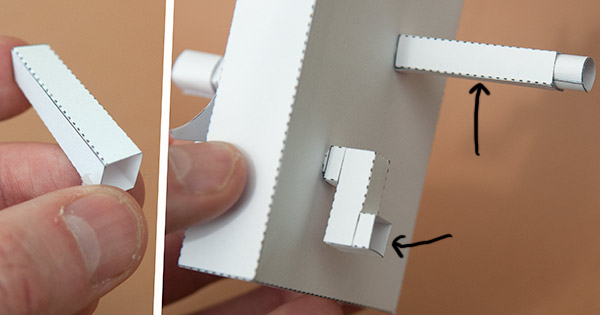
Fold up the medium length square section tube and slide it over the drive wheel tube.
Glue the first of the crank pieces to the Geneva wheel shaft.
Make up the two pushrod ends from double thickness card.
Glue the push rod ends to the end of the push rod and slip the three-triangle tube in place.
Glue together the remaining section of the crank as shown finishing it off with the short two-triangle tube.
Glue together the three pieces of the cover.

Fold up and glue down the two triangular tubes on the lower edge of the cover. Make sure that they are right angled triangles.
Make right angled triangle tubes from the three top sections.
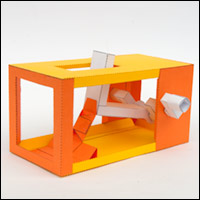
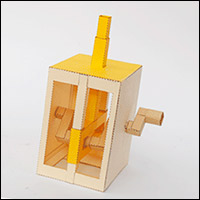
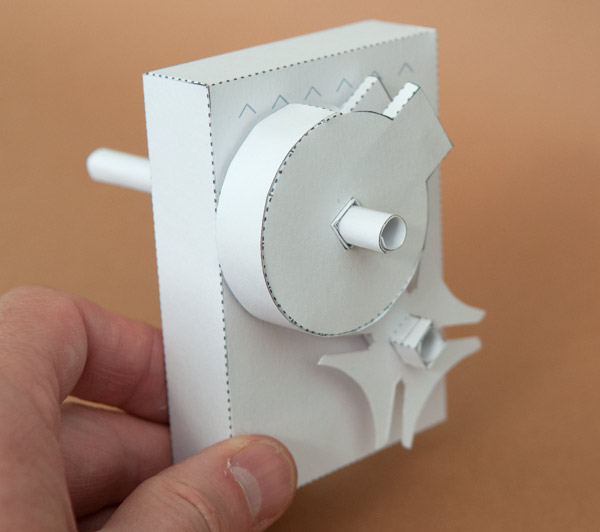
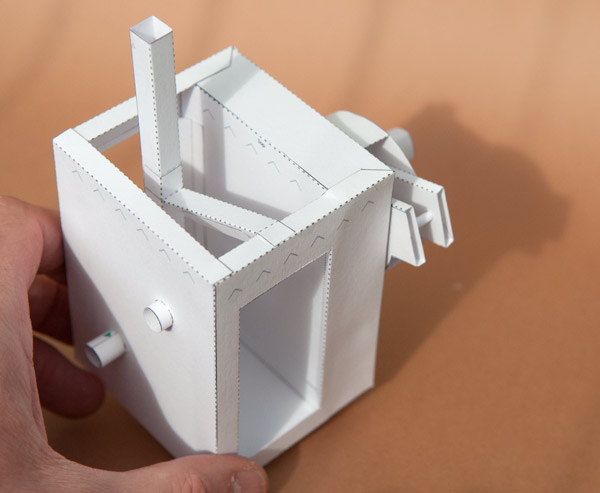
Glue the cover to the box fitting the drive shaft and crank shaft ends into place.
Fold in the four side tabs and glue them to the inside walls of the box and cover.
Assemble the linkage piece.
Join the linkage to the grey area on the push rod as shown.
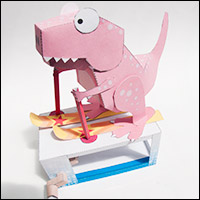
And there it is complete. Use the completed model as an interesting mechanism or as the starting point for your own charaacter based automata.