As you will know if you have been following along in the blog, I’m working on a paper robot with flexible arms and legs. I’m pretty sure that the flexible arm design, which is moved using paper tendons, will come in use for other future projects so I’m making it available as a free download for members of the site. Thanks for signing up!
Print out the parts onto coloured card. There is only one sheet which makes up one arm. I printed it out twice onto two different colours of card so that the tendons would show up! Score along all the dotted and dashed lines then carefully cut out the pieces. Dashed lines are hill folds, dotted lines are valley folds.
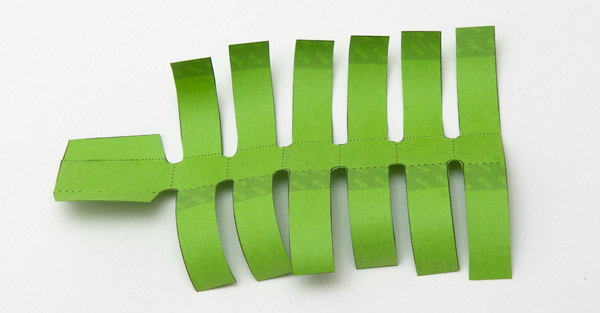
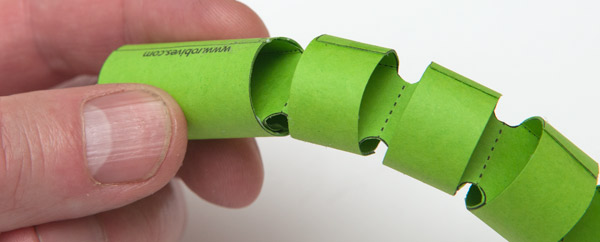
The main part of the arm looks like a rib cage. Start off by gently curving the ribs round so that they don’t crease as you make the parts.
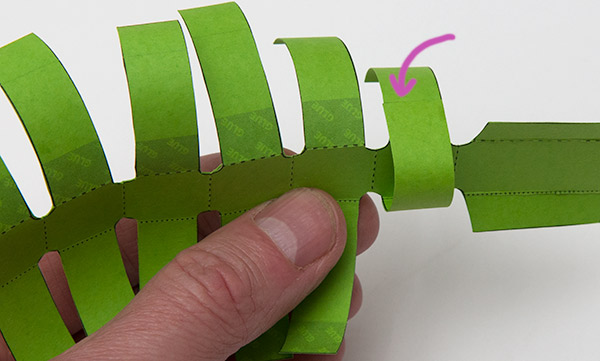
Starting at one end of the arm with the rib with the grey glue area, roll it round and glue it so that it accurately matches the other glue area.

Fold the other rib round and glue it down so that the fine grey line is over the diagonal centre piece.
Repeat this process along the full length of the arm.
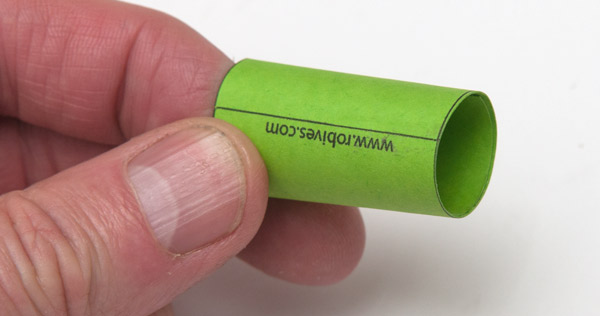
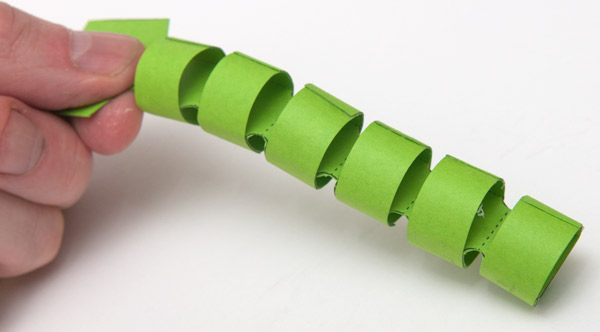
Roll up and glue together the end tube.
Fit the end tube to the end of the arm
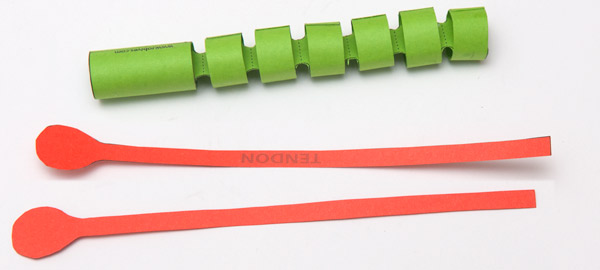
The arm with tendons ready to fit.
Thread one of the tendons through one side of the arm and glue it to the inside end of the last tube section.
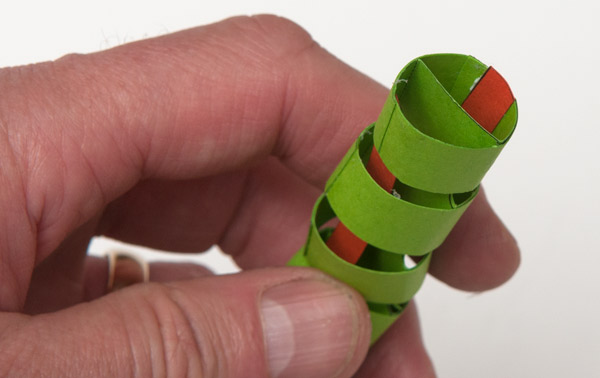
Repeat the process with the other tendon on the other side.
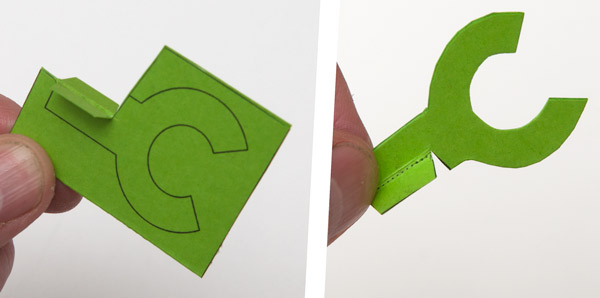
Fold round and glue together the claw to make double thickness card. Once the glue is dry carefully cut it out.
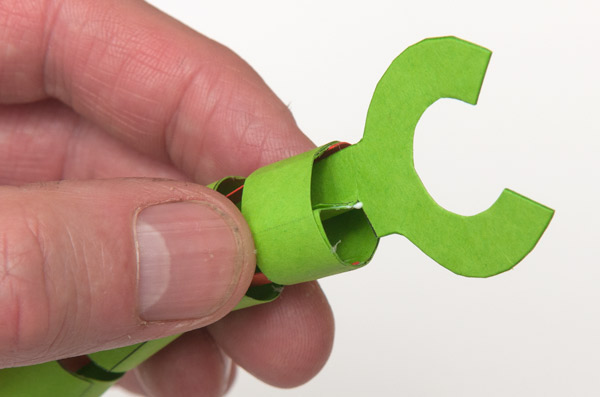
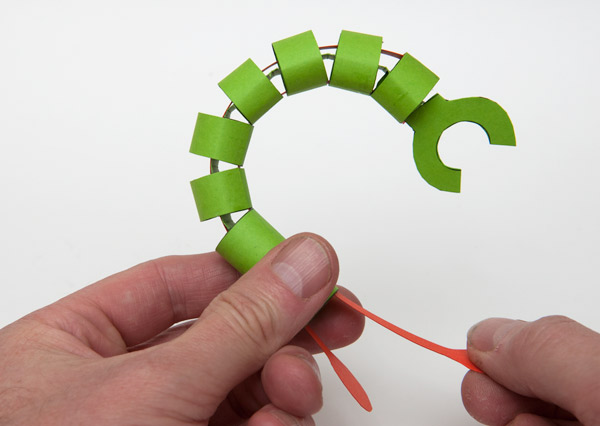
Complete the arm by fitting the claw into place.
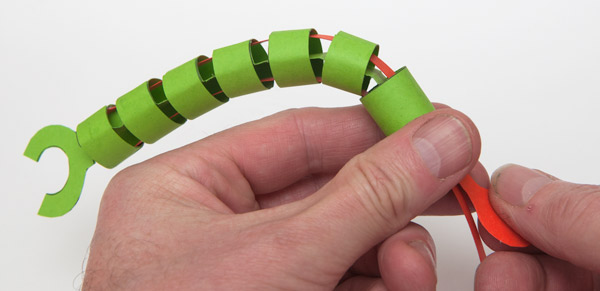
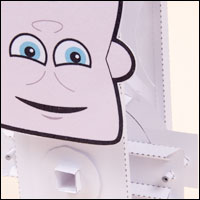
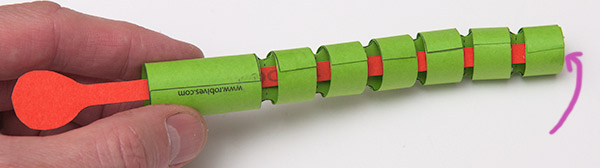
Pull the tabs on the end of the tendons to move the arm up or down.
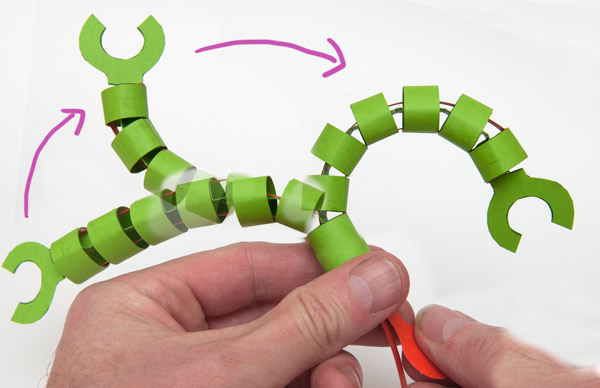
The range of movement is surprisingly large!