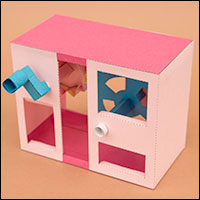
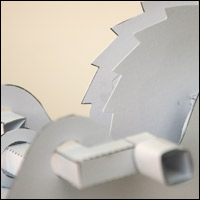
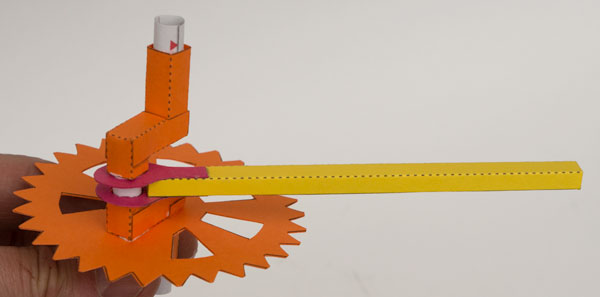
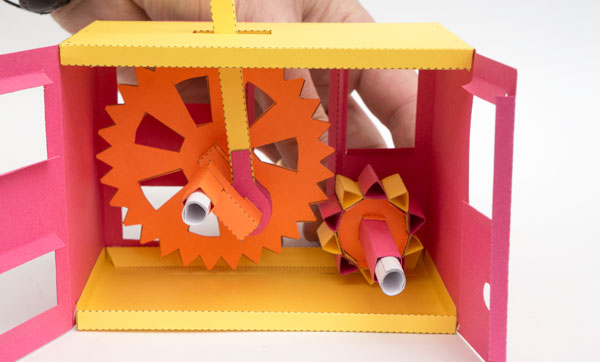
Essential Mechanisms: 3:1 reduction gear.
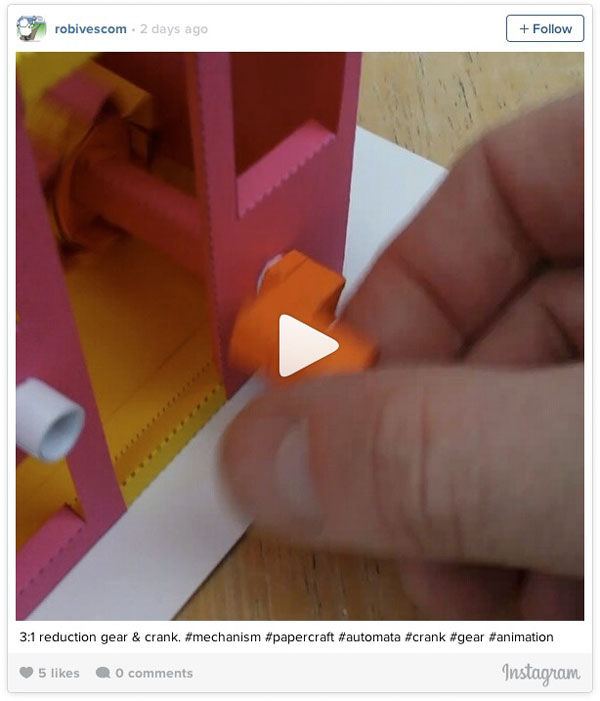
Not just a gear box though! The output gear (the large one in this case) is fitted with a crank so that a push rod can be connected to a character on top of the box. The gear box ratio is actually 10:29. The fact that the teeth numbers don’t divide into each other exactly means that it isn’t the same teeth meshing against each other all the time. This reduces wear and reduces that chance that teeth snag against each other.
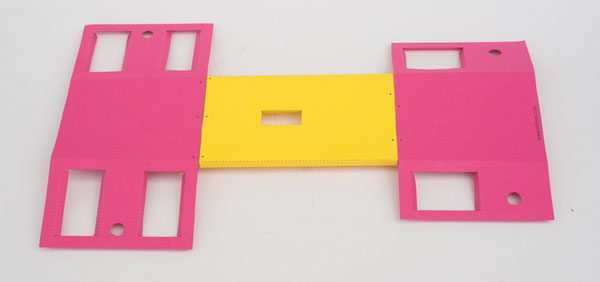
The parts come as a four page file. Members can download them at the link for free. Non members can download them for £2.50.
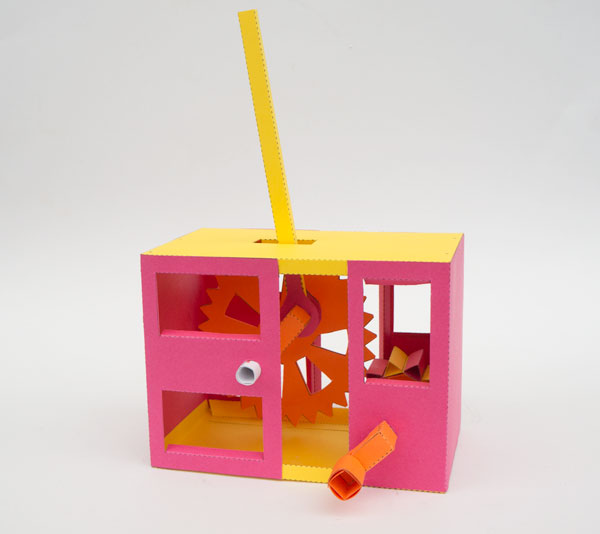
I printed the parts onto coloured card for a colourful model. You can use white, coloured or patterned card. The best weight is around 230gsm or 67lb thin card.
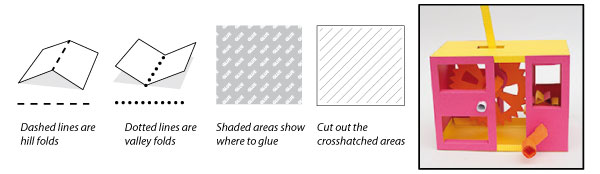
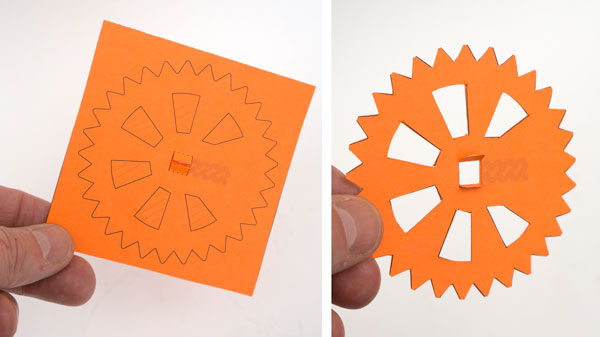
Score the dotted and dashed lines and cut out the crosshatched areas before carefully cutting out the parts.
The twenty nine tooth gear is made from double thickness card. Fold over the card and glue it down leaving the centre tabs unglued. Once the glue is dry, carefully cut out the gear. You can cut out the holes to make spokes if you choose. They actually make the gear less strong but it does look nicer and it is still plenty strong! Your choice.
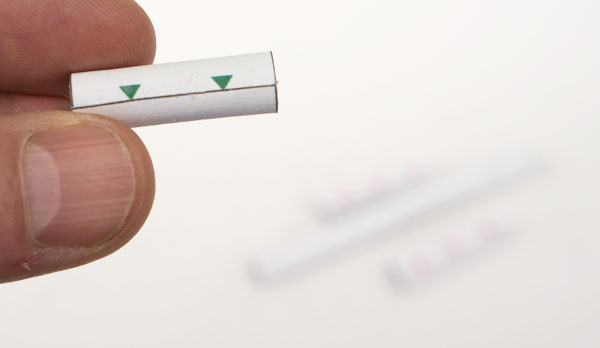
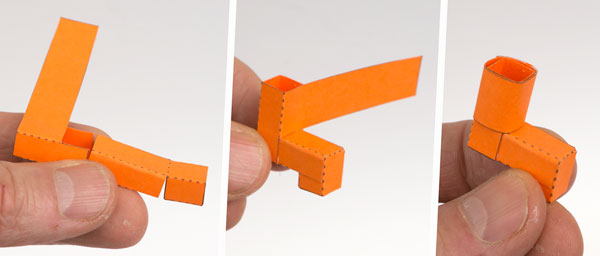
Roll up the four axle tubes gluing them down accurately on the edge of the grey area.
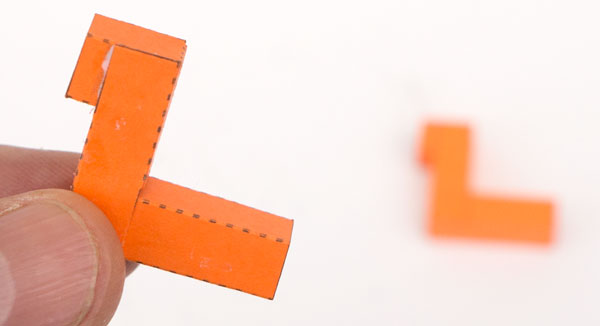
Make up the two crank pieces in these two steps.
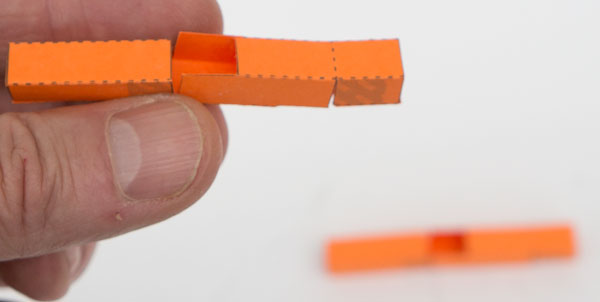
The push rod ends are made from double thickness card. Fold over the card and glue it down. Once the glue is dry carefully cut out the piece.
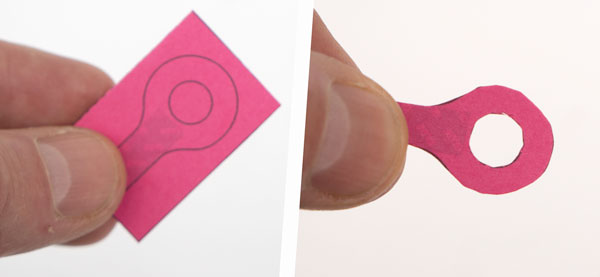
Thread one of the crank pieces into the large gear and glue it to the marked area. Use the picture to ensure you have the correct orientation.
Assemble the push rod and push rod ends. Thread the shortest axle tube into place.
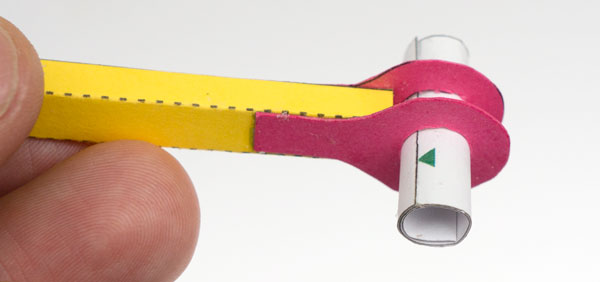
Make up the crank and gear assembly as shown fitting the two mid sized axle pieces into place.
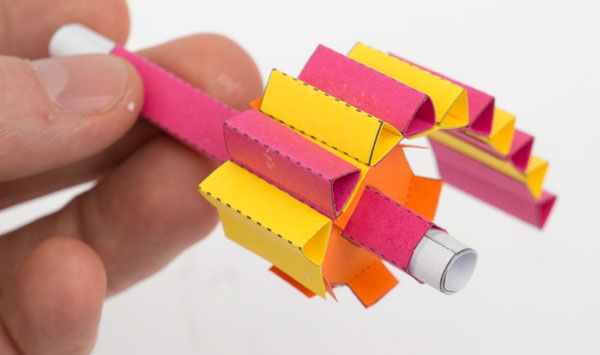
Each of the ten small gear teeth is made as shown.
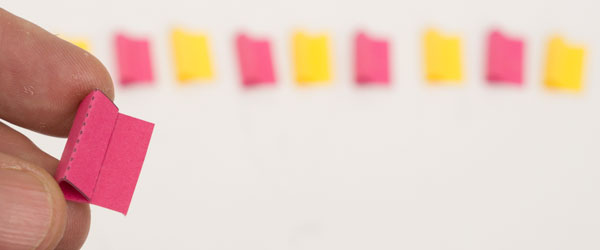
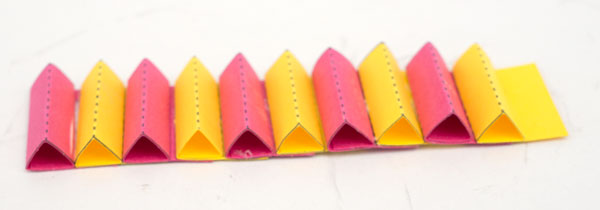
Glue the ten teeth together in a long strip.
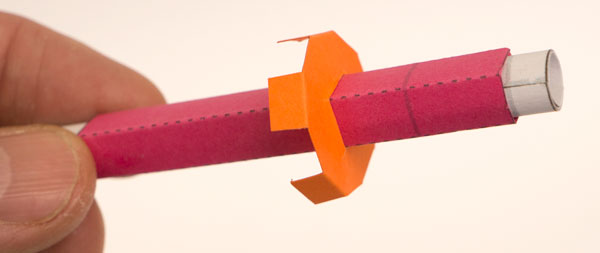
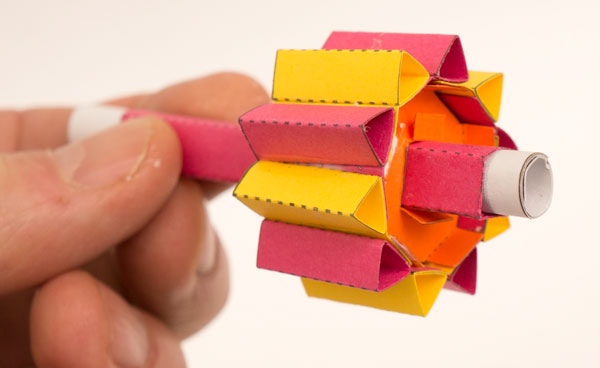
Fit the gear inner to the square axle tube as shown.
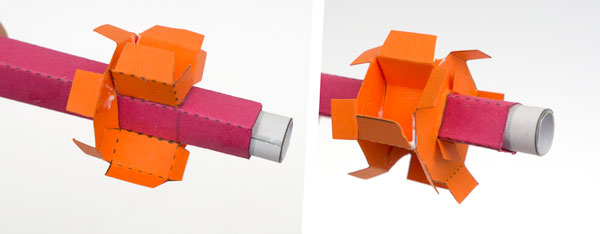
Glue the gear fillets into place then glue on the second gear end.
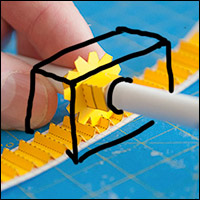
Take the tooth strip. Starting at the end with the hanging tab, glue the tooth strip to the tabs on the gear inners.
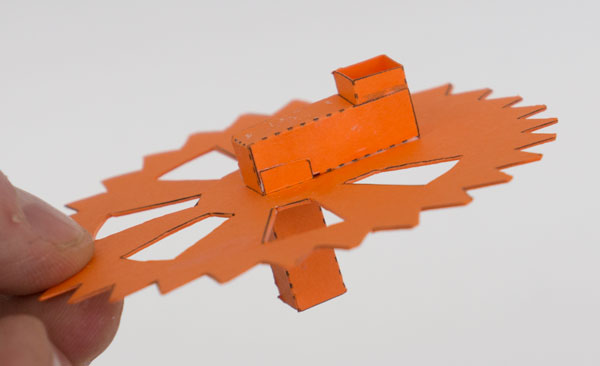
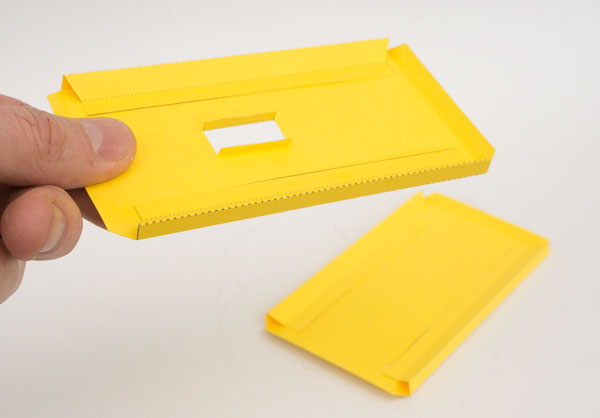
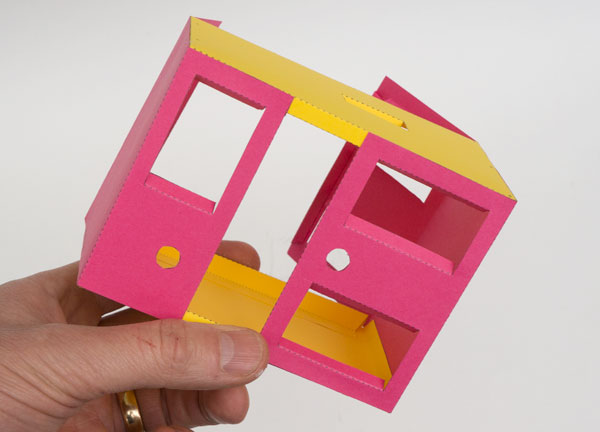
Assemble the top and the base by folding over the side tabs to make right angled triangles.
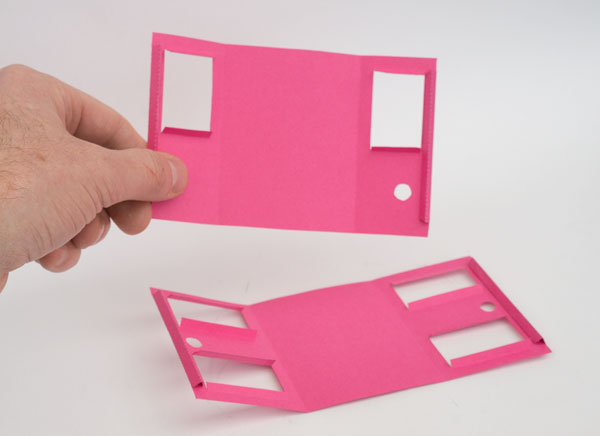
Assemble the two box ends. This time the tabs fold round to make equilateral triangles.
Assemble the handle in three steps.
Glue the two ends to the box top. Use the two dots and the three dots on the parts for alignment.
Glue in the base and fold in and glue two of the side pieces. Leave the other two open.
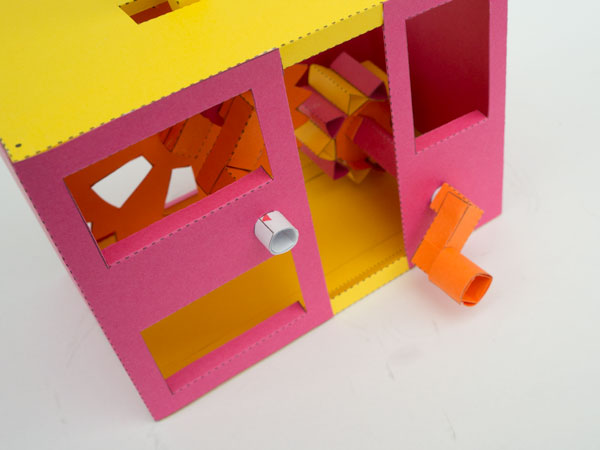
Fit the two gears into place in the box.
Fold in and glue the sides.

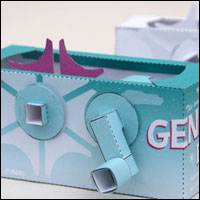
Complete the model by gluing on the handle.
Use the model as an exercise in pure mechanism or as the starting point for your own character based automata!