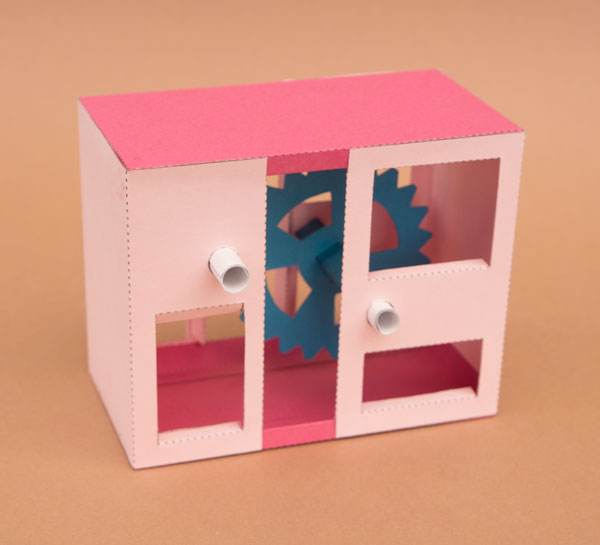
Essential Mechanisms: Gearbox.
This gear box features a two to one reduction gearbox. (The gear ratio is actually 23:12 so that the same teeth are not constantly in contact with each other) Use this model as an experiment in pure paper mechanism or as the starting point for your own character based designs.
Print out the parts onto thin card. I used coloured card to make a colourful model. You can use coloured, white, patterned or a mix of all three. Thin card, roughly 230 gsm / 67lb is ideal.
Score along the dotted and dashed lines and cut out the holes before carefully cutting out the pieces.

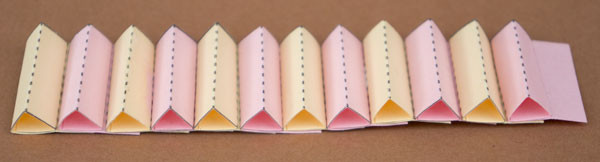
The teeth of the pinion gear are made individually. Don’t worry, there are only twelve! Fold up and glue down each tooth then glue them together in a strip. Make sure that the teeth are just touching at their base.

Twelve teeth glued together.
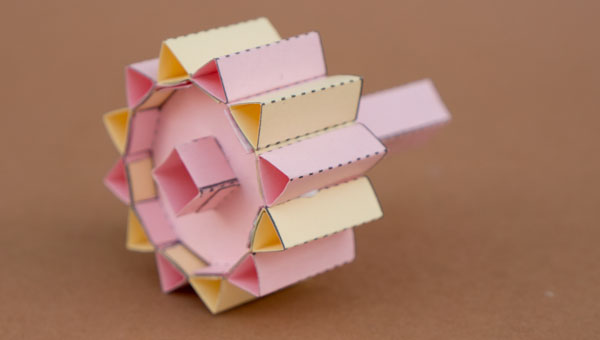
Glue one of the gear centres to the pinion axle along one of the grey lines.
Glue the two gear fillets into place so that their ends touch the gear centre where the tabs stick out. (arrowed)
Glue the second gear centre into place.
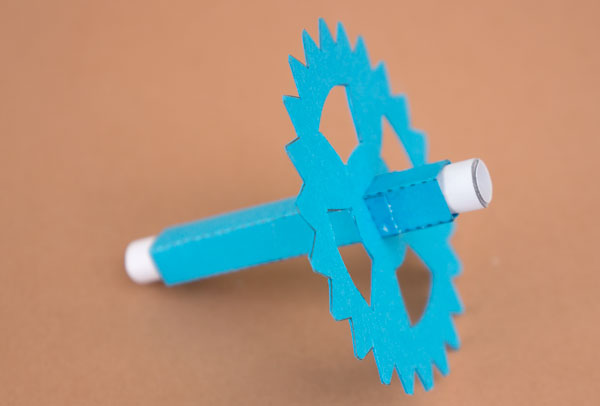
Take the gear strip. Starting from the end with the hanging tab glue the teeth round the central core…
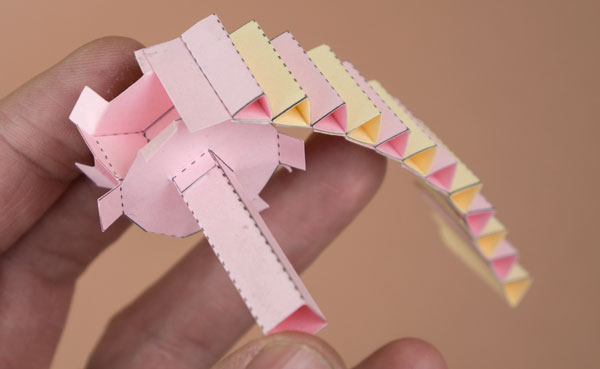
…finishing by gluing the end down to complete the pinion.
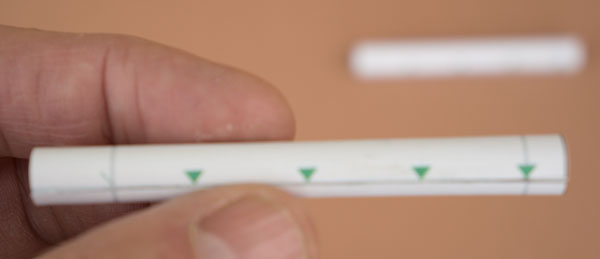
Roll up the two paper axles gluing their ends down lined up with the arrows.
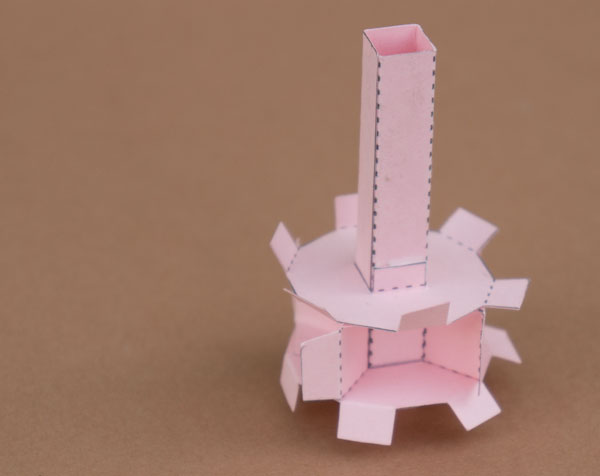
Take the longer of the two axle tubes and thread it through the pinion. Line up the grey line with the end of the square tube. (Arrowed)
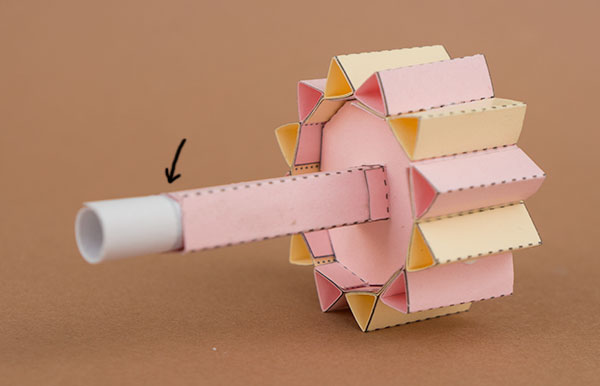
The larger gear is made of double thickness card. Fold the piece over and glue it down. Make sure that the central tabs are not stuck. Once the glue is dry, cut out the gear. You can cut out the four sector holes if you like although they are purely for decorative purposes.

Fit the gear to the second square tube lining it up with the grey line then fit the white axle tube into place.
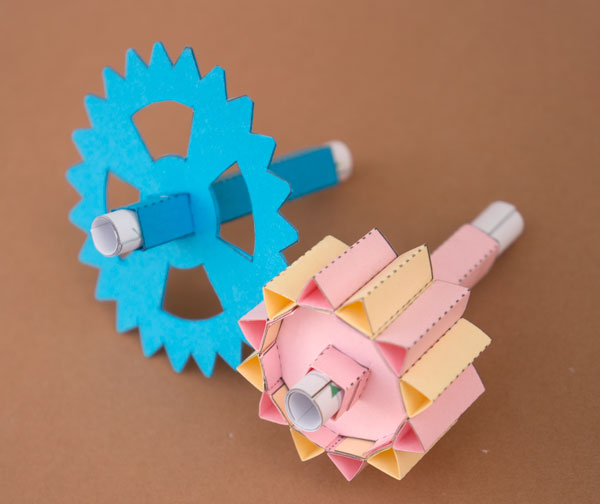
The two gears ready for action!
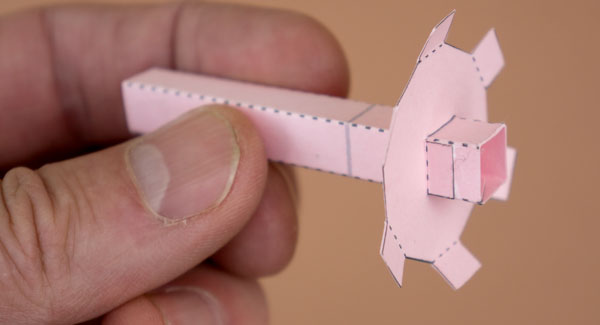
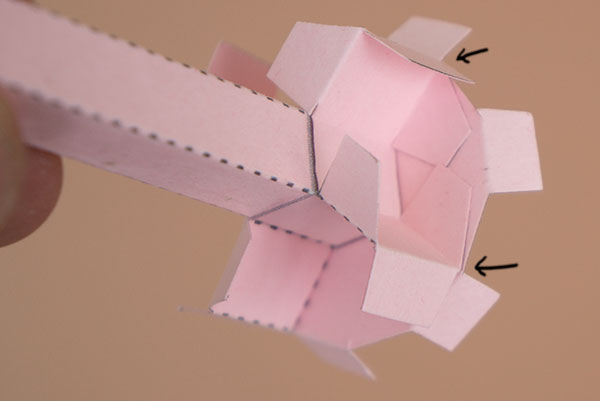
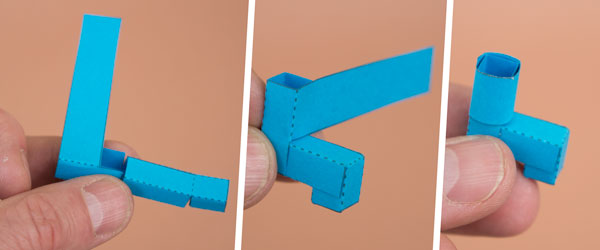
Assemble the handle in three steps.
Making the Box
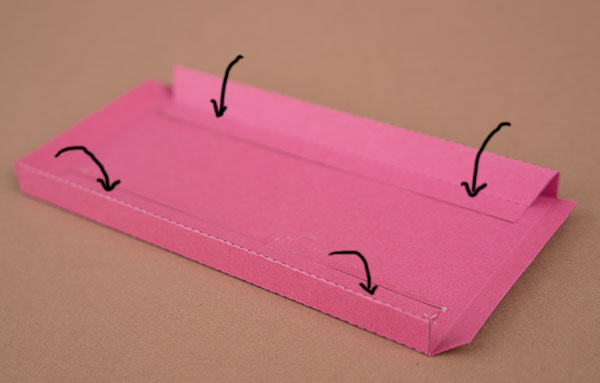
Make up the two box side. The triangle sections should be right-angled triangles.
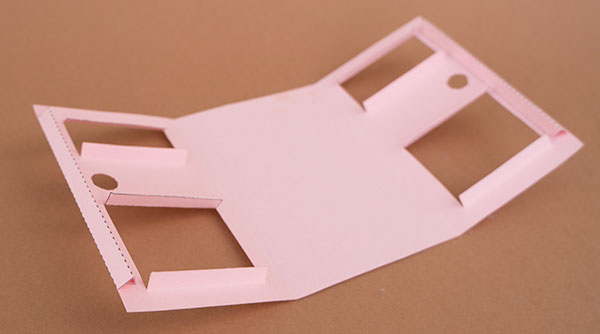
Make up the two box ends. This time the triangle sections are equilateral triangles.
Join the two ends to one of the sides. Use the two and three dot makings to ensure the correct arrangement.
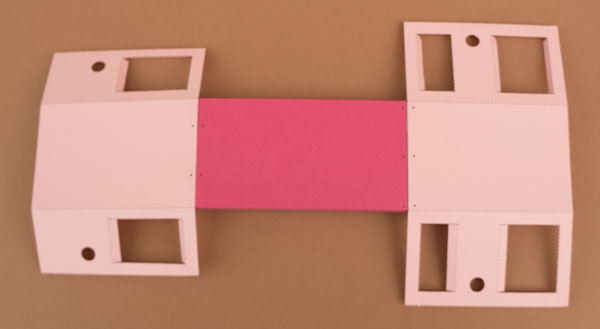
Fit the second box side.
Glue in the side flaps from the box ends onto one side only. Make sure that the box stays square.
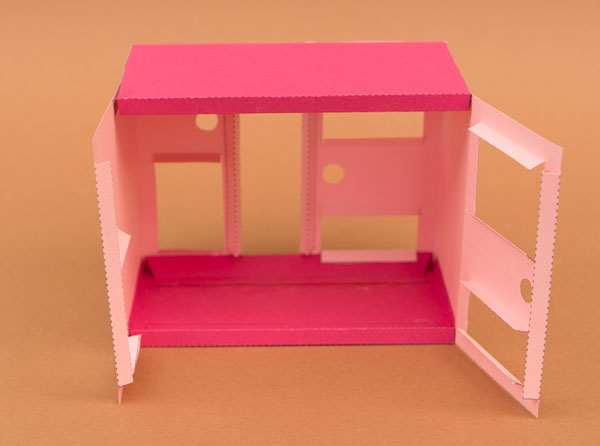
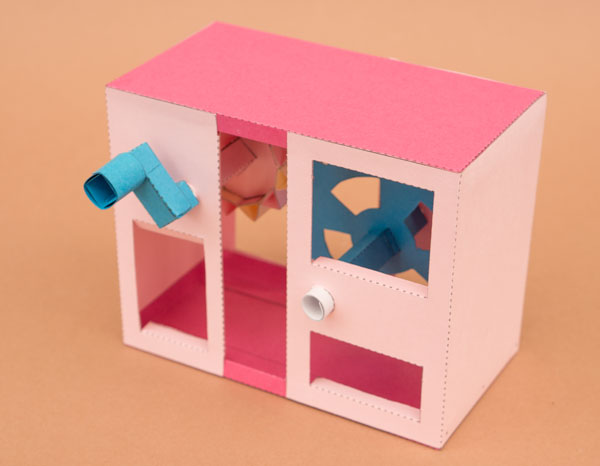
Fit the gears into place as shown.
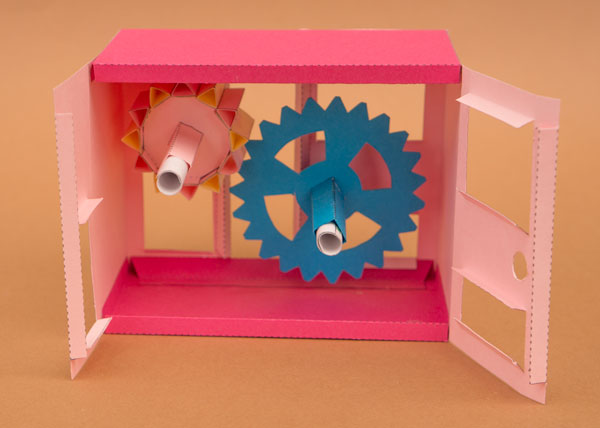
Close the box over the axles and glue them down.
Complete the gear box by adding the handle to the pinion gear.
You can use this as a complete model, the gear is a rather satisfying mechanism in its own right. Or you can use the project as the starting point for your own character based design. I’ll be adding a couple of examples of what you could do in the near future.