 Four interlocking gear wheels in a display case. Art and engineering in perfect harmony.
This project is also on Instructables
The parts of this project are cut out from three millimetre plywood using a laser cutter. In this case, an HPCLaser 3050.
The plans for making this project are available for everybody to download for free. As well as the plywood you will also need a piece of dark coloured paper as a background and a sheet of one millimetre thick clear acrylic for the front of the box. One final addition, you will need three pieces of six millimetre wooden dowel. Two of them twenty four millimetres long and one eighteen millimetres long.
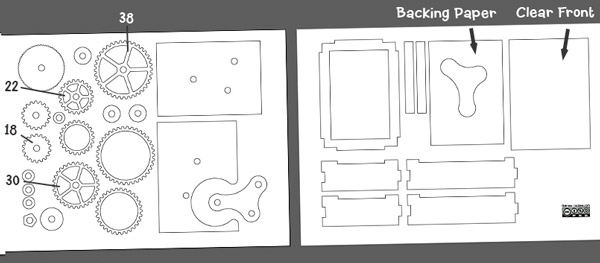
The parts file is divided into two pages. The file is a pdf. As different laser cutters use different file formats I leave it to you to convert it to a format suitable for your machine.
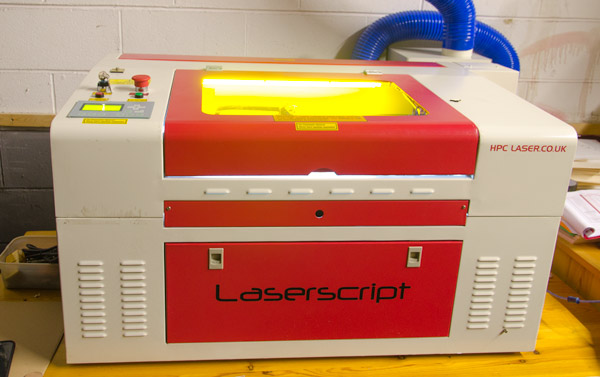
The HPCLaser in action cutting out the parts.
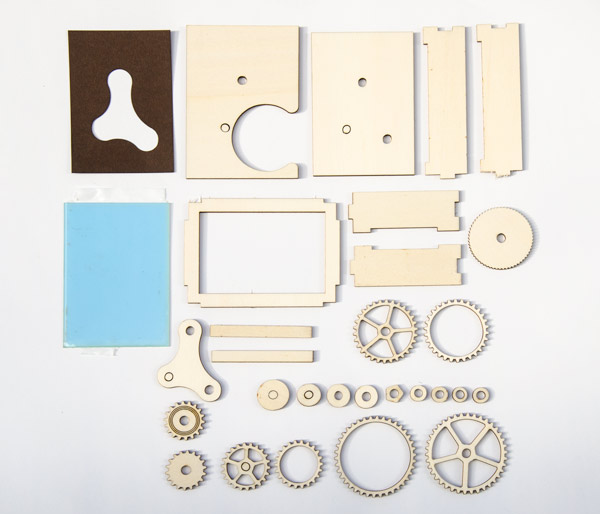
All the parts apart for the dowel pieces cut out and ready to go. The blue piece is the clear acrylic front with its protective film still attached. Having cut out all the parts follow the instructions below to assemble the gear display.
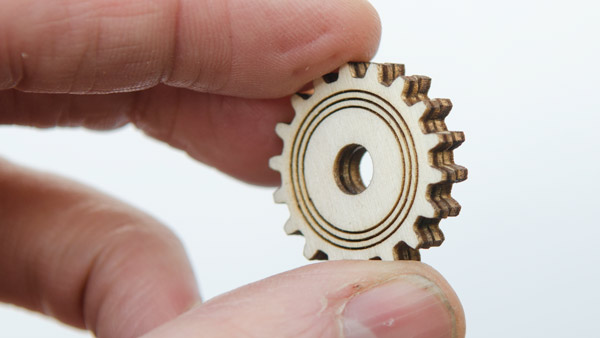
Glue together the two eighteen teeth gears. Make sure that they are aligned precisely.
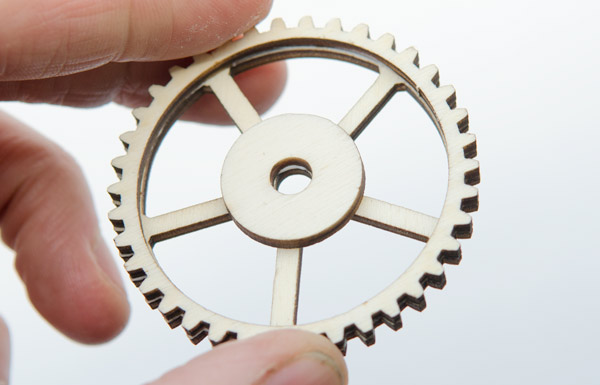
Glue the outer ring to the thirty eight tooth gear as well as the centre hub. Again, make sure you are as accurate as possible with your alignment.
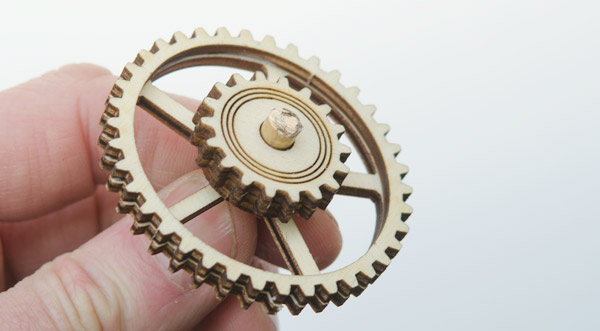
Glue the eighteen toothed gear to the hub. Use a spare piece of dowel to make sure the holes are lined up accurately.
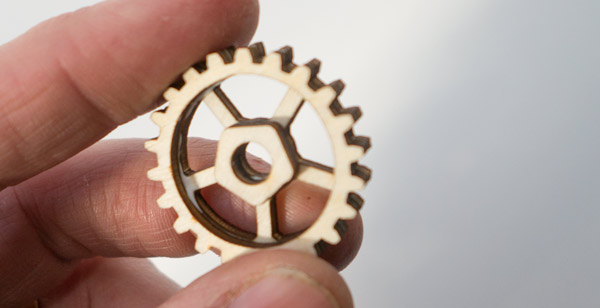
Assemble the twenty two toothed gear as shown using the pentagon hub.

The thirty toothed gear has no hub. Carefully glue the secondary gear ring in place making sure that the teeth are accurately lined up.
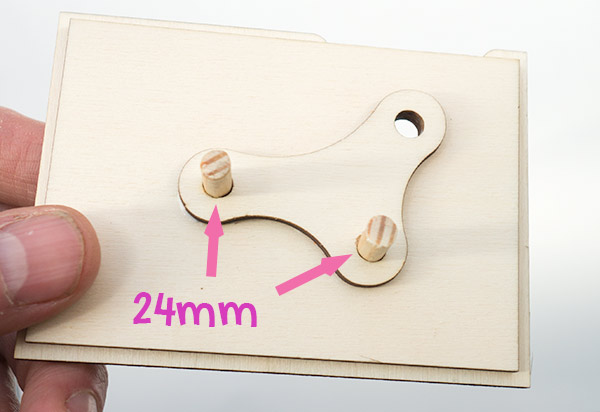
Glue together the three base pieces and fit the two longer dowels into place tapping them home with a hammer if necessary. They should be a tight fit and should not be free to turn.
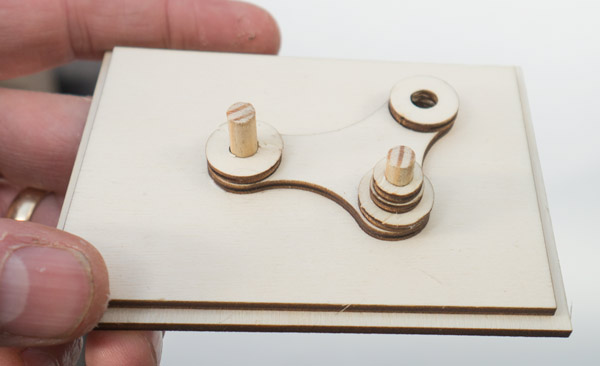
Fit the various spacers into place as shown in the picture.

Glue the eighteen millimetre long dowel into the knurled gear as shown. Make sure that it is sitting accurately square as the glue dries.
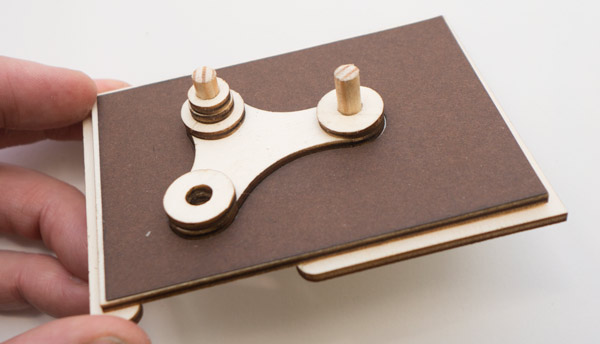
Glue the dark backing paper into place. This paper provides contrast with the gears making them stand out visually.
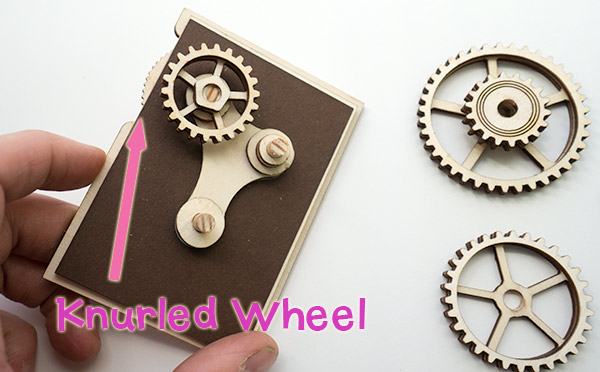
Fit the knurled wheel through the remaining hole in the base plate. It should turn easily in the hole. Fit the small gear into place on the dowel so that it just touches the spacer on the base. It should turn easily via the knurled wheel.

Drop the largest gear onto the dowel. Check that it turns freely via the knurled wheel.
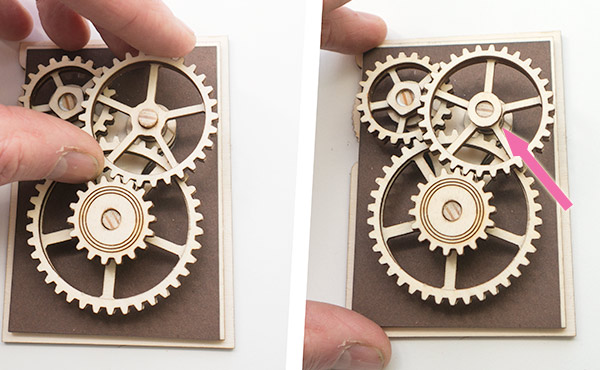
Drop the final gear onto the remaining dowel. Fit the remaining ring over it so that it holds the gear down but still allows it to turn.

Fit together the five main pieces of the frame. Use glue if you need too.

Drop the acrylic front into place inside the box. Glue the two stops into place to hold the acrylic in position.
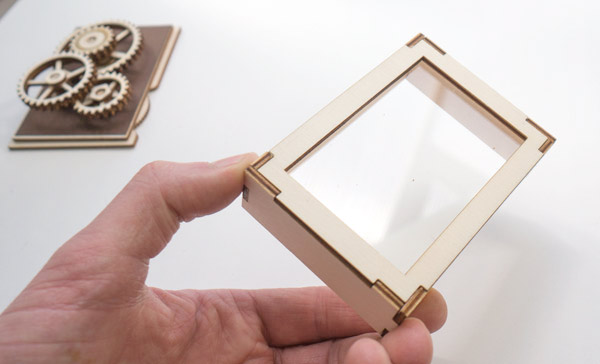
The finished front cover.
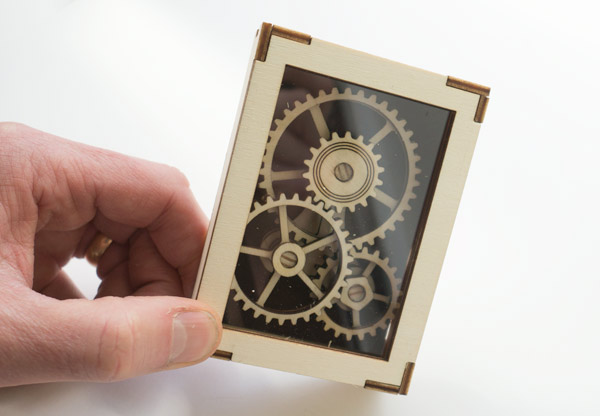
Fit the cover over the gear to complete the project.