A working crank mechanism to download, print out and experiment with!
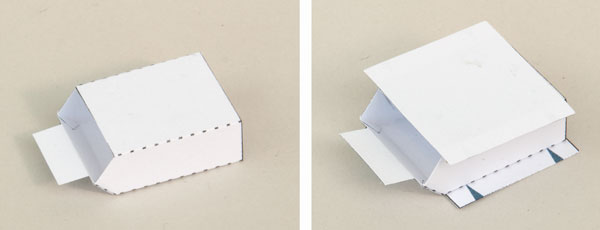
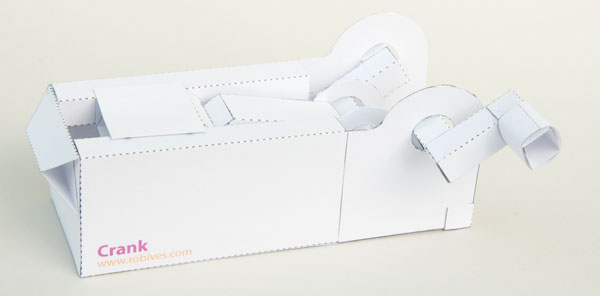
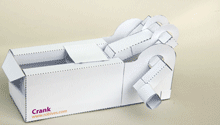 The completed model.
This model lets you see how cranks work and could be the starting point for your own designs.
Members can download the parts for free at the end of this post. Non members can download the parts for a small fee.
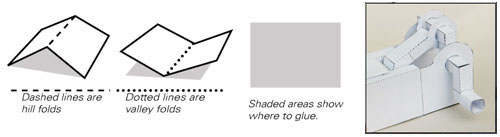
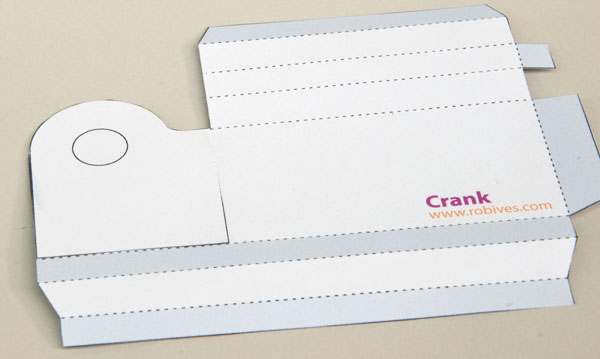
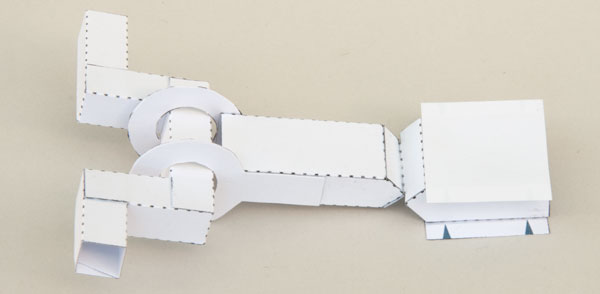
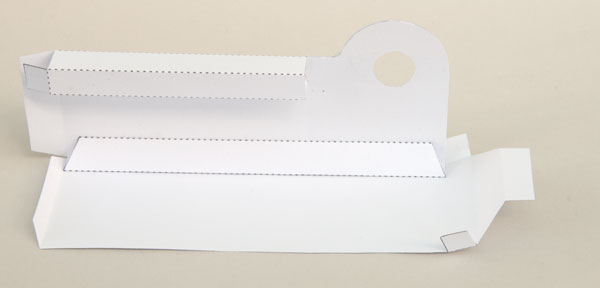
Print out the parts onto thin card (230 gsm / 230 micron). Score along the dotted lines, don’t cut the holes out yet. Carefully cut out the parts.
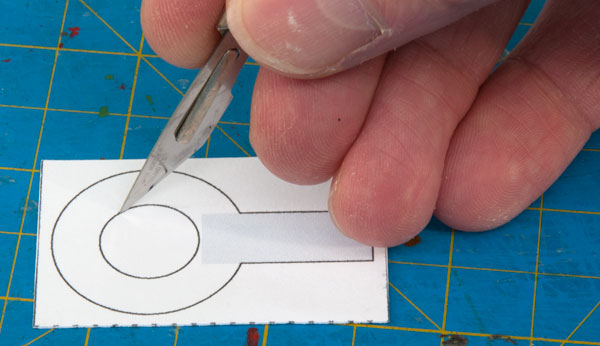
Fold the push rod ends in half and glue them together to make double thickness card. When the glue has completely dried cut out the hole in the middle with a sharp knife…
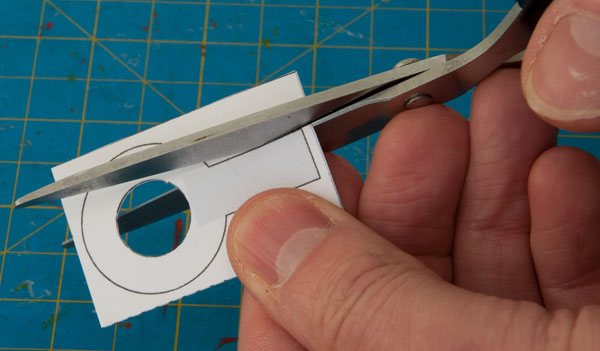
…then cut out the part with a pair of scissors.
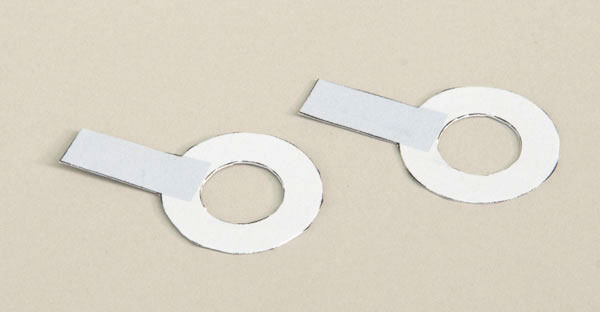
Repeat with the second push rod end.
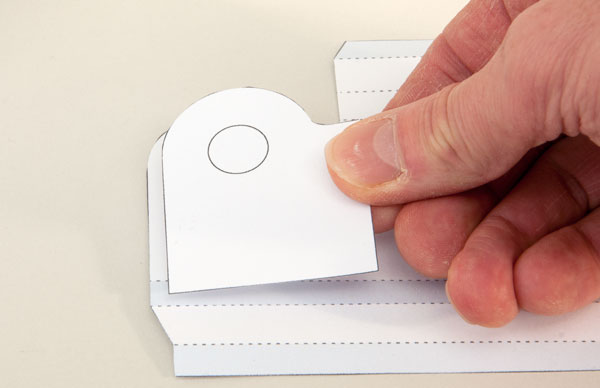
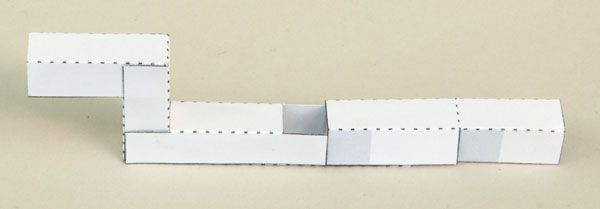
Glue the box strengthener into place over the box side so that it is accurately line up. This is to make the crank hole double thickness.
The completed box side.
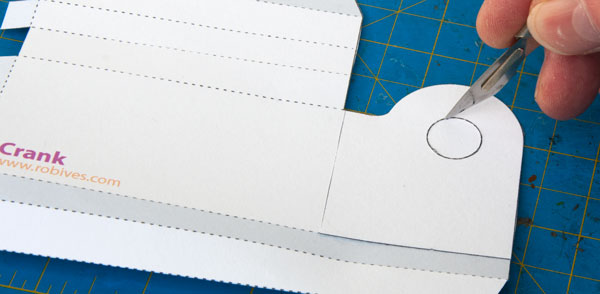
Once the glue is completely dried carefully cut out the hole with a sharp knife.

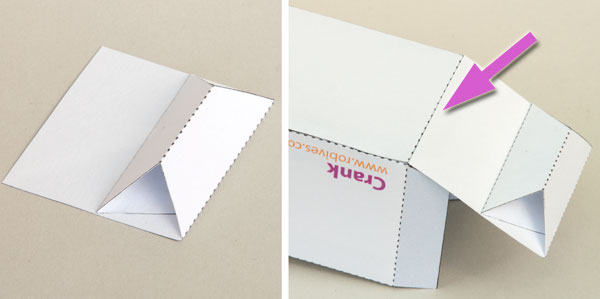
Fold round and glue down the lower flap on the box side to make a triangular tube section. Use a square box to make sure that the part is at right angles. (I used Northern Exposure season four DVD box set but season three would probably work just as well.)
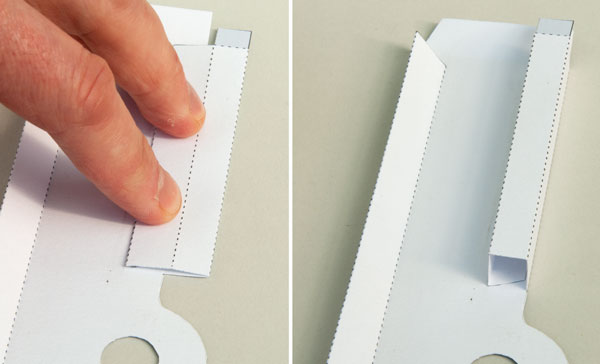
Fold over and glue down the top flaps as shown above then pop it up in a square section tube.
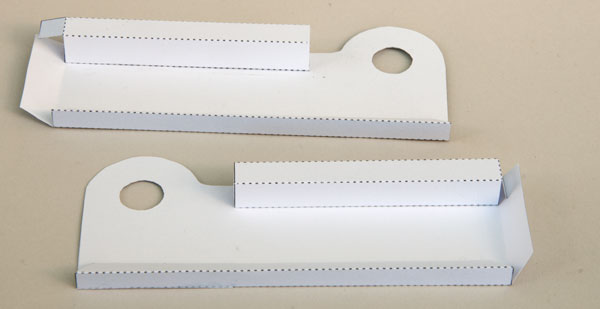
Repeat the process with second box side.
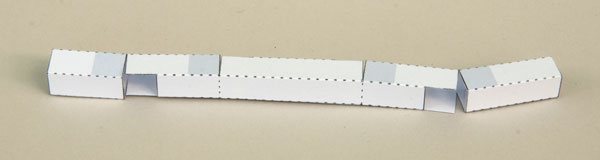
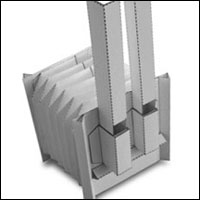
Fold the five sections of the crank in square sections and glue them down.
Fold up the first two sections and glue them into position. Don’t do the other ones yet.
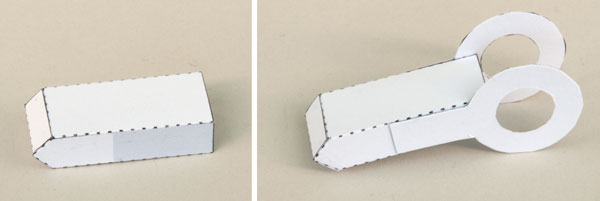
Fold round and glue up the push rod. Glue the push rod ends to the push rod.
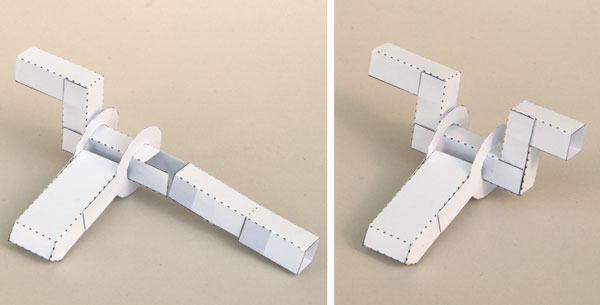
Thread the push rod onto the centre of the crank. Fold up and glue the rest of the crank making sure to keep the angles accurate.
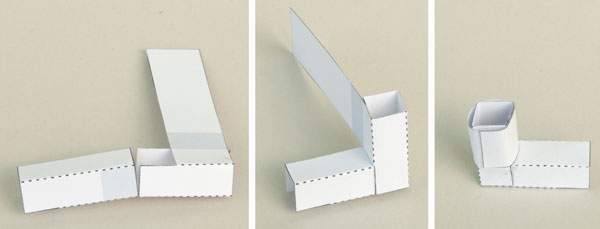
Fold up and glue together the moving platform. Glue the top and bottom into place.
Glue the push rod to the tab on the moving platform.
Glue the base to one of the box sides lining up the creases in the base with the front and back of the box side.
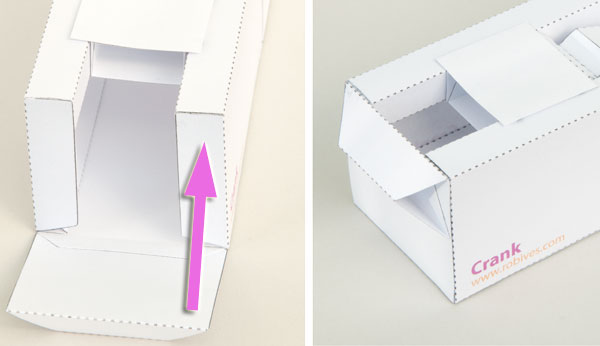
Fit the crank through the hole in the box side.
Offer up the second box side and thread the crank into place. Note that the moving platform fits between the two rails on the box sides but mustn’t be glued!
Glue the second box side to the base.
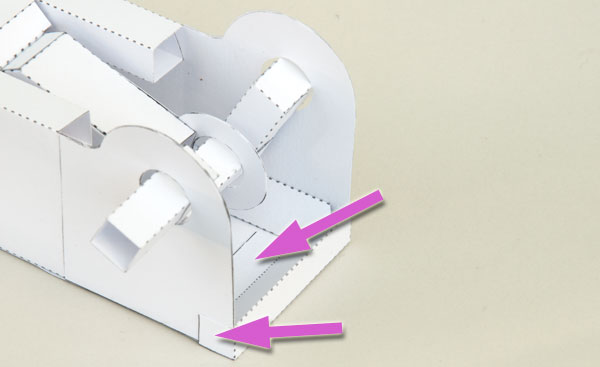
Fold the end into place as shown, glue down the tabs in the places arrowed.
Fold round and glue down the triangular section on the box end. This will give rigidity to the completed box. Glue the box end to the tab on the base. (Arrowed)
Fold up and glue down the box end.
Fold round and glue the the two square sections of the handle.
Fold one section into the other and glue.
Roll round and glue down the long tab.
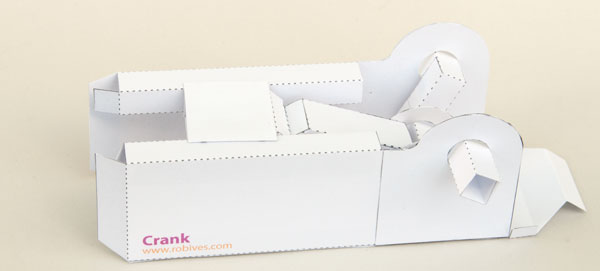
Complete the model by gluing the handle to the crank. Once the glue is dry, turn the handle and the platform moves back and forth. This mechanism could have all sorts of uses in your own automata design from moving a tortoise head in and out of its shell to driving the arms of an exercising bear!