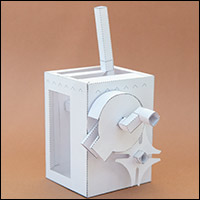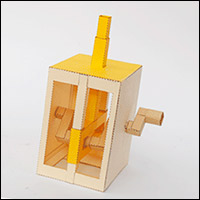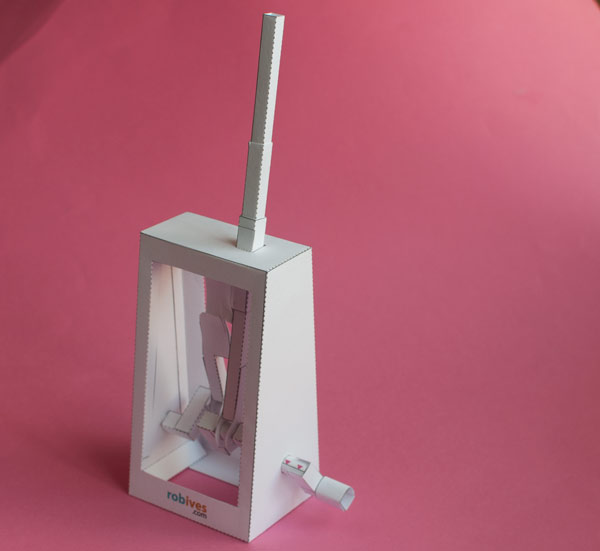
 The co-axial crank slider mechanism is designed to be a starting point for your own projects. As the handle is turned the outer tube moves up and down 90 ° ahead of the inner tube creating an organic, fluid motion which can be harnessed for your own character designs.
Members can download the parts for free, thanks for signing up! Non-members can download the project for the usual £2.50.
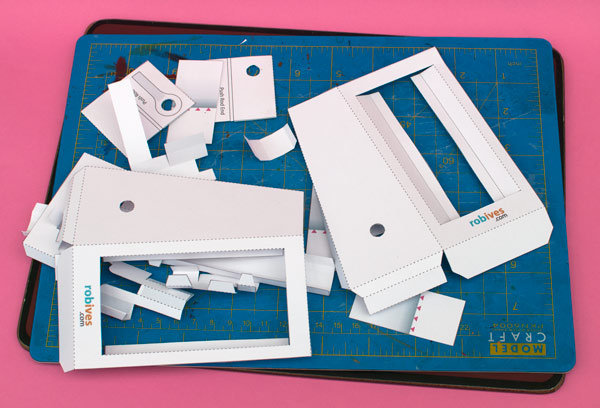
Print out the parts onto thin card (230 micron / 67lb) Score along the dotted and dashed lines and cut out the holes before carefully cutting out the parts.
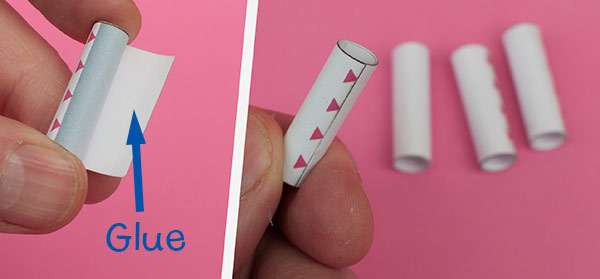
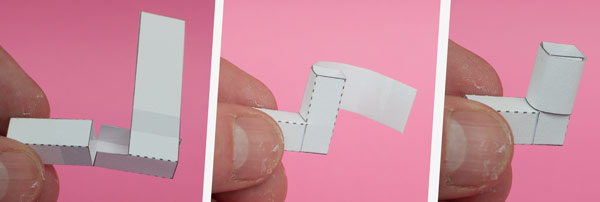
There are four paper pins that need to be made. Pre-curve the pieces round a pen or pencil then roll them round so that the edge exactly meets the points of the red arrows. Apply glue to the inner surface and glue the pin together.
Make up the two crank centre pieces as shown.

Glue the two crank centre pieces together. Notice that the square holes are facing in opposite directions.
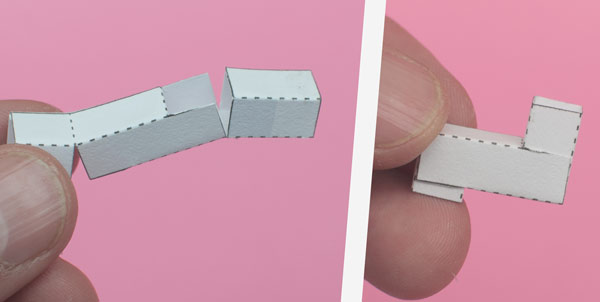
I’m pleased with the new design for the crank sides. They are each made from a single piece of paper and their size and therefore their throw, can be changed very easily. Make up the two crank sides as shown.
I’m planning to create a single crank slider project using this design shortly.
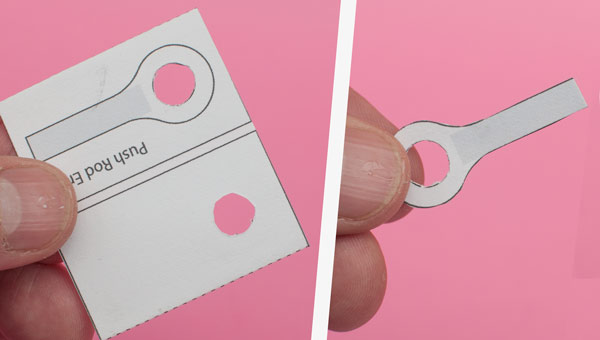
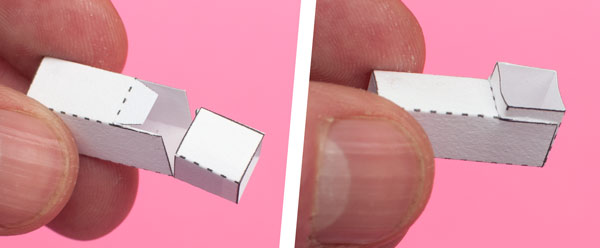
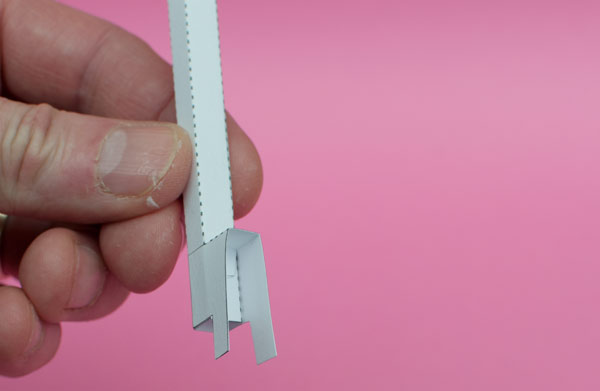
Fold over the push rod ends and glue them down to make double thickness card. Once the glue is dry, cut out the centre holes then carefully cut out the pieces. there are four push rod ends.
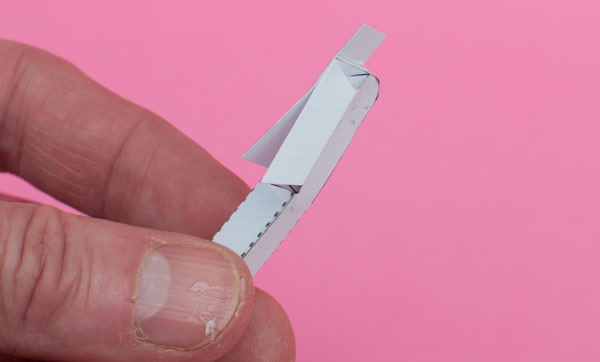
Make up the short push rod as shown. Notice the triangular section tube. This give rigidity to the piece.
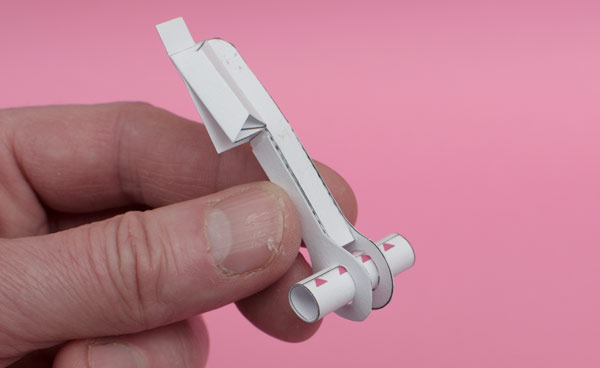
Glue two of the push rod ends into place using the grey areas for alignment. Push one of the pins through the holes in the push rod ends and make sure that the pin is at 90° to the shaft before the glue dries.
Fit the other push rod ends to the other push rod in the same way.
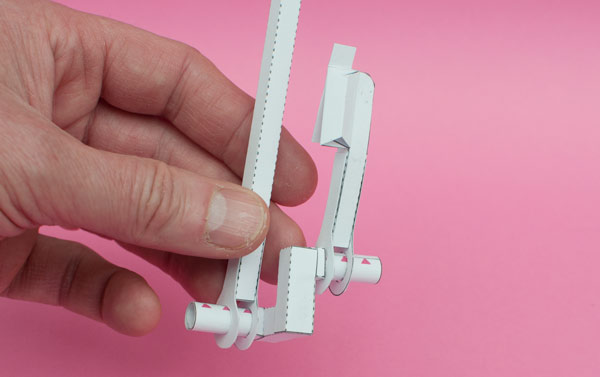
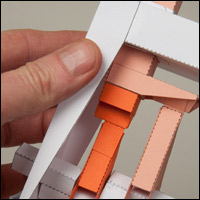
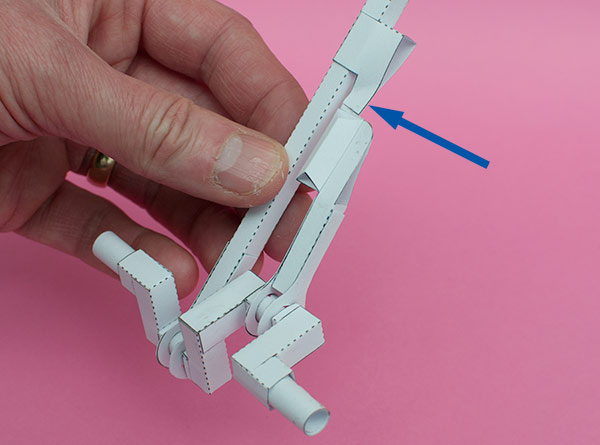
Glue the ends of the pins into the crank middle as shown. Make sure none of the glue gets onto the push rod ends.
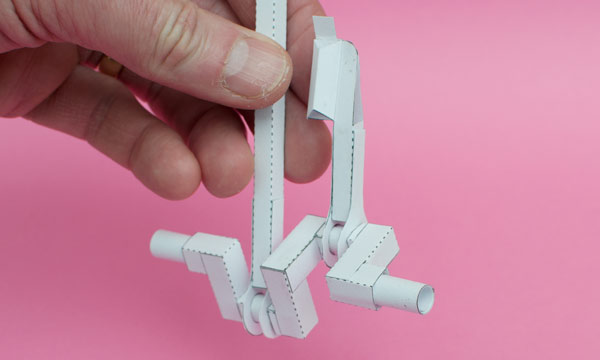
Glue the crank sides and remaining pins to complete the crank shaft.
Assemble the slider tube and glue the slider tube end into place as shown.
Thread the slider tube over the long push rod then glue the tab on the long end of the short push rod between the two tabs on the end of the slider tube.
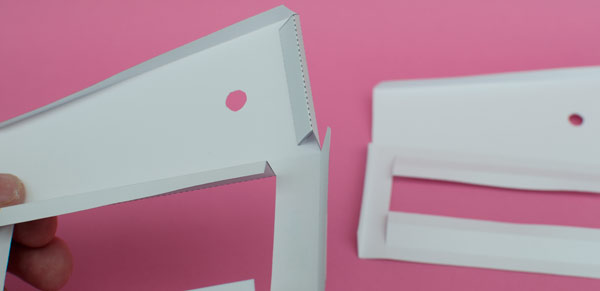
Fold up and glue down the tabs on the bottom edge of the two box sides to make right angled triangle tubes.
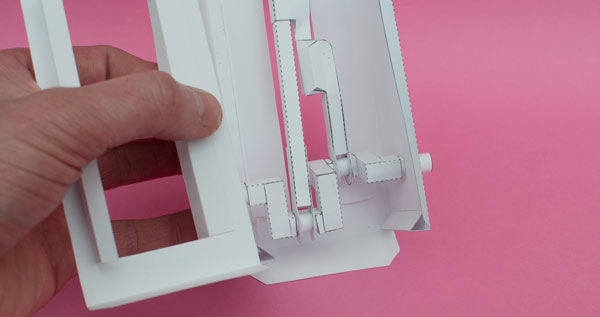
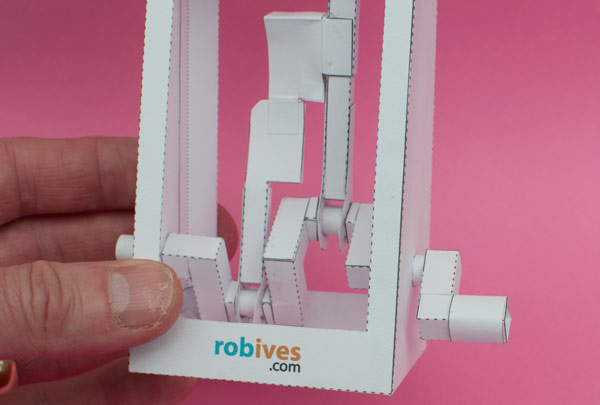
Glue the two box pieces together along one edge. Fold up the box and fit the crank assembly into place.
Fold the box round and glue it closed. Glue down the two flaps on the box base stand the box on a flat surface as the glue dries to make sure that everything is square and flat. Fold the long tabs into the box and glue them down on the inside walls of the box.

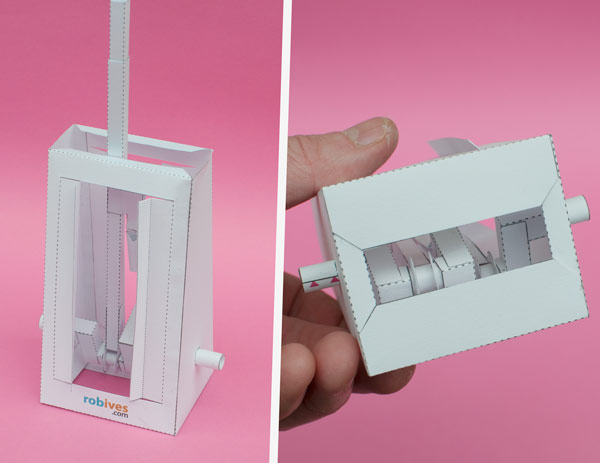
Assemble the outer slider tube and glue it to the hinge on the box top.
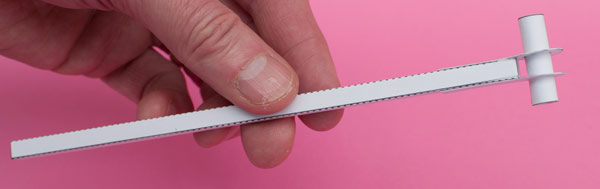
Assemble the handle in three steps. Glue up the two square tube.
Fold up and glue one tube into the other.
Roll round and glue down the long tab.
Glue the handle to the pin.
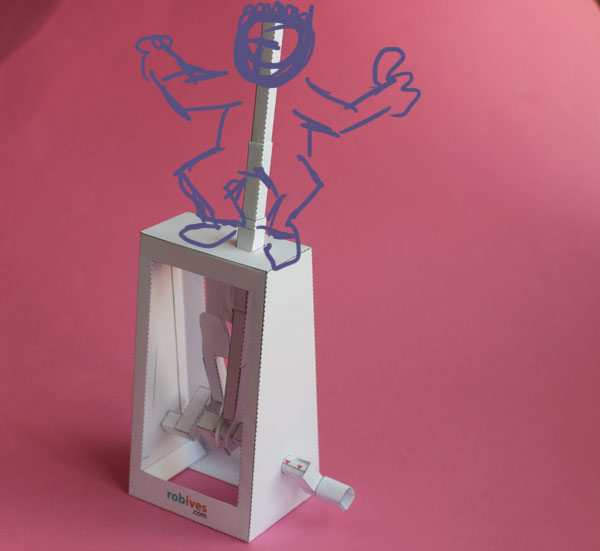
Complete the model by threading the lid down over the push rod and gluing it to the box.
This is just the starting point. Use this mechanism to bring your own characters to life!