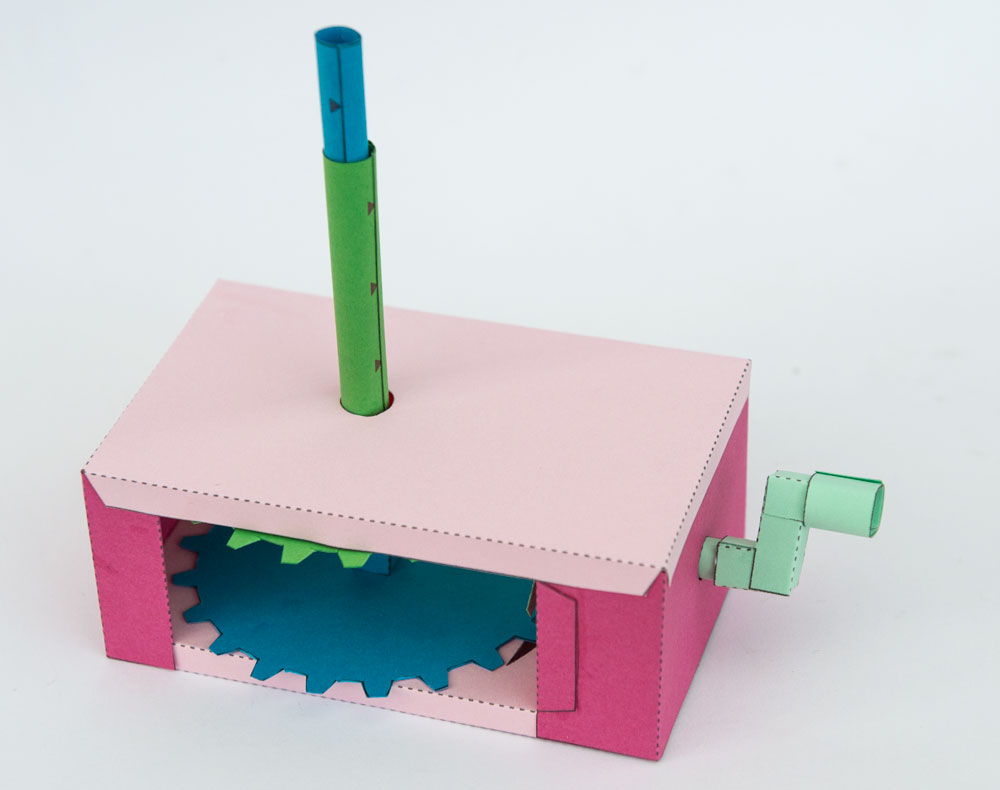
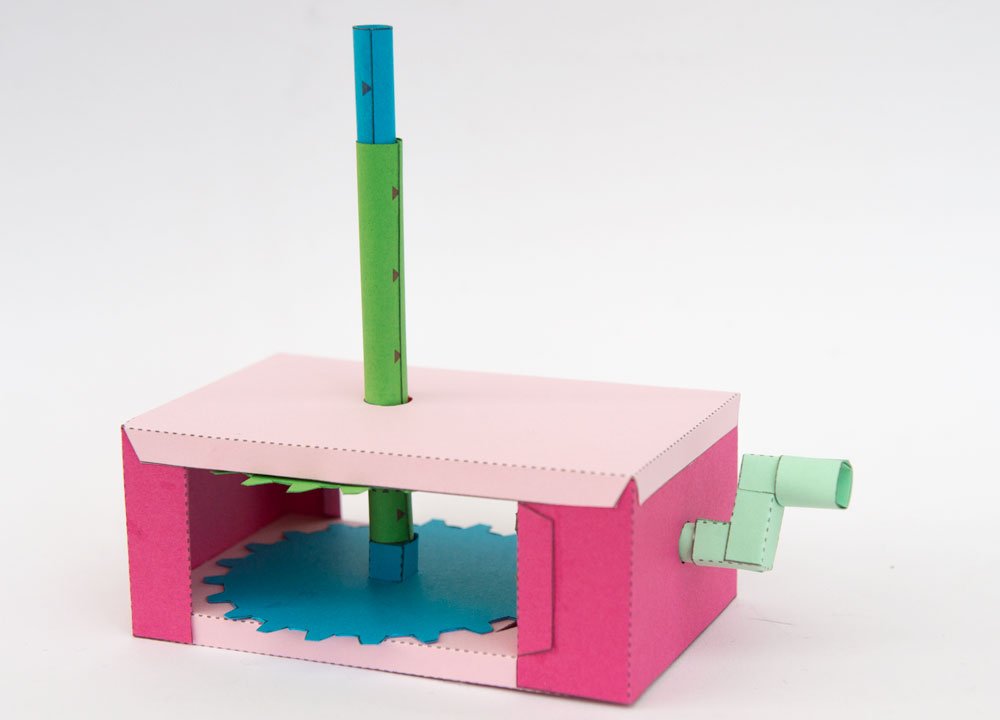
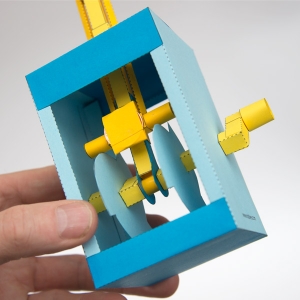
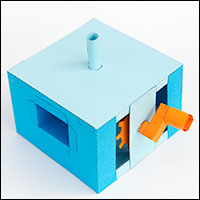
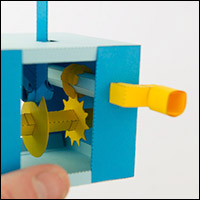
Co-axial gear with 2:1 reduction.
This Essential Mechanism is an evolved version of the original Co-Axial Gearbox from here. While I was designing the forthcoming rotating robot model I felt it would be better if the robot rotated a little slower so I have increased the size of the main gears on the original co-axial gearbox so that there is now a roughly 2:1 speed reduction. The mechanism will, I’m sure, be useful for other projects so I decided to release it as an Essential Mechanism. Turn the handle on the side of the box and the outer vertical shaft turns one way while the inner shaft rotates the other.
Members can download the model for free from the link, thank you for your support! Non-members can join in the fun for $3.75/£2.50
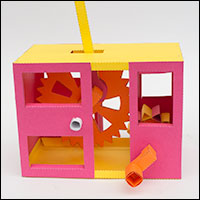
Download the file and print out the pages onto thin card (230 micron / 67lb) I used coloured card for a colourful model. You can use white, patterned or colour card as you see fit.
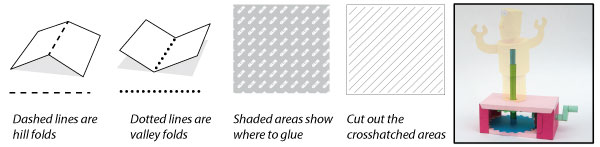
Score along all the dotted and dashed lines and cut out the holes before carefully cutting out the parts.
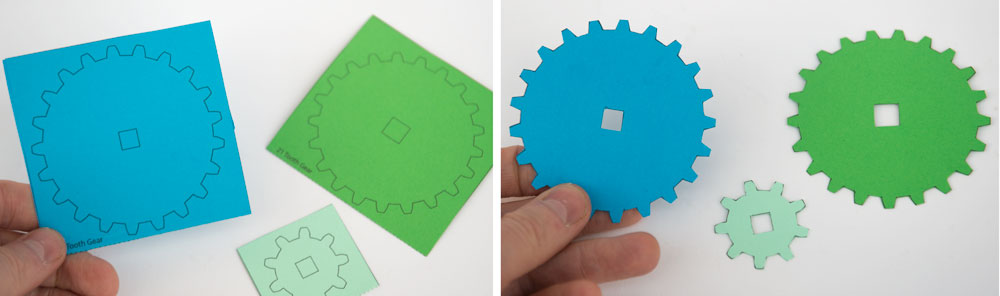
The gears are made from double thickness card. Fold them over and glue them down. Once the glue is completely dry carefully cut them out.
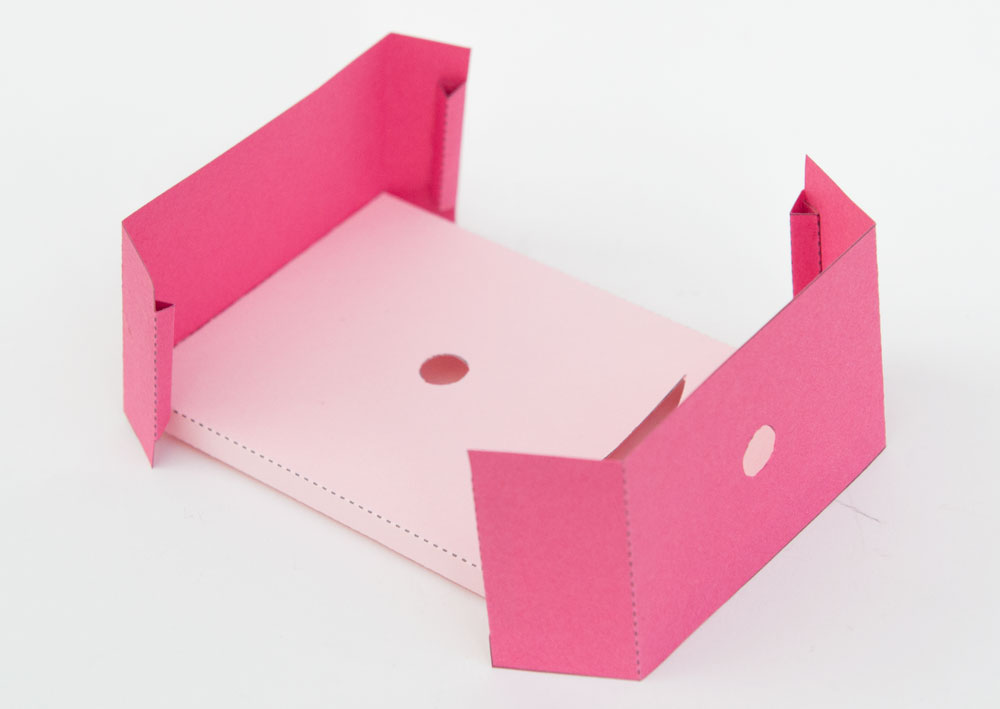
Fold up the the box top and base making right angled triangle tubes.
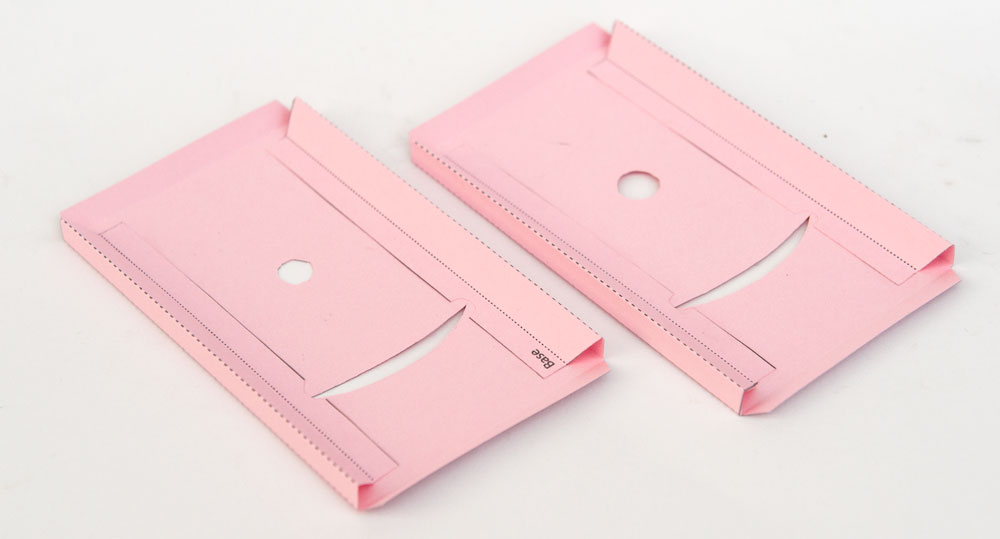
Fold over and glue the tabs on the ends to make triangular tube.
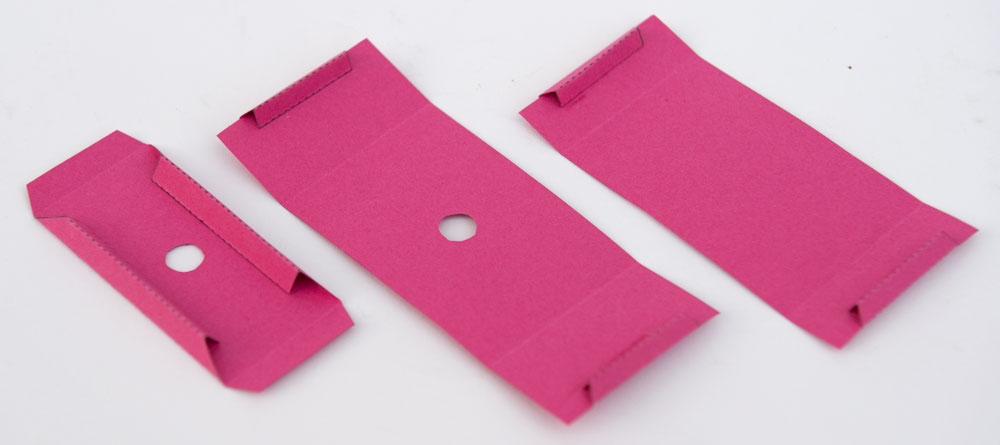
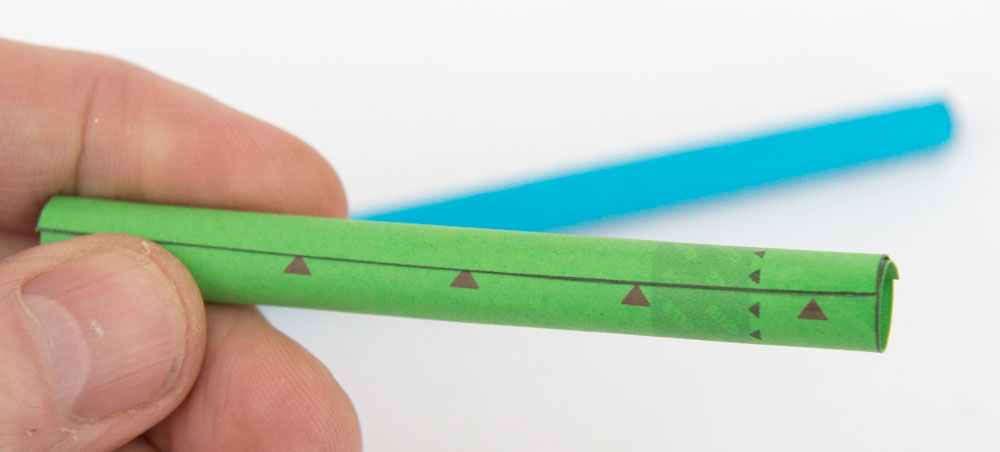
Roll over and glue all three tubes. Line up the edges with the arrow points as accurately as possible.
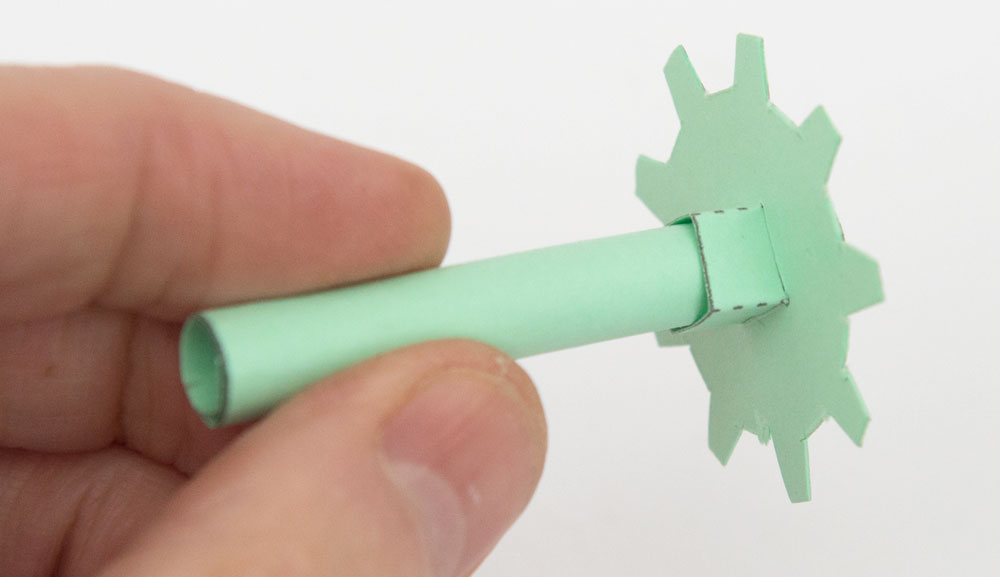
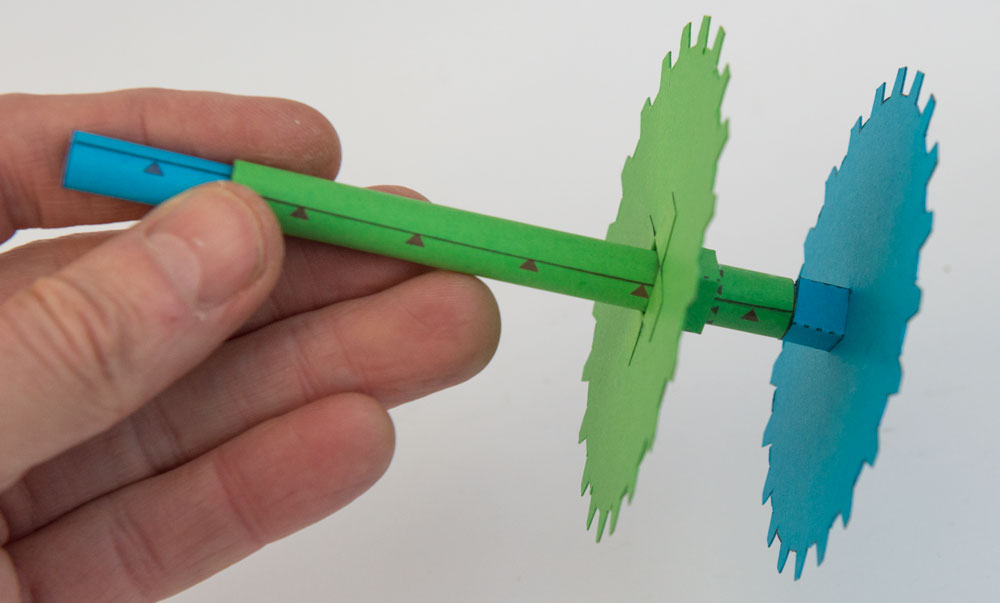
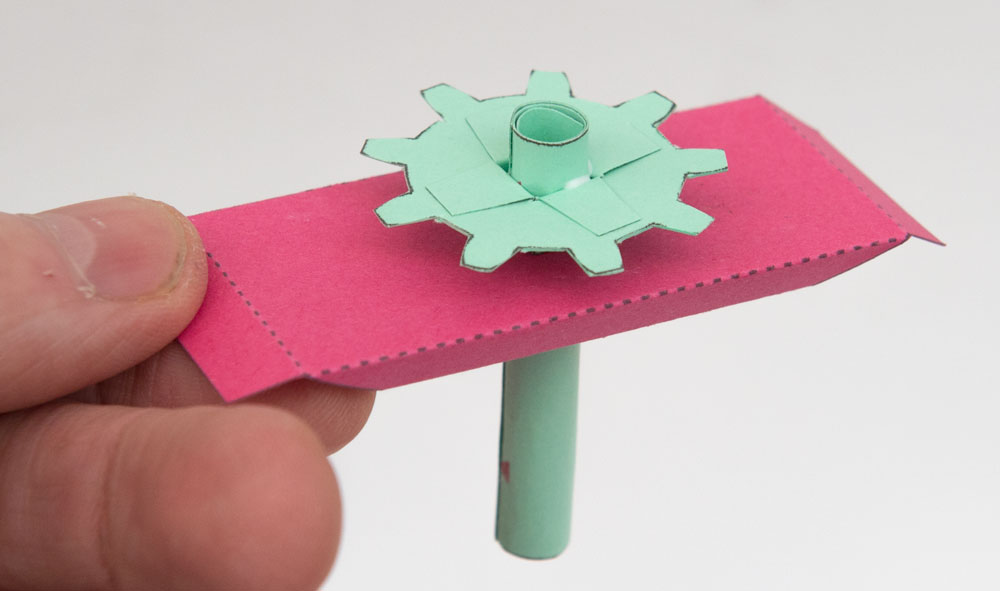
Fit the small stub into the nine tooth pinion.
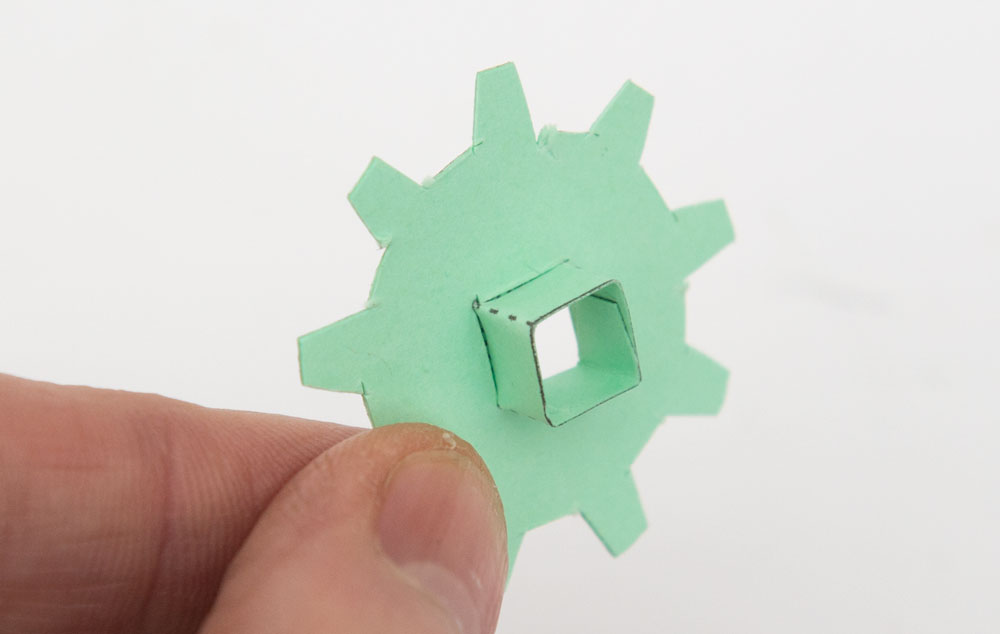
Fit the short 8mm axle into the pinion and glue it so that it protrudes roughly 5mm from the other side.
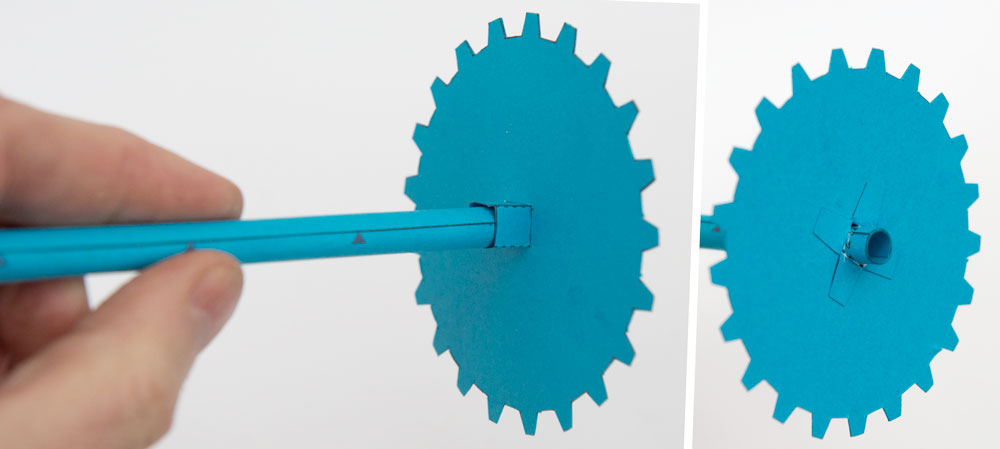
Fit the axle stub into the large gear with the small hole.

Fit the long 8mm axle into place so that the grey area is inside the stub. Make sure the gear is a straight and flat as possible.
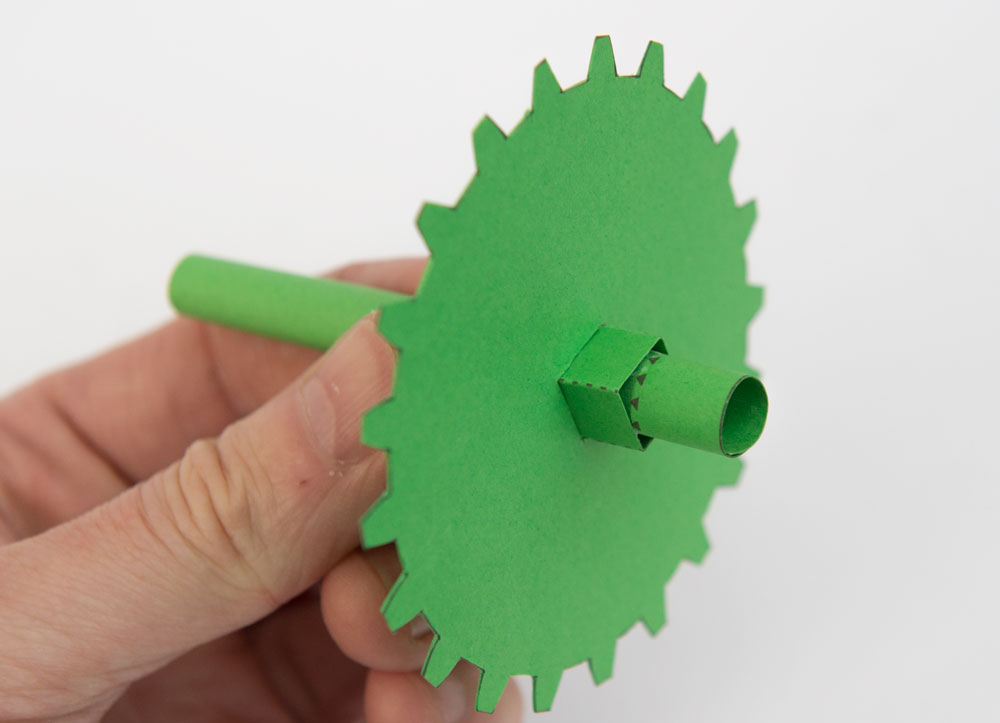
Fit the axle stub into the remaining gear.

Glue in the 10mm tube again lining it up with the grey area and again keeping the gear as straight as possible.
Thread the two axles one inside the other. No glue! They must be free to rotate.
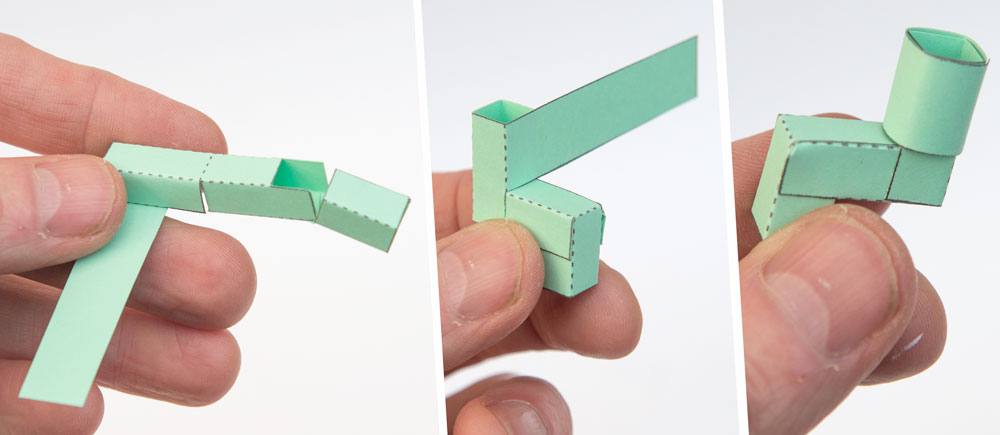
Assemble the handle in three steps.
Glue the the two ends to the base. Note carefully the relative orientations of the three parts.
Glue one end of the top into position but leave the other end unglued.
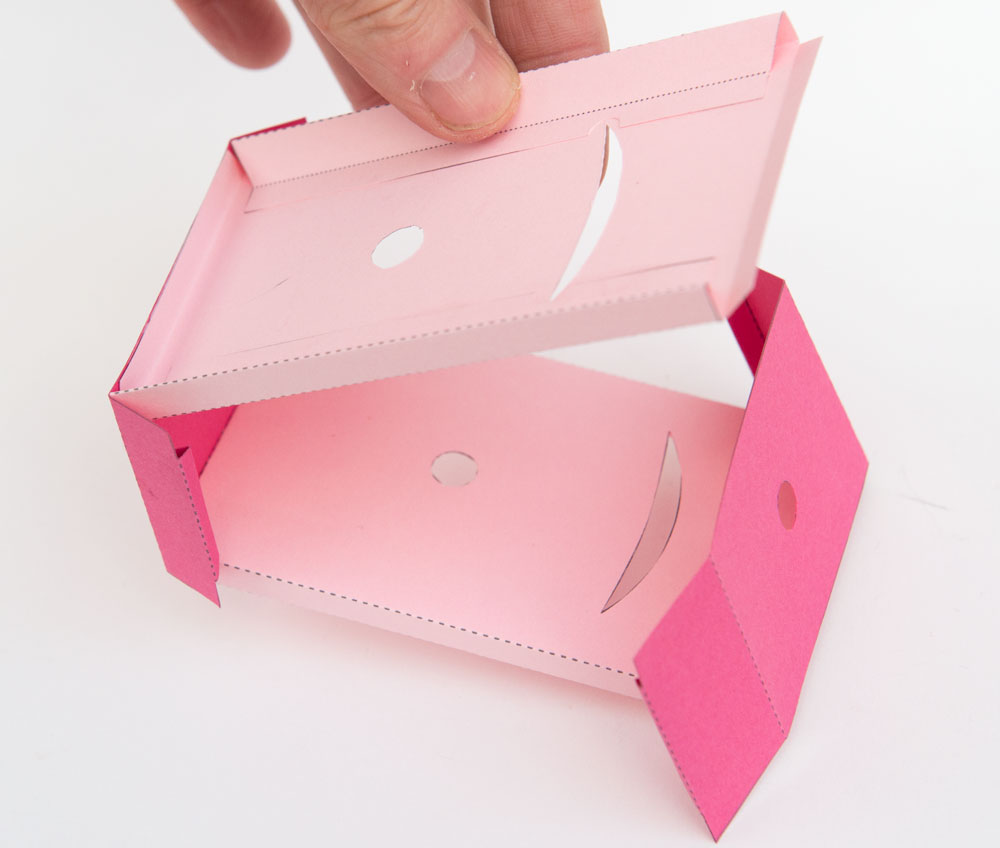
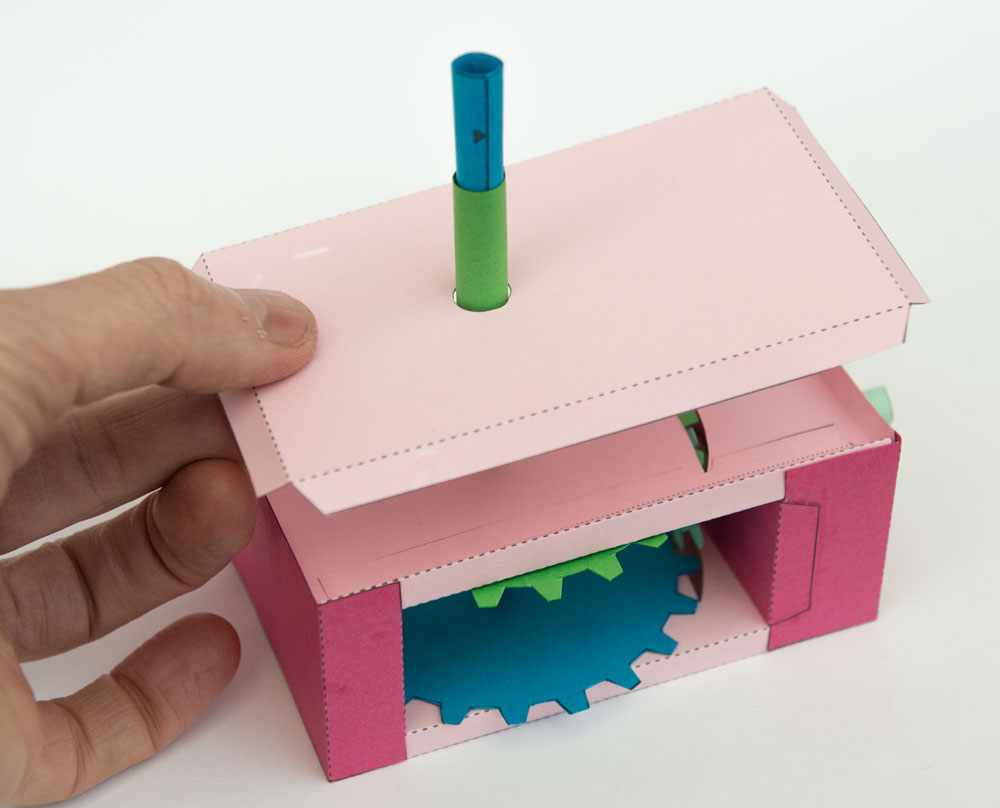
Thread the axle up through the box top then fit the other end into the box base.
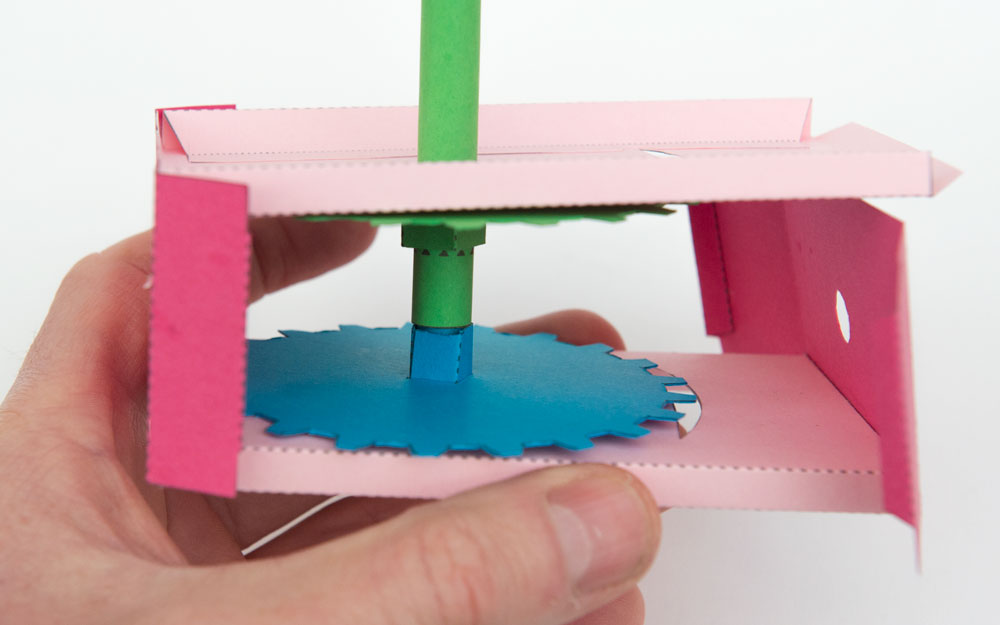
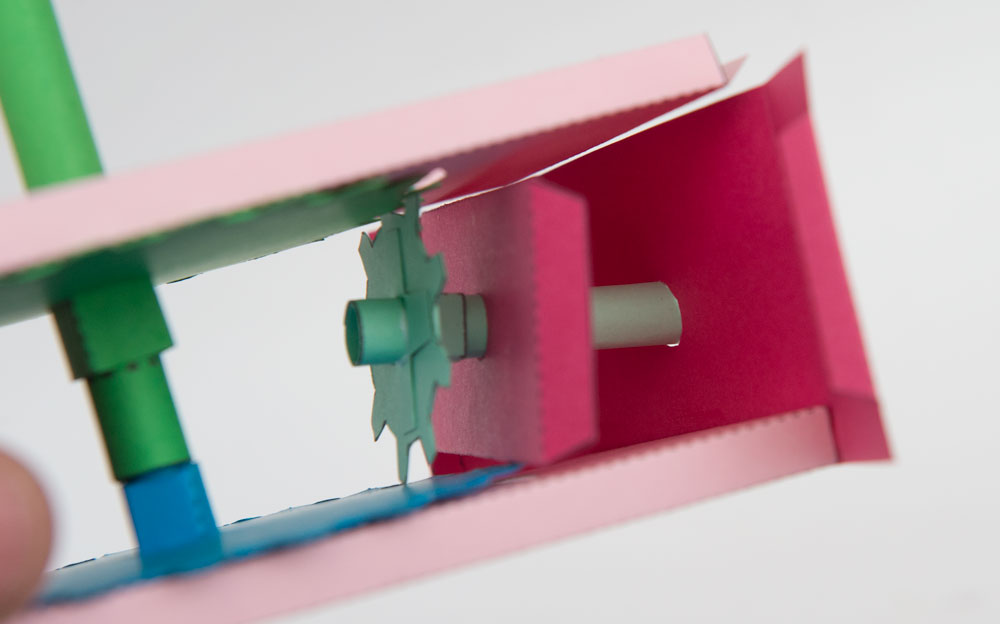
Thread the pinion into place in the cross piece.
Thread the short axle out through the box end.
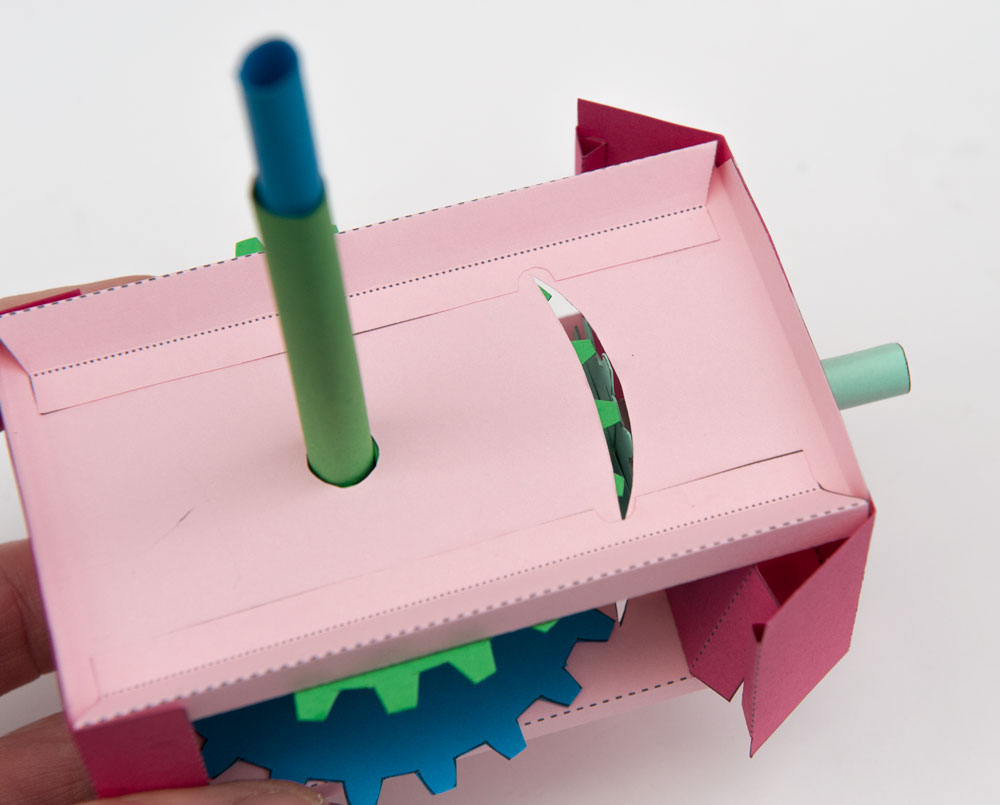
Close up the box and glue the remain top edge to close the box.
Fold in the sides and glue them into place.
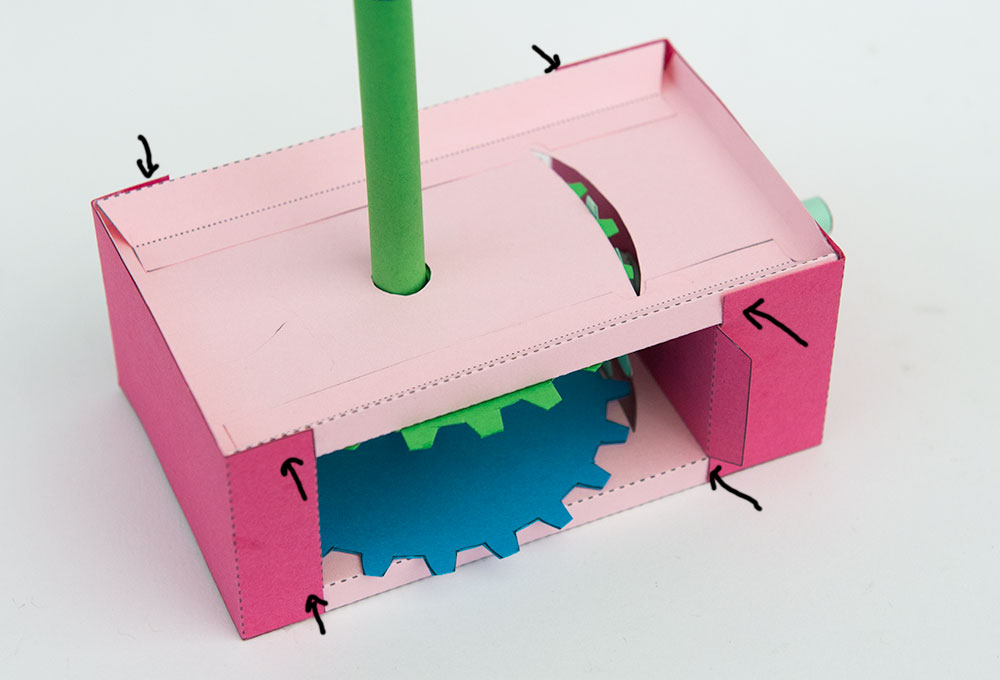
Glue the end tabs of the cross piece to the outside of the box.
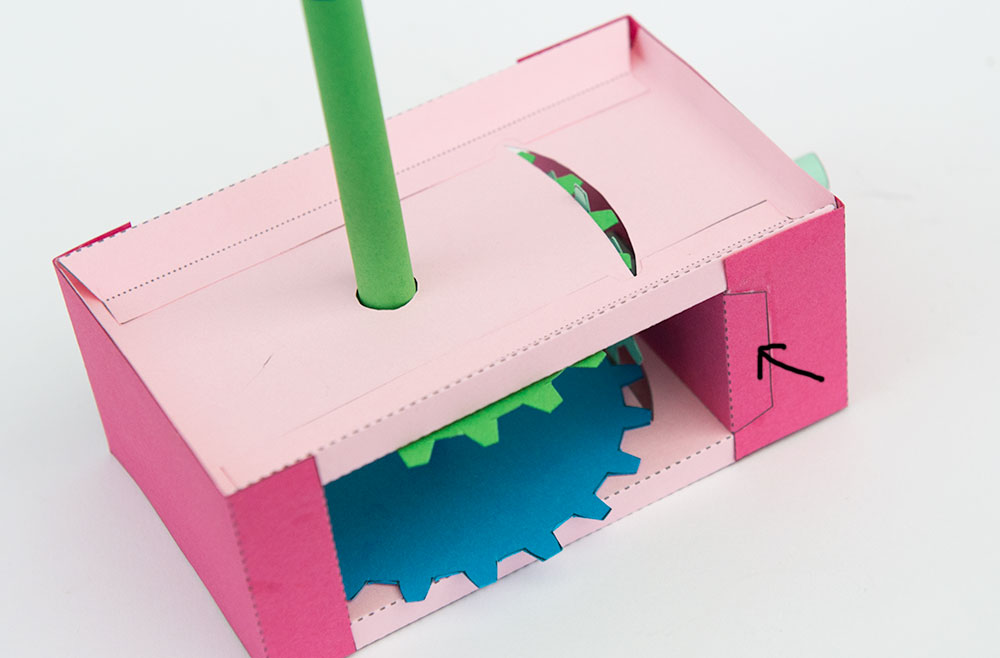
Fit the cover piece into place.
Complete the mechanism by adding the handle to the box.
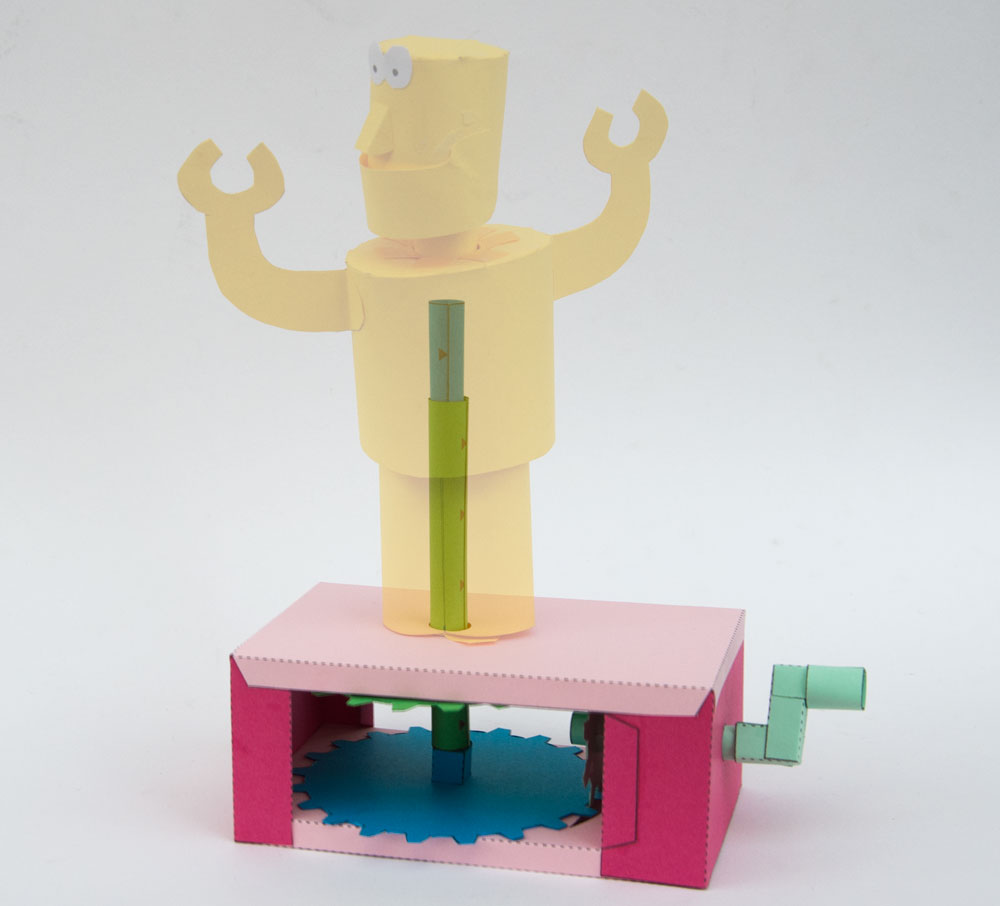
Use the model as an exercise in pure mechanism or as the starting point for your own paper animation automata. Look out for the Rotating Robot coming soon!